How to make seitan from vital wheat gluten comes down to three moves: hydrate the gluten flour with a savory liquid, knead it into a dough, then steam or simmer the wrapped log until it firms up. The base ratio is 1 cup (130 g) of vital wheat gluten to about 3/4 cup (180 ml) of liquid, and the whole thing takes roughly an hour of hands-on work plus a cooling period.
One clarification first, because people mix the terms up constantly. Vital wheat gluten is the dry, washed flour you buy in the bag. Seitan is what you get after you hydrate that flour and cook it. There is no other ingredient doing the work.
It is worth knowing the limits of this method. Pure vital wheat gluten makes a very firm, chewy loaf with a real meat analogue bite, which is what most people want but not what everyone wants. If you like chicken, add a couple tablespoons of chickpea flour. If you want a softer, less chewy result, the hydration ratio is the dial to turn. I’ll walk through both below.
Homemade seitan also lands around 75 g of protein per 100 g, so it stacks up against steak in a protein comparison, and a pound of the flour gives you roughly 16 servings of cooked seitan. That makes it one of the cheapest high-protein meat substitutes you can make at home.
One caution before you start: seitan is wheat protein, so it is not gluten-free and not safe for anyone with celiac disease or a wheat allergy. Chickpea flour and tofu are the swaps to look at instead.
Table of Contents
- What You Need
- How much liquid to use for the texture you want
- Step-by-Step: How to Make Seitan from Vital Wheat Gluten
- Mix the Vital Wheat Gluten and Water
- Knead Until the Dough Is Smooth
- Rest and Shape the Seitan
- Steam the Seitan Until Firm
- Cool, Slice, and Store the Finished Seitan
- Common Mistakes When You Make Seitan from Vital Wheat Gluten
- Ways to cook seitan without a steamer
- Cutting the wheaty taste out of homemade seitan
- Frequently Asked Questions
- How much vital wheat gluten and water should I use to make seitan?
- Do I need to rinse or wash the seitan after cooking?
- Why is my homemade seitan rubbery?
- Can I bake seitan instead of steaming it?
- How long does homemade seitan keep in the refrigerator?
- Can I make seitan without soy sauce or oil?
- Conclusion
What You Need
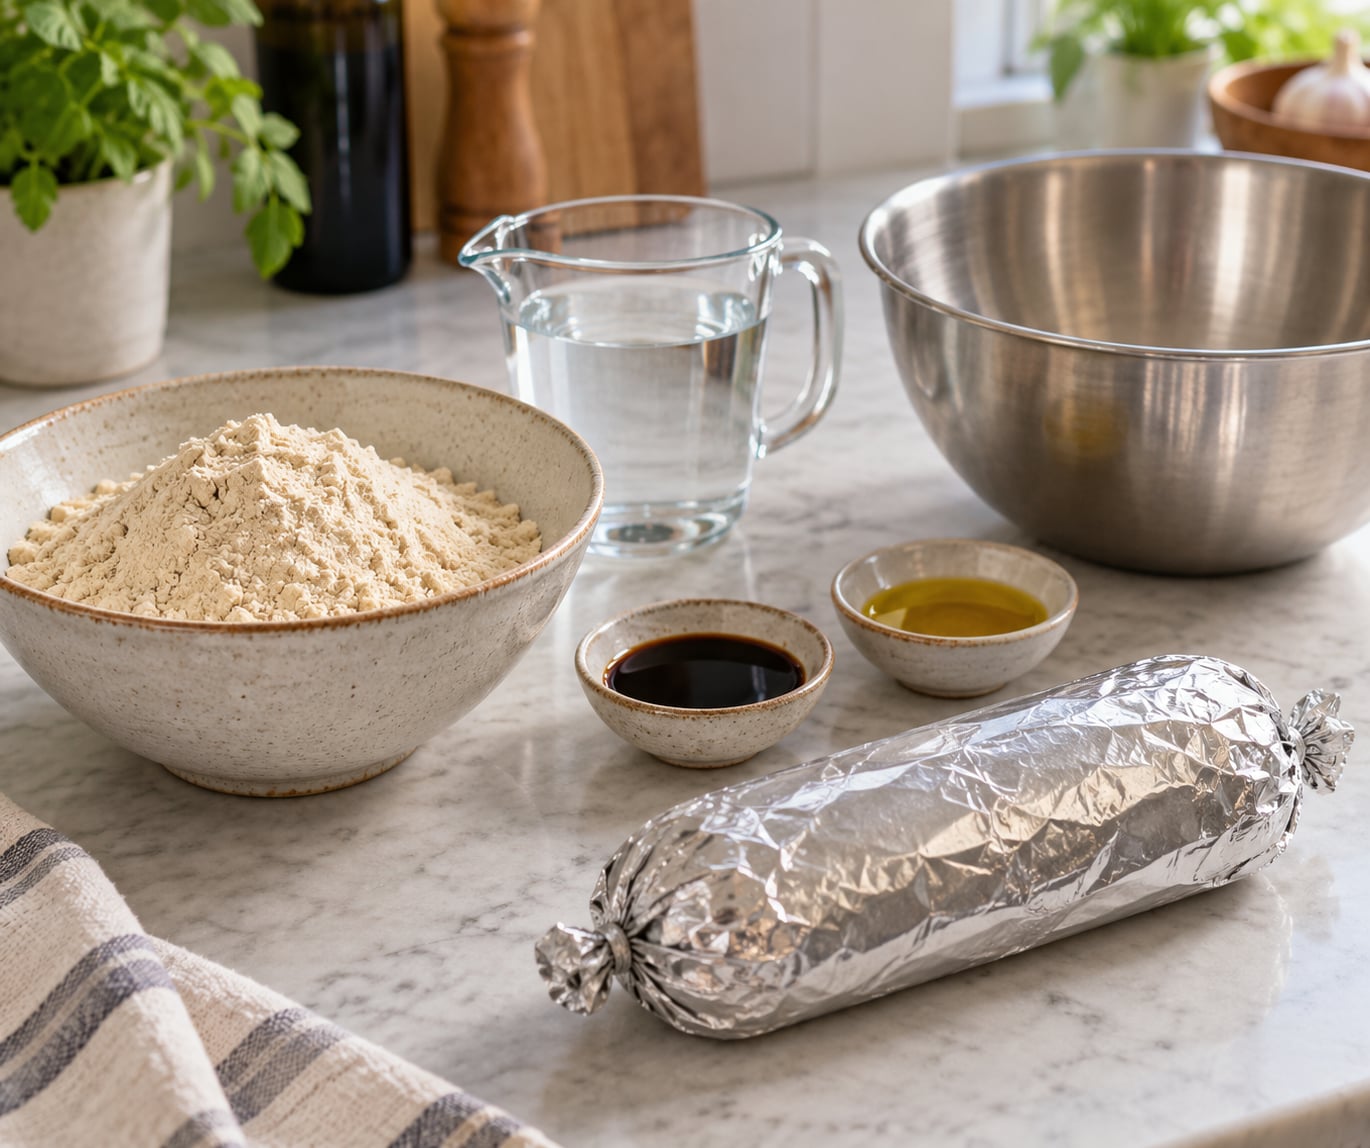
The ingredient list splits cleanly into dry and wet, which is also how you mix it. Keeping the two groups separate until the last second is what stops lumps forming.
Dry
- 1 cup (about 130 g) vital wheat gluten
- 1/4 cup (about 20 g) nutritional yeast, optional but recommended
- 1 teaspoon garlic powder
- 1 teaspoon onion powder
- 1 teaspoon smoked paprika
- 1/2 teaspoon fine salt
- 2 tablespoons chickpea flour, optional, for a softer bite
Wet
- 3/4 cup (180 ml) water, broth, or a mix of the two
- 3 tablespoons soy sauce or tamari
- 2 tablespoons tomato paste
- 1 tablespoon olive oil
- 1 teaspoon apple cider vinegar
The vinegar is not decorative. A squeeze of acid alongside the seasonings takes the edge off the lingering raw wheat taste, and once you notice the difference you will keep it in the mix.
Equipment: a wide bowl, a whisk or fork, a wooden spoon or stand mixer with a dough hook, a sheet of parchment paper, a roll of foil, a pot with a lid and a heatproof plate or small dish that sits above the water line, and a sharp knife.
How much liquid to use for the texture you want
| Texture you want | Vital wheat gluten | Liquid | Where it lands |
|---|---|---|---|
| Very chewy, meat-analogue bite | 1 cup (130 g) | 3/4 cup (180 ml) | Dense, stringy, closest to store-bought seitan |
| Medium, versatile | 1 cup (130 g) | 7/8 cup (210 ml) | Chewy but tender, good in stir-fries and soups |
| Soft, sandwich-friendly | 1 cup (130 g) | 1 to 1-1/4 cups (240 to 300 ml) | Spongy-soft, closer to a meat loaf than a steak |
Brands absorb liquid differently. One bag behaves moist on kneading and wants less water; the next is dry and needs extra stock. So treat the ratios above as a starting point, then trust the dough rather than the clock.
Scaling is linear. Double the batch for four to five servings, triple it for meal prep. A 1 lb (450 g) bag of vital wheat gluten with about 2-1/2 cups of liquid yields roughly 16 servings once cooked.
Step-by-Step: How to Make Seitan from Vital Wheat Gluten
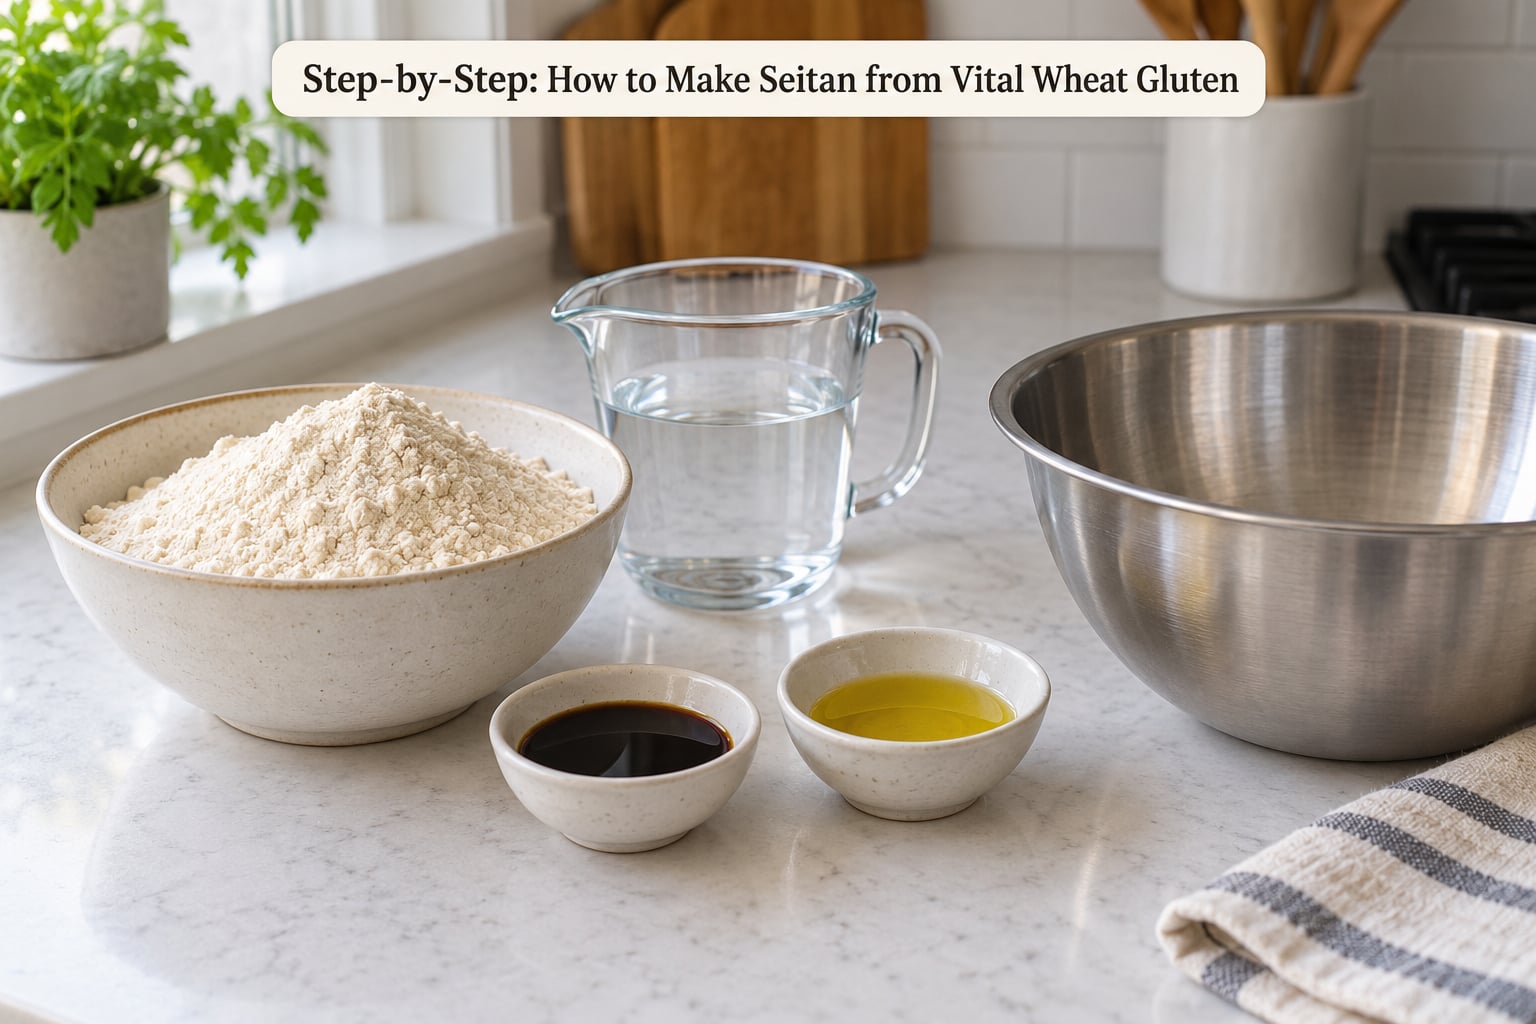
Mix the Vital Wheat Gluten and Water
Whisk the dry ingredients together first. Nutritional yeast, spices and salt disperse more evenly through flour than they do through a wet dough, and this is your only chance to season evenly.
In a second bowl, whisk the wet ingredients until the tomato paste dissolves and the soy sauce and vinegar are fully combined. Pour that over the dry mix all at once, then stir with a spoon until no loose flour is visible at the bottom.
What you are looking for is a stiff, slightly crumbly mass that holds together when squeezed. It will look too dry at this stage and that is correct. The flour drinks the rest of the liquid during kneading.
Knead Until the Dough Is Smooth
Turn the dough out and knead it by hand for 5 to 8 minutes, or run it in a stand mixer with a dough hook on low for about 4 minutes. Use the texture as your stopwatch, not the time itself. Dry dough takes longer to come together than wet dough.
The change you are watching for is real: the dough goes from sandy and fragile to smooth, springy and slightly tacky. It stops smearing on the counter. If you press a finger in, the dent fills back in partway.
Over-kneading is not the failure people think it is, but there is no prize for it. Once the dough is smooth, stop. Under-kneaded dough cooks into a dense, crumbly block with no stringy pull.
Rest and Shape the Seitan
Let the kneaded dough sit for 10 to 15 minutes. This relaxes the gluten you just tightened and makes shaping less likely to tear it.
Divide the dough and roll each piece into a log about 3 inches thick and 8 to 10 inches long. Keep the diameter even, because a fat log cooks through more slowly in the middle.
Wrap tightly in parchment, then wrap in foil with the ends twisted. The parchment is not a formality: it stops the metal from leaving a metallic taste on the finished seitan, which is the complaint that comes up most often about foil-only wrapping. Add a splash of water inside the wrap if the seam looks like it might leak.
Steam the Seitan Until Firm
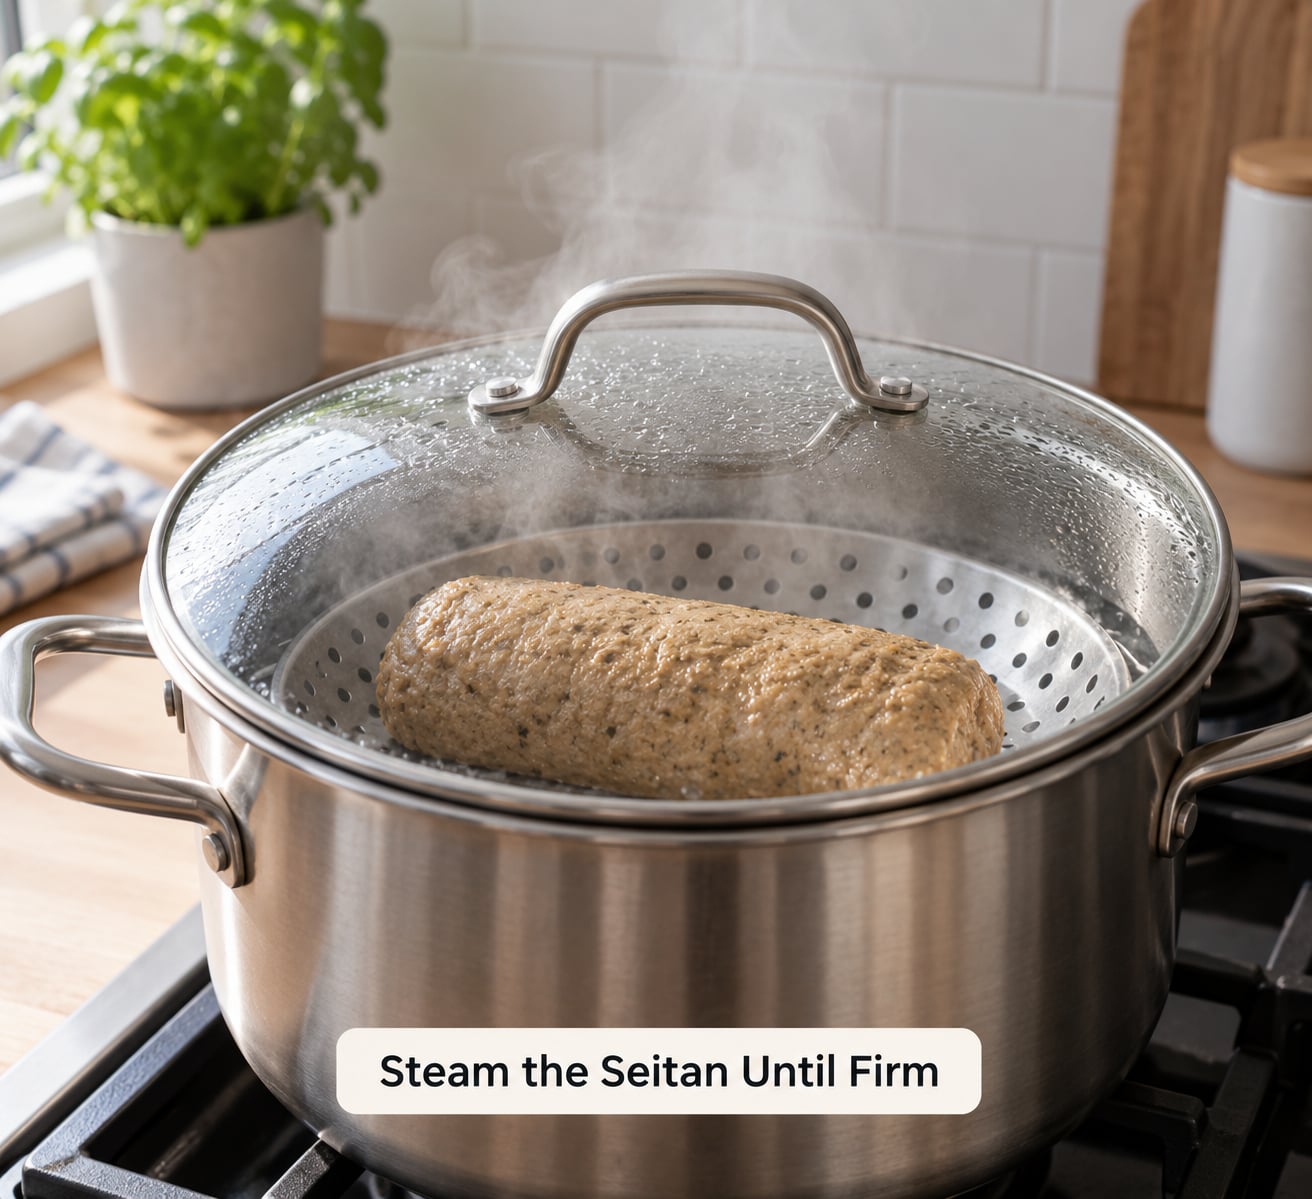
Fill a pot with about 2 inches of water and bring it to a steady, gentle steam. Not a rolling boil. Put the wrapped log on a heatproof plate or dish that rests above the water, cover the pot, and steam for 45 to 90 minutes depending on the diameter of the log.
Keep the steam gentle and check that the water has not boiled away halfway through. Refill it with hot water rather than cold.
Doneness cues: the wrapped log feels heavy for its size, the foil is tight against a firm shape rather than soft, and a meat thermometer pushed through the seam reads 165 F (74 C). A 3-inch log usually lands around 50 to 60 minutes.
Simmering works too. Drop the wrapped log into a pot of simmering broth and cook it for 30 to 45 minutes, turning once so it does not stick. Broth gives you seasoning and color at the same time, which is why a lot of cooks prefer it once they are comfortable with the method.
Cool, Slice, and Store the Finished Seitan
Cool the log in the foil until you can handle it, then refrigerate it for at least 8 hours before slicing. The chill is doing real work: it finishes setting the interior so a knife glides through instead of tearing the strands apart. Cutting it warm gives you a ragged, gummy slice no matter how well you cooked it.
Slice crosswise at about 1/4 inch for stir-fries, or lengthwise into deli-style slices for sandwiches. Shred it with a fork or your fingers when a recipe calls for shredded seitan.
Keep cooked seitan in an airtight container in the refrigerator for 3 to 4 days. For longer storage, slice it first, lay the pieces in a single layer on a tray to freeze solid, then transfer them to a bag or container so they do not clump. It freezes well for 2 to 3 months and reheats straight from frozen in a skillet, oven or microwave.
Common Mistakes When You Make Seitan from Vital Wheat Gluten
Almost every bad batch traces back to hydration, cook time or wrapping. Here is what each texture usually means.
| What happened | Likely cause | Fix |
|---|---|---|
| Dry and crumbly, breaks when sliced | Not enough liquid, or under-kneaded | Add 2 to 3 tablespoons water and knead 3 more minutes |
| Rubbery, hard to chew | Too little liquid, or cooked too long | Use the 7/8 to 1 cup liquid per cup of gluten next time, and pull it off the heat sooner |
| Spongy and wet in the middle | Over-hydrated, or steamed on too low a heat for too long | Cut liquid by 2 tablespoons and hold at a full steam |
| Uneven, raw center | Log too thick for the cook time | Roll to 2-1/2 inches and add 10 minutes |
| Bland | Seasoning went into the dough unevenly | Whisk dry seasonings first, then glaze or marinate the cooked seitan |
| Metallic taste | Wrapped in bare foil | Always use parchment as the first layer |
| Tears apart when frying | Too wet, or sliced before the cold rest | Drain well and let it chill fully before browning |
| Popped open in the oven | Steam trapped inside an unwrapped or loosely wrapped log | Steam first, cool it, then bake it unwrapped or slit on top |
On that last one: the oven explosion people worry about comes from steam building inside a sealed package. A log that has already been steamed holds its shape and cooks through, so finishing it in a hot oven at 400 F (205 C) for 15 to 20 minutes to brown the outside is safe. Pressure cooking and then baking gives you a dense texture that holds up well to breading.
Ways to cook seitan without a steamer
A steamer basket is convenient, not required. A pressure cooker or Instant Pot works, and so do a rice cooker, a Dutch oven and a convection oven. The wrapped log holds up across all of them.
A pressure cooker needs about 25 to 30 minutes at high pressure with the foil-wrapped log in the basket, followed by a natural release. The texture comes out dense and very chewy, which suits nugget-style cooking.
A rice cooker with a colander insert steams the log neatly above the water, and an ordinary rice cooker without one works if the log sits on a rack above the water. A Dutch oven over very low heat behaves like a slow steamer at roughly the same 50 to 60 minutes.
An air fryer tends to push seitan toward a bready texture that dries out, so treat it as a finishing step rather than the primary cook. Cook it first, cool it, then air fry at 400 F (205 C) for 8 to 10 minutes.
Cutting the wheaty taste out of homemade seitan
That raw-flour note people describe is the gluten itself, and you have three levers to pull.
First, the vinegar already in the base recipe. Apple cider vinegar works within minutes of mixing.
Second, blend the gluten with chickpea flour. Pure vital wheat gluten alone gives a very firm, chewy result, and cutting it with chickpea flour softens the texture and rounds out the wheat edge. Two tablespoons per cup is a good starting point.
Third, cover the flavor after cooking. Simmering in broth instead of water builds seasoning into the whole log. A marinade of soy sauce, garlic, ginger and a little maple syrup, applied for 20 minutes before cooking, does the same job.
If you want to skip soy entirely, tamari, coconut aminos and 1 to 2 teaspoons of liquid aminos all work in its place. Soy sauce brings gluten with it, though, so if that is the part you need to avoid, use a gluten-free tamari and check your stock.
Frequently Asked Questions
How much vital wheat gluten and water should I use to make seitan?
Start with 1 cup (130 g) of vital wheat gluten and 3/4 cup (180 ml) of liquid for a chewy, meat-analogue texture. Go up to 7/8 cup (210 ml) for a medium chew, or 1 to 1-1/4 cups for a soft loaf. Measure by weight where you can, since brands absorb liquid differently and a cup of wet flour is not a cup of dry flour.
Do I need to rinse or wash the seitan after cooking?
No. That step belongs to the old wet-gluten method, where you wash a flour dough in a sieve to wash away starch. Vital wheat gluten is already washed and dried, so the flour you bought needs no rinsing. Cook the log, let it cool, chill it, and slice it. Skipping the wash is the single biggest reason this method is easier than traditional seitan.
Why is my homemade seitan rubbery?
Usually too little liquid or too much cook time. Pure vital wheat gluten is naturally firm and chewy, so a lean dough cooked 90 minutes pushes well past chewy into rubber. Add 2 to 3 tablespoons more water next time and pull the log off the heat once it feels heavy and firm, usually around 50 to 60 minutes for a 3-inch log.
Can I bake seitan instead of steaming it?
Yes, but cook it first. Baking an unwrapped raw dough lets steam build inside, which is what makes seitan split open or pop in the oven. Steam or simmer the wrapped log, cool it in the refrigerator, then bake it at 400 F (205 C) for 15 to 20 minutes to brown and dry the outside. Baking alone works, but the texture is denser.
How long does homemade seitan keep in the refrigerator?
Three to four days in an airtight container, which is the same window most cooked foods get. Slice it before freezing if you plan to cook from frozen, because pre-sliced pieces thaw and reheat in minutes. Frozen seitan keeps for 2 to 3 months. Cool it fully before it goes in the fridge or the container will collect condensation.
Can I make seitan without soy sauce or oil?
Yes, though you lose some flavor. Replace soy sauce with tamari, coconut aminos, or 1 to 2 teaspoons of liquid aminos plus a pinch of salt. The oil is optional and mostly affects texture, so leaving it out makes for a slightly firmer loaf. Skip the soy sauce entirely and lean on nutritional yeast, tomato paste and a splash of broth for umami.
Conclusion
Make the base recipe once with the measured 1 cup to 3/4 cup ratio before you start improvising. Knead until the dough turns smooth and springy, wrap it in parchment before foil, steam it for about an hour, then give it the full 8 hours in the fridge before the first slice.
After that, hydration is the dial that matters. Add liquid for a softer loaf, cut it for a chewier one, and blend in chickpea flour when you want less of the wheat flavor. Flavor comes last, after the dough behaves the way you want it.
Once you have a log, it drops into soups, stews and bean-and-chili bowls as readily as it browns in a skillet, which makes it one of the most useful things you can keep a batch of around.