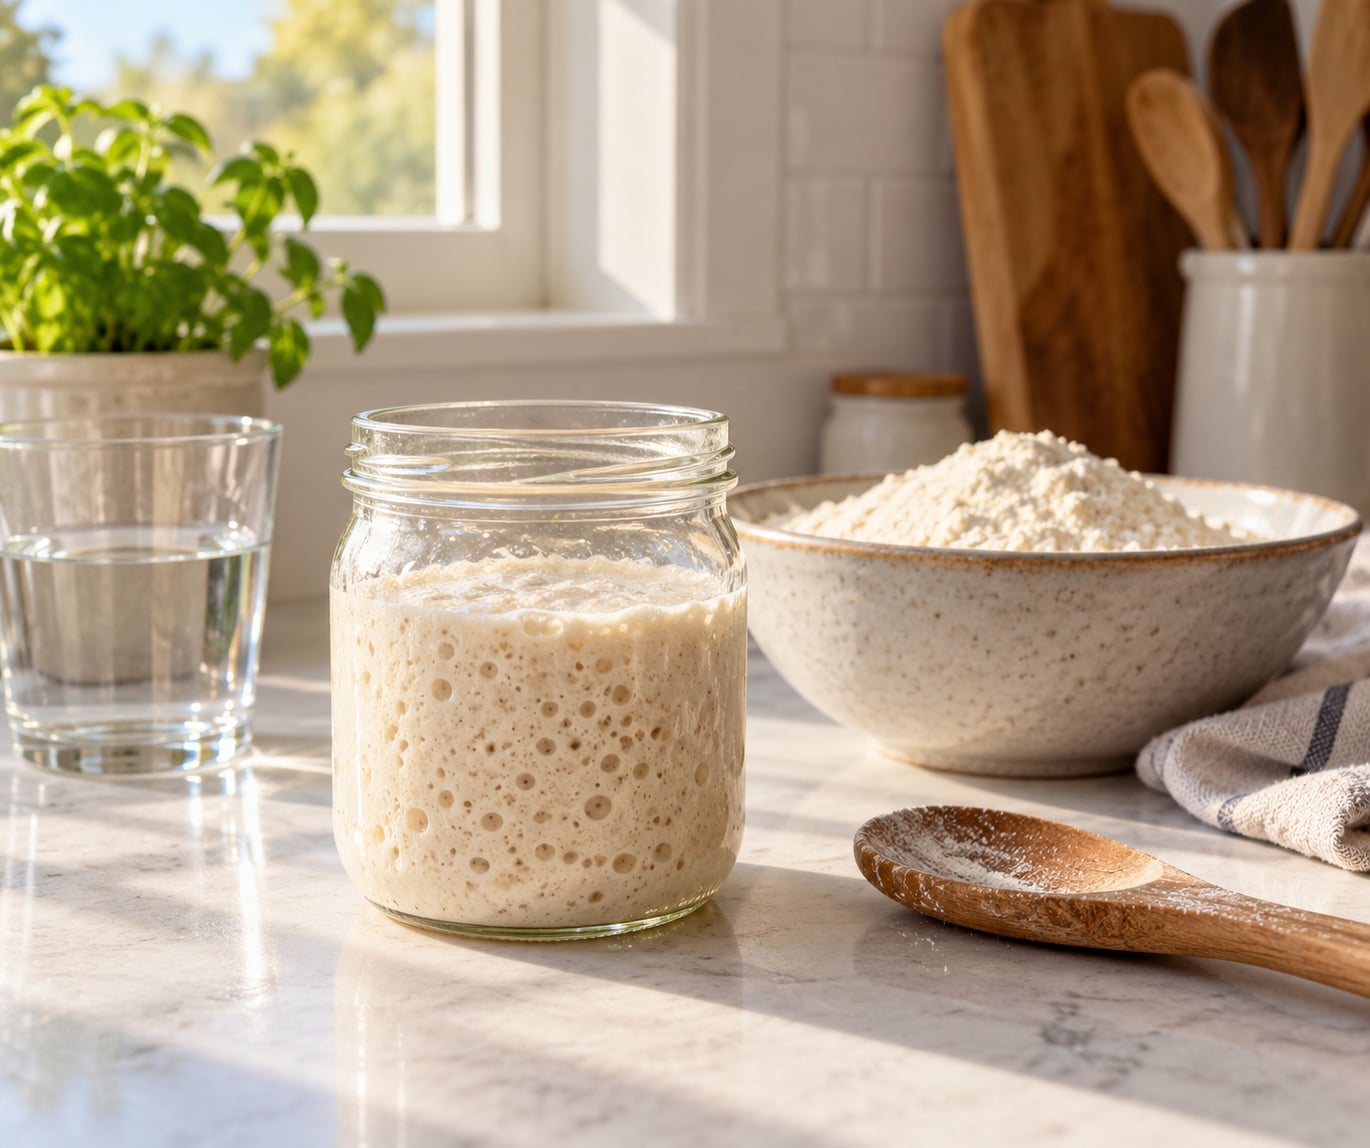
How to make sourdough starter from scratch is just flour, water, and five minutes a day. Mix 100g of flour with 100g of water, discard most of it and feed it fresh the next morning, and repeat for about a week. A kitchen scale, a wide-mouth glass jar, and a warm corner of the counter are the only tools you need. Most starters are bake-ready in 7 to 14 days, and you can keep one alive for years with a daily feeding.
I have kept the same starter long enough that it has outlived two apartments and one kitchen renovation. It is the least fussy thing I own, as long as I stop lying to myself about feeding it. The instructions below are the version I wish someone had handed me on day one, when I nearly threw the whole thing out because day three looked completely flat.
Table of Contents
- What You Need
- Ingredients
- Tools
- The flour choices, ranked by how fast they get you going
- The temperature sweet spot
- Your seven-day feeding schedule
- Step-by-Step: How to Make Sourdough Starter from Scratch
- How to Make Sourdough Starter from Scratch: Day 1
- Day 2: Begin the Daily Feeding Routine
- Day 3: Look for Bubbles and a Slight Rise
- Day 4: Watch for Reliable Doubling
- Day 5: Confirm the Starter Is Active
- Day 6: Feed on a Schedule You Can Maintain
- Day 7: Use the Starter in a Simple Dough
- Common Mistakes
- The starter is not rising
- A starter that worked for weeks stopped rising
- Too much discard
- The starter smells wrong
- Over-feeding and constant switching
- Cold kitchens and high altitude
- Frequently Asked Questions
- How long does it take to make sourdough starter from scratch?
- Can I make sourdough starter with whole wheat flour?
- Why is my sourdough starter not rising?
- How much flour and water should I feed my sourdough starter?
- Can sourdough starter be left out overnight?
- How do I know when my sourdough starter is ready to use?
What You Need
Two ingredients, a handful of tools, and a warm spot. Everything on this list is available at any grocery store or kitchen aisle, and nothing here needs to be special.
Ingredients
- Flour, 500g to start. Unbleached all-purpose flour works. Whole wheat flour works faster. Rye flour works fastest of all.
- Water, filtered or left out overnight. Room temperature. Skip chlorinated tap water if you can.
- Time. Five minutes a day, plus whatever cleaning the jar needs.
Tools
- A wide-mouth glass jar, around 500ml. Mason jars work fine.
- A digital kitchen scale that reads single grams. This is not optional if you want a starter that behaves.
- A rubber spatula or a butter knife for scraping the sides.
- A loose-fitting lid, a rubber band, and a cloth or coffee filter to cover it.
- A rubber band to mark the starting level of the starter.
The flour choices, ranked by how fast they get you going
| Flour | How fast it works | What it does to flavor |
|---|---|---|
| Rye | Fastest, often active within 48 hours | Pushes the starter sour and complex |
| Whole wheat | Fast, roughly double the white flour rate | Mild, slightly nutty, good everyday flavor |
| Spelt | Fast, mildly sweet | Light and mild, low gluten strength |
| Unbleached all-purpose | Steady, about 7 to 14 days | Neutral, the easiest place to learn |
| Bleached all-purpose | Slowest, often 14 days or more | Neutral, and the usual cause of a sluggish start |
Whole wheat and rye carry more of the minerals and bran that wild yeast and lactobacilli feed on, and they carry less moisture, so the culture gets more concentrated per gram. That is the whole mechanism. It is not folklore and it is not magic.
My own starter started on bleached all-purpose flour and took a stubborn two weeks because I did not know any better. If you want the fastest route, begin with 50g rye or whole wheat and 50g all-purpose for day one, then move to all-purpose flour for the feedings that follow.
The temperature sweet spot
Sourdough is a temperature-driven culture in every sense. Aim for a spot on your counter that sits between 75 and 80F. Above 85F a new starter can sour before it gets strong, and below 68F it may take twice as long.
If you have no warm corner, an oven with the light on and the door cracked works well. So does a spot near a clothes dryer, a space heater on low, or an insulated jar. I taped a thermometer to the wall next to the jar for the first two weeks, which sounds fussy and saved me guessing.
Your seven-day feeding schedule
Here is the whole first week on one page. Weigh everything in grams and keep the jar somewhere consistent.
| Day | Starter to use | Water to add | Flour to add | What to look for |
|---|---|---|---|---|
| Day 1 | None, this is the mix | 100g | 100g whole wheat or rye blend | Thick pancake batter, no bubbles yet |
| Day 2 | 100g from the jar | 100g | 100g all-purpose | A few bubbles on top, tangy smell |
| Day 3 | 100g from the jar | 100g | 100g all-purpose | Visible rise to the rubber band |
| Day 4 | 100g from the jar | 100g | 100g all-purpose | Doubled and domed within 6 hours |
| Day 5 | 50g from the jar | 100g | 100g all-purpose | Strong rise, float test passes |
| Day 6 | 100g from the jar | 100g | 100g all-purpose | Consistent 4 to 6 hour doubling |
| Day 7 | 100g from the jar | 100g | 100g all-purpose | Bake-ready, or close to it |
Step-by-Step: How to Make Sourdough Starter from Scratch
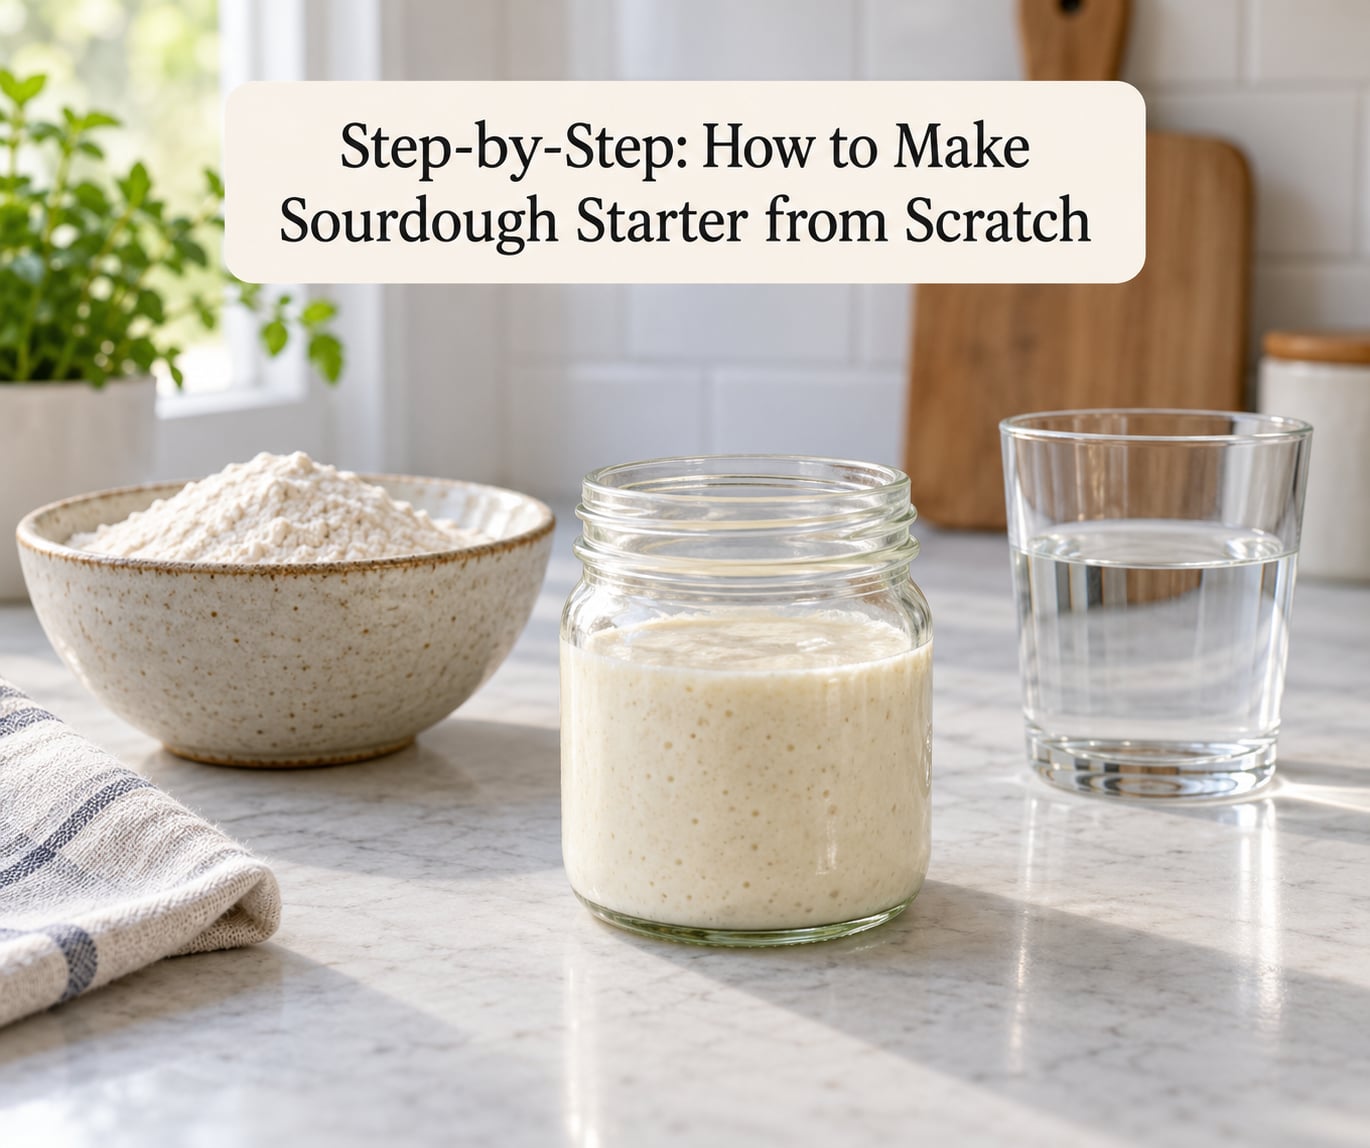
The process is four moves repeated: mix, mark, feed, look. Once those four feel routine, the rest is patience and temperature.
| Kitchen temperature | Approximate hours to double | Time to a bake-ready starter |
|---|---|---|
| 68F | 10 to 14 hours | 14 to 21 days |
| 72F | 8 to 10 hours | 10 to 14 days |
| 75 to 80F | 4 to 6 hours | 7 to 10 days |
| 85F | 3 to 4 hours | 5 to 7 days |
This table is the single most useful thing on this page. Almost every new starter gets thrown away for being slow, when the actual answer is that the kitchen is 68F and the starter needed three extra days.
How to Make Sourdough Starter from Scratch: Day 1
Day one is a mix and a wait. Weigh 100g of flour into a clean jar, add 100g of room temperature water, and stir with a spatula until no dry flour is left. The consistency should be like thick pancake batter, looser than playdough and denser than pancake mix.
Scrape the sides down so nothing is clinging above the mixture, cover the jar loosely, and leave it for 24 hours. Loose matters: the culture produces carbon dioxide and needs to push the lid off rather than build pressure against a sealed one.
Nothing is supposed to happen today. The mixture may smell like wet flour or paint, may develop a thin skin, and may show nothing at all. A skin on day one means the culture got oxygen and simply needs more time, not that anything is wrong. Dumping it on day one is the most common way beginners accidentally restart the clock.
Day 2: Begin the Daily Feeding Routine
Now the daily habit starts. Scrape off any skin, dump most of the mixture away, and reserve 100g of the starter. Add 100g of room temperature water and 100g of flour, stir until smooth, and mark the level with a rubber band.
The discard is not a failure and it is not waste to feel bad about. Keeping 100g of starter alive means discarding roughly 100g to keep the jar a workable size, and every discarded batch is usable discard for pancakes, crackers, or biscuits. You will come to look forward to it.
By tonight you may see a few bubbles and a faintly tangy or yogurt-like smell. That is fermentation starting. If the jar is dry, add a splash of water; if it is loose and running down the sides, stir in an extra spoon of flour next time.
Day 3: Look for Bubbles and a Slight Rise
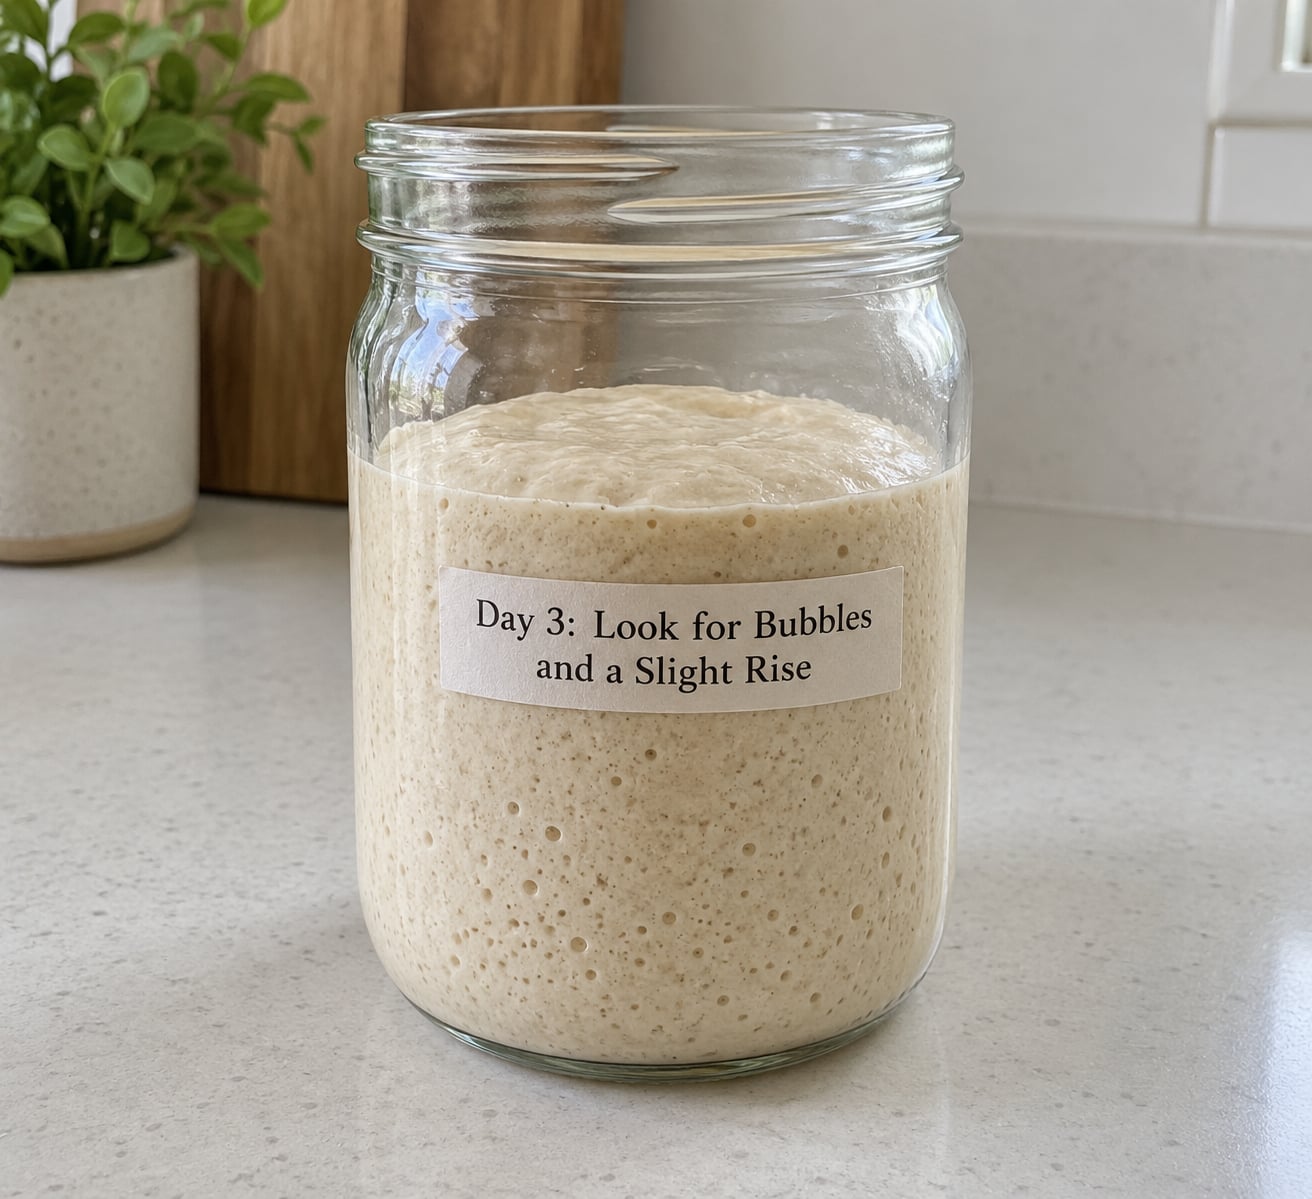
Day three is where beginners give up, so here is the reassurance: flat and quiet at day three is completely normal. The culture is choosing which yeasts and bacteria out-compete everything else, and that selection takes a few feedings before you can see it.
What to look for instead of a full rise: tiny bubbles pressed against the glass, a surface that looks slightly aerated rather than smooth and wet, a dome sitting above the rubber band rather than below it, and a sour-cream or tangy smell in the room when you open the lid.
If the mixture has doubled since yesterday, your kitchen is warm and your flour choice is working hard. If it has not, check the temperature before you change anything. Most slow day-three starters are simply cold.
Day 4: Watch for Reliable Doubling
By day four the culture should be visibly more consistent. Mark the height, feed as usual, and check it at four hours. A starter that reliably climbs above its rubber band within four to six hours is becoming active. A starter that manages only a slow creep is not broken, it is just behind.
When doubling is inconsistent, adjust one variable at a time. Switch to whole wheat flour for a few feedings to give it more to work with. Move the jar to a warmer spot. Or feed twice a day instead of once, which gives the culture two chances to bloom in a 24-hour window.
Do not change flour, ratio, and feeding schedule in the same afternoon. Starters respond to consistency more than to any single technique, and every change you stack on top of another makes it harder to tell what worked.
Day 5: Confirm the Starter Is Active
Run the rise test and the float test, and let them answer the question for you. The rise test is the reliable one: feed, mark the level, and see whether it doubles or triples within four to six hours at 75 to 80F. Three good rises in a row and it is ready.
The float test is a quick second opinion. Drop a spoonful into a glass of water. A mature, gas-filled starter floats because the whole spoonful is full of air; an immature one sinks because it is mostly wet flour. The float test tells you the starter has gas. It does not tell you how strong that gas is, so use it alongside the rise rather than instead of it.
The smell should be pleasantly sour, like yogurt or a mild cheese. If the sourness is joined by a sharp nail-polish-remover scent, the starter is hungry rather than dead, and the fix is a feeding, not a funeral. An active starter smells clean and tangy, and there is a visible bubble structure when you tilt the jar.
Day 6: Feed on a Schedule You Can Maintain
A finished starter is a maintenance problem, not a construction project. Pick the routine you can actually keep on a Tuesday. Once a day at room temperature is the standard, and for most people it is enough. Feed twice daily once the starter is reliably doubling in under four hours and you are baking more than a couple of loaves a week.
Feed ratios decide how much strength each feeding builds and how long the starter stays at peak. A 1:1:1 ratio, meaning equal parts starter, water, and flour, builds the most strength but peaks fastest and is the hardest on a brand new starter. A 1:2:2 ratio is an easy middle. A 1:5:5 ratio is nearly equal parts and keeps a mature starter happy for long stretches.
Before each feeding, weigh your empty jar once and note the number. Write it on masking tape on the jar bottom. Then you can work backward from the jar’s current weight to know exactly how much starter you have and how much to discard, which is the difference between a ratio that works and a ratio you think you followed.
For long absences, refrigerate. Feed the starter, then tighten the lid and put it in the fridge for up to a month. Pull it out the day before you plan to bake, feed it, and let it come to room temperature before feeding again. Going straight from a cold fridge into a hot oven dough is the fastest way to get a dense loaf.
Day 7: Use the Starter in a Simple Dough
Week one does not mean you must bake on day seven. If the rise test passed on day five, you can start. For a first loaf, mix 400g of bread flour with 100g of starter and 350g of water, rest it 30 minutes, then work in 10g of salt. That is a forgiving dough with nothing fancy in it.
Watch for the fermentation cues rather than the clock. A dough that has had a good rise will feel aerated and full of bubbles when you turn it out, will have roughly doubled from the mark you made in the bowl, and will smell tangy rather than boozy. Judge the dough with your hands, because doughs vary more than clocks.
The other option is to wait. Plenty of bakers let a starter ripen for ten or fourteen days because the flavor is noticeably better once the culture is fully balanced. Both options are fine, and there is no wrong answer here.
Common Mistakes
Nearly every abandoned starter was abandoned for a reason that had a fix. Here are the symptoms people actually report, what causes them, and what to do.
The starter is not rising
Temperature is the first suspect, above everything else. A starter at 68F can look dead on day three and be perfectly vigorous on day six. Move the jar somewhere warmer, switch to whole wheat flour, and feed twice a day for three days before you decide anything else. Only then consider discarding and restarting.
Second suspect is water. Chlorine suppresses the culture, and so does very hard water. If your tap water is chlorinated, let it stand uncovered on the counter overnight, or use filtered or bottled water. Cheap chlorine is not worth the two weeks.
Third is quantity. If you doubled the flour in the jar without doubling the culture, you have diluted it beyond recovery in a single feeding. Feed it with a small amount of starter and a generous amount of fresh flour to bring the balance back.
A starter that worked for weeks stopped rising
This is a stalled mature starter, and it is far more common than new-starter failure. The usual cause is a change in routine: a colder house, a missed feeding, a stretch of daily baking that drained it, or a move to a higher feed ratio without more frequent feedings.
Drop back rather than escalate. Give the starter a 1:1:1 feeding of fresh flour and water, feed it every twelve hours for two days, and move it somewhere warmer. The strongest recovery advice is smaller amounts, more often. Adding more flour to a struggling starter is the wrong direction.
Too much discard
Discard amounts are set by jar size and feeding frequency, not by how much you dislike waste. Feed twice a day instead of once and you discard far less. A 500ml jar with a twice-daily feeding only needs about 30g of starter retained, against roughly 100g for a once-daily feeding.
The fix is also to use it. Sourdough discard makes excellent pancakes, crackers, biscuits, and pizza crust, and discard pancakes with a little honey are how I get my family excited about the feeding day.
The starter smells wrong
Smell is the fastest diagnostic you have. Most alarming smells are hunger signals, not spoilage.
| What you smell | What it means | Alive? | What to do |
|---|---|---|---|
| Hooch, a dark liquid on top | Alcohol from a starving yeast population | Yes | Pour it off, feed sooner or more often |
| Acetone, like nail polish remover | The culture has run out of food and switched to alcohol | Yes | Feed it right now, double the frequency for a few days |
| Sour cream or yogurt | Healthy lactic acid production | Yes | Nothing, this is exactly right |
| Nothing at all after day three | No fermentation has started yet | Unknown | Warm it up, switch to whole wheat, keep going |
| Musty or rotten, with pink, green, or black fuzz | Contamination from utensils or storage | No | Discard it, sanitize the jar, start again |
Rotten smells come with fuzzy growth. Acetone and hooch come with no fuzz at all. That one distinction resolves most of the panic.
Over-feeding and constant switching
A brand new starter fed at 1:5:5 with bleached white flour in a cold kitchen is a starter that will look dead and never had a chance. Start at 1:1:1 with 100g of retained starter, whole wheat or rye flour, and a warm spot. Climb the ratio ladder only once the starter rises reliably.
It also helps to know this: a mature starter kept at room temperature actually needs a higher ratio and more frequent feeding than you would expect. As the culture strengthens, it eats through a feeding faster, so a 1:5:5 that kept it happy a month ago may leave it flat after two days. More frequent and larger feedings are not spoiling the starter. They are matching it.
Cold kitchens and high altitude
If you are in a mountain kitchen, a northern cabin, or anywhere above roughly 5000 feet, plan on the slower end of the table and engineer around it. Insulated jars, a heating pad on low, and an oven light all raise the culture temperature without adding moisture.
At altitude the water boils at a lower temperature, so doughs and starters hydrate differently and ferment faster once they are warm, which is the opposite of what people expect. Feed more often rather than trying to add more flour, and trust the rise test over the calendar.
Frequently Asked Questions
How long does it take to make sourdough starter from scratch?
Most starters are ready to bake with in 7 to 10 days at 75 to 80F, and 10 to 14 days is completely normal. Cold kitchens and strong white flour both stretch that to three weeks. Starters do not fail on day five because they have not risen yet. Readiness is measured, not dated: a starter is ready when it reliably doubles or triples in size within four to six hours of a feeding.
Can I make sourdough starter with whole wheat flour?
Yes, and whole wheat is one of the fastest options. It carries more bran and minerals than white flour and holds less moisture, so the wild yeast and bacteria get more concentrated per gram. Many bakers begin with a 50/50 rye or whole wheat and all-purpose blend, then move to all-purpose flour for later feedings so the starter is not permanently heavy.
Why is my sourdough starter not rising?
Check three things in order. First, temperature: below about 68F a new starter can double its activity just by being moved somewhere warmer. Second, water: chlorinated tap water suppresses the culture, so use filtered water or let tap water stand uncovered overnight. Third, dilution: if you added flour without adding starter, feed small and often with a 1:1:1 ratio to recover.
How much flour and water should I feed my sourdough starter?
For a 500ml jar, retain 100g of starter and add 100g of water and 100g of flour for a once-daily feeding at 100% hydration. That is the standard 1:1:1 starter ratio. Weigh the empty jar once and mark the number on the bottom, then subtract from the current weight to calculate exactly how much starter you have before discarding the rest.
Can sourdough starter be left out overnight?
Overnight is exactly the normal interval, so yes. Leaving the jar covered on the counter overnight is how the culture feeds itself between morning feedings. Going much longer at room temperature is where trouble starts: after a day or two without a feeding, the starter turns to alcohol, produces hooch, and smells like acetone. Feed it every twelve to twenty-four hours, or move it to the refrigerator.
How do I know when my sourdough starter is ready to use?
Use three checks together. It should double or triple in size within four to six hours of feeding, it should look aerated and bubbly with a domed surface, and it should smell pleasantly sour like yogurt. The float test is a helpful second opinion: a spoonful of mature starter floats in water because it is full of gas, while an immature one sinks.
Start tonight, not after you buy anything special. Weigh 100g of whole wheat flour and 100g of room temperature water into a jar, cover it loosely, and put it in the warmest spot you have. Then set a daily alarm for the morning feeding. That single habit is the whole difference between a starter on your counter in two weeks and a jar of flour you quietly composted. If the rubber band does not move by day three, move the jar somewhere warmer and keep feeding, because the answer is almost always temperature rather than a dead culture.