How to make tomato sauce for canning comes down to five moves: cook fresh tomatoes down until thick, put a measured amount of acid in every jar, fill the jars hot with the headspace your tested recipe calls for, process them in a boiling-water bath, and check the seals after the jars cool. The method below follows the tested tomato sauce recipe in the Complete Guide to Home Canning from the National Center for Home Food Preservation, with the acid amounts and processing times written out rather than left for you to guess.
Tomatoes are the awkward ones. They sit right on the pH line where acid foods end and low-acid foods begin, which means a plain boiling-water bath on unacidified tomato sauce is not a safe process. Adding lemon juice or citric acid to each jar before processing moves the pH into safe territory and lets a gentler bath preserve the sauce.
Here is the whole method in two groups, the way most people actually work through it.
Table of Contents
- Prepare and cook the tomatoes
- Pack and can the sauce
- What You Need for Canning Tomato Sauce
- Keep it a plain sauce if you want to water-bath can it
- Boiling-water bath versus pressure canner
- How to Make Tomato Sauce for Canning, Step by Step
- Step 1: Wash, core, and cook the tomatoes down
- Step 2: Add the tested amount of acid to every jar
- Step 3: Fill jars hot and remove air bubbles
- Step 4: Processing times for canning tomato sauce by altitude
- Step 5: Cool, check the seal, label, and store
- Common Mistakes When Canning Tomato Sauce (and How to Fix Them)
- Watery jars and thin sauce
- Making a big harvest manageable
- Frequently Asked Questions
- Do I need a pressure canner to make tomato sauce for canning?
- Can tomato sauce be canned in a boiling-water bath canner?
- How long should I pressure-process tomato sauce?
- What size jars can I use for canned tomato sauce?
- How do I know whether a jar of tomato sauce is sealed?
- How long does homemade canned tomato sauce last?
- Conclusion
Prepare and cook the tomatoes
- Wash, core, and quarter 5 pounds of tomatoes for every quart jar you expect to fill.
- Simmer the crushed fruit 20 to 30 minutes to soften it, then run it through a food mill to drop the skins and most seeds.
- Cook the puree down until it is noticeably thicker than the fruit you started with, stirring often enough that the bottom does not scorch.
Pack and can the sauce
- Stir in 1 tablespoon bottled lemon juice or 1/2 teaspoon citric acid for every pint, and twice that for every quart.
- Fill jars hot, leaving 1/4 inch of headspace, and run a clean utensil down the inside to clear bubbles.
- Wipe the rim, center a new two-piece lid, and screw the band on until it stops, no tighter.
- Process pints for 35 minutes and quarts for 40 minutes in a boiling-water bath, adding time if you live above 1,000 feet.
- Let the jars sit untouched for 12 to 24 hours, then press the center of each lid to confirm the seal.
What You Need for Canning Tomato Sauce
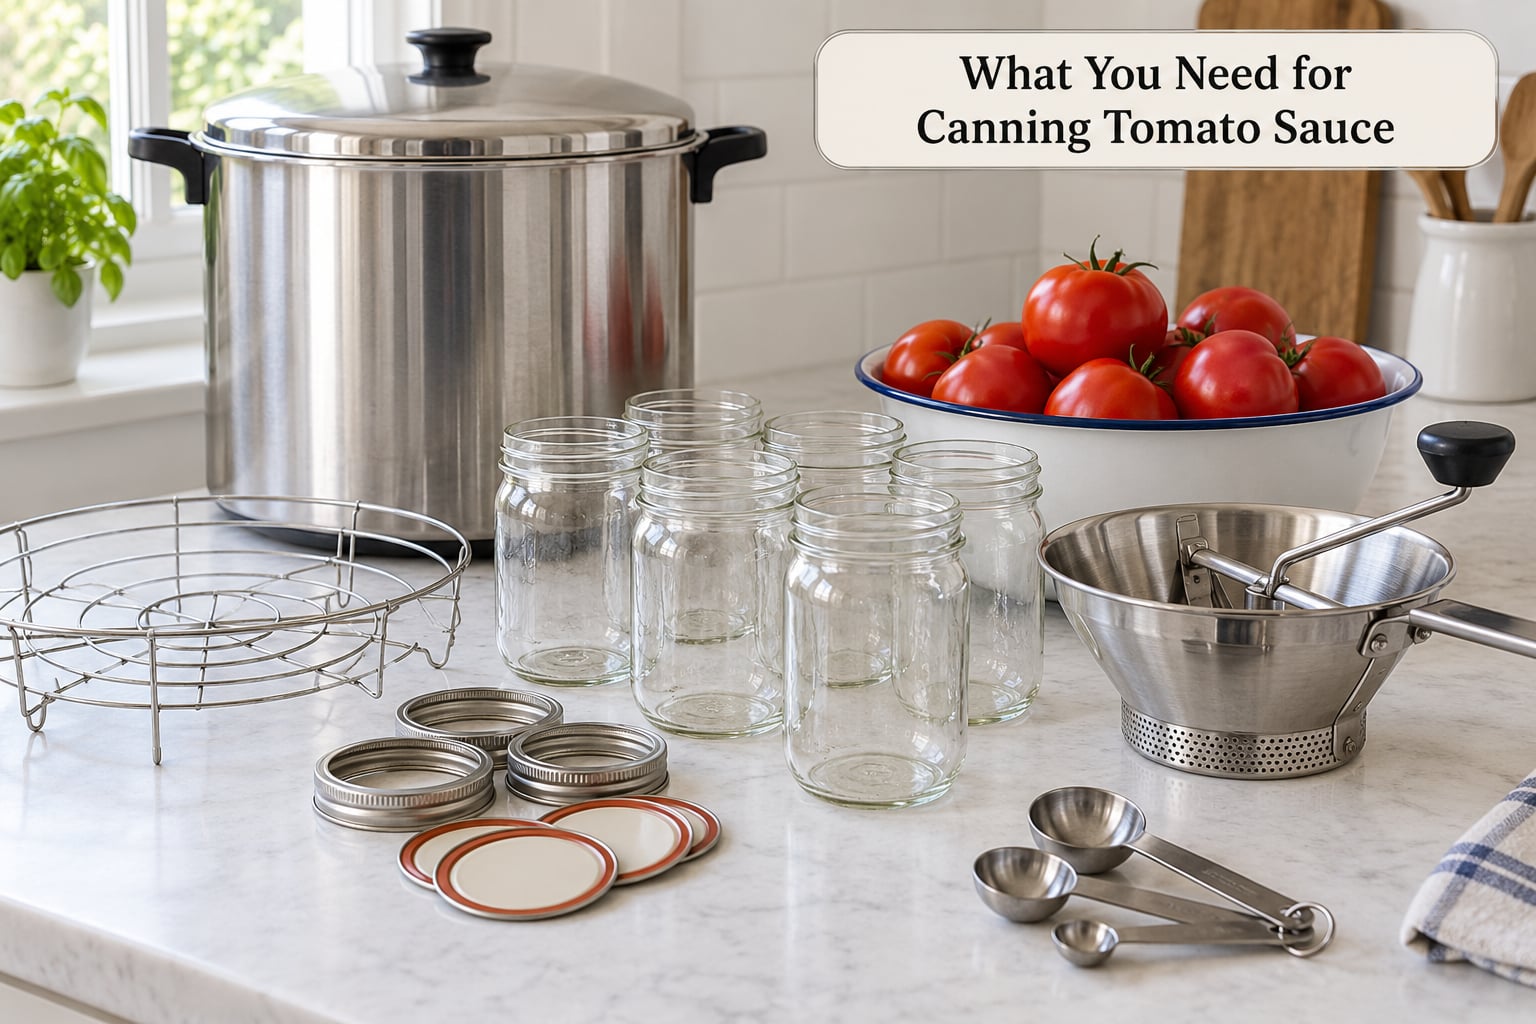
The gear list is shorter than most people expect. Everything below is either something you already own or something worth buying once if you plan to can more than a single season.
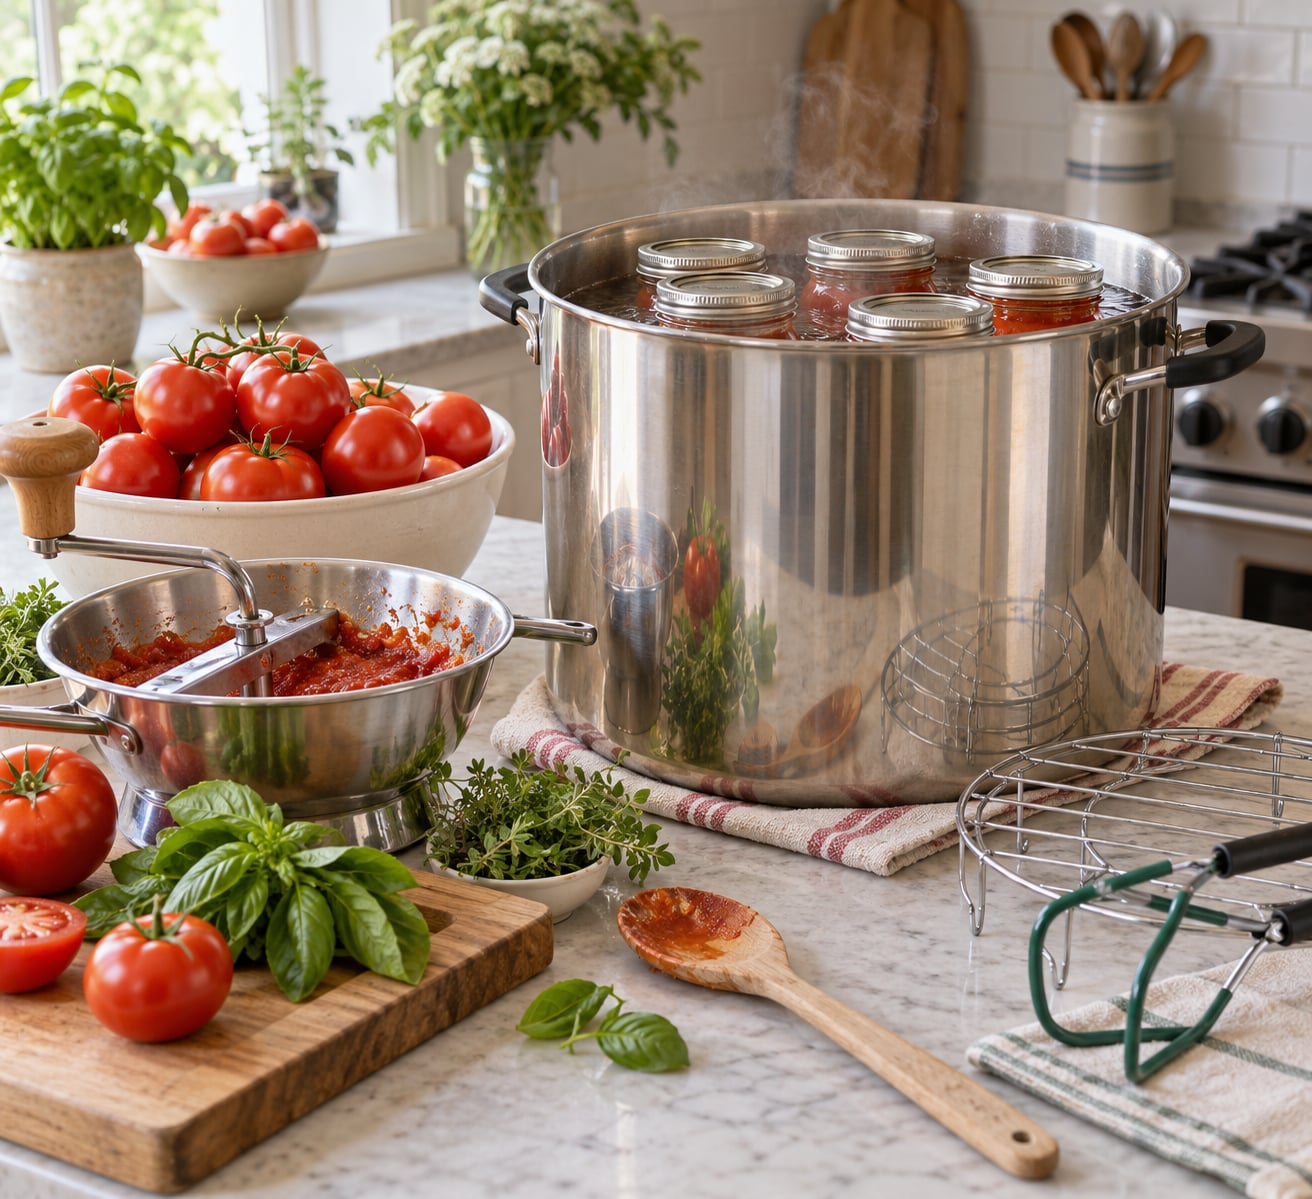
- A boiling-water bath canner or any tall stockpot deep enough to hold jars upright with 1 to 2 inches of water above the lids. A pot with a false bottom and a tight lid holds temperature better and is worth the money if you can a lot.
- Canning jars in pint or quart sizes, brand-new two-piece lids every single time, and screw bands in good shape. Bands get rusty and mismatched over the years, and canners report a corroded band is the hidden cause behind a surprising share of failed seals.
- A food mill for the skin and seed removal. A hand-crank mill works; a mill attachment on a stand mixer works faster. Canners overwhelmingly prefer a mill to a blender because the mill strains the skins out and does not heat the puree further.
- Jar lifter (the quilted kind grips hot jars through wet towels), a wide-mouth funnel, and a bubble remover or a clean narrow spatula.
- Bottled lemon juice or citric acid. Bottled, because the acidity of fresh-squeezed lemon is not measured or guaranteed. Regular bottled works; do not use anything labeled as a lemon-flavored drink.
- Fresh or canned tomatoes. Roma, San Marzano, Amish Paste, and any meaty paste tomato need very little cooking down. Slicing tomatoes work but release a lot of water, so plan on a longer simmer.
Yield math saves a lot of guessing. Roughly 5 pounds of tomatoes gives you a quart of finished sauce, and a 53-pound bushel of field tomatoes lands somewhere between 10 and 12 quarts. Farmers’ market seconds are the best value for this, since blemishes and odd shapes do not matter once everything goes through the mill.
Canning salt is optional and not the same thing as table salt. Add 1/2 teaspoon per pint and 1 teaspoon per quart if you like it for flavor, but never more, and leave it out entirely if you would rather season at the stove.
Keep it a plain sauce if you want to water-bath can it
The tested recipe covers tomatoes and acid. That is it. Onions, garlic, peppers, mushrooms, oil, meat, butter, flour, and cornstarch push the sauce past what the water-bath process can safely handle, and once you add them you are working with a different recipe that needs a pressure canner and its own published processing time. If you want a spaghetti sauce with meat in it, you need a tested pressure-canned recipe, not a water-bath sauce with extras stirred in at the end.
The same applies to starches. Thickening a water-bath sauce with flour or cornstarch before filling jars is a common shortcut and a bad one, because starch changes how the sauce behaves in storage and in the jar.
Boiling-water bath versus pressure canner
A boiling-water canner holds jars at 212°F, and that is the process the tested tomato sauce recipe uses once every jar has been acidified. A pressure canner runs hotter, and its reach matters when a recipe is not acidified or contains low-acid ingredients. It is not a safer swap for an acidified tomato sauce, and pressure canning on its own does not remove the need for acid in tomato products.
For this recipe, stay with the boiling-water bath unless you are following a separate pressure-canned tested recipe from start to finish.
How to Make Tomato Sauce for Canning, Step by Step
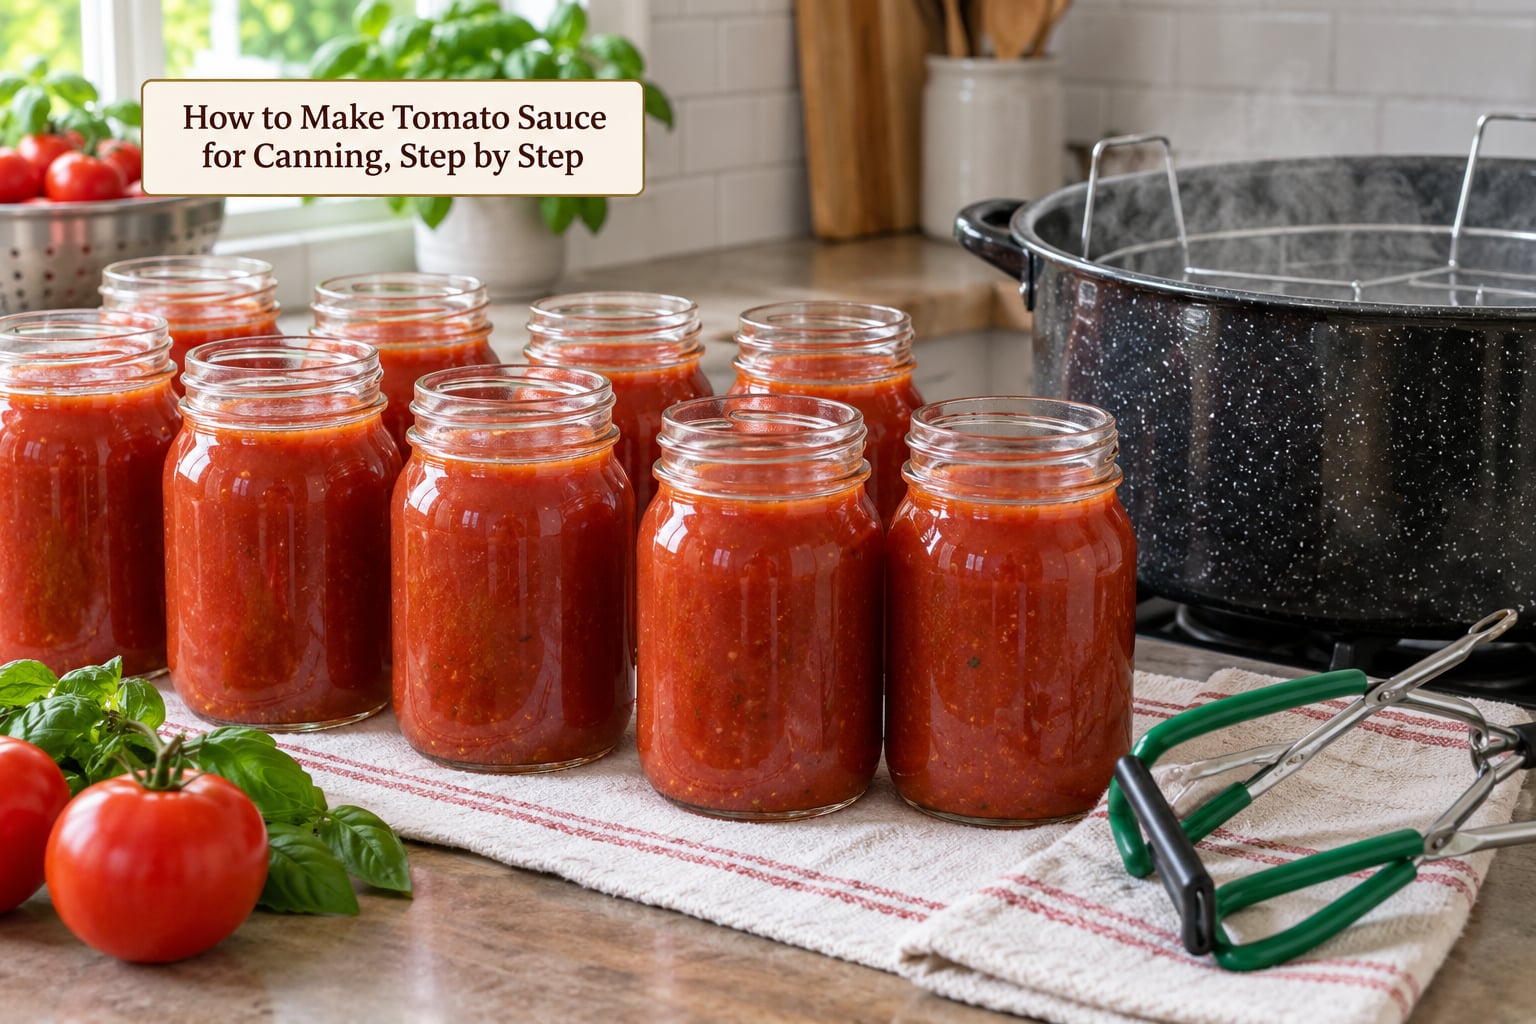
Step 1: Wash, core, and cook the tomatoes down
Start with ripe, sound tomatoes and throw out anything with rot, cracks, or a soft spot. Wash them under cool running water, cut out the stem cores, and quarter them. A quick dip in boiling water will loosen the skins, but it is optional: the food mill catches most of them either way.
Crush the quarters into a large pot with a little water, bring to a boil, and simmer 20 to 30 minutes until the fruit breaks apart. Push the cooked tomatoes through the food mill to remove the skins and most seeds. Save the skins if you have a dehydrator; they dry into a usable tomato powder for soups and seasoning.
Return the puree to the pot and cook it down. Stir often, more often than feels necessary. A thin sauce that needs an hour of reduction usually means a pot that is too wide, so a narrower pot on a lower flame saves time and scorches less.
How do you know it is thick enough? Run a spoon across the bottom of the pot and watch the trail it leaves. If the channel closes within a second or two, the sauce is ready to pack. It will thin a little in the jar, so stop a touch short of the consistency you want to eat.
Step 2: Add the tested amount of acid to every jar
This is the step people skip, and skipping it is the whole ballgame. Add acid to the jar, not to the pot, so you know each jar received its full share. These are the amounts from the tested tomato sauce recipe in the Complete Guide to Home Canning.
| Jar size | Citric acid | Bottled lemon juice | 5% acidity vinegar |
|---|---|---|---|
| Pint | 1/2 teaspoon | 1 tablespoon | 2 tablespoons |
| Quart | 1 teaspoon | 2 tablespoons | 4 tablespoons |
Citric acid is the quieter option. Many canners report they cannot taste a difference in the finished sauce, while lemon juice leaves a faint tartness some people like and some people do not. Vinegar at these amounts is noticeable, and the guide itself warns about it.
Two rules go with the table. The amounts cannot be reduced for safe water-bath canning, and salt is not a substitute for acid. If you switch to a different tomato variety or a much wetter fruit, keep the same acid amounts rather than recalculating by taste.
Step 3: Fill jars hot and remove air bubbles
Keep the finished sauce hot while you fill, because tomato sauce is a hot pack and should go into the canner warm. Ladle it into clean jars through a funnel, leaving 1/4 inch of headspace as measured against the recipe you are following.
Headspace is one of the most argued-over numbers in home canning, and the argument usually comes from mixing up different recipes. The tested tomato sauce recipe specifies 1/4 inch. Tomato pieces and whole tomatoes have different requirements, and the number is not interchangeable between them.
Slide a clean narrow spatula or the tip of a butter knife down the inside wall of the jar to release trapped air, then add a little more sauce if the level drops. Wipe the rim with a damp clean cloth. Salt and dried tomato bits on the rim are a common reason a perfectly processed jar refuses to seal.
Place a brand-new two-piece lid flat on the rim and screw the band down until it stops. That is fingertip tight. Over-tightening is a real problem, because the metal ring needs to flex slightly as pressure changes inside the jar, and a band cranked down hard prevents the vacuum seal from forming.
Step 4: Processing times for canning tomato sauce by altitude
Load the jars onto the canner rack with the canning funnel on top so nothing falls in when you tip them. Bring the water to a rolling boil, cover, and start timing when the water returns to a full boil. Keep the water at a steady boil for the entire processing period.
| Jar size | 0 to 1,000 ft | 1,001 to 3,000 ft |
|---|---|---|
| Pints | 35 minutes | 45 minutes |
| Quarts | 40 minutes | 50 minutes |
These are the times for acidified plain tomato sauce in a boiling-water canner at 212°F. If you are processing with a pressure canner instead, take the pressure, jar size, and processing time from the specific pressure-canned recipe you are following rather than adapting the numbers above, because weighted-gauge and dial-gauge canners do not deliver the same heat and the times are not the same.
Step 5: Cool, check the seal, label, and store
Turn the heat off and let the jars sit in the canner for 5 minutes, then move them to a towel-covered surface and leave them alone for 12 to 24 hours. Do not put hot jars in the refrigerator or under cold water. Cooling too fast is the number one reason a jar that should have sealed does not, and it also invites condensation around the lid.
After the jars are fully cool, press the center of each lid. A proper vacuum seal means the lid is pulled down and does not move or click when you press it. Any jar that flexes, bounces, or feels loose did not seal and needs to be dealt with right away, not next week.
For a jar that failed to seal, put it in the refrigerator and use it within a few days, or reprocess it if there is still time before the recipe’s window closes. Do not retighten a band and put the jar back on the shelf; that jar is not shelf stable.
Remove the bands, wipe each jar clean, and label with the contents and the date. Store sealed jars in a cool, dark, dry cupboard away from heavy temperature swings. For best quality, use canned tomato sauce within about a year, though it stays safe longer.
Common Mistakes When Canning Tomato Sauce (and How to Fix Them)
Almost every problem people hit when they first learn how to make tomato sauce for canning comes down to a handful of repeatable errors. These are the ones that show up again and again in canning forums and at extension offices.
- Adding onions, garlic, peppers, or meat to a water-bath sauce. Those are low-acid ingredients, and the safety margin the tomato recipe depends on disappears. The fix is to can a plain base and add the extras at the moment you cook, or to follow a separate tested pressure-canned recipe from beginning to end.
- Skipping or under-measuring the acid. Halving the lemon juice is the most common shortcut people find online. Use the full amount per jar and use bottled juice with a stated acidity.
- Using the wrong headspace. Too little headspace means no room for the contents to expand during processing. Too much leaves air that weakens the seal. Use the 1/4 inch the tested tomato sauce recipe specifies, measured rather than eyeballed.
- Forcing headspace with salt, dried herbs, or crumbs. A clean rim is what makes a seal. Wipe it with a damp cloth every time.
- Over-tightening the bands. Hand-tight is the instruction, and it means hand-tight. Cranking a band down hard is a common reason canners with 35 years of experience lose jars with brand-new lids.
- Copying sea-level times in the mountains. Water boils below 212°F at altitude, so every processing time grows. If you live above 1,000 feet, use the higher column. If you are above 3,000 feet and your copy of the guide has no column for it, the 1,001 to 3,000 ft times are the ones the guide applies as its next step up, and it is worth confirming with your extension office before you process a full batch.
- Filling jars cold or letting the sauce sit for hours. Tomato sauce is a hot pack. Warm sauce into warm jars, fill, and process promptly.
- Judging a failed seal by the contents instead of the lid. Press the lid. If it moves, the jar is not sealed, no matter how clean the sauce looks or smells.
Watery jars and thin sauce
Siphoning explains a jar that looks emptier than when you filled it. As the sauce cools, the contents contract and pull liquid out through the seal, which pulls air and a little juice along with it. As long as the lid holds a vacuum, this is normal and harmless. Set the jar upright on a towel, leave it undisturbed for an hour, and the level usually settles back.
If the sauce itself is thin, you cooked down too little. The fix is before the jars, not after: simmer the puree longer, or use paste tomatoes instead of slicing varieties. Thickening with flour or cornstarch is not the answer for anything you plan to can.
Making a big harvest manageable
More tomatoes than you can process in one session is the most common practical problem. Cook the batch down, then refrigerate the bulk sauce in covered containers overnight and can it the next day as a hot pack after reheating it to a full boil. Keep the containers no more than a couple of days.
Label as you fill rather than at the end, where you will be doing it in the dark with wet hands. And if a batch comes out thin or you run out of lids, freeze it instead. Frozen tomato sauce keeps a year and is not a compromise; the pressure of getting it onto a shelf is what makes people cut corners.
Frequently Asked Questions
Do I need a pressure canner to make tomato sauce for canning?
No, not if you are following the tested acidified tomato sauce recipe. Tomatoes sit on the pH line between acid and low-acid foods, so you add bottled lemon juice or citric acid to every jar, then process in a boiling-water bath. A pressure canner becomes necessary only when you add low-acid ingredients such as onions, garlic, peppers, or meat, or when you follow a pressure-canned recipe instead.
Can tomato sauce be canned in a boiling-water bath canner?
Yes. That is exactly how the tested plain tomato sauce recipe works: hot-pack the acidified sauce into jars, then process in a boiling-water canner at 212°F for 35 minutes for pints or 40 minutes for quarts at low elevation. The water-bath option depends entirely on adding the full measured acid to each jar and on keeping onions, garlic, oil, meat, and starches out of the sauce.
How long should I pressure-process tomato sauce?
It depends on the recipe you are following, and that is the only acceptable source for the number. Pressure-canned tomato products need their own published processing time based on jar size, canner type, and altitude. Do not adapt the water-bath times above, and do not assume a weighted-gauge canner and a dial-gauge canner deliver the same heat. Read the time off the tested pressure-canned recipe and adjust it for your elevation.
What size jars can I use for canned tomato sauce?
The tested tomato sauce recipe covers both pint and quart jars, and you can mix sizes in one batch. The acid amount changes with jar size, so measure per jar rather than per batch: 1/2 teaspoon citric acid or 1 tablespoon bottled lemon juice for a pint, double that for a quart. Jars larger than a quart are not covered by the standard recipe, so follow a recipe written for that size.
How do I know whether a jar of tomato sauce is sealed?
After 12 to 24 hours of undisturbed cooling, press the center of the lid. A good vacuum seal pulls the lid down and leaves it still, with no movement or clicking. If the lid flexes, bounces, or you can lift it with a fingertip, the jar did not seal. Put it in the refrigerator and use it within a few days or reprocess it in time; do not tighten the band and shelve it.
How long does homemade canned tomato sauce last?
Properly processed and sealed tomato sauce is a pantry staple, and the Complete Guide to Home Canning gives about a year of best quality for tomatoes, since they soften with age. Store sealed jars in a cool, dark, dry cupboard away from temperature swings, and check the seal and contents before opening. Discard any jar that is unsealed, leaking, or shows mold, gas bubbles, or an off smell.
Conclusion
Start by picking one tested tomato sauce recipe and staying inside it for the whole batch. Verify that you have a working boiling-water canner, new two-piece lids, and bottled lemon juice or citric acid on hand before you start cooking.
Getting how to make tomato sauce for canning right the first time comes down to two numbers you do not improvise: the acid per jar and the 1/4 inch of headspace. Then prep the produce, cook it down far enough that a spoon trail closes, process at a steady boil, and give the jars twelve quiet hours before you press a finger to the first lid.