Reading the whole recipe before you start cooking takes about five minutes and prevents most dinner disasters. The reason to read the entire recipe first is simple: hidden time commitments, missing ingredients, and steps that have to happen out of order are all written somewhere on the page, and you only find out at the oven if you never looked.
The difference is knowing in advance instead of salvaging afterward. A sauce that needed a thirty-minute reduction, a dough that needed an hour to rise, a chicken that needed two hours in a brine — every one of those can be scheduled around. A missing teaspoon of yeast cannot.
In my kitchen the failure almost never comes from technique. It comes from step 7, where the recipe quietly mentions something step 3 assumed. So the habit is: read the whole recipe first, then cook it in peace.
Table of Contents
- What You Need
- Step-by-Step: How to Read a Recipe Before You Start Cooking
- 1. Read the whole recipe once before touching anything
- 2. Check the yield and serving size
- 3. Hunt the hidden time bombs
- 4. Audit the ingredient list against the steps
- 5. Check your equipment, oven, and pans
- 6. Prep in the order of use, not list order
- 7. Mark the doneness cues before the timer starts
- The shorthand you will meet most often
- Which numbers are law and which are suggestions
- Common Mistakes
- How to spot a recipe that was never tested
- Frequently Asked Questions
- Why is it important to read the entire recipe before you start cooking?
- How to read a recipe correctly?
- Should I prep everything before I start cooking?
- Can I skip steps in a recipe?
- What is the 2 2 2 rule in cooking?
- What are the 5 P’s of cooking?
- Conclusion
What You Need
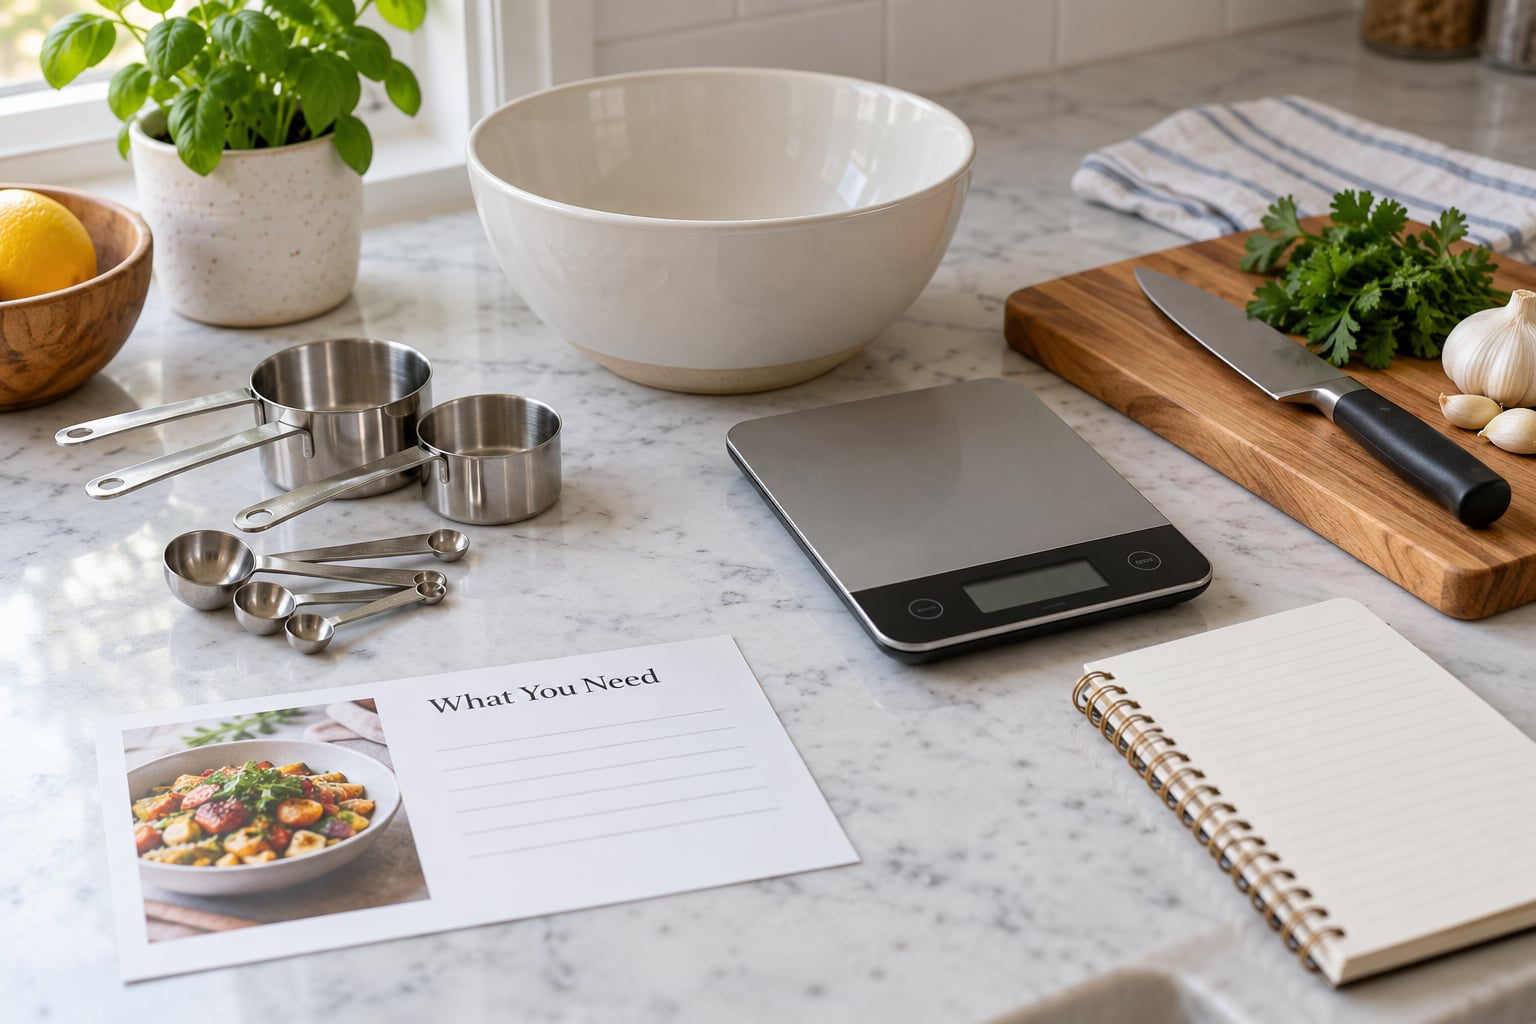
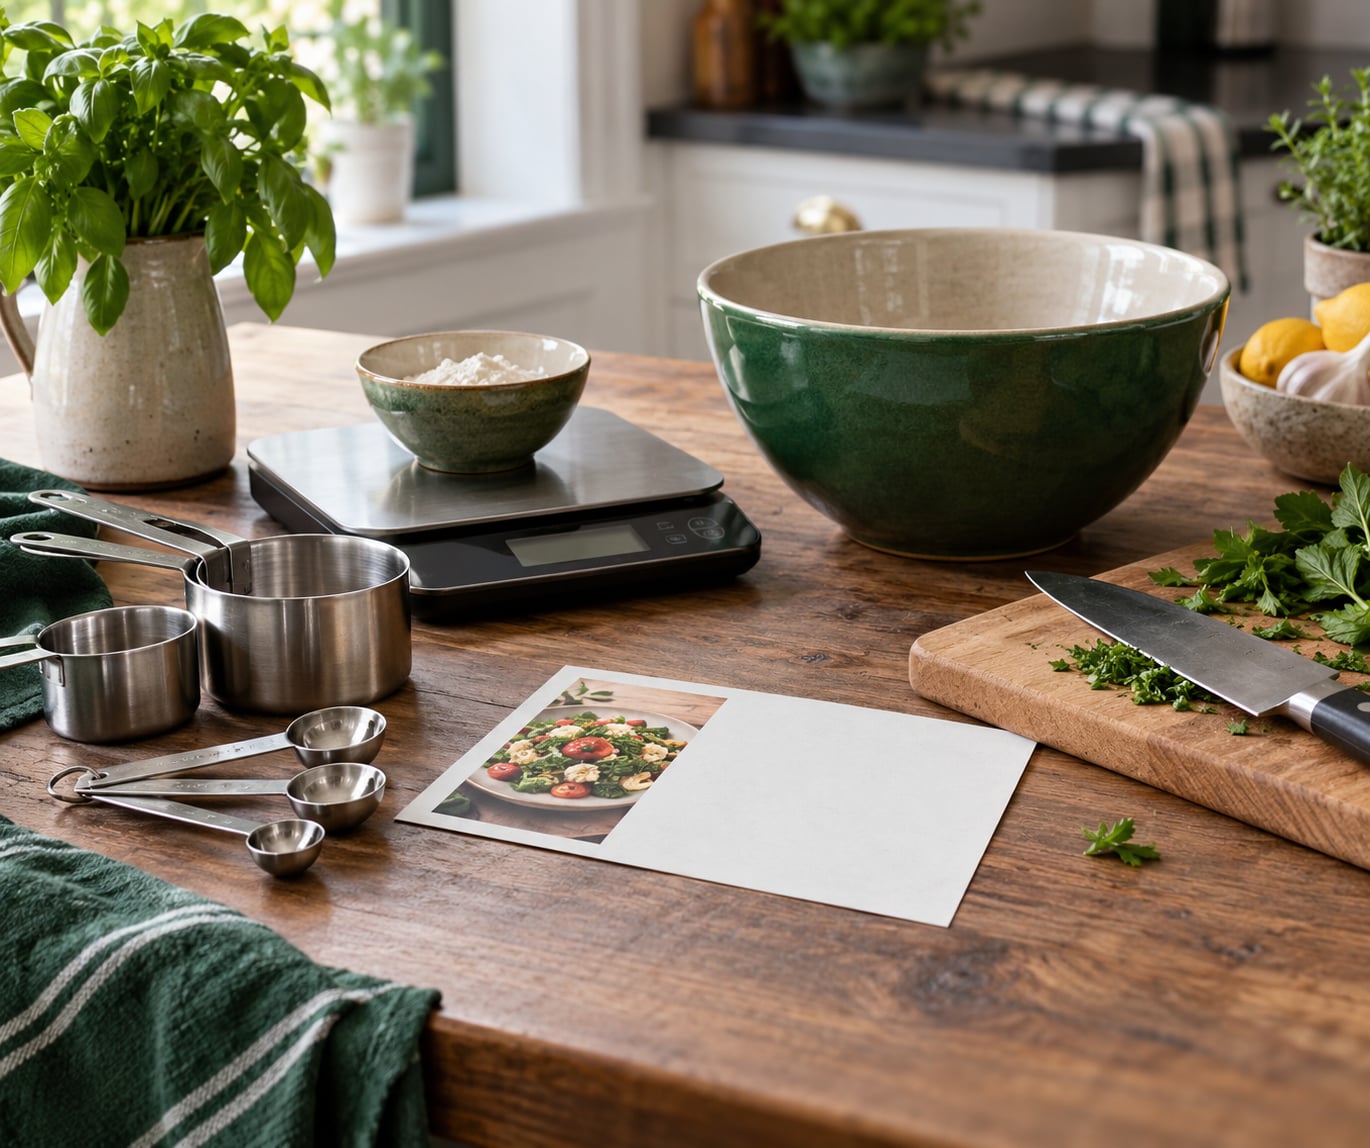
You need six things, and you already own five of them. The recipe itself, in a form you can read without scrolling, measuring equipment that matches what the recipe asks for, a mixing bowl or two, a knife and board, and a timer are the working set.
Add an instant-read thermometer and a pen. The thermometer turns vague instructions like bake until golden into a fact, and the pen is how you mark prep-ahead steps, watch-fors and rest times in the margin. Cooks on r/AskBaking keep coming back to the same fix: they got burned by cue language they did not know how to test, then wrote the plain-English version in their own notebook.
Reading a recipe off a screen with wet or floury hands is its own small disaster. Print it, or copy it by hand into that notebook. A hand-written copy of an old index-card recipe is a good excuse to write down what you changed, which is how you get a version that works in your oven.
Step-by-Step: How to Read a Recipe Before You Start Cooking
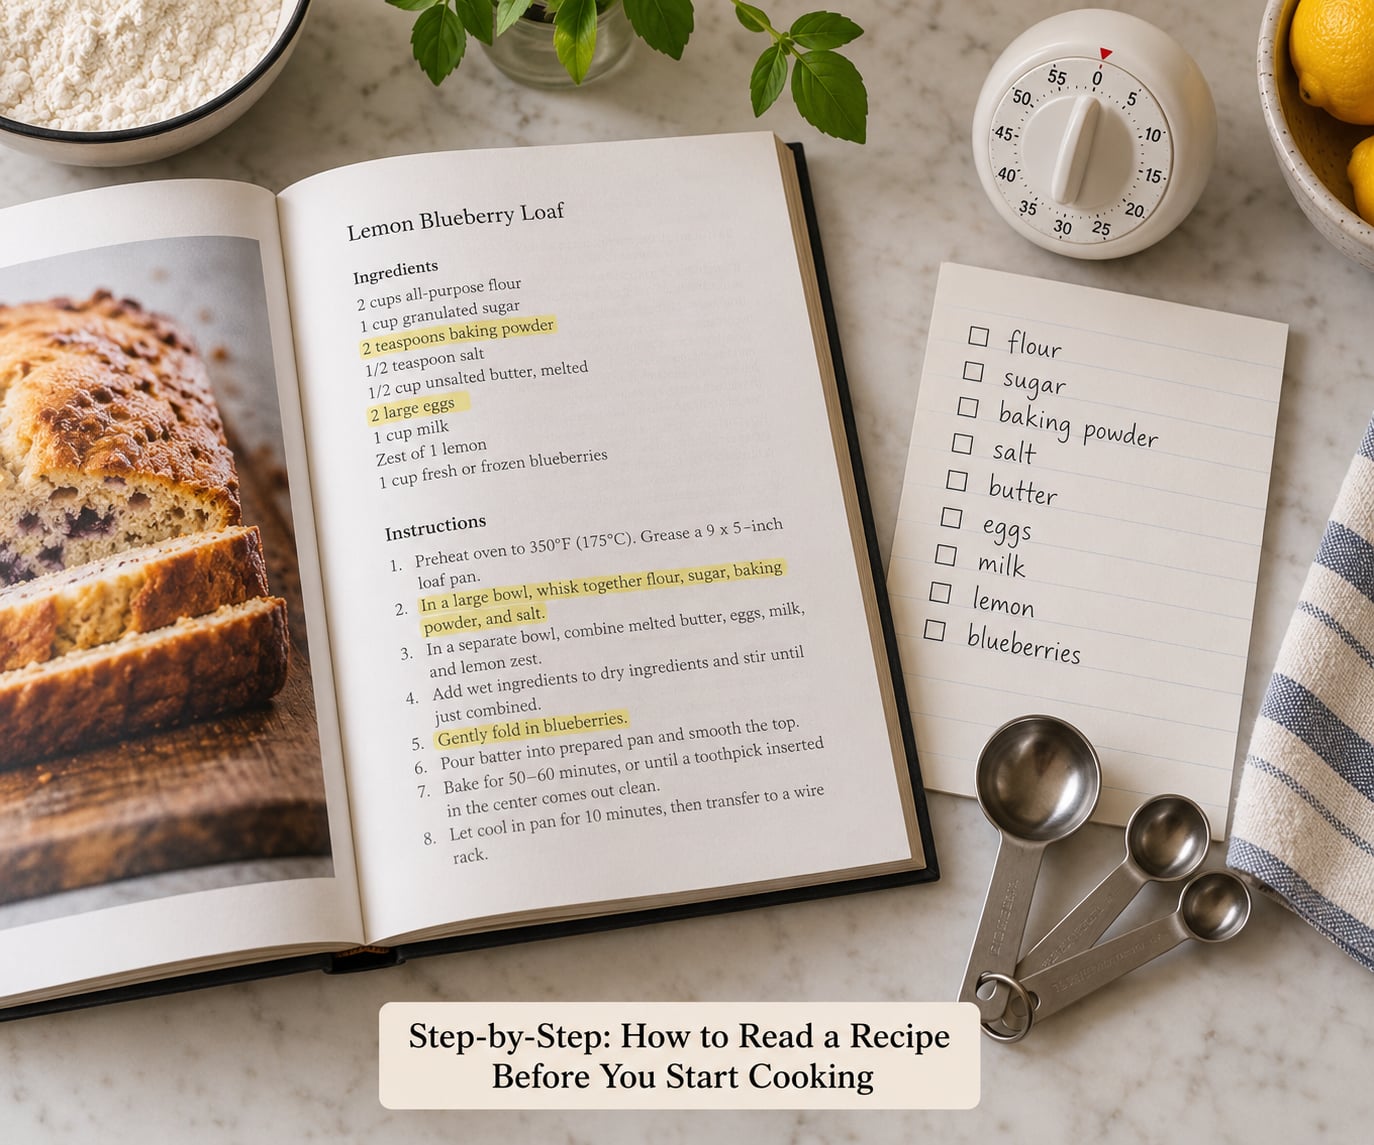
The method has seven steps, and the whole thing runs about five minutes. Do it once per recipe, and the second time you cook the same dish you can skip to step 3.
1. Read the whole recipe once before touching anything
The first pass is not for memorizing. It is for finding out what kind of job you are signing up for. You are looking for verbs — marinate, chill, rest, rise, drain, preheat — and for any instruction that quietly assumes something you have not done yet.
Reading it twice is the single change that fixes the most. The first pass gives you the shape; the second is where you catch the sentence in step 6 that depends on the reduction in step 4.
2. Check the yield and serving size
A recipe that says 6 servings tells you what to scale and what to expect. Halving a soup is easy because nothing is emulsified or leavened. Halving a cake is a different job, because the pan size, the pan depth, and the baking time all move with it.
If you are scaling, do it before you shop, not in the aisle. Doubling bread dough changes the pot size and the proofing time. Triple the meatballs and you now need two pans, or a second batch, because crowding drops the pan temperature and the browning stops.
3. Hunt the hidden time bombs
This is where recipes hide in plain sight. The cook time at the top of a page is almost never the whole story. Scan the body text for these words and add the time to your plan:
- Marinate, brine, or cure — usually hours, sometimes overnight. A two-hour marinade is not a garnish step; it decides when you have to start.
- Chill, freeze, or refrigerate — panna cotta, no-bake cheesecakes, some salad dressings, and any dough that asks for a cold rest.
- Rest — roast meat needs 15 to 30 minutes after the oven, a steak needs 5 to 10, bread needs at least an hour before you cut it or the crumb goes gummy.
- Rise, proof, or ferment — most yeast dough wants 60 to 90 minutes of warm, undisturbed time, and cold kitchens stretch that.
- Cool before slicing or unmolding — a warm cake or a hot gelatin will slump no matter how long you waited to start.
- Drain, soak, or rinse — dried beans, canned beans, and rice rinsed in a sieve add ten minutes of standing around.
On a weeknight I ignore a recipe with two time bombs in it and pick a different dinner. On a Saturday I schedule them around each other so the oven and the fridge are working while I wait.
4. Audit the ingredient list against the steps
Read the steps once and tick off every ingredient as it appears. Anything in the steps that never made the list is a red flag, and the missing leavening agent in a quick bread is the classic one. Cooks on r/Cooking describe this failure over and over: follow the list exactly, hit a step calling for baking powder that was never in the list, and end up with a dense loaf.
Do the same audit against your pantry before you leave the house. Twelve hours is plenty of time to pick up the one thing you are missing, and none at all once the oven is on. This shopping check takes two minutes and is the step people skip most often.
While you are in the steps, watch the measurement style. Recipes written in volume measure flour by the cup and salt by the teaspoon, which bakes inconsistently. If a recipe gives grams for any ingredient, weigh it. If it says 1 cup of flour and you scale it, measure by weight instead and expect to use a bit less than the cup measure claims.
5. Check your equipment, oven, and pans
Most recipes assume a 350°F conventional oven. Many ovens run 15 to 25°F hot or cold, so a new oven deserves a week of attention before you trust its number with a cake. A cheap oven thermometer in the middle shelf settles this in about ten minutes.
Check the pan too. A 9-inch cake pan and a 10-inch one do not behave the same way, and baking time was written for one of them. If your only skillet is nonstick and the recipe says cast iron, that is a real deviation — cast iron holds heat, so you sear differently. Same with a Dutch oven: it traps steam, which is the entire point of a braise that was written for a covered pot with a splash of liquid.
6. Prep in the order of use, not list order
The ingredient list is written for shopping, not for the order things go in. This trips people up constantly. The steps might use garlic in step 2, spinach in step 4, and lemons at the very end, while the list puts them alphabetically or in category groups.
So stage your counter in the order the recipe uses things. Chop what goes in first, set it on the left, and move down the line as you cook. A slow braise forgives prep-as-you-go, because there is nowhere for you to run. A stir-fry does not forgive it at all — the onions hit a screaming hot wok and wait two minutes, and they turn grey while the rest of your mise en place is still on the board. That is the answer to should I prep everything before I start cooking: yes for fast, high-heat food, no for anything that simmers for an hour.
7. Mark the doneness cues before the timer starts
Cook times are estimates. Cues are instructions. When a recipe says bake until golden, or until a clean knife comes out, or until the juices run clear, that phrase is the test and the number is the suggestion.
Where safety is involved, the cue is a temperature and there is no judgment call. Poultry reaches 165°F inside, ground meat reaches 160°F, and whole cuts of meat and fish reach 145°F. For everything else, learn the visual and tactile test and use the clock as a range: onions translucent with a little collapse at the edges, bread golden with a hollow thump on the bottom, a sauce that coats the back of a spoon instead of running off it.
The shorthand you will meet most often
Recipe writers are economical, and beginners pay for it in the oven. These are the ones worth learning by heart:
- Divided — split into equal parts. Divide means split by weight, not by what looks even, so do not eyeball a divided egg.
- Plus more for serving — pass the salt, pepper, oil, or sauce at the table. The measured amount is the starting point, not the total.
- Heaping or packed — a full, unlevel measure. Scooping and leveling is the default when a recipe just says cup.
- Al dente — cooked through but still with a slight resistance in the center. Pasta, mostly, and rice if your recipe mentions it.
- Until translucent — softened, no longer opaque, but not yet brown. Onions and peppers, before any browning happens.
- Cream until pale and fluffy — butter and sugar beaten together until the mixture turns a shade lighter, which is how you know the sugar dissolved and you have an emulsion.
- To taste — the cook’s call at the end, not a number you can prep for.
- Sauté — cook in a little fat over medium to medium-high heat, not stir-fry hot, unless the recipe says so.
Which numbers are law and which are suggestions
Almost every quantity in a recipe is a starting point, with a short list of exceptions that are closer to law.
The binding numbers are ratios and agents: flour to liquid in bread, the amount of gelatin or setting agent in a no-bake dessert, leavening in cakes and quick breads, and the liquid in a custard. Change those and you have changed the chemistry, not the seasoning. The flexible numbers are salt in a savory dish, chili heat, fresh herbs, and anything marked to taste. Nobody has ever failed a stew because they used a little less thyme than the recipe.
When you do adjust, change one variable and write it down. Half the salt, hold the bake time, note the swap. That is how you find out whether the recipe was wrong or you were, and it takes about ten seconds.
Common Mistakes
Five habits cause most failed home-cooked recipes, and each one has a simple correction.
Starting at the top of the ingredient list. This works until step 4 needs something you have not thawed, softened, or preheated. The correction is the two-read method in section 3, and a five-minute look at the clock before you unpack anything.
Measuring with the wrong tool. A liquid cup for flour or a rounded tablespoon for a level one changes the result every time. The correction is to keep one set of cups and spoons, level them, and weigh anything that matters. Baking is chemistry with a timer; volume measures are estimates pretending to be instructions.
Ignoring the prep verbs. Diced, softened, divided, rinsed, and room temperature are instructions, not descriptors. Room temperature butter creams into sugar; straight-from-the-fridge butter tears the sugar and you get a grainy batter that never gets light.
Cooking tasks out of order. Starting the onions before the stock is measured, or putting bread in before the oven is fully preheated, costs you ten minutes. The correction is a paper list in the order of use, and honestly, in the order of use the steps are usually close to a workable sequence — the numbered steps are numbered for a reason.
Trusting the clock over the food. Every oven runs a little different, and altitude, pan material, and how full the pan is all change the timing. The correction is to learn the cue, check early rather than late, and use the thermometer whenever a number carries a safety claim.
One more worth naming: reading the recipe on your phone mid-cook. Cooks describe scrubbing back and forth with sticky fingers as the single most common source of skipped steps. Print the page, prop it on a stand, and mark the step you are on.
How to spot a recipe that was never tested
Reading carefully cannot save a recipe that was never cooked, so vet before you commit a Sunday to it. Reviews that say only this looks so good tell you nothing, so read the ones that describe a result: did it spread, was it dry, did the cook change anything. Process photos from the middle of the cook, showing a pan mid-bake or a dough before it rises, are worth more than a single polished hero shot, because they show the stage nobody photographs.
Then look at the rest of the site. A real archive of a hundred tested recipes, a named author who cooks, and step-by-step images all point the same direction. A single glossy food photo with warped forks, too-perfect grill marks, steam that ignores gravity, and no author anywhere is a different kind of sign. Do a reverse image search on the hero shot; if it appears on thirty unrelated pages, you are looking at borrowed photography, not a dish anyone made.
Grammar matters too, mostly as a proxy. Sloppy spelling in the steps often means sloppy measurement. Trust a straight face of an ingredient, and a cook time written as an estimate, more than a beautiful page that never says how much salt.
Old regional recipes are worth the hunt, by the way. Appalachian and Southern cookbooks, hand-written index cards, and church supper recipes are full of clues: wood heat, a cast-iron skillet heated until it smokes, a Dutch oven, beans soaked overnight, cornmeal measured by the cup, and a cook time written as until it smells done. The shorthand is dense, but the recipes were tested by somebody, often for decades.
Frequently Asked Questions
Why is it important to read the entire recipe before you start cooking?
Because the parts of a recipe that trip people up are scattered through the page. Marinate overnight sits in the notes, a missing leavening agent shows up only in step 4, and the stated cook time quietly assumes your oven is already hot and your counter is already clean. Reading first turns a twenty-minute surprise into something you can schedule.
How to read a recipe correctly?
Read it twice. The first pass gives you the shape of the dish and hunts for time bombs like marinate, chill, rest, and rise. The second pass audits the ingredient list against the steps, checks the yield, and marks the doneness cues. Then prep in the order the steps use things, not the order the list lists them, and follow the cues over the clock.
Should I prep everything before I start cooking?
It depends entirely on how fast the dish cooks. A stir-fry, a seared fish, or anything over high heat needs full prep first, because the wok will not wait while you dice peppers. A braise, a soup, or a slow cooker dinner is fine prep-as-you-go, since the food simmers for an hour and forgives a late start. Fast and hot means mise en place; slow and patient means relax.
Can I skip steps in a recipe?
You can skip anything that is seasoning, and almost nothing else. Omitting salt, chili, or herbs usually makes a dish blander, not broken. Skipping rest times, preheating, draining, marinating, or a cold chill step changes texture, timing, or food safety, which is how a cake goes dense or a chicken ends up undercooked. When you do skip, do it on purpose and write it down.
What is the 2 2 2 rule in cooking?
It is a restaurant kitchen pace rule: two minutes to prep, two minutes to cook, two minutes to plate. Useful for thinking about order and for weeknight speed, but a Sunday braise or a baking day runs far past it without breaking. Take from it the idea that a dish is finished when the last component is ready, not when the first one is.
What are the 5 P’s of cooking?
The list varies by kitchen, but the common version is Plan, Purchase, Prep, Prepare, and Present. The useful part for home cooks is the first P. Planning the order, the timing, and the shopping before you turn on a burner prevents nearly every problem described in this guide, and the other four Ps go much more smoothly afterward.
Conclusion
Start with one habit: before you touch an ingredient, read the entire recipe and know four things. What it makes, what it needs, what it takes longer than the cook time claims, and how you will know it is done.
Then list what you are missing, set your counter up in the order the steps use things, and cook to the cues rather than the clock. Five minutes of reading, updated for 2026, is the whole difference between a recipe that works the first time and a dinner you rescue at nine o’clock.