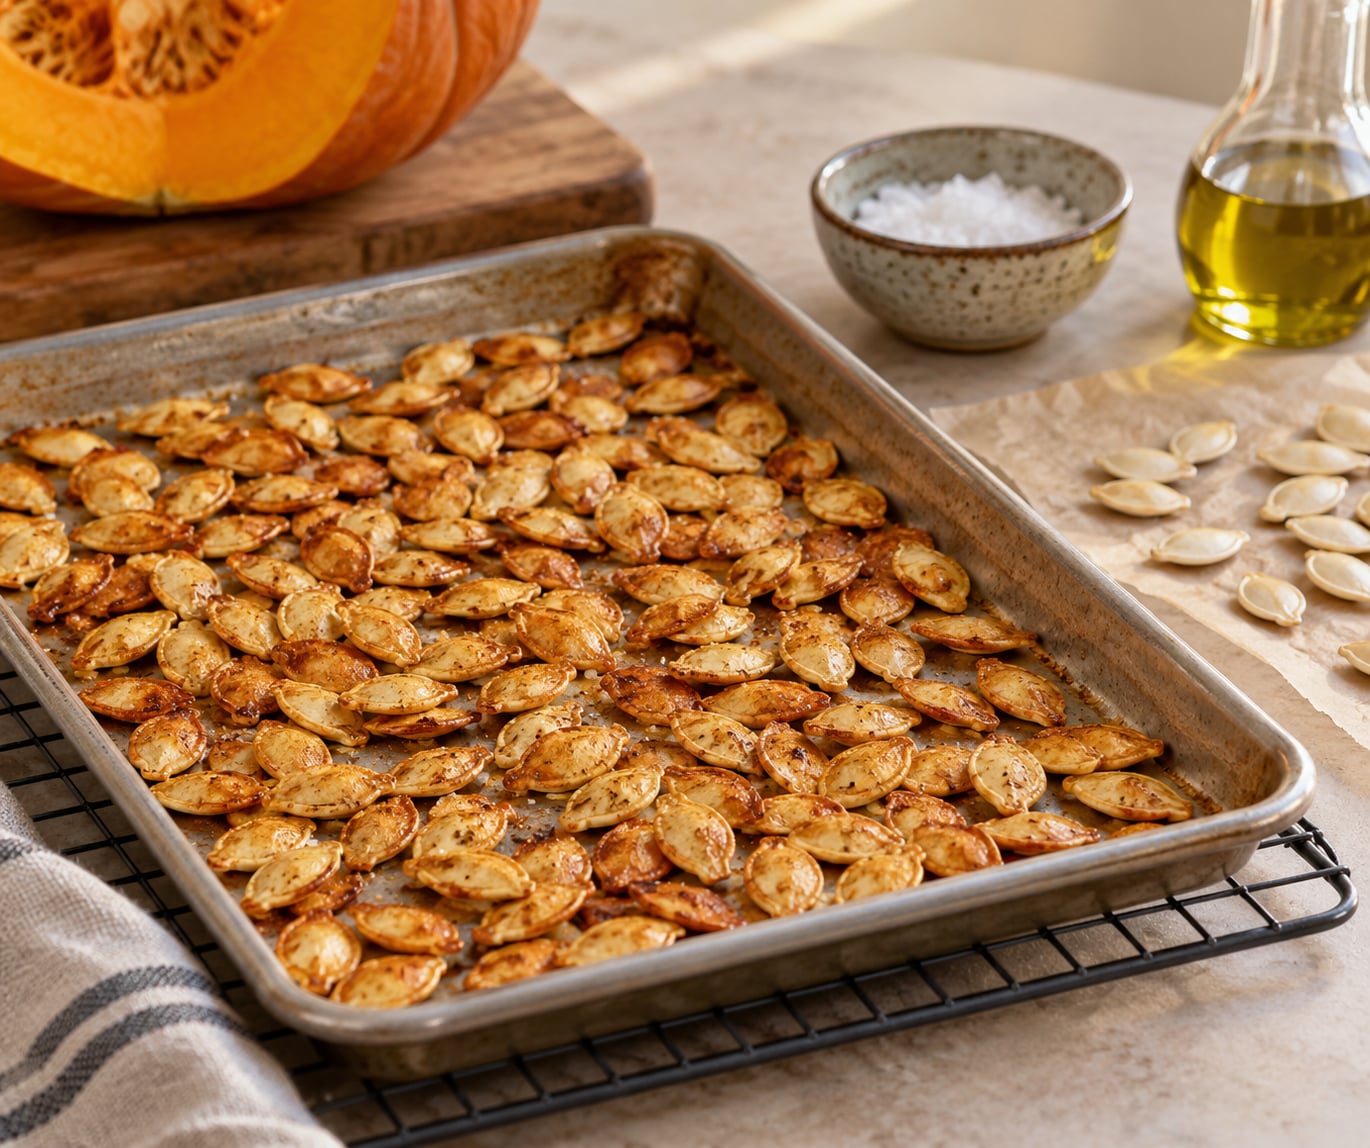
To roast pumpkin seeds so they stay crisp, dry them completely, spread them in one uncrowded layer, roast at 350°F until they smell toasty and rattle when you shake the pan, then cool them on the pan without touching them. Nearly every chewy batch fails before the oven is even switched on, because wet seeds cannot dry out in a hot oven. They firm at the edges while the middle stays gummy.
It takes about 25 minutes of oven time plus a cooling window, and nothing in it is difficult. The drying is the part people skip.
Four rules decide the outcome, and every one of them is about water or spacing rather than heat:
- Bone-dry seeds going in, or the batch turns soft.
- A single layer with gaps between the seeds, so hot air reaches every side.
- Moderate heat, 325°F to 350°F, so the inside dries before the outside scorches.
- Cooling undisturbed on the pan, because the seeds keep crisping as they cool.
Table of Contents
- What You Need
- Step-by-Step
- 1. Preheat the oven and prepare the pan
- 2. Dry and season the pumpkin seeds
- 3. Roast the seeds in a single layer
- 4. Stir and continue roasting until crisp
- 5. Cool the seeds on the pan
- Common Mistakes
- Chewy or rubbery seeds
- Scorched or bitter seeds
- Seeds welded into one sheet
- Greasy instead of crisp
- Soaking or brining the seeds first
- Sealing warm seeds in a container
- Frequently Asked Questions
- Should I use raw or roasted pumpkin seeds when making this recipe?
- Can I roast shelled pumpkin seeds instead of hulled pepitas?
- How should I store roasted pumpkin seeds so they stay crisp?
- Can I reheat pumpkin seeds that have softened?
- Do I need to change the temperature or time for a convection oven?
- Conclusion: Start With Dry, Evenly Spaced Seeds
What You Need
You need a short list, and only two items on it really change your results: a large rimmed baking sheet and seeds that are completely dry before they meet oil.
- Raw pumpkin seeds. Hulled seeds are what most people mean by pepitas, and they roast fastest. Shell-on carving seeds work too, but the hull adds roughly 10 minutes.
- A rimmed baking sheet with space. A standard half-sheet pan holds about one cup of seeds in a single layer. A crowded pan steams its own seeds.
- Parchment paper or a very light spray. Parchment suits sweet and garlicky coatings that would otherwise stick. Skip it for plain salted seeds, since bare metal dries them faster.
- Salt. Fine sea salt or kosher salt, either on the seeds or in the drying water.
- A light oil. Olive oil, melted butter, or a flavoured oil. Around 1 to 2 teaspoons per cup of seeds is plenty.
- Seasonings, optional. Smoked paprika, cumin, chili powder, cinnamon, or a little brown sugar.
- A wire cooling rack. It holds the warm pan off the counter so steam escapes underneath.
One more thing worth having nearby is a clean, dry towel. It is the fastest way to blot pulp off a large batch of seeds right after you scoop them.
Step-by-Step
The method has five steps, and each one drives off a little more moisture: preheat the pan, dry and season the seeds, spread them thin, roast and stir once, then cool them undisturbed. The sequence matters more than the clock.
1. Preheat the oven and prepare the pan
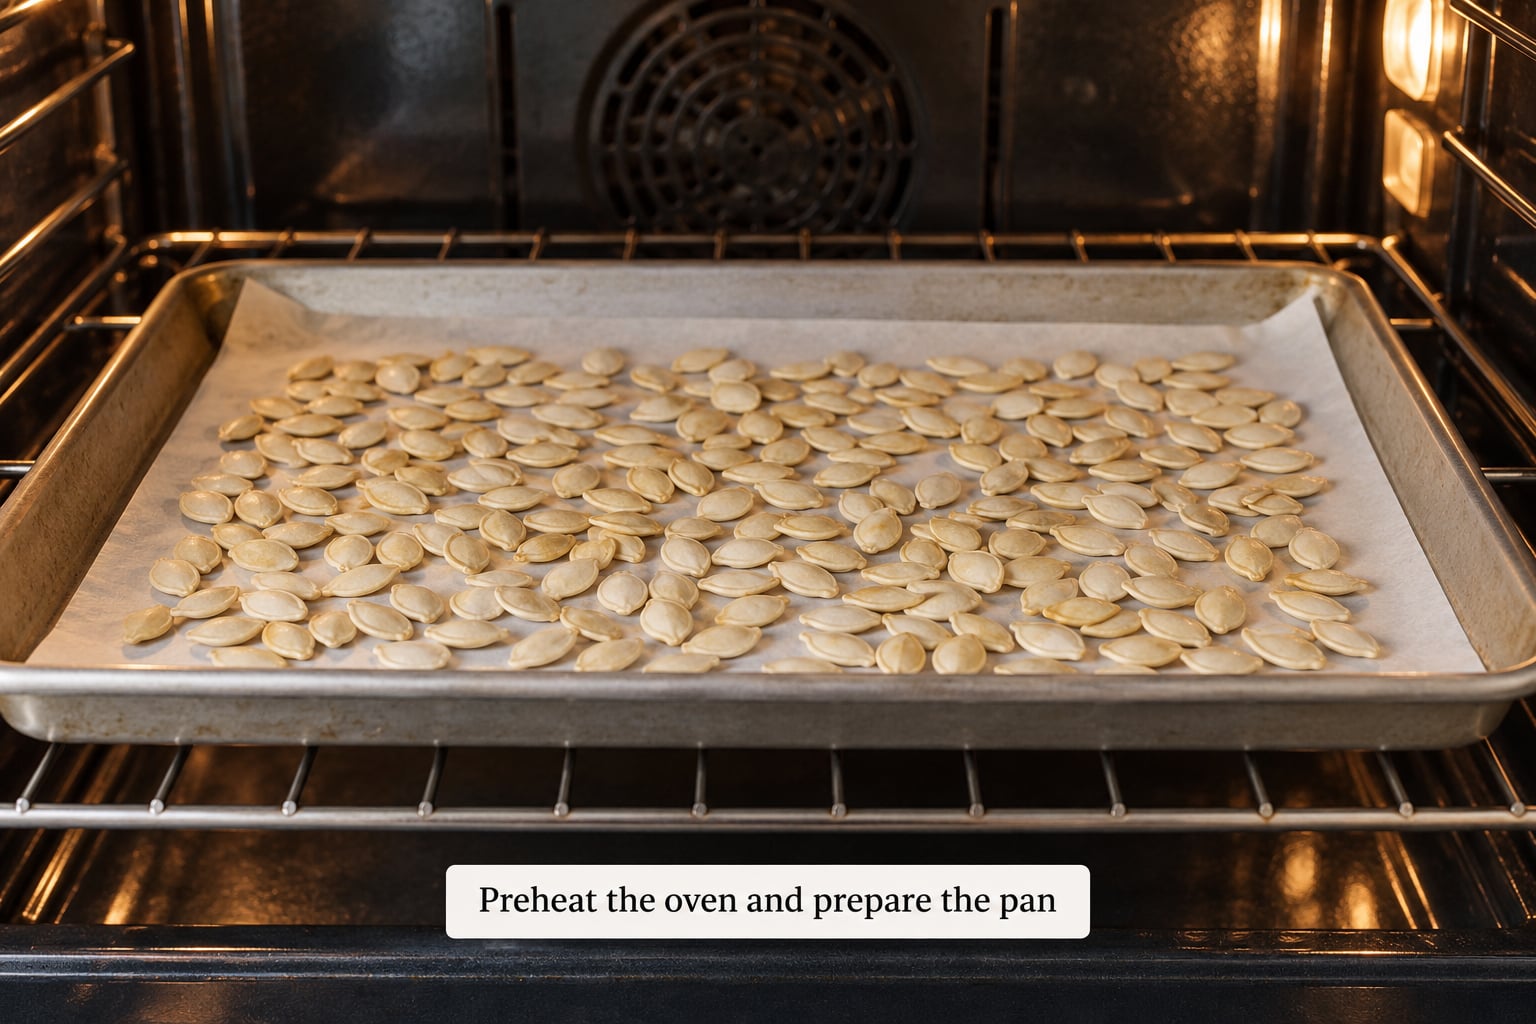
Set the oven to 350°F and let the empty rimmed baking sheet heat inside it for 5 minutes. A preheated pan gives the seeds an immediate burst of heat instead of warming them slowly alongside the oven, and the rim catches any moisture or oil that runs.
While it heats, get the seeds out and ready. A dark or well-used pan browns faster, which is fine at 350°F but worth knowing if your seeds are small.
2. Dry and season the pumpkin seeds
Drying first is the step that decides whether your pumpkin seeds end up crisp or chewy, and it is the step most recipes treat as optional.
Rinse the seeds to pull off the stringy pulp, then spread them on a towel and blot until the towel comes away dry. A seed that still looks glossy holds surface water. What you want is a matte, papery surface with no damp mark left on the cloth.
If you have time, air-dry the seeds on the towel out of the sun for a few hours, or overnight. If you do not, five minutes back in the 350°F oven on the bare pan before seasoning does most of the same work.
Now season. Toss with the oil and salt first so it coats evenly, then add powdered seasonings, which cling better once the seeds are tacky. Keep sugar and garlic powder modest, since both colour faster than plain salt.
In Appalachian kitchens the same seeds often get a different treatment, dredged lightly in cornmeal and fried until the crust crackles, or dropped straight into hot oil with the skins on. Those are snacks in their own right, and they need a hotter pan than an oven.
3. Roast the seeds in a single layer
Spread the seasoned seeds on the hot pan in one layer with small gaps, then roast at 350°F for 15 minutes.
Touching seeds steam each other. That trapped steam keeps the surface damp, so seeds that were meant to crisp together into a soft, fused patch instead. If your batch looks crowded, split it across two pans. A little extra oven time never makes up for lost air circulation.
4. Stir and continue roasting until crisp
Stir once at the 15-minute mark, then roast for 5 to 10 minutes more, checking every couple of minutes.
Colour is the least reliable cue, since small seeds brown long before the inside dries. Better signs: the seeds look dry and matte rather than glossy, the kitchen smells like popcorn or toasted nuts rather than scorched sugar, and a gentle shake of the pan produces a quiet rattle instead of a sliding scrape.
To test one, pull a single seed out and bite or crack it. The centre should snap cleanly and taste nutty, with no soft or gummy core. Do not keep testing seeds one at a time after that; one is enough.
| Seed type | Drying before roasting | Oven | Time |
|---|---|---|---|
| Hulled pepitas | Towel-dried | 350°F (175°C) | 15 to 20 minutes |
| Hulled pepitas | 5-minute oven pre-dry | 350°F (175°C) | 12 to 18 minutes |
| Shell-on carving seeds | Air-dried a few hours or overnight | 325°F (160°C) | 25 to 35 minutes |
| Delicata or spaghetti squash seeds | Towel-dried | 350°F (175°C) | 8 to 12 minutes |
| Fan or convection oven | As above | 325°F (160°C fan) | Reduce the time by about a quarter |
| Air fryer | Completely dry | 325°F fan | 10 to 14 minutes, shaking twice |
5. Cool the seeds on the pan
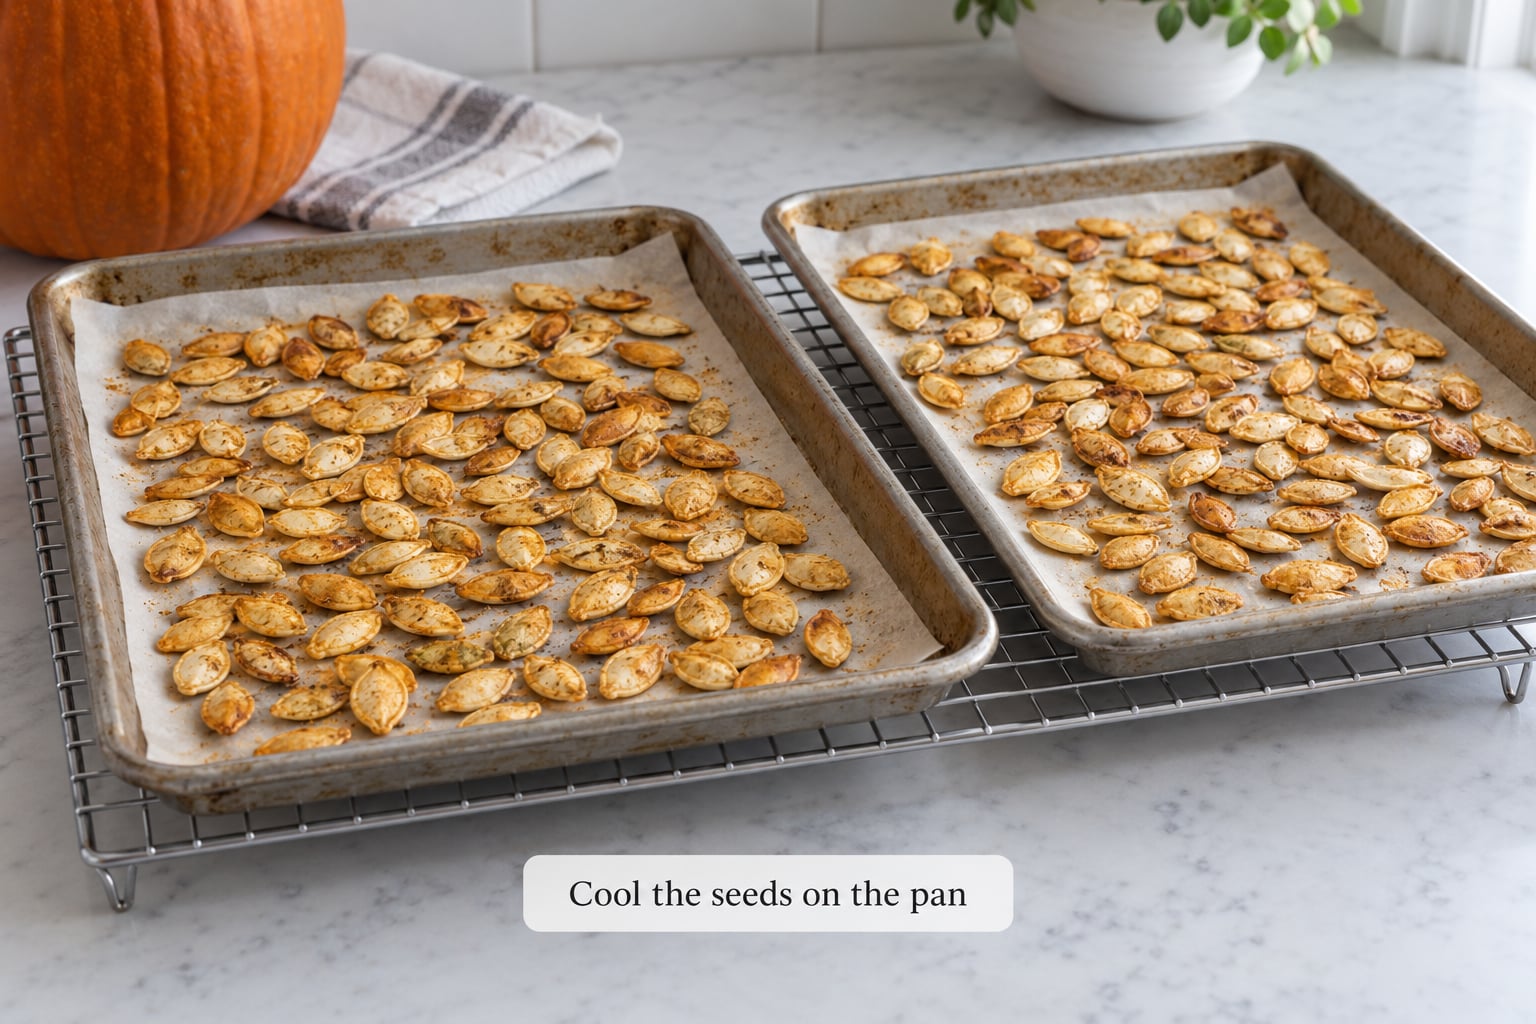
Set the pan on a wire rack and leave the seeds alone until they reach room temperature, usually 20 to 30 minutes.
The seeds are not finished the moment they leave the oven. Residual heat keeps moving water out of the centre and the texture firms as the batch cools, which is why seeds pulled early feel soft and turn crisp on the cooling rack. Judge texture only after they are cool, and never judge them by warmth in your hand.
Common Mistakes
Almost every disappointing batch comes down to moisture, crowding or heat, and each has a straightforward fix.
Chewy or rubbery seeds
If the seeds bend instead of snapping, moisture never left them. Put them back on the hot pan, spaced apart, for 5 to 10 more minutes, and this time spread them out properly. Beyond that the fix is upstream: blot harder, air-dry longer, or use fewer seeds per pan. Seeds that were soaked are the hardest case, because water moves back into the centre as the outside dries.
Scorched or bitter seeds
Bitter seeds were left too long or seasoned too heavily. Pull the pan at the first smell of toasting rather than waiting for deep colour, halve the sugar or garlic powder, and drop to 325°F if your pan runs hot. A pan preheated with the oven browns the underside first, which is where scorch marks usually show up.
Seeds welded into one sheet
A fused mass means the seeds were crowded or stirred too late. Separate them while warm with a thin spatula or the back of a spoon, and next time spread them thinner. Seed size varies a lot, so pull the thin, flat seeds out early and let the fatter ones keep going.
Greasy instead of crisp
More than about 2 teaspoons of oil per cup gives you roasted, not crisp, seeds. The coating fries rather than bakes and seals moisture in. For the crunchiest result use a teaspoon, or skip the oil entirely for plain salted seeds on a bare metal pan.
Soaking or brining the seeds first
Skip the soak, the brine and the parboil when crispness is the goal. Soaked seeds take on water that has to come back out in the oven, so the outside sets while the inside stays dense and chewy, and they usually need noticeably longer. A salted soak also seasons mostly the outside, which scalds before the centre dries. Claims that brining makes seeds far more nutritious or easier to digest are not well established.
Sealing warm seeds in a container
Warm seeds release steam, and an airtight jar traps it, so a batch that was perfect at the rack goes limp overnight. Cool them fully, leave the lid loose or the container open for the first hour, then close it. A folded paper towel inside absorbs any lingering condensation and buys you a few extra weeks. Store in the fridge for longer keeping and let the jar come to room temperature before opening.
Frequently Asked Questions
Should I use raw or roasted pumpkin seeds when making this recipe?
Start with raw seeds. That is the only form that lets you control moisture, timing and seasoning, and a dry seed is what the method is built around. If you only have roasted seeds, spread them on a pan at 325F for 5 minutes to drive off any damp, then cool them fully. They will crisp back up, though they rarely match a batch roasted from raw.
Can I roast shelled pumpkin seeds instead of hulled pepitas?
Yes, and shell-on seeds are a good choice because the hull protects the softer kernel from direct heat. They take longer, usually 25 to 35 minutes at 325F, and only the insides get seasoned. Blot them thoroughly first and cut or crack a few open after roasting to check the centre is dry before committing the whole batch.
How should I store roasted pumpkin seeds so they stay crisp?
Cool the seeds completely on the pan first, then transfer them to an airtight container with a folded paper towel. Storing them warm traps condensation, which softens the texture within hours. Keep the container at room temperature for a couple of weeks, or refrigerate it for a few months and let it warm up before opening.
Can I reheat pumpkin seeds that have softened?
You can, and it works best in a dry pan rather than the oven. Toast them over medium heat with no oil for 3 to 5 minutes, shaking often, until the rattle comes back. A low oven works too, around 325F for 5 minutes. They will not fully recover if they went damp from storage rather than from under-roasting.
Do I need to change the temperature or time for a convection oven?
Drop the temperature by about 25F and cut the roasting time by roughly a quarter. A fan oven circulates heat around the seeds from both sides, so they brown and dry faster than they do on a rack, and the bottom of the pan browns sooner. Watch closely near the end, since sugary coatings can catch in a fan oven before you expect it.
Conclusion: Start With Dry, Evenly Spaced Seeds
Blot the seeds until the towel comes away dry, spread them across the hot pan in a single layer with room between each one, roast at 350°F for 15 minutes, stir once, then finish for 5 to 10 minutes more. Leave them on the pan to cool without touching them. Do that and the batch stays crisp for days instead of turning soft by lunchtime.