To make oat flour at home, blend rolled oats or quick oats in a blender or food processor for 30 to 60 seconds until a fine, soft powder forms. One cup of oats gives you about three-quarters cup of flour, roughly 90 grams, so a small batch covers a round of cookies or a loaf of quick bread.
I keep a jar of oat flour on the shelf at all times. It costs one ingredient, takes about a minute, and there is nothing in it but oats. In a mountain pantry, oats have always been the flour that was already there — ground coarse for gruel, ground fine for cakes, ground again for whatever the week needed. A blender just makes that step faster.
It is also the one flour where the label tells you very little. Store-bought oat flour varies a lot in fineness, and some bags contain gums or added fiber to make them behave. Grinding your own means you decide how coarse the flour is and you know exactly what is in it.
Table of Contents
- What You Need
- Step-by-Step
- How to make oat flour at home: blend the oats finely
- How to measure and sift homemade oat flour
- How to use and store homemade oat flour
- Common Mistakes
- Frequently Asked Questions
- Do I need to cook oats before making oat flour?
- Can I make oat flour in a regular blender?
- Is homemade oat flour gluten-free?
- How fine should homemade oat flour be?
- How long does homemade oat flour stay fresh?
- Conclusion
What You Need
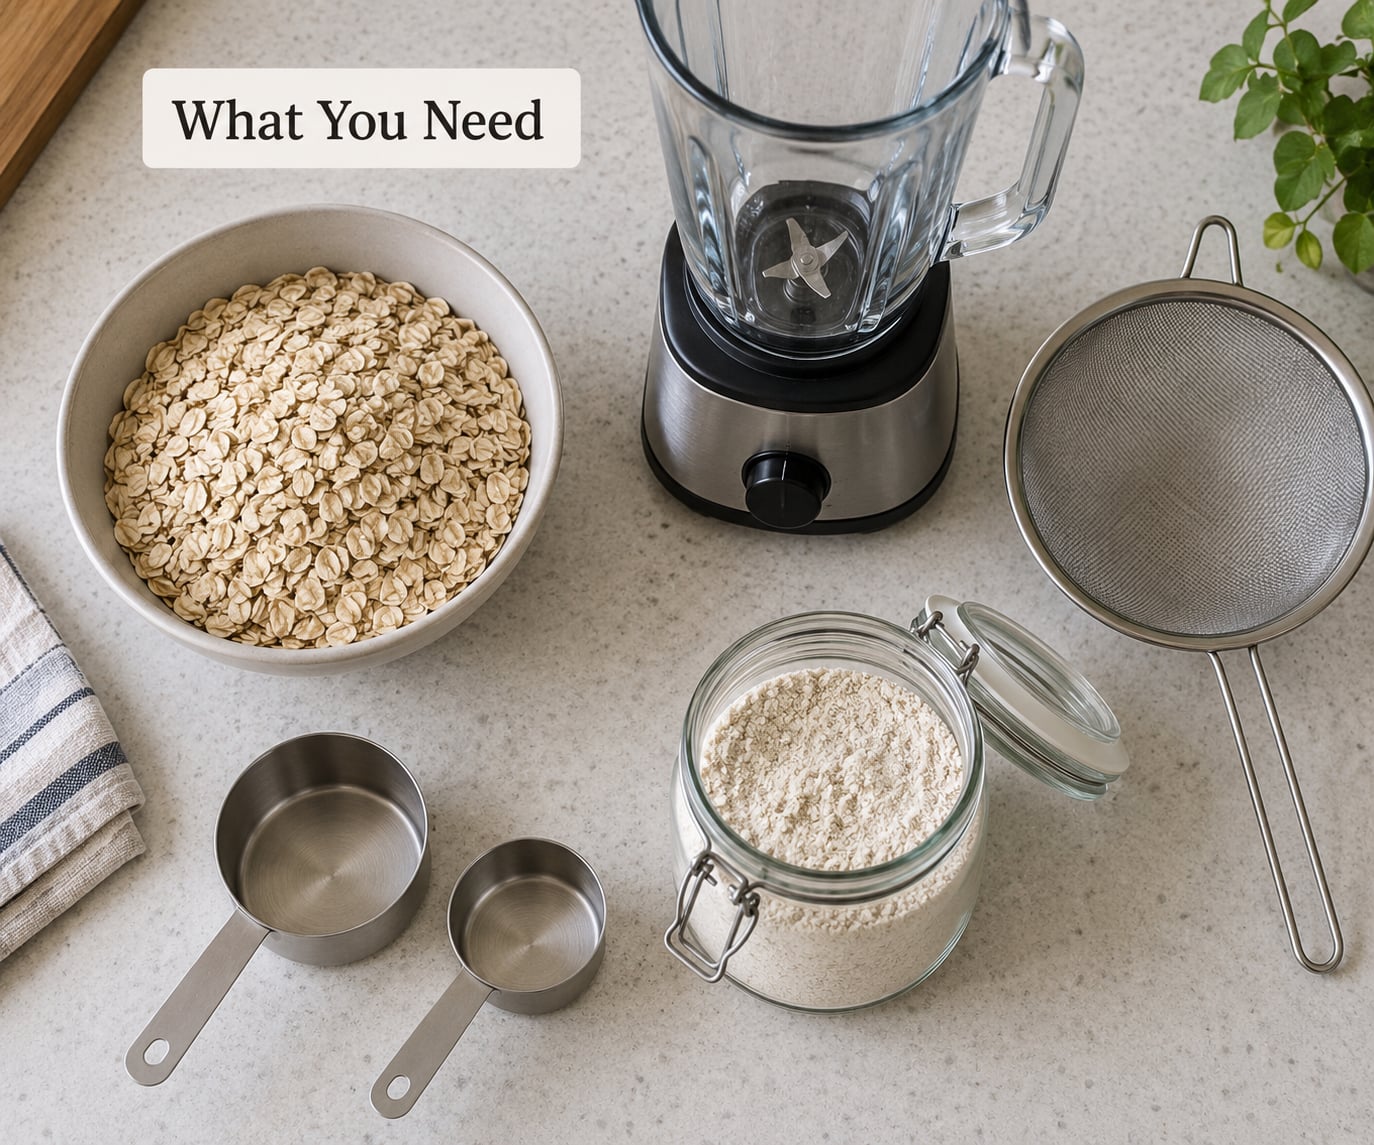
The ingredient list is one line long. Everything else is equipment you probably already own.
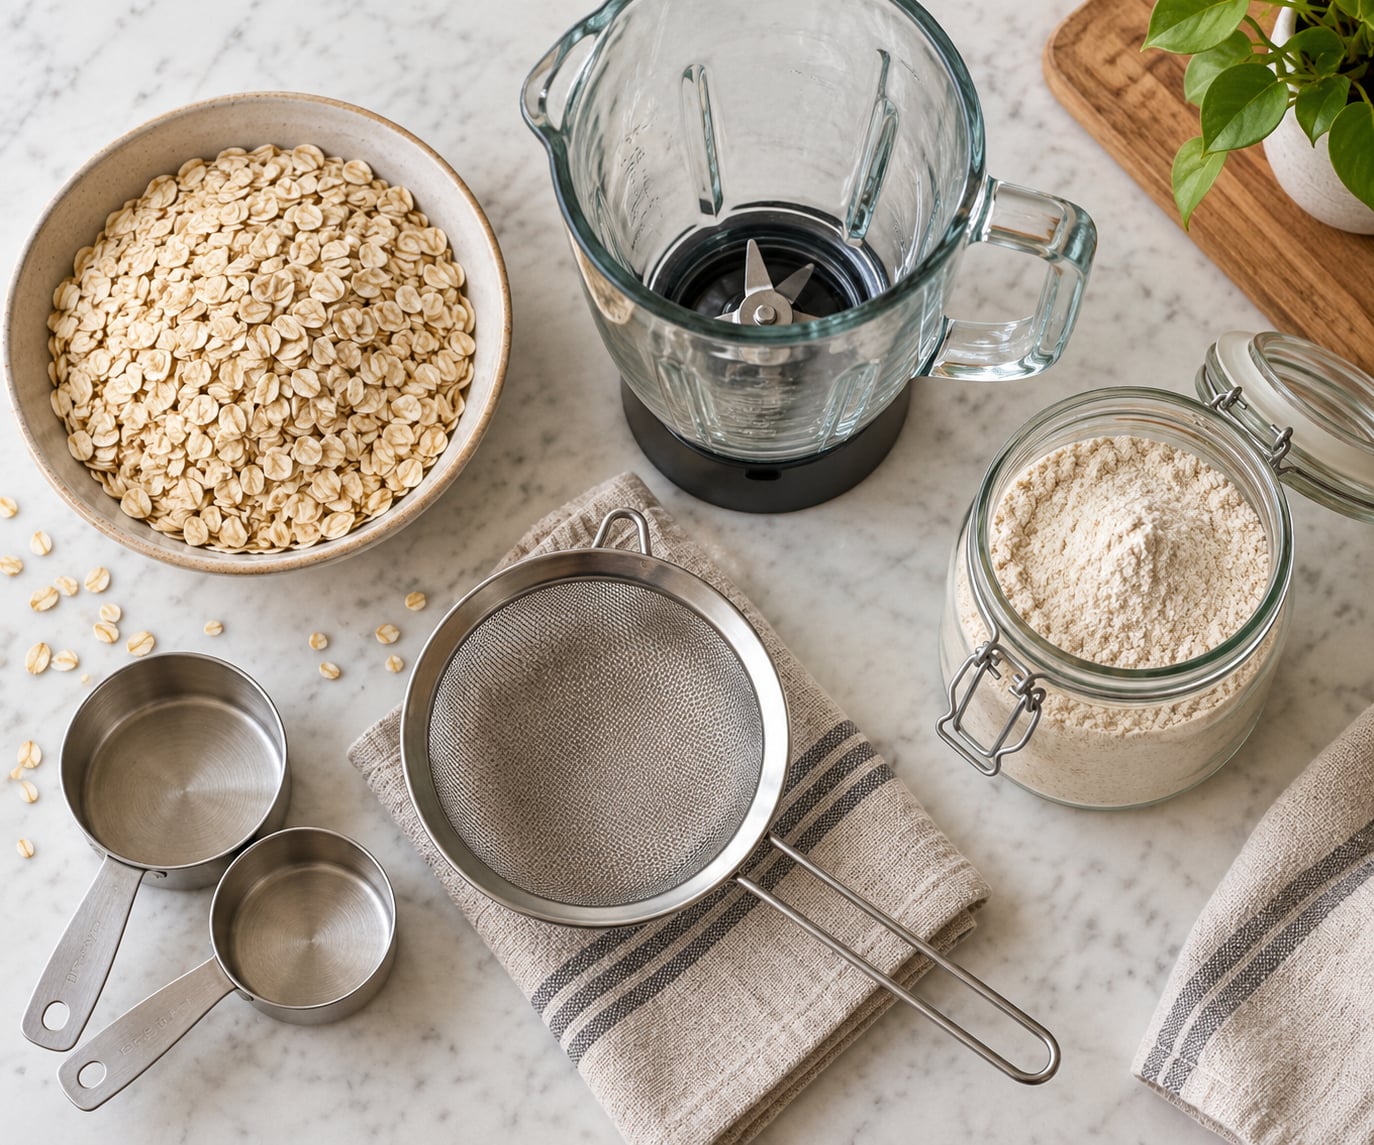
- Rolled or old-fashioned oats — the standard choice. Quick-cooking oats work too and usually need less grinding time.
- Certified gluten-free oats — required if the flour is for someone with celiac disease or a wheat sensitivity.
- A blender, food processor, grain mill or coffee grinder — any of these will do the job.
- A kitchen scale — for measuring flour by weight, which is the only way to get consistent results.
- A fine-mesh sieve — optional, for recipes that want a very fine, even crumb.
- An airtight container or glass jar — for storing the finished flour.
Batch size depends on the machine. A 64-ounce blender jar handles two cups of oats comfortably. Most countertop blenders sit lower, around 32 to 48 ounces, so fill the jar no more than halfway or the oats will climb the sides and leave a ring of flour stuck above the blade line.
Skip steel-cut oats for now. You can grind them, but they take far longer, leave a grittier flour, and they are not made in a gluten-free facility, so they are a poor choice for anyone avoiding wheat.
Step-by-Step
How to make oat flour at home: blend the oats finely
Start with cooked or certified gluten-free oats and a completely dry jar. Moisture is the number one reason homemade oat flour will not powder properly, so if you rinsed the oats, spread them on a towel and let them dry fully first.
- Measure the oats. One cup of rolled oats makes about three-quarters cup of flour. Two cups make about one and a half cups.
- Load the jar. Half full is plenty. More oats means more heat, and heat is what turns oat flour bitter.
- Blend on high in short bursts. Run the machine for 15 seconds, stop, then run it again. Pulse-style bursts give you more control than one long grind.
- Scrape down the sides. Open the lid, push the flour back toward the blade with a spatula or butter knife, and close it again. Flour lodged in the corners never gets pulverized and is where coarse bits come from.
- Check the texture. Rub a pinch between your fingers. It should feel like fine flour or baby powder. If it feels gritty, run another 10 seconds and check again.
- Sift if the recipe needs it. For delicate cakes and scones, push the flour through a fine-mesh sieve. For cookies, muffins and quick breads, most home cooks skip it.
Do not leave the machine running the whole time. Oats contain a small amount of oil, and friction heat will toast them within a minute or two. Bitterness is the tell that you went too far, and no amount of sifting fixes it.
How to measure and sift homemade oat flour
Weigh the flour whenever you can. Volume shifts as oats break down, and two scoops from a bag one minute apart can differ by a surprising amount because the first scoop compressed the flour and the second did not.
For most baking, one cup of homemade oat flour is about 90 grams. Spoon the flour into the measuring cup and level it off. Do not pack it down with the spoon — packed oat flour gives you more dry material than the recipe can absorb, and the result bakes dry.
Store-bought oat flour is often milled fine enough to skip sifting entirely. Homemade flour sits somewhere between cake flour and a coarse graham, so it usually wants a pass through a sieve for pastries. If you sifted it, weigh it afterward, because sifting thins the flour and you lose a few ounces of weight.
Some certified gluten-free oat flours are deliberately coarse, meant for textural bakes like a crumble topping. That texture is on purpose, so leave those flours alone.
How to use and store homemade oat flour
Swap it one for one for commercial oat flour in cookies, muffins, quick breads, pancakes, scones and crumble toppings. Oat flour also works as a binder in savory cooking — mixed with a little water and seasoning, it holds plant-based patties together, and it makes a fine breading for cutlets or mushrooms.
It is not a straight swap for all-purpose wheat flour. Oat flour drinks up liquid quickly, and it has no gluten structure to trap air, so cookies spread more and cakes rise less. A safe approach is to replace about half the wheat flour in a recipe and keep the rest, which gives you some of the oat flavor without wrecking the crumb. If a recipe calls for baking powder or another leavener, oat flour will not rise on its own, so keep that in.
Let the flour cool to room temperature before you jar it, then seal the container and label it with the date. Dry oat flour keeps about three months in a cool cupboard, and freezing it in portioned bags stretches that to roughly six months. If you scoop and freeze the exact amounts your recipes call for, portioning becomes the easiest part of the whole process.
Common Mistakes
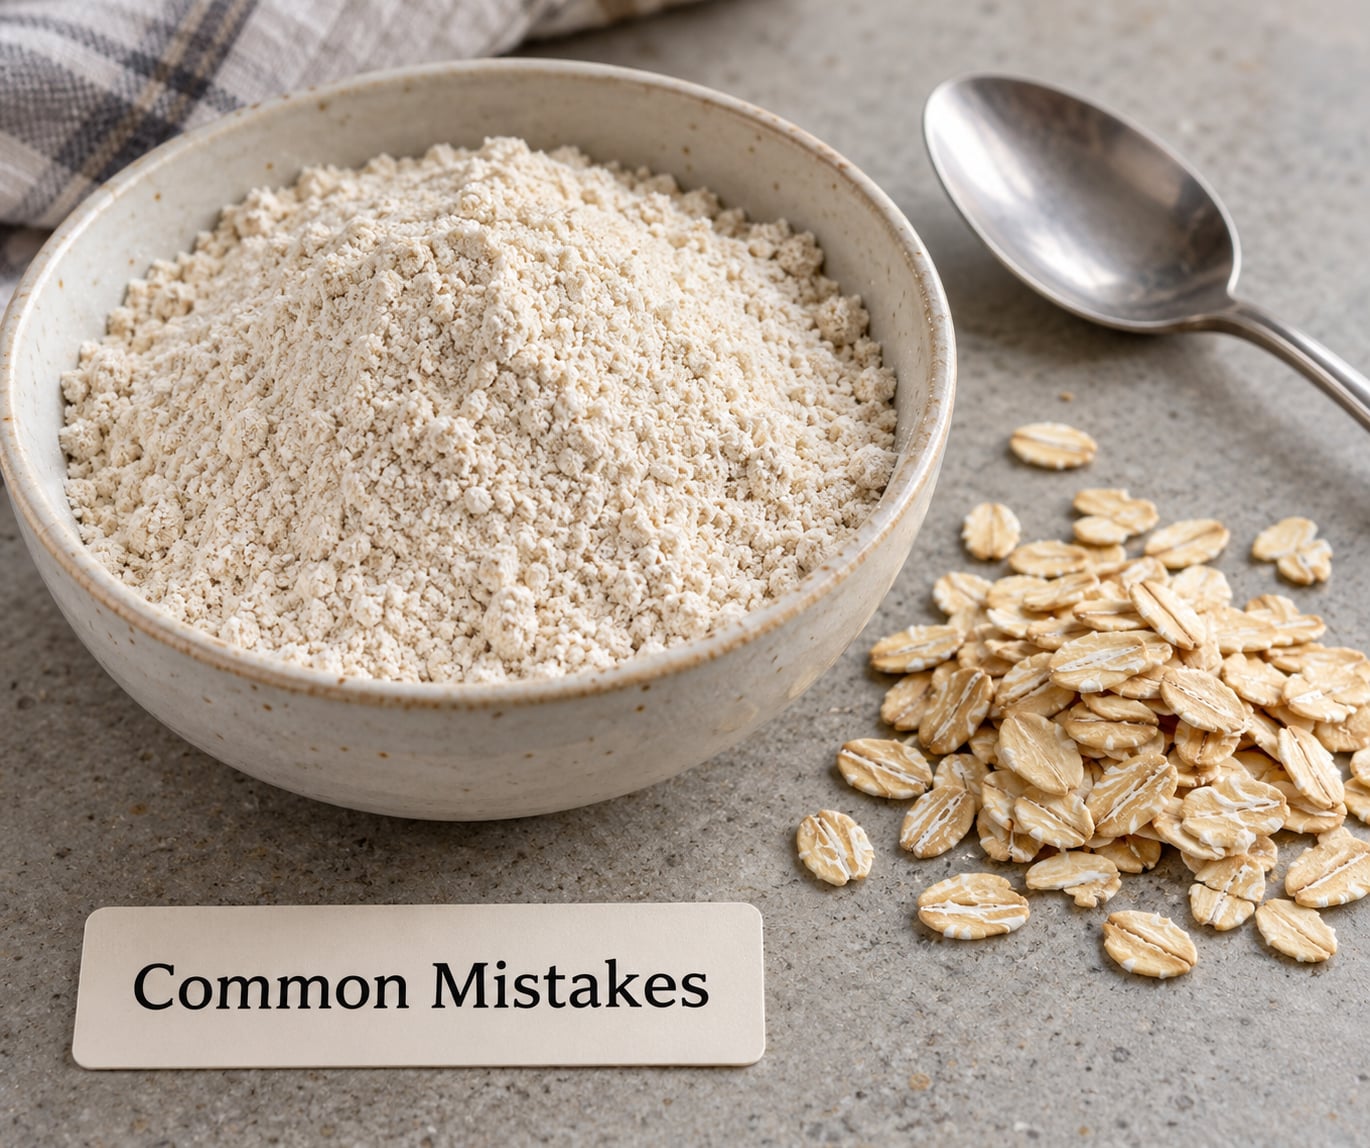
Almost every complaint about homemade oat flour traces back to one of five things. Each has a fix that takes under a minute.
The flour is gritty. You did not scrape the sides, or you stopped too early. Break the rule of never opening the lid mid-grind for this one step. Flour sitting in the corners above the blade line is coarse by definition, and those specks turn into sandiness in cookies. Scrape, blend ten more seconds, and test again.
The flour tastes bitter. Friction heat roasted the starches. Next time, work in smaller batches and keep the machine moving in bursts with pauses. You cannot grind bitterness back out.
The flour clumps or packs down. Moisture. Either the oats were damp, the jar was wet, or you measured the flour by pressing it into the cup. Dry oats, dry jar, spooned and leveled.
Baked goods come out dry or dense. Usually a measuring problem, not a grinding problem. Too much flour went into the bowl, or the recipe needed more liquid and more fat than it normally would. Grind another cup and weigh it; if the number surprises you, that was the whole issue.
You are not sure it is gluten-free. Standard oats are milled in facilities that also process wheat, and the risk of cross-contact is real. If anyone eating the flour has celiac disease, buy oats with a certified gluten-free label from a dedicated facility. Do not assume a plain supermarket bag qualifies.
A few habits help beyond the fixes. Toasting oats briefly in a dry pan before grinding deepens the flavor, but skip a nonstick surface at high heat. Make the smallest batch your machine handles well — small batches grind finer. And keep a scoop of raw oats reserved for baked oatmeal and granola, where you want the groat to stay intact rather than turn to flour.
Frequently Asked Questions
Do I need to cook oats before making oat flour?
Usually not. Old-fashioned rolled oats are already steamed and dried during milling, so they grind fine straight from the bag. Quick-cooking oats work the same way. Steel-cut oats are the exception: they are raw groats, so if you want to use them you should simmer them until tender, cool them completely, and dry them out before grinding, and expect a grittier result.
Can I make oat flour in a regular blender?
Yes, if it is a blender with a proper blade and enough power to spin oats at high speed. Immersion blenders, hand mixers, and blenders with a whisk attachment will not work. Fill the jar no more than halfway, blend in short bursts, and scrape the sides. If the flour stays coarse after two minutes, the wattage is too low and a food processor will do better.
Is homemade oat flour gluten-free?
Only if the oats were made that way. Oats are naturally gluten-free, but most are milled in facilities that also process wheat, which risks cross-contact. For a strict gluten-free flour, buy certified gluten-free oats from a dedicated facility and clean your grinder before use. Anyone with celiac disease should check with their doctor before trusting homemade flour.
How fine should homemade oat flour be?
Fine and soft, with no visible oat flakes. Rub a pinch between your fingers and it should feel like flour or baby powder rather than sand. If you can feel grit, keep blending in ten-second bursts. For crumbly cookies and quick breads that texture is perfect. Pastries and scones want a pass through a fine-mesh sieve.
How long does homemade oat flour stay fresh?
About three months at room temperature in an airtight container kept in a cool, dry cupboard. Because there are no preservatives, it will not last as long as a store-bought bag. Freezing it in the portion sizes your recipes call for stretches that to roughly six months. Always let freshly ground flour cool completely before sealing the container.
Conclusion
Making oat flour at home is a one-ingredient job that takes about a minute once you know the rhythm: add the oats, grind in short bursts, scrape the sides, and stop when a pinch between your fingers feels like flour instead of sand.
Start with certified gluten-free rolled oats if anyone in the house needs it strictly gluten-free, or ordinary old-fashioned oats if they do not. Weigh the flour instead of scooping it, let it cool before you seal the jar, and you will have a pantry staple that costs one bag of oats and about a minute of your time.