Learning how to can tomatoes for beginners starts with one decision that shapes everything else: you use a boiling-water canner, not a pressure canner, and you add bottled lemon juice or citric acid to every single jar. Tomatoes sit right on the edge of the safe acidity line, and the acid is what keeps them there.
Do it this way and a first batch takes about two hours start to finish, most of it waiting. You blanch and peel, pack hot, process for the time your jar size and elevation require, then wait a full day before you test a seal.
A gallon of ripe tomatoes makes roughly seven to nine pints, so a single basket out of the garden is a meaningful batch. The method below follows the tested USDA approach published by the National Center for Home Food Preservation, and the single most important habit is to follow the times in that recipe rather than the times your grandmother used.
Table of Contents
- What You Need
- Boiling-Water Bath or Pressure Canner?
- How to Can Tomatoes for Beginners: Step-by-Step
- Step 1: Choose and Prepare the Tomatoes
- Step 2: Peel and Blanch
- Step 3: Prepare Your Jars, Lids, and Canning Area
- Step 4: Pack the Tomatoes Into Jars
- Step 5: Process the Jars in a Boiling-Water Bath
- Step 6: Cool and Check the Seals
- Common Mistakes
- How to Store Canned Tomatoes Safely
- Frequently Asked Questions
- Can beginners can tomatoes in a normal pot?
- Do I have to peel tomatoes before canning them?
- Why do I need to add lemon juice or canning salt?
- How long should canned tomatoes be stored?
- What should I do if a jar lid does not seal?
- Can I can tomatoes in a pressure canner instead of a boiling-water bath?
- Conclusion
What You Need
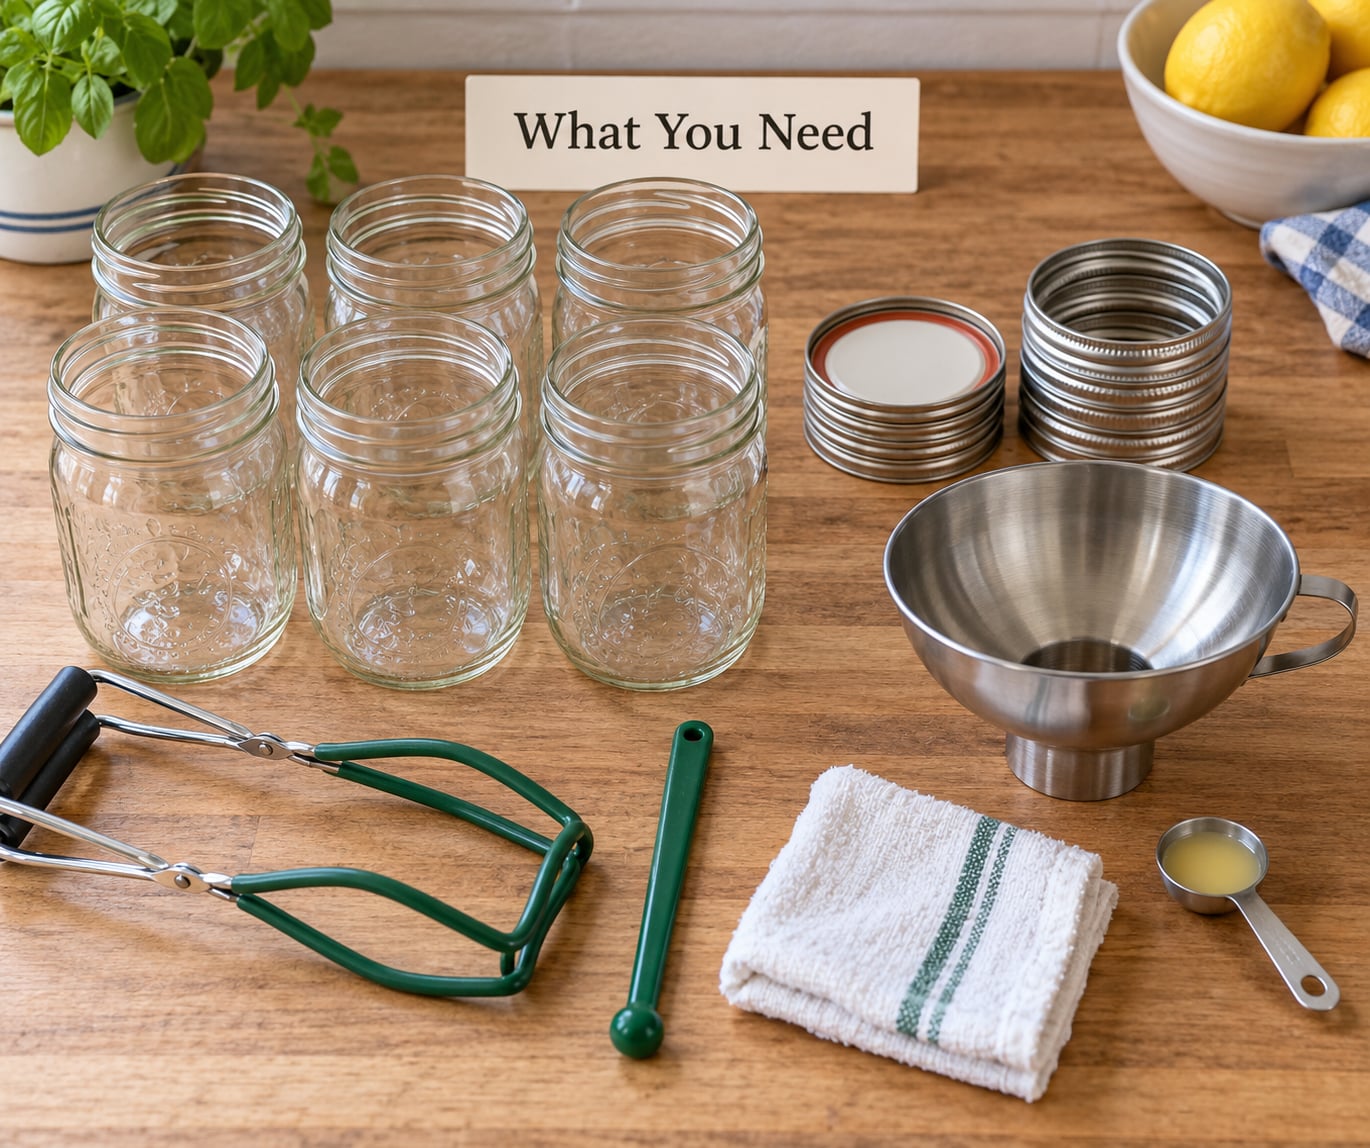
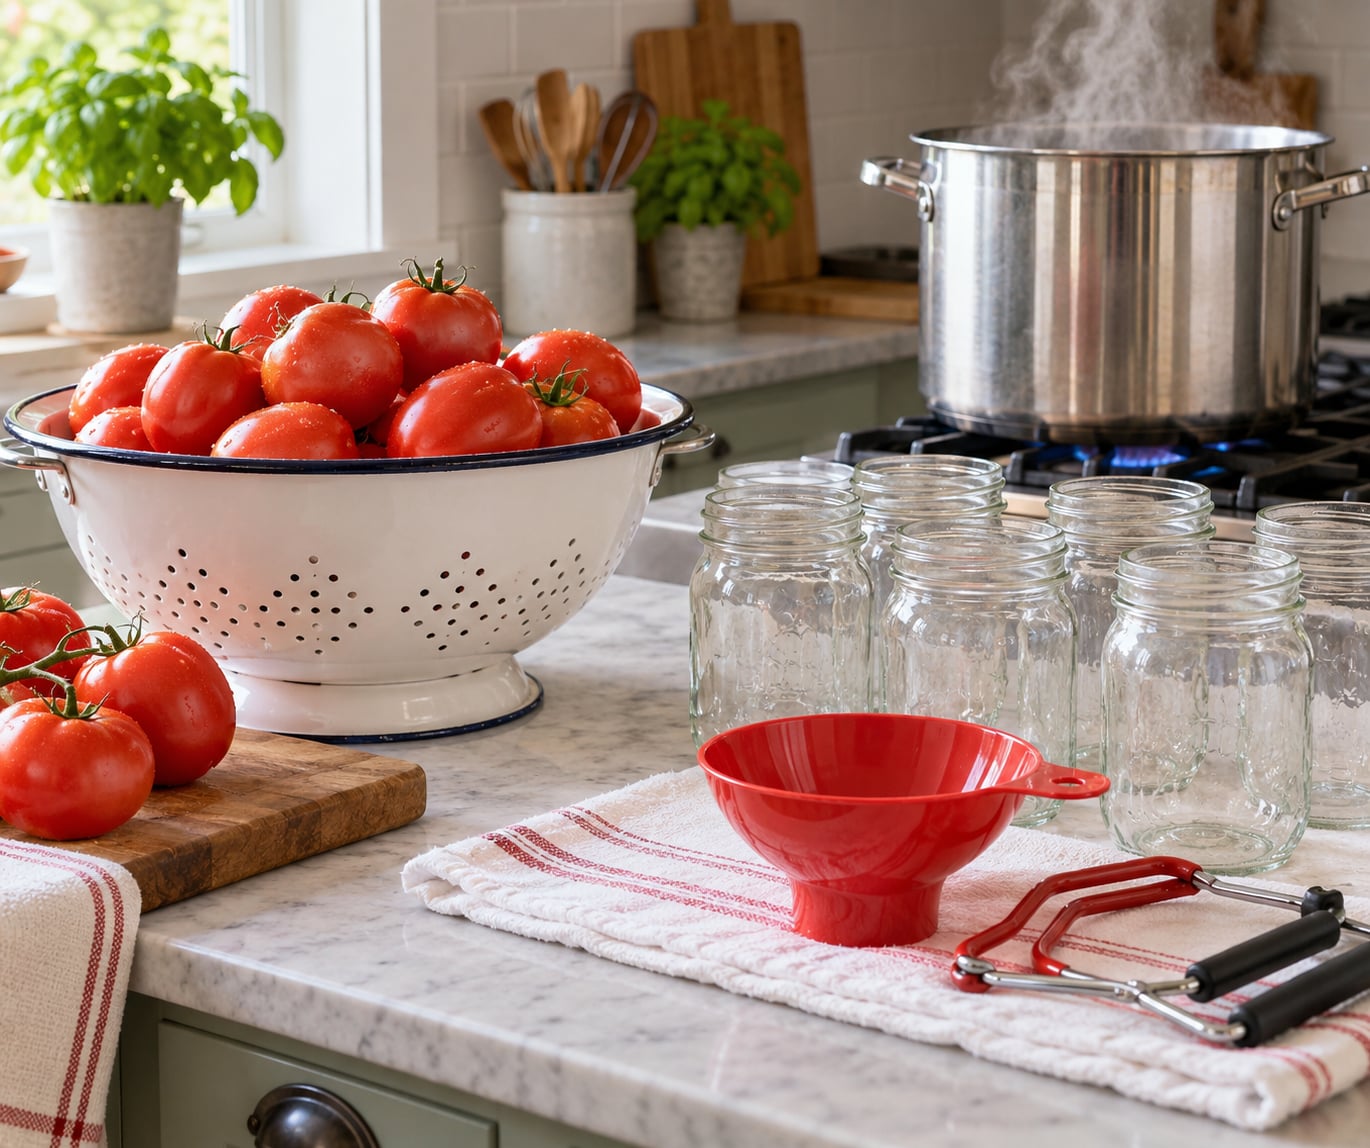
Before you start, gather everything. Canning is not a dish where you can improvise halfway through, and the two or three dollars of specialty tools here are what make the difference between a sealed jar and a jar you toss in the trash.
- Boiling-water bath canner or a large stockpot with a canning rack that holds jars upright and keeps them from touching the bottom.
- Heat-safe glass mason jars in pint or quart sizes. Standard mouth and wide mouth both work; wide mouth is easier to fill with chunks.
- Two-piece lids (flat disc plus screw band). Buy new lids every year. Bands can be reused as long as they are not rusty or bent.
- Bottled lemon juice or citric acid. Bottled, not fresh-squeezed, and the reason matters more than most people expect.
- Jar lifter or jar wand for moving hot jars.
- Canning funnel and a magnetic bubble remover (a clean damp paper towel and a chopstick work in a pinch).
- Damp clean cloth for wiping jar rims.
- Cooling surface such as two folded bath towels set on the counter.
- Optional: a food thermometer, canning salt, and a small saucepan for pre-heating your jars.
Boiling-Water Bath or Pressure Canner?
Use a boiling-water bath for tomatoes. That is the USDA-recommended method and the one every tested tomato recipe in the Complete Guide to Home Canning uses. The water reaches a rolling boil and holds the jars there for a set time, which is enough for a properly acidified, high-acid food like tomatoes.
A pressure canner is not more correct for tomatoes; it is simply unnecessary, more expensive, and harder to master. What pressure canning does kill is Clostridium botulinum spores in low-acid foods like vegetables and meat. Tomatoes are acidified specifically so that ordinary boiling water processing is sufficient.
That is the whole safety argument, and it is why the acid is never optional.
How to Can Tomatoes for Beginners: Step-by-Step
Here is the whole process in the order you will do it. Read it through once before you start, because the pace moves quickly once the tomatoes are hot.
Step 1: Choose and Prepare the Tomatoes
Choose tomatoes that are firm, fully ripe, and unbruised. Meaty paste types such as Roma or Amish paste are the easiest for a first batch because they hold their shape when hot and you waste less fruit. Whatever you use, leave out anything with mold, rot, frost damage, or a vine-frozen skin.
Frozen or frost-bitten fruit is a common trap. Freezing breaks the cell walls down, drops the pH, and gives you a jar that cannot be trusted to a water bath. Set those aside for sauce you freeze and cook promptly instead.
Wash the tomatoes under cool running water and trim away any bruised or stem-end damage. Then core them with a paring knife.
Step 2: Peel and Blanch
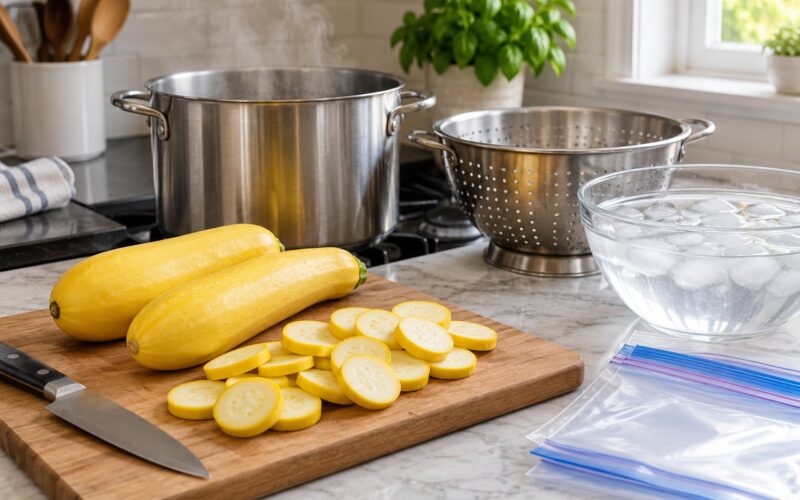
You can leave skins on, but most beginners peel, and peeling is easy. Drop the tomatoes into boiling water for 30 to 60 seconds, then straight into a bowl of ice water. The skins slip off in your hands.
That short dip is the difference between a jar you can pack cleanly and a counter covered in slippery tomato skins. It costs about five minutes for a full batch.
If you do want to skip peeling, pack the tomatoes whole with their skins on. Just know the texture will be softer and softer skins mean more sediment in the finished jar.
Step 3: Prepare Your Jars, Lids, and Canning Area
Keep clean jars in hot water so hot tomatoes do not crack them from thermal shock. Hold your flat lids in the warm water the manufacturer recommends, not boiling water, and set out two folded towels for cooling.
Turn on the heat under the canner now so it comes to a boil while you work. This step catches more beginners off guard than the canning itself, because the water can take longer to reach a rolling boil than you expect.
Step 4: Pack the Tomatoes Into Jars
Fill hot jars with the prepared tomatoes and pack them fairly firmly, because tomatoes shrink during processing. Leave exactly 1/2 inch of headspace above the tomato and any added liquid. Use a measuring tool or the width of a penny if you do not have a headspace gauge.
Headspace is not padding. Liquid needs room to expand when the jar heats, and a jar packed to the rim can boil over, lose its vacuum, or crack outright.
Now add your acid. This is the step that keeps the whole method safe.
| Acid | Pint jars | Quart jars |
|---|---|---|
| Bottled lemon juice | 1 Tbsp | 2 Tbsp |
| Citric acid | 1/2 tsp | 1 tsp |
Bottled lemon juice is required rather than fresh-squeezed because its acidity is measured and standardized, and sometimes it is simply bottled as it is. Fresh-squeezed juice varies too much batch to batch, so it cannot be counted on. Lemon juice is also not a substitute for canning salt; they play different roles and recipes using one are tested with that one.
Run a clean damp cloth or paper towel around each rim, put the flat lid on, and screw the band down until it is just fingertip tight. Tight is good. Gorilla tight means the lid can fail to seal because there is no air escaping for the vacuum to form against.
Step 5: Process the Jars in a Boiling-Water Bath
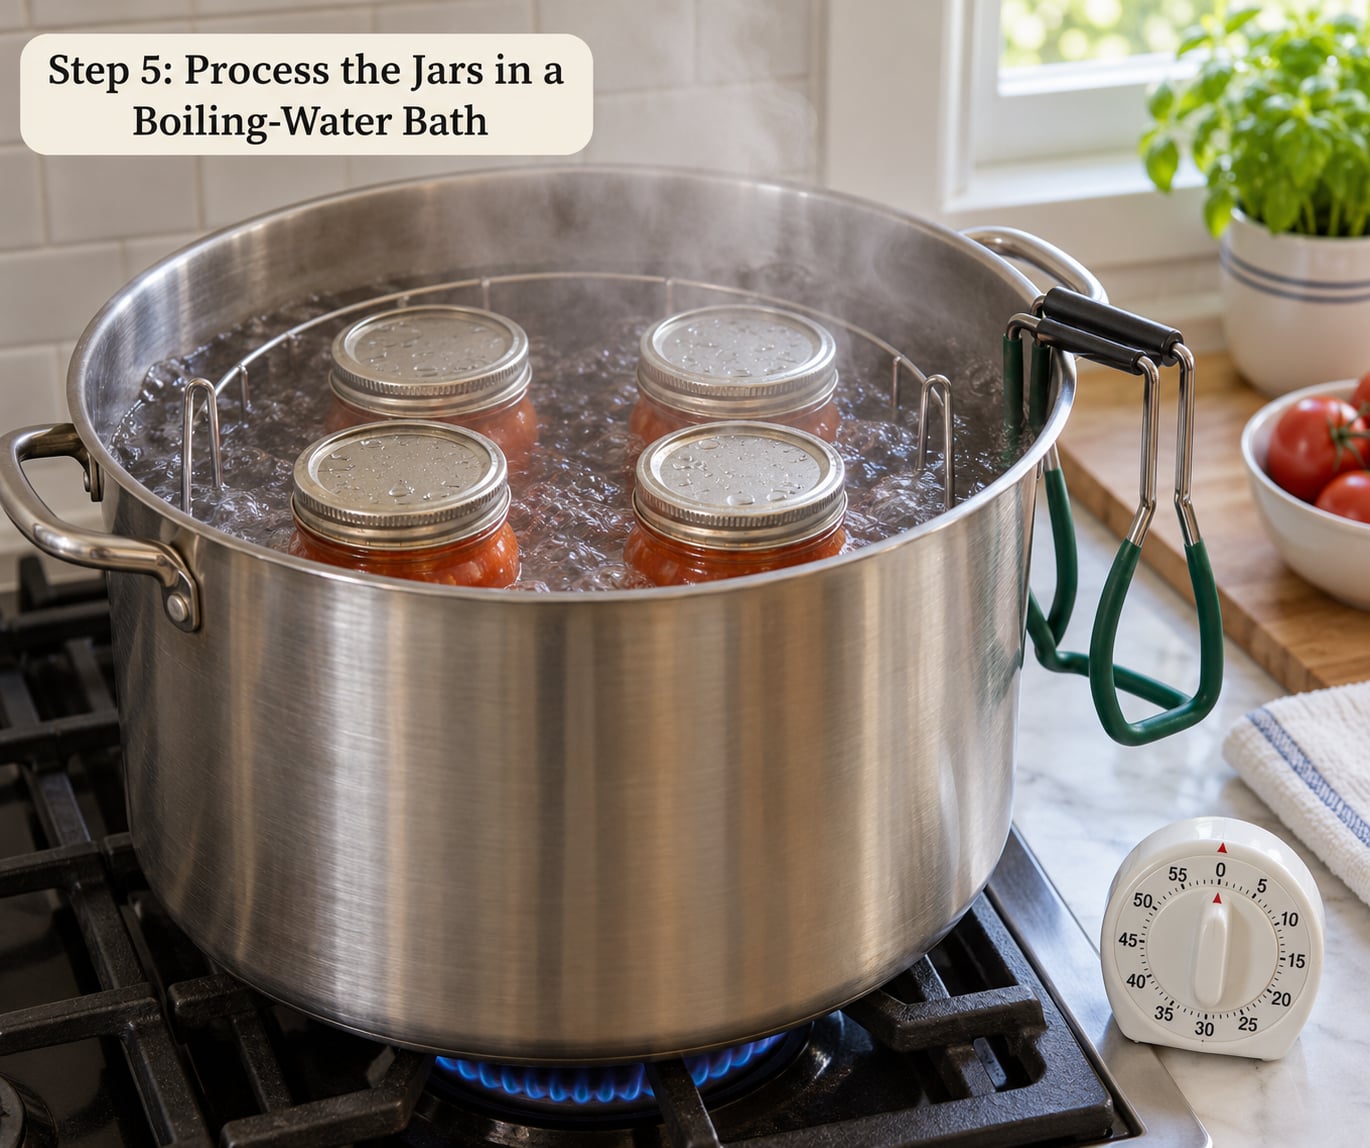
Place the jars in the canner on the rack and add boiling water until the water sits 1 to 2 inches above the jar shoulders. Bring the water back to a full rolling boil, start your timer, and process for the time in the table below.
Keep the water at a steady rolling boil for the entire processing time, and top up with hot water whenever the level drops below the jar shoulders. Do not lift a lid or handle a jar while it processes. The seal forms during cooling, so a jar that looks fine at the halfway mark can still fail overnight.
| Elevation | Pints and half-pints | Quarts |
|---|---|---|
| 0 to 1,000 ft | 35 minutes | 45 minutes |
| 1,001 to 3,000 ft | 45 minutes | 55 minutes |
| 3,001 to 6,000 ft | 50 minutes | 60 minutes |
| 6,001 to 8,000 ft | 55 minutes | 65 minutes |
Those altitude bands are not a formality. Water boils at a lower temperature in the mountains, so a jar at 3,500 feet needs extra minutes to reach the same heat as the same jar in a flatland kitchen. If you have never adjusted before, going up 10 or 15 minutes costs you a little flavor and removes a real variable.
When the timer ends, turn off the heat, let the canner sit 5 minutes, and then let the jars rest in the water another 5 to 10 minutes before lifting them out.
Step 6: Cool and Check the Seals
Lift the jars with your jar lifter and set them on the folded towels, at least an inch apart so they do not knock into each other. Leave them completely undisturbed for 12 to 24 hours. This is when the cooling contents pull a partial vacuum and the flat lid draws down hard against the jar.
Do not put hot jars in the fridge, under running water, or on a cold stone counter. Thermal shock is how good jars crack.
After a full day, press the center of each lid. A good seal is concave or slightly dished, does not flex or move at all, and often makes a dull pop. Any lid that is flat, springy, or moves when pressed has not sealed.
If a jar failed, remove the band, wipe the rim, put on a fresh lid, and keep it in the refrigerator to use within about three days. If the contents have been out longer than that or anything looks off, throw them away. You can also reprocess the jar for the full recommended time using a fresh lid, but only if the food is still sound, and this is not a route I would suggest to a first-timer.
For everyone else: remove the bands once sealed, wipe the jars clean, label each with the contents and the date, and store them properly.
Common Mistakes
Almost every bad first batch traces back to one of these. None of them are dramatic, which is exactly why they sneak past people.
- Skipping or guessing the acid. Every jar gets the full measured amount. Canning is a science, and the amounts in the tested recipes are the safety margin.
- Wrong headspace. Too little and the contents can boil over; too much and the vacuum forms against a headspace you then cannot trust. Measure 1/2 inch.
- Reusing old one-use lids. A flat lid seals once. If it is bent, rust-speckled, or has been used before, replace it. Bands are reusable; lids are not.
- Screwing bands down too tight. You want fingertip pressure so air can be pulled out as the jar cools.
- Filling the canner with cold or tepid water. The water must return to a rolling boil for the clock to start, and cold water makes the return slow.
- Under-processing. Guessing at minutes based on your altitude, your stove, or your memory is how underprocessed jars happen. Use the table.
- Dipping a used lid in a reused canning-water pot. That is the classic route to leftover wax or tomato solids ending up between the seal and the jar rim.
- Lifting jars too soon, or setting them on a cold surface. Jars need to cool undisturbed, and hot glass does not belong on a wet stone counter.
One more worth naming: using reactive metals. Do not can in plain aluminum, copper, or iron pots, and do not use utensils made from them. They can darken the tomatoes and pull acid out of the food.
How to Store Canned Tomatoes Safely
Store sealed jars in a cool, dark, dry place. Most pantries and closets qualify; a warm unheated porch or a garage that swings between freezing and baking does not. Keep jars on a shelf rather than on the floor, where condensation and pests are a problem.
Plan to use your tomato jars within about 12 months of canning. The food is safe well past that if the seal held, but flavor and texture fade a year or two in, so the first jar you open should be the oldest one.
Before you open any jar, look at it. A bulging lid, a weeping or leaking seal, cloudy liquid with a film on top, odd coloring, or a jar that fizzes when opened are all reasons to stop and throw it out without tasting.
After opening, refrigerate what is left and eat it within about four days. Do not leave the open jar on the counter for hours while you cook. For a longer keep, freeze the remainder in a clean container with headspace and date it, because a jar of home-canned tomato is worth more in the freezer than on the counter.
Frequently Asked Questions
Can beginners can tomatoes in a normal pot?
A stockpot with a canning rack, filled with enough water to cover the jars, works for the boiling-water bath. The rack matters most, since jars must not sit directly on the pot bottom where they can scorch or crack. Use the pot only for boiling water canning, never for pressure canning, and follow the processing times exactly as if you owned a canner.
Do I have to peel tomatoes before canning them?
No. Peeling is optional and mostly a matter of texture. Blanching ripe tomatoes in boiling water for 30 to 60 seconds, then chilling them in ice water, makes the skins slip right off. Leaving skins on produces a softer jar with more sediment. Skins or no skins, you still pack 1/2 inch of headspace and add the required acid.
Why do I need to add lemon juice or canning salt?
Because tomatoes sit right at the borderline of safe acidity, and added acid guarantees the jar stays on the safe side. Water-bath canning relies on acidity to prevent botulism spores from surviving. Use 1 Tbsp bottled lemon juice per pint or 2 Tbsp per quart, or 1/2 tsp citric acid per pint or 1 tsp per quart. Bottled, never fresh-squeezed.
How long should canned tomatoes be stored?
Sealed jars keep best quality for about 12 months in a cool, dark, dry pantry, and stay safe well past that if the seal held. After opening, refrigerate and eat within about four days, or freeze the remainder. Before opening any jar, check for a bulging lid, leaking seal, cloudy liquid with film, or unexpected fizz.
What should I do if a jar lid does not seal?
A lid that is flat, springy, or moves when pressed has not sealed. You can reheat the jar in a boiling-water bath for the full recommended processing time with a brand-new lid, or refrigerate the contents and use them within about three days. If the food has sat out longer than that or anything looks or smells off, throw it away rather than risking it.
Can I can tomatoes in a pressure canner instead of a boiling-water bath?
You can, and it is not unsafe, but it is unnecessary for tomatoes and does not remove the need to acidify. Pressure canning is for low-acid foods like vegetables, meat, and beans, where it is the only way to destroy botulism spores. Tomatoes are acidified so that a boiling-water bath works, which is simpler, cheaper, and easier for a first batch.
Conclusion
Start with a tested tomato recipe from the National Center for Home Food Preservation or the lid manufacturer, set up your jars, lids, and canner the night before, and treat the processing time in the table as the floor rather than a suggestion. Check each lid the following day for a flat, motionless center, then store the sealed jars in a cool, dark pantry and start opening the oldest one first.