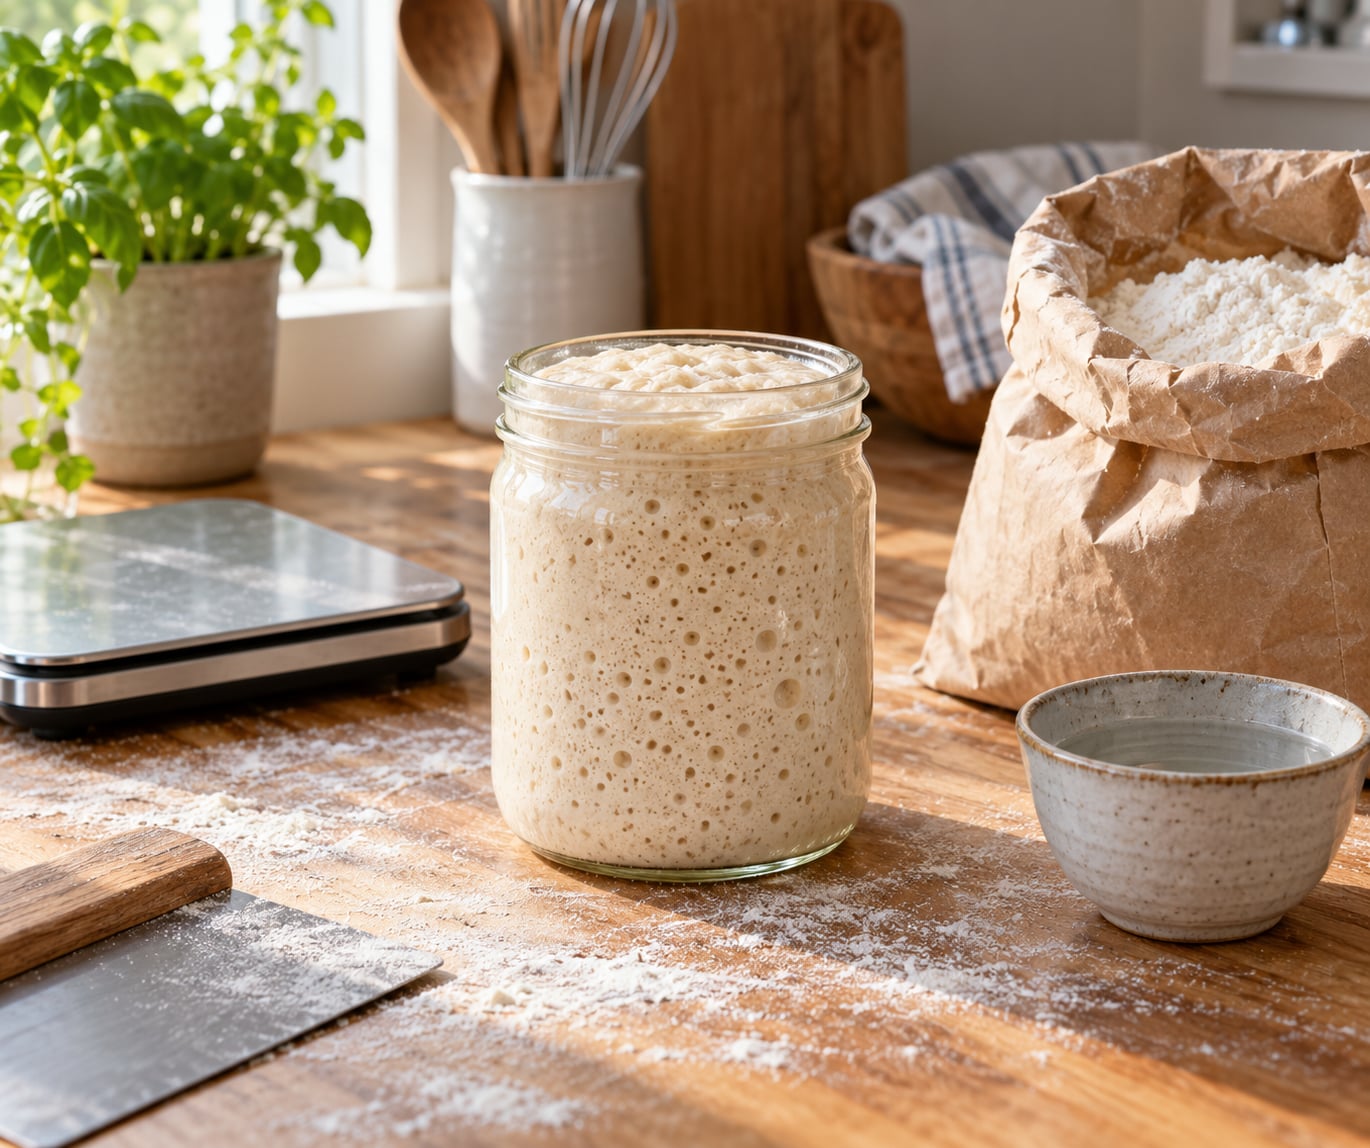
A mature sourdough starter lives in the refrigerator and gets one flour-and-water feeding every seven days. Take it out 8 to 16 hours before you bake, feed it at 1:2:2 by weight, and let it double before mixing your dough.
If you bake one loaf a week, that single feeding is enough. The cold slows the wild yeast and lactobacilli almost to a standstill, so a small feed keeps the culture alive without turning sourdough into a daily chore.
The part that trips people up is not the weekly feed itself. It is the wake-up two days before baking, and the sourness that creeps in after a week in cold storage. Both have straightforward fixes, and I walk through them below.
One note before you start. Weekly feeding only works on a mature starter, meaning one that reliably doubles within about six hours of a room-temperature feed. A ten-day-old starter still needs daily feedings until it matures, and moving to a weekly schedule before that point is the most common reason people think their starter is dead.
Table of Contents
- What You Need
- Step-by-Step: How to Feed a Sourdough Starter Once a Week
- Step 1: Check the Starter Before You Feed It
- Step 2: Measure the Starter, Flour, and Water
- Step 3: Feed and Mix Until No Lumps Remain
- Step 4: Let the Starter Rise at Room Temperature
- Step 5: Store It Until the Next Weekly Feeding
- Step 6: Adjust for Baking Day
- Common Mistakes When Feeding a Starter Once a Week
- Mistake 1: Measuring by Volume Instead of Weight
- Mistake 2: Waiting Too Long for a Slow Starter
- Mistake 3: Sealing the Starter Too Tightly
- Mistake 4: Ignoring the Signs of a Weak Starter
- Frequently Asked Questions
- Do you feed a sourdough starter even if you are not going to use it?
- How many days can a sourdough starter go without feeding?
- What is the 1/3/3 rule for sourdough starter?
- Is it better to feed sourdough starter in the morning or at night?
- How long after feeding should I put sourdough in the fridge?
- What does an overfed starter look like?
- Conclusion
What You Need
A few things, none of them exotic. You can start a weekly routine with what is already in your kitchen.
- Your mature starter, in a glass jar it can rise in without overflowing.
- A digital kitchen scale that reads grams. Volume measures will not work here.
- Bread flour or unbleached all-purpose flour, the everyday feed.
- Whole wheat or rye flour for a faster, more sour rise.
- Filtered or bottled water if your tap water has heavy chlorine.
- A lid that is not airtight, or a jar with the lid set slightly loose.
- A rubber band or piece of tape to mark the starting level.
Container size matters more than people expect. A starter kept at 100 percent hydration keeps creeping upward for roughly a day after it goes into the fridge, so a jar filled more than halfway will eventually ask you to scrub the fridge shelf. Fill it a third to half full and use a bigger jar for the week after feeding.
Do a small gear check before you set up the schedule. Zero the scale, confirm your flour is in date, and find a spot on your fridge shelf where the jar will sit level and out of the door.

Step-by-Step: How to Feed a Sourdough Starter Once a Week
Here is the weekly routine that actually holds up. It assumes you bake on a Saturday and gives you the two wake-up feedings that make Saturday’s loaf possible.
Step 1: Check the Starter Before You Feed It
Pull the jar out of the fridge and look before you touch it. A clear layer of straw-colored liquid on top, called hooch, means the culture has been sitting on its own acids. That is normal after about three days cold and not a sign anything is wrong.
Pour the hooch off if there is a meaningful amount, because that liquid carries the sharpest acetic acid and baking with it undiluted gives you a loaf that tastes of vinegar. If there is none, or only a teaspoon, feed straight from the jar.
Smell it too. Sour-sour but fruity or mildly tangy is fine. Nail-polish remover sharpness means it has been cold too long or needs a heavier feed, which is Step 6.
Step 2: Measure the Starter, Flour, and Water
Set the empty jar on the scale and tare it. Add starter until you reach the weight you want to feed, then note the number. Everything else is a multiple of that same number.
A 1:2:2 feeding means 25 g of starter, 50 g of flour, and 50 g of water. That is the baseline for a weekly feed. It is a substantial meal for the culture, which is exactly what a seven-day gap asks for.
Scale up by the same ratio rather than by feel. Baking two loaves on Saturday, feed 50 g starter with 100 g flour and 100 g water. Bakers on the Sourdough Geeks group describe exactly this habit, moving from a small 1:1:1 refresh to 1:2:2 or 1:3:3 once a week because the bigger ratio keeps the culture healthier between bakes.
If your starter feels sluggish and sour at the start of the week, go up to 1:5:5. The larger feed dilutes the acid the culture has been marinating in for seven days, which is the standard fix for a week-refrigerated starter tasting harsh.
Step 3: Feed and Mix Until No Lumps Remain
Add the flour first, then the water, and mix with a silicone spatula or a small whisk until the paste is uniform. Scrape the sides and the bottom, because a pocket of dry flour stuck to the glass becomes a pocket of hungry bacteria later.
Break up any dense lumps of cold starter with the back of the spatula. The goal is one continuous mixture, not a dough ball. Expect the texture of thick batter, looser than a stiff dough.
Wipe the rim clean with a damp paper towel before you close the jar. Dried starter crusts on glass are the reason people end up doing a jar swap every week, and you do not need that.
Step 4: Let the Starter Rise at Room Temperature
Mark the starting level with the rubber band, cover loosely, and leave it somewhere around 68 to 75 F. A 1:2:2 feed at 68 F typically doubles in four to five hours, while 1:5:5 is closer to six or eight.
Cool kitchens slow this down noticeably. Bakers working in 16 to 21 C kitchens report weekly-fed starters that are slow to double, and the fix they land on is a larger ratio plus a little whole wheat rather than simply waiting longer.
You want the starter at its peak: doubled in volume, domed, smells pleasantly tangy, and full of bubbles at the edges. A starter that has collapsed already has gone past peak, and you will get flatter bread out of it.
Step 5: Store It Until the Next Weekly Feeding
Refrigerate after the feed has had a chance to start working. Let it sit roughly an hour or two at room temperature first, then cap it loosely and move it to the fridge. Going straight in cold is why a lot of weekly starters end up sluggish, since they barely get going before the cold hits them again.
Two details keep weekly storage clean. Use a lid that lets a little air through rather than a screw-on seal, because a fully sealed jar can go anaerobic and leave you with a thin, watery mixture. And swap or scrub the jar once a week, because that week is enough time for a real crust to form.
If you would rather not manage a fridge jar at all, a weekly feed at 1:2:2 with the lid set at an angle in a cool corner of the kitchen usually survives seven days in most climates. It is less predictable in a hot summer kitchen, which is where the fridge earns its shelf space.
Step 6: Adjust for Baking Day
One weekly feeding is for keeping the culture alive, not for baking from. Eight to sixteen hours before you mix dough, take the jar out and feed again at 1:2:2. That is the wake-up feeding, and it is the step most likely to be skipped.
If the first wake-up feed has not doubled within six hours, feed again rather than waiting. A second feeding on 1:1:1 using a spoonful of the bubbly mixture from the first feed moves things along quickly.
Build a small amount of extra starter the day before if your recipe needs more than 100 g of active starter for the levain. Two feedings 4 to 6 hours apart will get you there without changing your weekly habit.
Common Mistakes When Feeding a Starter Once a Week
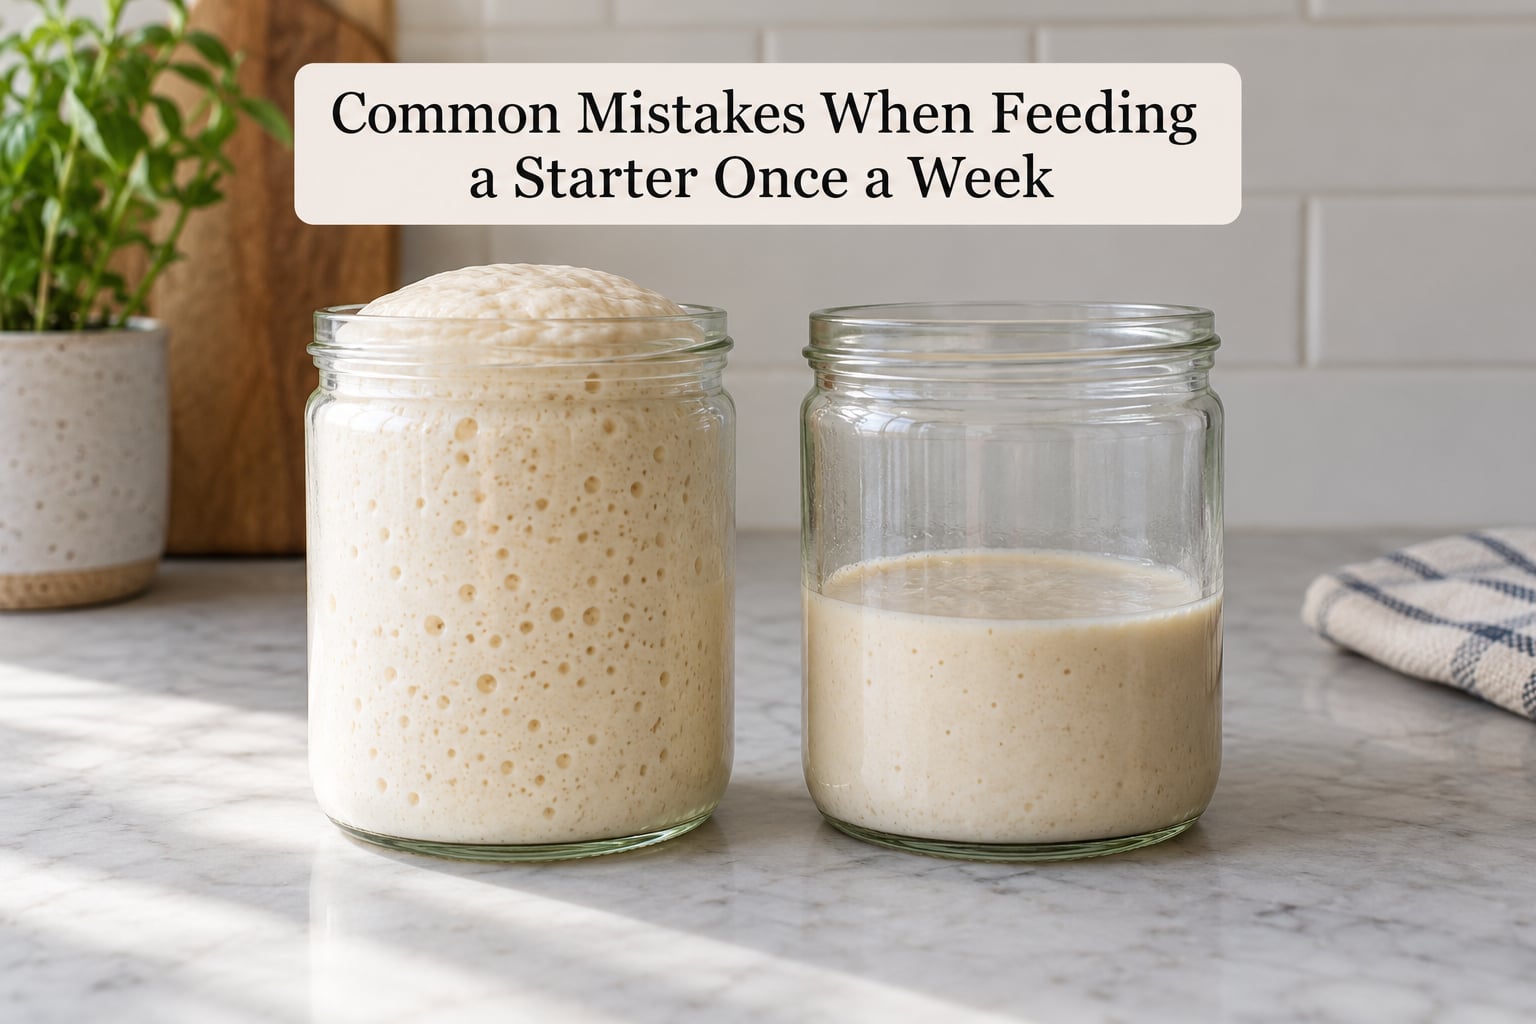
Almost every failed weekly starter traces back to one of four things. All four are fixable, and none of them mean you have to start over.
Mistake 1: Measuring by Volume Instead of Weight
Flour packs and sags, and a “cup” of starter at the bottom of a jar can be half the weight of one scooped loosely from the fridge. Two people using volume measures end up feeding at ratios they did not intend.
Tare a bowl on the scale, spoon flour in until the number reads, and do the same for water. Once you think in grams the whole schedule stops being guesswork.
Mistake 2: Waiting Too Long for a Slow Starter
Temperature, starter maturity, and a small feeding all add up. A 1:1:1 feed after a full week in the fridge can take twelve hours or more in a cool kitchen, and by then the culture is sluggish when you need it active.
Feed heavier instead of waiting. Move to 1:3:3 or 1:5:5, swap in 20 percent whole wheat flour for the ferment, and if the kitchen is cold, put the jar somewhere warmer for the first few hours.
Mistake 3: Sealing the Starter Too Tightly
An airtight container plus too much free water starves the starter of the oxygen the wild yeast needs and leaves you with a thin, watery mixture that doubles poorly. The symptom is a jar that looks like spilled pancake batter.
Set the lid on loosely or use a lid with a filter cap, and check that your flour and water amounts actually match. If the mixture runs off the side of the spatula, your hydration is too high for that container.
Mistake 4: Ignoring the Signs of a Weak Starter
A weak starter tells you plainly. No rise after a full day at room temperature, a sharp ammonia smell, an orange or pink cast when you pour it off, and a liquid that never thickens back up.
Start with a heavier feed and discard down to 25 g. If it still will not rise after two more feedings, move to daily feeding at 1:2:2 for about a week to rebuild strength, then go back to your weekly schedule. Many bakers have revived a two-week-old refrigerated culture this way, with doubling taking eight to nine hours on the first feeding and settling faster after that.
A few habits keep the weekly routine boring in the best way. Pick a fixed day and set it on the calendar. Keep the discard from feeding and turn it into pancakes, crackers, or foccacia instead of scraping it away, since at 1:2:2 you are discarding real flour every week. Use whole wheat or rye for a faster, sourer ferment and a lighter flour for the maintenance feed. And keep a portion dried out in the freezer as a backup.
Frequently Asked Questions
Do you feed a sourdough starter even if you are not going to use it?
Yes, if you want to keep the culture alive. A mature starter needs one feeding a week in the refrigerator to stay healthy, and skipping weeks is how bakers end up reviving a dormant culture instead of using a lively one. If you know you will not bake for two months, stop feeding and revive it later rather than discarding flour into the sink every week for nothing.
How many days can a sourdough starter go without feeding?
Seven days in the refrigerator is comfortable for a mature starter fed at 1:2:2. Hooch, the clear liquid layer on top, usually starts appearing after about three days cold, and that is normal rather than a warning. Going a month or more without feeding is survivable, but expect the first feeding back to take eight to nine hours to double.
What is the 1/3/3 rule for sourdough starter?
The 1:3:3 rule means one part starter, three parts flour, three parts water, all measured by weight. So 25 g starter, 75 g flour, 75 g water. It is a middle-ground ratio between a small 1:1:1 refresh and a large 1:5:5, and it works well for a weekly feed when you want a fuller rise without diluting the acid too much.
Is it better to feed sourdough starter in the morning or at night?
Feed in the evening if the next step is the fridge, since the starter works for an hour or two at room temperature first and you are not around to catch the peak anyway. Feed in the morning if you plan to bake that day, because a morning feed at 1:2:2 will double by late afternoon and you can build your levain from it.
How long after feeding should I put sourdough in the fridge?
Wait about an hour or two at room temperature before refrigerating. That short window lets the starter begin to eat, which is why a starter fed and immediately refrigerated feels sluggish all week. Once it has started, cap the jar loosely and move it to the fridge.
What does an overfed starter look like?
An overfed starter is flat, collapsed, and smells sharply of ammonia rather than fruity tang. It has usually been fed a very large ratio and left at room temperature too long, which dilutes the acid environment the culture needs and can invite invading organisms. The fix is to discard most of it, keep 25 g, and feed lightly at 1:1:1.
Conclusion
Feed a mature starter once a week and the whole routine comes down to three moves: keep it in the refrigerator with a loose lid, give it one 1:2:2 feeding by weight every seven days, and wake it up 8 to 16 hours before you bake.
Start today by pulling the jar out, pouring off any hooch, and weighing 25 g starter with 50 g flour and 50 g of water. Mark the level, give it an hour or two at room temperature, and put it back in the fridge.