To make bread rise faster in a cold kitchen, warm your mixing water to about 95 to 100F, then proof the dough in a sealed container inside a closed microwave or a switched-off oven holding a mug of boiling water. That combination usually keeps dough near 75 to 80F until it is ready to shape and bake, and it takes about ten minutes of setup.
The reason winter dough crawls is simple. Yeast fermentation roughly halves between 75F and 60F, so the same recipe that finished in three hours in July can take six in a north-facing room. You have three levers: dough temperature, the environment around the dough, and time. Adding more yeast is the one lever that reliably makes bread worse.
Measuring takes about a minute and changes everything. A cheap instant-read thermometer in the dough tells you whether it is cold and slow or stalled for another reason entirely, and that difference decides what you do next.
Table of Contents
- What You Need
- Step-by-Step: How to Make Bread Rise Faster in a Cold Kitchen
- Check the Dough Before Adding Heat
- Create a Warm Proofing Spot
- Use the Oven as a Gentle Proofing Chamber
- Shape and Bake When the Dough Is Ready
- Common Mistakes
- Tips for Making Bread Rise Faster in a Cold Kitchen
- Frequently Asked Questions
- Does a cold kitchen make bread dough rise too slowly?
- How long should bread dough rise in a cold kitchen?
- Can I use the oven to make bread rise faster?
- Is it safe to warm dough in a microwave?
- How do I know when bread dough has risen enough?
- Should I add more yeast if my dough is rising slowly?
- Conclusion
What You Need
None of this is specialty equipment. Every item here is either already in a kitchen or costs less than a loaf of bread.
- An oven with a light. The lamp adds a few degrees, and the enclosed cavity holds heat far better than an open counter.
- A dough thermometer. This is the single most useful tool for cold kitchens because it tells you the real dough temperature, not the room temperature.
- An instant-read thermometer for water. Guessing warm water is how dough ends up at 90F instead of 78F.
- A microwave or cooler. Both make excellent proofing chambers when they are switched off.
- A mug and a kettle. Boiling water in the chamber is what lifts the humidity as well as the temperature.
- Clean kitchen towels. One lines the bottom of the chamber, one insulates the bowl if you proof near a heat source.
- A lidded container or a large zip bag. Dough that dries out forms a skin, and a skin blocks shaping and scoring.
- A Dutch oven or baking stone. Not for speed, but for oven spring if the dough is a little underproofed.
Here are the temperatures worth memorizing. Every one of these is a target, not a rule.
- Mixing water for yeasted dough: 95 to 100F (35 to 38C)
- Finished dough temperature after mixing: 76 to 78F (24 to 26C)
- Bulk fermentation: 72 to 78F (22 to 26C)
- Final proof: 75 to 82F (24 to 28C)
- Sourdough starter feeding water: 85 to 90F (29 to 32C)
- Upper limit before yeast starts to die: 110F (43C)
That last number is the one people get wrong. Water at 120F feels comfortably hot on your wrist and will kill the yeast outright, and a dough held at 115F will do the same thing slowly.
Step-by-Step: How to Make Bread Rise Faster in a Cold Kitchen
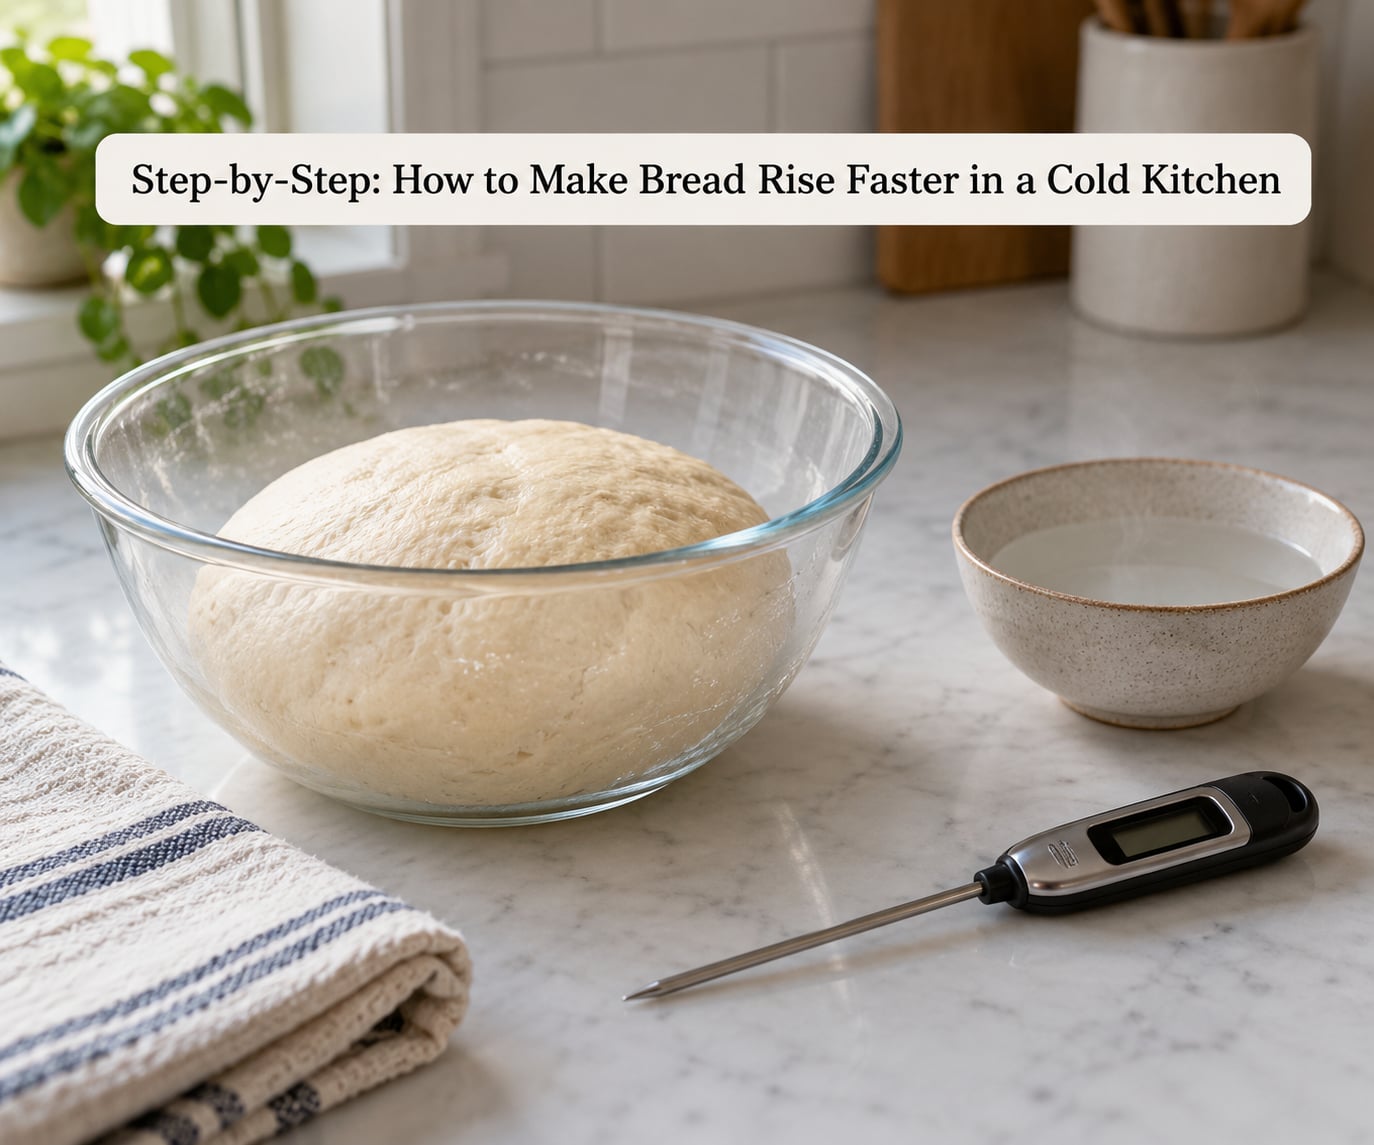
Check the Dough Before Adding Heat
Not rising and not rising quickly are different problems, and heat is the wrong fix for one of them. A dough that has doubled, feels aerated, and holds a soft dome is simply moving slowly, which is normal at 65F. A dough that sits at the same volume with no bubbles and no change in texture is stalled, and that usually points at dead yeast, salt sitting on the yeast, or a starter that never got going.
Push a floured finger about half an inch into the dough. A slow rise leaves a dent that fills back partway and the dough resists. A dead or stalled dough leaves a clean hole that stands open, and no amount of warmth will bring it back.
Take a temperature reading too. Below 70F and still climbing, give it more time and more warmth. Above 90F and flattening, add flour and get it cool immediately. And read the dough again before you reach for the oven switch, because dough cools for several minutes after mixing and a quick reading right at the bowl is misleading.
Create a Warm Proofing Spot
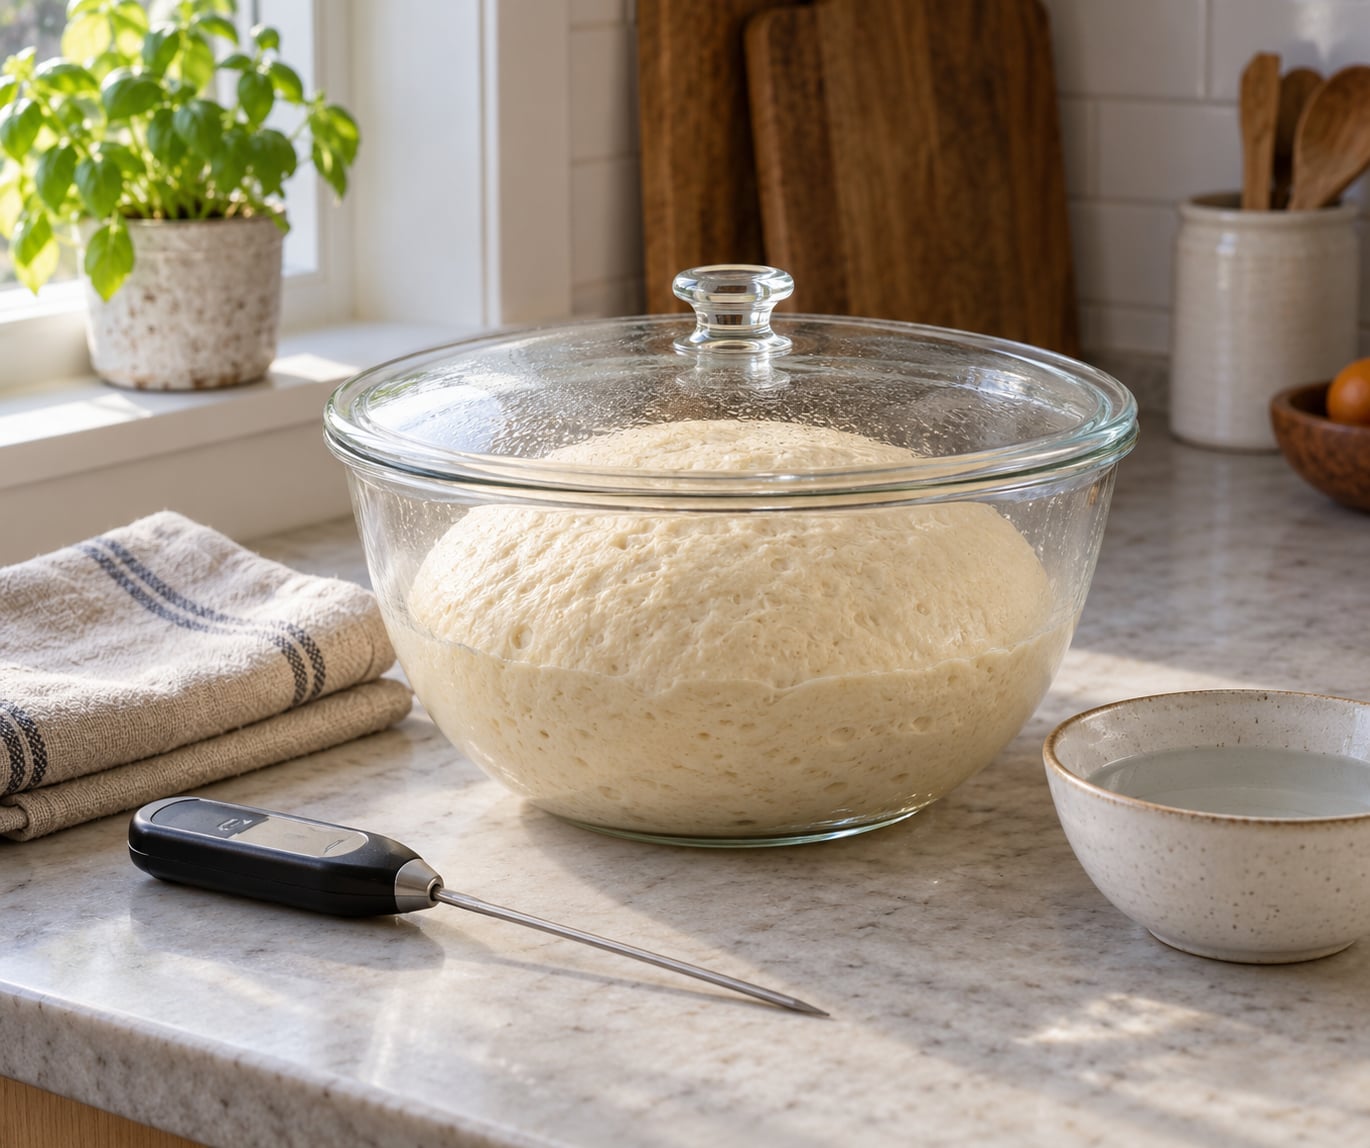
The chamber matters more than the heat source. What you are building is a small, sealed, humid space roughly 10 degrees warmer than your kitchen, and several cheap setups do that well.
- Switched-off oven with the light on. Genuinely useful as a top-up, not on its own. Bakers on r/Breadit report the lamp alone as too cool to do real work, but it is a decent buffer when paired with a hot mug.
- Closed microwave with nothing running. Turn it off, not on. Put a mug of just-boiled water beside the dough, close the door, and walk away. Never run the microwave with dough or plastic inside it.
- Warm water bath. A large bowl or pot, an inch or two of hot water, the dough container sitting on a rack or upside-down lid above the water, then a towel over the top.
- Cardboard proofing box. The method r/seriouseats bakers favor. A sturdy box, parchment or a towel lining the bottom, the dough in the middle, and a jar of boiling water in a corner. Tape the corners so it holds heat.
- Another room. The top of a clothes dryer, an interior closet, a shelf near the dryer vent. Anywhere with steady warmth and no drafts.
If you use a radiator, a heating pad, or a woodstove, put a folded towel between the heat and the bowl. Direct radiant heat crusts the bottom of the dough and kills the yeast sitting against it, which is how you end up with a flat loaf in a warm kitchen.
Use the Oven as a Gentle Proofing Chamber
Heat the oven to 250F for ten minutes, then turn it off and leave the door shut for ten minutes before the dough goes in. That preheat-soak brings the whole cavity and the walls up to temperature, so the chamber holds warmth for hours instead of minutes.
Confirm with your hand that the interior is comfortably warm rather than hot, put the covered dough on the center rack, and leave space around it for expansion. A dough that doubles will push into anything touching it, and a lid pressed tight against rising dough leaves a ring mark.
Check the interior every hour or two. Ovens vary a lot, and the only number that matters is what the thermometer says when you open the door.
Shape and Bake When the Dough Is Ready
Move through the stages in order: bulk fermentation until the dough has grown roughly half again and feels aerated, a short rest, shape, final proof until puffy and jiggly, then bake. Judge every stage by touch and volume, never by a timer, because the timer is what was wrong in the first place.
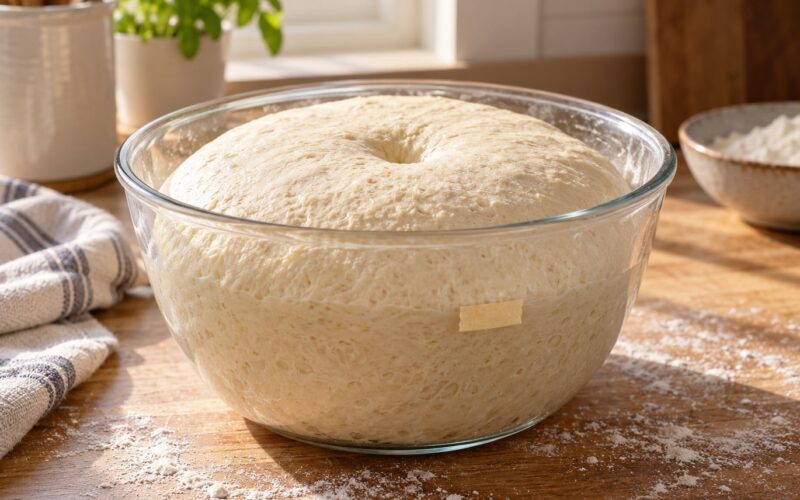
The signs of a finished bulk are a rounded mass, bubbles along the sides of the container, and a surface that has gone from matte to slightly domed. For the final proof, the dough should fill most of its container and spring back slowly when you poke it. If it springs back fast, it needs more time and more warmth.
If your dough is a little underproofed, a preheated Dutch oven or a baking stone buys back some of the missing lift by trapping steam around the loaf for the first fifteen minutes. It rescues a slightly flat loaf. It does not rescue dead dough.
Common Mistakes
Water that is too hot is the most frequent one, usually measured by feel rather than thermometer. Feel rarely matches a thermometer, and yeast dies above 110F. If your water feels too hot for a comfortable bath, heat it until it just stops steaming.
Sealing dough too tightly comes next. A lidded container is right, but pressed right against the dough it leaves seams and rings as it expands. Leave headroom and let the lid sit loosely for the first part of the ferment.
Overheating the kitchen is the mistake that undoes all the others. Cooking the room up to 80F and leaving it there works against you, because a kitchen that warm is better suited to a slower fermentation with less yeast. Warm the dough, not the house.
Ignoring yeast activity loses more winter loaves than anything else. Test active dry yeast by putting a spoonful in warm water and looking for a foam within ten minutes. If nothing happens, the yeast is old and no temperature trick will save the dough.
Rushing fermentation is easy to do and easy to regret. Dough that is pushed to volume too fast, or with more yeast than the recipe calls for, develops weak gluten and a yeasty, sour flavor instead of a deep one. Cold, slow fermentation is not the enemy. It is where the flavor comes from.
Two smaller ones catch people out. Water from a cold well or spring can be far below tap temperature and will drag the dough down without you noticing, so heat that water until the thermometer says 95F. And dough continues cooling after mixing, so a temperature reading taken at the bowl overstates where the dough will be an hour later.
Tips for Making Bread Rise Faster in a Cold Kitchen
Lowering hydration is the adjustment experienced bakers reach for first. Cold dough develops gluten poorly, so a stiff, slack dough that will not hold shape can usually be handled by cutting water by 5 to 10 percent for the same flour weight, and adjusting the rest of the recipe to match.
Bake smaller rolls when you are short on time. The same dough in smaller shapes comes to temperature faster, proofs in less total time, and gives you more loaves to show for a slow day. A pull-apart batch of dinner rolls is a good cold-weather project for the same reason.
Chill ingredients when your kitchen runs hot rather than cold, and use cool water then. The same logic runs the other way: warm the flour slightly if your room is very cold, which helps the dough hold its temperature through mixing.
Gluten-free dough is the exception that goes faster, not slower. Without gluten to develop, those doughs often want a shorter, warmer proof with a little extra yeast, which makes winter baking easier rather than harder.
Keep a short temperature log. Note the room temperature, the finished dough temperature, and how long bulk took. Four or five bakes and you will know your kitchen well enough to skip the guesswork entirely, and you will know which warm spot is worth keeping switched on.
One more worth the trouble: a stretch-and-fold on stalled dough. Thirty seconds of stretching and folding every half hour for an hour or two rebuilds tension and can restart a ferment that looked finished.
Frequently Asked Questions
Does a cold kitchen make bread dough rise too slowly?
Yes. Yeast activity roughly halves between 75F and 60F, so a room sitting near 60F can double your bulk fermentation time compared with a 75F kitchen. You are not losing yeast, only slowing it. Warm mixing water and a chamber proofing at 75 to 80F usually restore normal timing without changing the recipe.
How long should bread dough rise in a cold kitchen?
Plan on roughly twice the timing your recipe gives at room temperature. A four-hour bulk at 75F commonly takes seven or eight hours at 60F. Watch the dough rather than the clock: growth of about half again in volume, rounded edges, and bubbles at the sides of the container tell you bulk is done regardless of the hour.
Can I use the oven to make bread rise faster?
Yes, as long as you turn it off before the dough goes in. Heat the oven to 250F for ten minutes, switch it off, wait ten minutes with the door closed, then set the covered dough inside. Add a mug of boiling water for humidity and for a little extra lift, and check the interior temperature with a thermometer rather than trusting the setting.
Is it safe to warm dough in a microwave?
The microwave makes a good proofing chamber only when it is switched off. Close the door with the dough and a mug of hot water inside, and let the residual warmth do the work. Never run the microwave with dough, flour, or plastic wrap inside it. Steam from a hot mug is what raises the humidity in there.
How do I know when bread dough has risen enough?
Poke it with a floured finger. If the dent fills back partway and the dough feels soft and aerated, it has risen enough. If the dent stands open and the dough feels slack and dense, it needs more time and more warmth. Volume is the other check: roughly half again the starting size at the end of bulk, and most of the container filled after shaping.
Should I add more yeast if my dough is rising slowly?
Usually not. Extra yeast speeds the rise but produces weaker gluten, a sour or yeasty flavor, and a flatter loaf. Warm the environment instead, or simply allow more time for the ferment. If you do want to adjust yeast, reducing it for a slower, colder rise is usually a better move than increasing it.
Conclusion
Start by checking the dough, not the clock. Take a temperature reading and poke it: if it is alive and simply cold, warm the water to 95F next time, build a sealed chamber with a mug of boiling water, and give the ferment the extra time it needs. Dough that has grown, feels aerated, and puffs back slowly is ready, whatever the temperature was outside.
One last note for anyone baking in an unheated cabin or a mountain kitchen: the cold water, the woodstove and the single warm room are all workable. They just mean you are managing the dough by temperature rather than by recipe times, and once you get used to reading that thermometer, winter baking stops being a problem at all.