Bread dough is proofed when yeast has made enough gas for the dough to roughly double and go airy, and a finger pressed into the top pushes back gently, then slowly fills back in, leaving a shallow dent that stays put for about five to ten seconds. That check is the poke test, and it beats a timer almost every time.
Proofing is the step where a home bake is won or lost. Dough that has not finished fermenting bakes tight and gummy with heavy cracks along the bottom. Dough that has gone too far spreads flat in the oven, tears instead of opening along the score, and slices into something closer to a bread sponge than a loaf.
The frustrating part is that volume lies. Dough can look fully risen and still be under-proofed, and a modest rise can turn into a beautiful loaf. Bakers on baking forums keep posting the same question with a photo attached, which tells me the charts people pass around are not doing enough work. So this guide leans on feel first, then on what you can see, and treats the clock as a rough starting point for when to begin looking.
Table of Contents
- What You Need
- How to tell when bread dough is proofed, step by step
- Check the rise and surface first
- Use the poke test to read spring-back
- Consider time, temperature, and dough type
- Common mistakes that throw the test off
- Frequently Asked Questions
- How long should bread dough proof before baking?
- What does properly proofed dough look like?
- How do I tell if my bread is under proofed?
- How long is too long to proof dough?
- Can you still eat over proofed bread?
- What is the float test for sourdough?
- Conclusion
What You Need
None of this requires equipment. What it does require is a way to judge size honestly and a finger with a little flour on it.
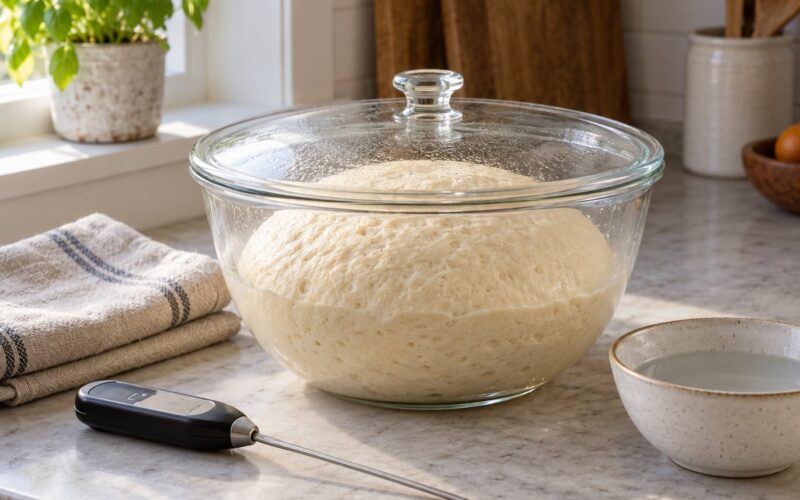
- The dough itself, covered, in a bowl or container you can see through. A straight-sided glass bowl or a clear tub makes judging the rise line much easier than an opaque one.
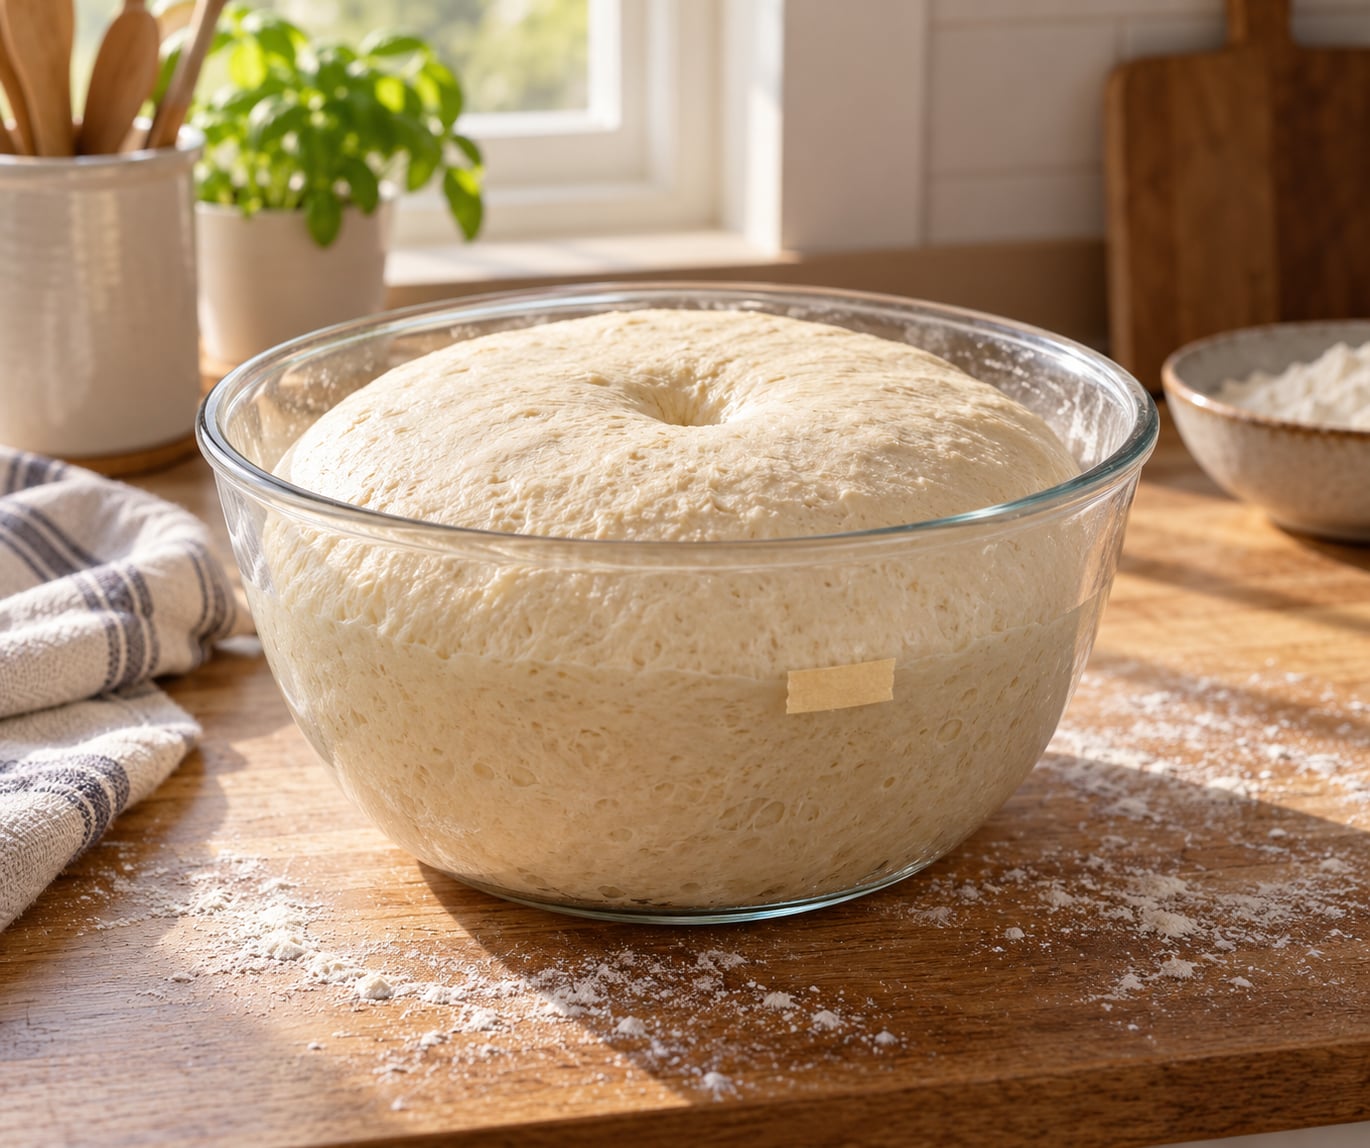
- A marker or piece of tape for the starting level. Mark the dough height with a piece of tape on the side of the container, then compare against it later. This beats guessing at the halfway point from memory.
- A floured finger. Dry skin drags and tears the surface, and a torn spot can deflate a delicate dough. Run your finger through flour and tap off the excess.
- A kitchen thermometer, useful rather than required. Proofing speed tracks temperature closely, so knowing whether your kitchen sits near 68F or 78F explains most of the difference between a recipe’s stated time and your actual bake day.
- A scale for dough temperature if you work that way. Cool water or a cold bowl pulls the dough temperature down, and a cool dough proofs noticeably slower than the recipe assumes.
- A second container for a float test on sourdough, filled with cool water. This only applies to starter-fed dough.
Before mixing, make sure the yeast is alive if you are using dry yeast. A teaspoon of yeast in a quarter cup of warm water should foam within a few minutes. If it sits flat, you have a proofing problem waiting for you and no test will save it.
How to tell when bread dough is proofed, step by step
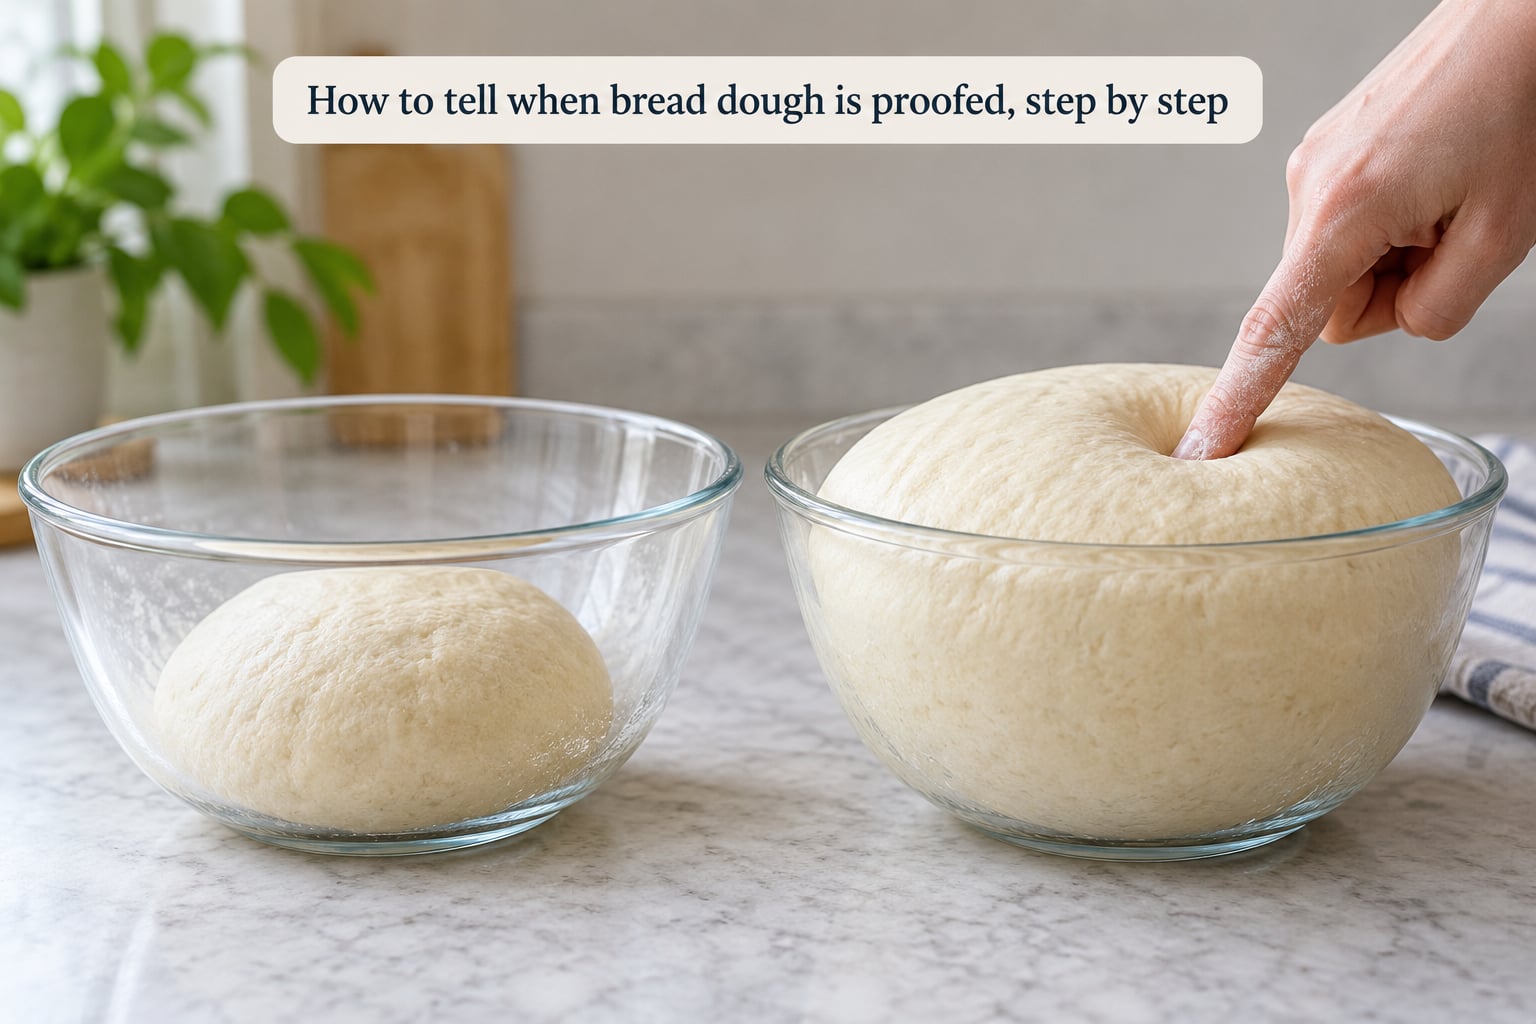
Run the checks in this order. The visual pass tells you whether fermentation is happening at all, the poke tells you whether the structure is ready, and the timing information tells you whether to check again in ten minutes or in an hour.
Check the rise and surface first
Compare the dough against your starting mark rather than against the bowl. Ready dough sits noticeably above the line you made, often anywhere from half again to twice the original volume depending on the formula.
Look at the surface, not just the height. Properly proofed dough has a domed or gently rounded top that domes slightly at the edges of the container. Under-proofed dough looks flat and matte with a tight, stretched skin, while over-proofed dough looks slack and may have a sunken or dimpled center, often with a wet sheen where the gluten has broken down.
Look along the sides and the bottom edge for small bubbles. A few gas bubbles clinging to the wall of the container are a good sign of active fermentation. A dough that has doubled with no bubbles anywhere may have gone over, since the gas has been pushed out into the container instead of being held in the dough.
Lift the container and give it a gentle nudge. Ready dough moves like a soft, jiggly mass that settles slowly, similar to a firm water balloon, while an under-proofed dough slaps back into place quickly.
Use the poke test to read spring-back
The poke test takes fifteen seconds and settles most arguments. Flour a finger, press about half an inch into the dough, and lift. Then watch what the dent does instead of what your hand did on the way in.
- Flour a finger lightly. Too much flour and you test nothing at all.
- Press straight down about half an inch, into the thickest part of the dough rather than the edge.
- Lift your finger straight up without dragging it sideways.
- Count the seconds until the dent fills in.
| What you see | What it means | What the crumb will do |
|---|---|---|
| Dent fills in instantly, dough feels firm and tight | Under-proofed | Dense, tight crumb with a heavy crack along the bottom |
| Dent fills in slowly over 5 to 10 seconds, faint outline stays visible, dough feels airy and marshmallow-soft | Ready to bake | Open, even crumb with good oven spring |
| Dent barely fills in or stays open, dough feels slack and fragile, surface may already be dimpled | Over-proofed | Flat loaf, poor oven spring, large irregular holes and tunnels |
If the dough springs back instantly but still looks puffy and light, trust the combination rather than the clock. Bakers who long-proof in a cool room often get dough that reads under-proofed on a quick poke but is genuinely close, so give it another fifteen minutes rather than baking it early.
Other checks are worth running alongside the poke, and each has a limit worth knowing:
| Check | How to do it | Where it works |
|---|---|---|
| Poke test | Floured finger pressed half an inch, watch the return | Every yeasted dough, at any stage |
| Rise against a mark | Tape on the container at the starting height | Commercial yeast dough; unreliable for whole grain |
| Wobble | Nudge the container and watch how the dough settles | Lean doughs and rolls |
| Float test | Drop a small piece into cool water | Sourdough only; it tells you about gas, not structure |
| Edge bubbles | Look for bubbles along the container wall | Bulk fermentation, before shaping |
The float test is the one people ask about most and understand least. A piece of starter-fed dough that floats has enough gas in it to be near the end of its rise; a piece that sinks is not there yet. It says nothing about gluten strength, which is why it can send you to the oven too early on a weak dough.
Consider time, temperature, and dough type
Timing tells you when to start checking, not when to bake. A bulk fermentation in a 70 to 75F kitchen commonly takes one to three hours with commercial yeast, and a final proof after shaping takes roughly 45 to 60 minutes. At 78F or above, the same dough can be finished in a fraction of that. In a 60F room, expect to wait considerably longer and check less often.
Four things move the clock. Dough temperature decides the rate of fermentation, and the yeast amount sets the ceiling on how much gas it can produce. Hydration changes how much water the gluten has to work with, and a wetter dough often feels more ready earlier because it looks looser. Flour strength decides how much structure is available to hold gas, and lower-protein regional flours run out of support sooner than bread flour.
Whole wheat and spelt deserve their own note. Their bran and germ make the dough feel heavier and mute the poke response, so a dent fills in more slowly than the timing suggests even when the dough is fine. Whole wheat dough often looks less than doubled while still being ready. Cornmeal and other coarse regional flours behave the same way, which is worth remembering if you bake with locally milled Southern Appalachian grains.
Gluten-free doughs are the exception to every rule here. With no gluten network to trap gas, expansion is limited and the spring-back response is weak or absent, so the poke test can read ready on dough that is nowhere near it. Watch volume and the surface instead, and treat baked results as the only honest feedback.
At the bulk stage, look for a rise of half to three-quarters of the original volume, a domed surface, and a dough that feels aerated when you tilt the container. At the final proof, the dough should be visibly puffy, jiggle when nudged, and fill most of the space around it without spilling over the edge. A dough that has doubled during bulk and then stops moving may simply be resting, since the shaped dough often looks smaller than the original mass because of tension on the surface.
Common mistakes that throw the test off
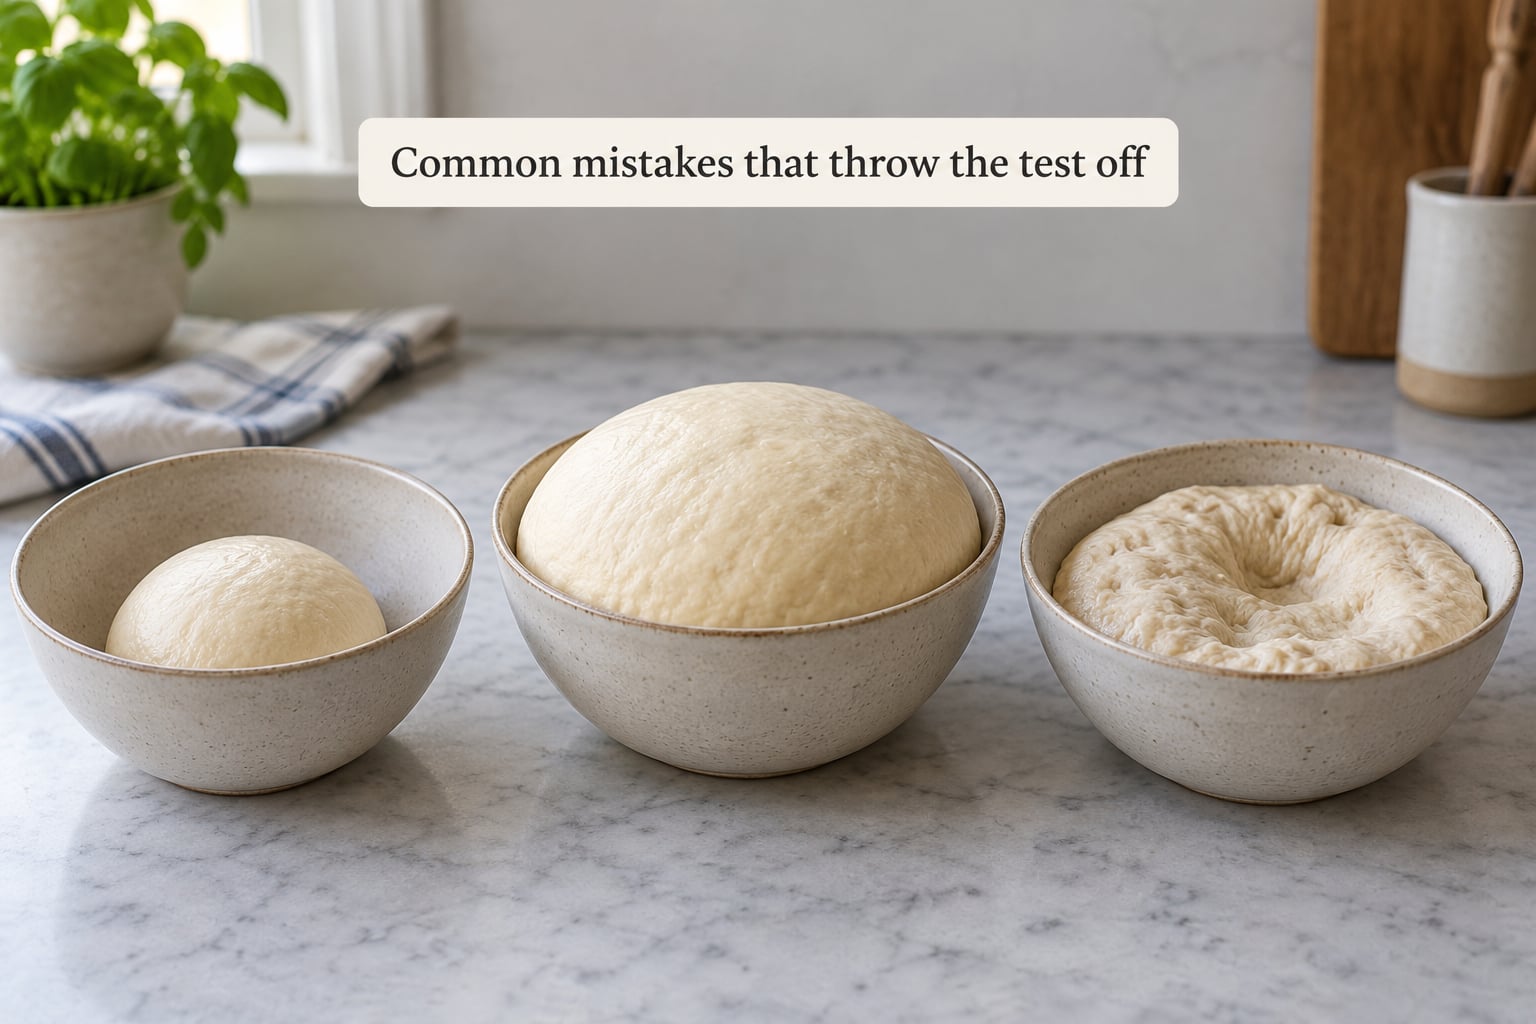
Most bad proofing calls come from a small number of habits.
Waiting for a full double. This is the most common one. Bakers hold out for 100 percent growth, and by then the gluten has relaxed past its window. Learn to read the dough at 70 percent and stop the clock from overruling your fingers.
Poking too hard or too deep. A full-knuckle plunge on a delicate dough leaves a dent you have just ruined. Press half an inch and no further, and test the thickest part.
Testing dough straight from the refrigerator. Cold dough is stiff, so a poke reads under-proofed even when the dough behind the surface is perfect. Let shaped sourdough warm on the counter for an hour or two before judging it, or skip the poke and go by volume.
Leaving dough uncovered. The surface skins over, tightens, and blocks the expansion you are waiting for. Covered dough also holds warmth, which means it proofs faster than an open bowl.
Confusing bulk fermentation with the final proof. Bulk fermentation ends when you shape, and the final proof is the shorter rise after shaping. A dough that feels ready for shaping can still need another 45 to 60 minutes before it goes in the oven, and skipping that stage gives you a dense loaf from a dough that was never under-fermented.
Diagnosing only after the bake. Slice the loaf and read it. An uneven crumb with big holes near the edge and a dense center usually means the dough was under-proofed or shaped too tight, while a good rise in the bowl followed by a flat profile and poor oven spring means it went over-proofed. Both can be true at once in a single loaf, since the outside over-proofed while the center lagged behind, and that is usually a shaping or heating problem rather than a proofing one.
If dough has gone too far with commercial yeast, you have a real chance of bringing it back. Knock it down gently, reshape it, let it rest for 30 minutes, and check again with the poke test. It will not recover fully, but it will bake far better than it would have. With sourdough, the dough is usually past saving for a tall loaf, so roll it thin for flatbread or crackers, or bake it as a pancake-like round.
Frequently Asked Questions
How long should bread dough proof before baking?
With commercial yeast, bulk fermentation usually runs 1 to 3 hours and the final proof after shaping takes 45 to 60 minutes, both at a 70 to 75F room temperature. Treat those numbers as a starting point for checking, not a target for baking. Warm kitchens speed the dough up and cold ones slow it down, so watch the dough rather than the clock and start checking 30 minutes before the recipe time ends.
What does properly proofed dough look like?
Properly proofed dough has risen to somewhere between half again and twice its starting volume, with a domed or gently rounded top. The surface looks smooth and slightly puffy rather than flat and matte, and small bubbles often cling to the sides of the container. It should move like a soft, jiggly mass when you nudge the bowl and feel airy underneath rather than tight and bouncy.
How do I tell if my bread is under proofed?
Two signs point to under-proofing. Before baking, the dough springs back instantly from a poke, feels firm and tight, and often has not risen much. After baking, the loaf shows a dense, tight crumb, a heavy crack along the bottom, and a gummy or moist interior. A dough that looks risen but still snaps back hard usually needs another 15 to 30 minutes before scoring.
How long is too long to proof dough?
There is no fixed hour, because the dough sets the limit and not the timer. Once the gluten has relaxed past its window, dough spreads flat, feels slack and fragile, and no longer holds a tight surface. It will have a dimpled or sunken top and can tear when you try to handle it. Sourdough in a warm room can pass this point in a few hours, while a cold-proofed dough can wait overnight without trouble.
Can you still eat over proofed bread?
Yes, over-proofed bread is perfectly safe, it just eats differently. Expect a flatter loaf with a coarser, more open crumb and a slightly fragile texture. Slice it thin for toast, cut it into croutons, or use it for French toast, where the flatter shape actually works in your favor. Nothing about over-fermentation makes the bread unsafe to eat.
What is the float test for sourdough?
Drop a small piece of dough into a bowl of cool water. If it floats, it has enough gas to be close to the end of its rise; if it sinks, it needs more time. The test only measures gas, not structure, so it can be fooled by a weak dough full of air but unable to hold it. Use it as a secondary signal alongside the poke test, never instead of it.
Conclusion
Start with the poke test, then confirm it with what you can see. If you know how to tell when bread dough is proofed by one method alone, make it the floured-finger press at half an inch, watched for a five to ten second return. Pair that with a visible rise against your starting mark and a surface that has gone domed rather than flat.
After that, adjust to your kitchen. A cold room needs more time and fewer checks, a warm summer kitchen needs shorter waits and closer attention, and whole-grain or gluten-free doughs need volume and crumb feedback more than the poke. Give the dough the last word, and it will rarely disagree with you twice.