A crispy crust comes down to three levers working together: hot oven, steam early, and a lean dough. Bake at 450-500F, keep maximum moisture in the oven for the first 15-20 minutes, and keep butter, oil, sugar, milk and egg out of the dough. That combination is how to get a crispy crust on homemade bread, and every step below builds on those three.
The crust is also the first thing people notice and the last thing they blame on the recipe. A pale, matte loaf with a chewy skin reads as underbaked no matter how good the crumb is. In my kitchen the fix was almost never the dough. It was a longer preheat, more steam than I thought, and a few extra minutes uncovered at the end of the bake.
Everything below works in a normal home oven with a normal range, no steam-injection countertop machine. Total time on a weekday is about an hour of oven work plus whatever your dough needs to rise.
Table of Contents
- What You Need
- How to Get a Crispy Crust on Homemade Bread: Step by Step
- Preheat Until the Oven Is Fully Hot
- Use the Right Dough and Flour
- Add Moisture at the Start of Baking
- Score the Loaf to Encourage Controlled Crackling
- Bake Until Deeply Golden: How to Get a Crispy Crust Without Burning
- Cool the Bread Before Cutting
- Common Mistakes
- Frequently Asked Questions
- How do I get a crispy crust on bread without a baking stone?
- Why does my homemade bread crust stay soft after baking?
- Should I use steam or a steam oven?
- How can I make gluten-free bread have a crisp crust?
- Can I re-crisp a loaf that has gone soft?
- How long should bread cool before cutting the crust?
What You Need
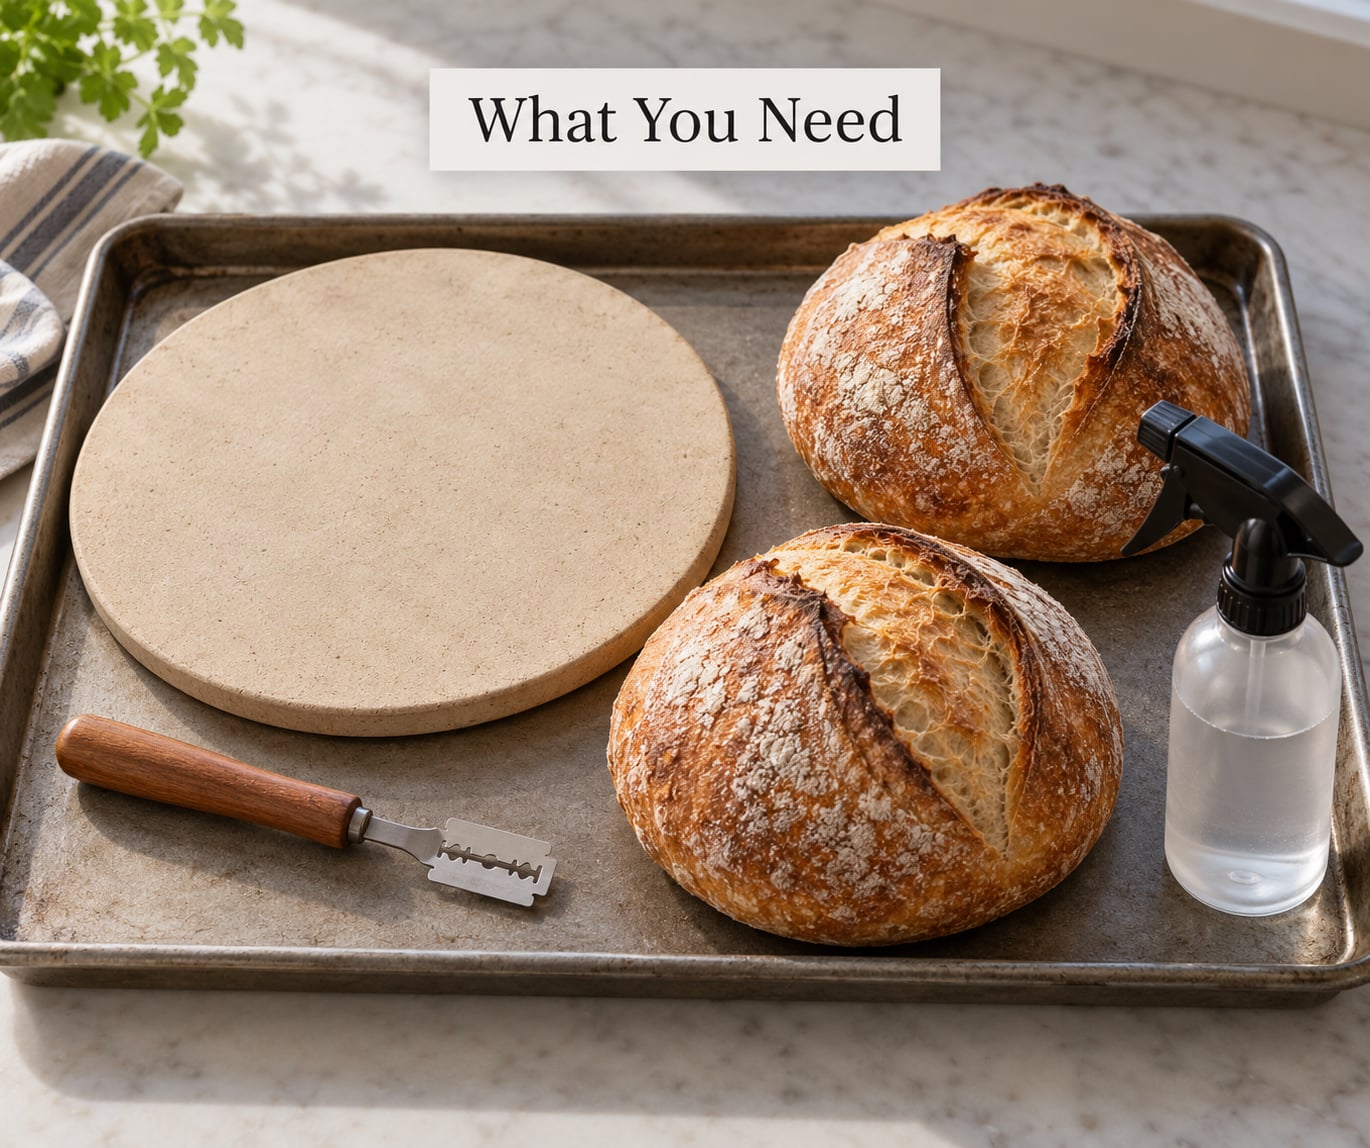
Most of this list you already own. The one item worth buying new is an oven thermometer, because a dial set to 500F is a guess and the guess is often wrong by 25 to 50 degrees in either direction.
An oven thermometer. Put it on the middle rack and leave it there during a preheat. If your oven reads 475F when the dial says 500F, bake at what the dial says and let the thermometer tell you the truth.
A baking stone, a baking steel, or a heavy inverted sheet pan. All three do the same job, which is to deliver a burst of stored heat the instant the dough lands, so the base of the loaf sets and crisps before the crumb has finished expanding. A steel holds more heat than a stone and gives a darker, crisper bottom. A heavy sheet pan turned upside down is the cheapest option and beats bare rack every time.
Something to hold steam. A cast iron Dutch oven with a lid is the classic. If you would rather not use a pot, put an empty metal pan on the lowest rack or the oven floor and fill it with 1 to 1.5 cups of boiling water right as the loaf goes in. The steam method comparison matters less than having some.
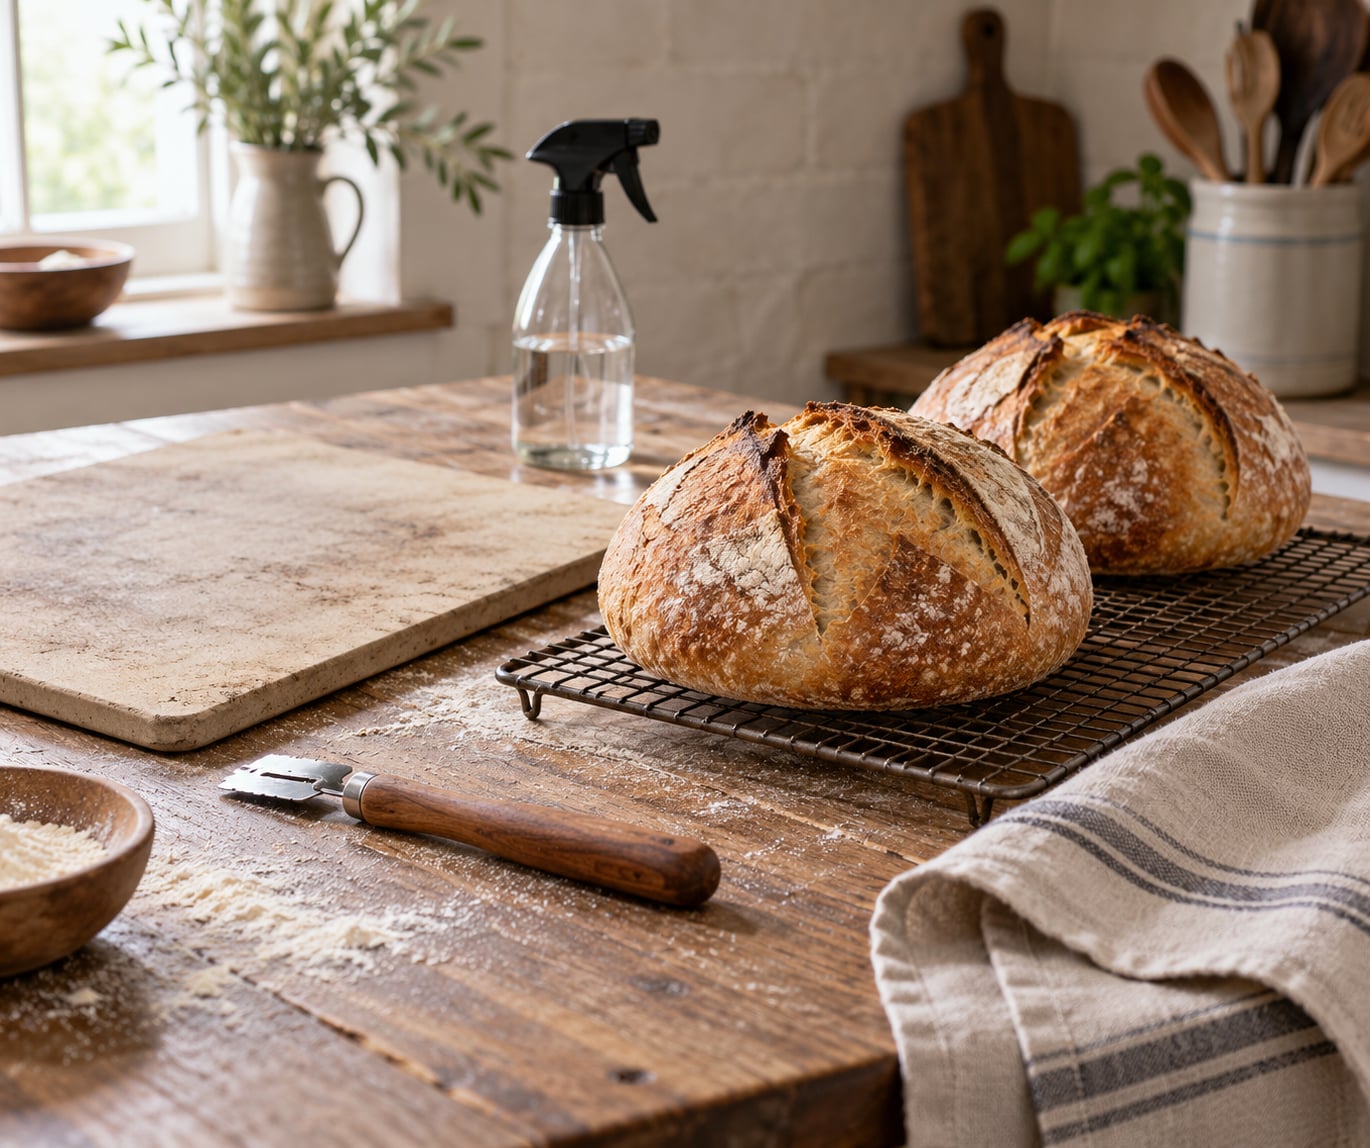
A bread lame, a razor blade, or a very sharp knife. Scoring needs a blade thin and sharp enough to cut clean without tearing. A dull knife compresses the surface and the loaf cracks where it wants to instead of where you wanted it to.
A spray bottle filled with plain water. This is for the loaf itself, not the oven. A light mist right before the loaf goes in keeps the skin from tearing in the first minutes.
A wire cooling rack. Cooling on the pan traps steam under the crust and softens the very surface you spent an hour building.
Flour that browns. Bread flour or a 50/50 blend of bread flour and all-purpose gives you color and a thin, brittle shell. Straight all-purpose has less protein and more sugars, which browns faster but bakes up softer and cakier. Avoid pastry flour for a crisp crust. Whole wheat and whole grain blends go dark fast, so pull them a little earlier and watch the color closely.
For the oven itself, a wood cookstove or a hot cast iron griddle gets you halfway to a bakery crust before the loaf is even mixed. That is the way a lot of mountain kitchens baked bread for a century, and the crust from that dry heat is still hard to beat. A home oven gets there the slow way, which is what the rest of this guide is about.
How to Get a Crispy Crust on Homemade Bread: Step by Step
Preheat Until the Oven Is Fully Hot
Give the oven a full 45 to 60 minutes at 450 to 500F. That is longer than most recipes ask for and it is not padding. A hot oven bakes off moisture quickly, and moisture is what turns a tender loaf into a chewy one.
Put the stone, steel or inverted sheet pan in during the preheat so it heats with the oven. How do you know it is ready? Hold your hand a few inches above the stone. If you cannot keep it there for more than a few seconds, the surface is where it needs to be. Baking stone and steel need at least 45 minutes; an hour is safer if the pan is thick.
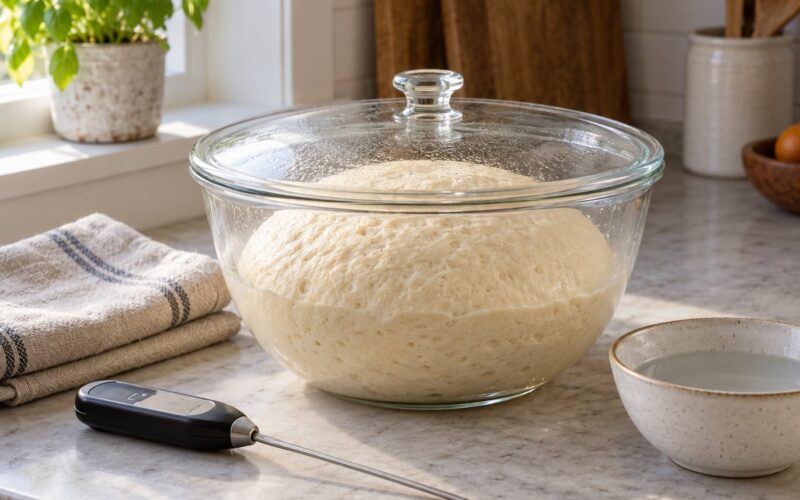
If you bake in a Dutch oven, set the empty pot in the oven with the lid on. Experienced bakers do this for 20 to 30 minutes while the dough finishes its last rise, and it cuts a few minutes off the total bake because the loaf hits hot cast iron instead of a warming pot.
Convection is worth a word here. It bakes more evenly and dries the crust faster, but the fan also strips moisture off the surface faster. Turn it off for the first 20 minutes if you can, or drop the temperature about 25F and add 5 minutes to the uncovered stretch.
Use the Right Dough and Flour
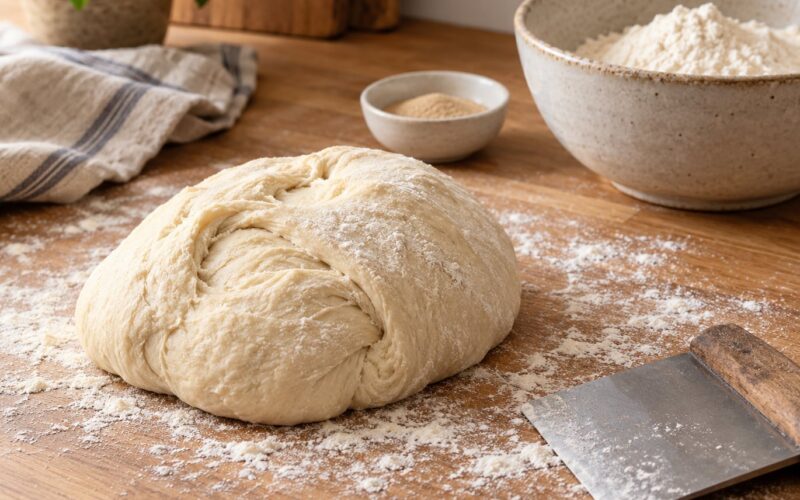
Lean dough is the goal. Flour, water, salt, and yeast or starter is all you need. Everything else you might reach for works against a crisp crust.
Fat shortens gluten and tenderizes, which is what you want in a cake and the opposite of what you want on bread. Sugar and milk do the same thing and brown the loaf fast, so a sweet enriched dough goes golden and then stays soft. Egg does it too, and adds a shiny, chewy, almost lacquered skin. Save the butter and honey for the dough of a sandwich loaf you intend to eat the same day, not for the loaf you want to shatter.
Salt matters more than bakers expect. It tightens the crumb, firms the gluten network so the loaf holds its shape during oven spring, and without enough of it the crust has nothing to crisp into. Salted water in the dough, or a brine, gets you there without extra steps.
Hydration changes the crust too. A wetter dough spreads more, which means a thinner crust, and it usually blisters less. Somewhere around 70 to 78 percent hydration is a good range for a crisp thin shell on a boule. Go wetter and the crust gets thicker and softer, which some people love and some people read as underbaked.
Gluten-free dough needs a different plan, and it is fixable. Without gluten there is no protein network to trap gas, so the loaf spreads, the surface dries out unevenly, and the result is a pale, crumbly skin. Bake it hotter and longer, hold steam for the full stretch rather than 15 minutes, and add a little starch such as cornstarch or tapioca to the flour blend if your recipe allows it. Then bake until the internal temperature reaches 205 to 210F, because gluten-free crumb keeps setting as it cools and a loaf pulled at 190F will feel underdone when you cut it.
Add Moisture at the Start of Baking
Here is the part most people skip, and it is the part that does the most work. Steam keeps the surface of the dough wet and pliable for the first 15 to 20 minutes. While that skin stays flexible, the loaf can expand all the way it is able to. The moisture also gelatinizes the starches at the surface and keeps enzymes releasing sugars, which is what caramelizes into color and flavor once the steam is gone.
Think of it as two phases. First the crust sets, and the loaf finishes expanding. Then the crust dries, browns, and hardens into a shell. Steam buys you the first phase. Your oven takes care of the second.
With a Dutch oven, put the loaf in the cold pot, cover it, and bake at 500F for 20 minutes. The dough and its own moisture make enough steam inside the sealed pot to do the work. Then take the lid off, drop the oven to 450F, and bake uncovered for 15 to 25 minutes. The uncovered time is where the crust dries out and crisps, and it is the step that gets cut short.
Without a pot, put a pan of boiling water on the lowest rack as the loaf goes in. One to 1.5 cups for a home oven. Close the door quickly and do not open it for 20 minutes. Ice cubes tossed into the hot pan work about as well as boiling water, and home bakers report they keep the crust from setting too early and tearing at the sides.
Misting the loaf with a spray bottle right before it goes in is a good supplement and a poor substitute. It keeps the skin from tearing, but the oven needs the bulk of its steam from a pan or a pot, not from a mister. If your loaf is small and your pot is large, spray extra water into the empty pot so there is enough moisture for proper oven spring.
There is such a thing as too much steam, and nobody talks about it. Water pooling on the loaf washes flour into a pale yellow skin, and steam that never clears leaves the crust damp and dull within hours. If your loaf sits in visible moisture for the last 10 minutes of the bake, you overdid it.
Score the Loaf to Encourage Controlled Crackling
Scoring tells the loaf where to open. Without a score, the crust picks its own weakest point, tears somewhere ugly, and often pulls away from the loaf in a flap. Scoring gives you one clean seam instead of a ragged split.
Depth matters. Cut about a quarter inch deep for a thin crust, and up to half an inch for a thick country crust or a loaf with a heavy crust. The rule I use is to cut through the crust and just barely into the soft dough underneath. If you can see deep gashes from the top after baking, you cut too deep. If there is no ear and no crackle, you cut too shallow.
Patterns by shape. For a round boule, one straight slash across the top at an angle, or a cross. For a baguette or torpedo, three or four diagonal slashes at 45 degrees, which lets the loaf expand along its length. For a loaf in a tin, one long slash down the center of the top. Hold the blade nearly perpendicular and draw it in one confident motion. Sawing back and forth drags the dough and leaves a ragged seam.
Cold, well-shaped dough blisters better. Bakers who retard shaped loaves in the fridge notice more blistering, because the cold firm dough holds more gas at the surface and the carbon dioxide escapes slowly instead of all at once.
Bake Until Deeply Golden: How to Get a Crispy Crust Without Burning
The home oven protocol that experienced bakers converge on is simple. Preheat to 500F, bake covered for 20 minutes, then vent or remove the pot and drop to 450F for 20 to 25 minutes uncovered. Some ovens run hot enough that 485F is the more honest number for the first 20 minutes.
| Loaf | Weight | First 20 min | Then uncovered | Total bake |
|---|---|---|---|---|
| Small boule or dinner roll | 1 to 1.5 lb | 475F, covered | 15 to 20 min at 450F | 30 to 35 min |
| Standard boule | about 2 lb | 500F, covered or heavily steamed | 20 to 25 min at 450F | 40 to 45 min |
| Large boule or sourdough | 3 lb or more | 500F, covered | 25 to 30 min at 450F | 45 to 50 min |
| Pan or tin loaf | 2 to 2.5 lb | 450F, no steam after 10 min | 35 to 40 min at 425F | 45 to 50 min |
| Baguette | about 1 lb | 475F with steam | 12 to 18 min at 450F | 25 to 30 min |
Two things matter more than color: time and internal temperature. The most common reason a crust comes out soft is not a recipe flaw. It is underbaking on the uncovered portion, which is exactly where the crispy part forms. A golden loaf pulled early will still be chewy when you cut it, and no amount of cooling will fix that.
Probe the center with an instant-read thermometer. Lean breads are done at 190 to 200F, sourdough at 200 to 205F, rolls at 185 to 190F, gluten-free at 205 to 210F. Color is a useful second signal but not the first one, because pale crusts can be underbaked and dark crusts can be scorched without ever passing through a good golden stage. That jump from pale to burned is nearly always under-steaming.
Most advice on how to get a crispy crust on homemade bread stops at color. Temperature is the better measure, and it is the one you can actually repeat.
If the crust is colored right but still soft, do not reach for more heat. Drop the temperature by 25F and give it 10 more minutes. Extra time at a slightly lower temperature dries the crust out, which is the actual goal. More heat just burns the outside and leaves the inside of the crust damp.
Cool the Bread Before Cutting
Take the loaf out of the Dutch oven the moment the uncovered time is up. Do not let it cool in the pot with the lid off but trapped in a warm oven, and do not leave it in a closed pot, because trapped moisture condenses onto the crust and softens it.
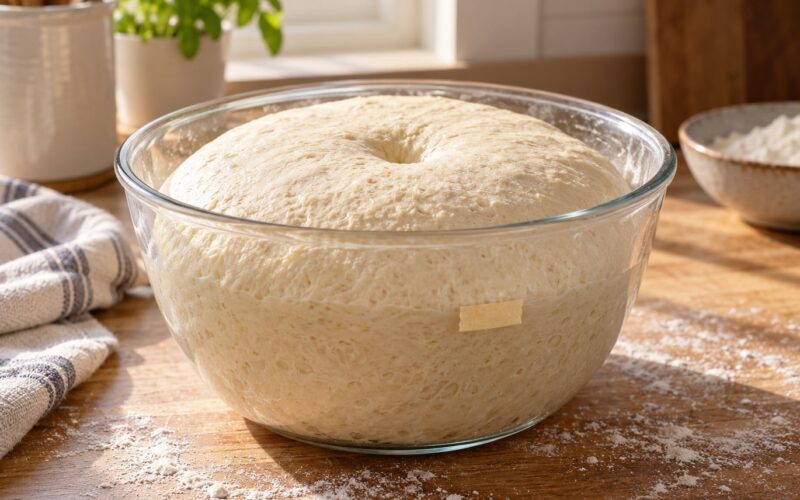
Move it to a wire rack so air circulates under and around it. A whole boule wants at least 2 hours, a pan loaf about 1 hour, rolls 30 to 45 minutes, and a baguette around 30 minutes. Those times feel long, and the waiting is worth it: starches finish setting, the crumb firms up, and the crust dries into a shell instead of staying gummy.
Gluten-free bread can use a slightly longer rest, since its crumb keeps tightening as it cools. Cutting a loaf early on a gluten-free bake is how you end up with a gummy slice that no amount of toasting will rescue.
Common Mistakes
Nearly every soft-crust complaint comes back to one of nine things. Find your symptom in the table, read across, and change one variable at a time. Changing three at once means you will never know which one worked.
| Symptom | Likely cause | Fix |
|---|---|---|
| Golden crust, chewy when cut | Underbaked on the uncovered portion | Add 5 to 10 minutes uncovered at 450F, verify 190F internal |
| Crust soft again after a few hours | Steam never cleared, or water pooled on the loaf | Reduce steam, keep the pan out during the last 10 minutes, cool uncovered on a rack |
| Crust tough and leathery | Baked too long, or too much fat and sugar in the dough | Cut 5 minutes off the uncovered stretch, cut the butter, sugar and milk from the dough |
| Pale crust with no color | Not enough steam, or dough under-fermented | Hold steam for the full 20 minutes, let the dough finish proofing to full rise |
| Goes from pale straight to burned | Steam burns off too early, so color jumps | Add water or keep the lid on longer, lower the bake temperature 25F |
| Bottom burns before the top browns | Direct conduction from hot cast iron or stone with no air moving | Put the loaf on a rack above the preheated surface, drop 25F, turn off convection for the covered stretch |
| No blisters or ear | Scored too shallow, dough baked warm from the fridge with no rest, or too wet | Score a quarter inch deeper, let the chilled loaf sit 20 to 30 minutes before baking, drop hydration slightly |
| Dull, matte crust | Dough surface dried out before the loaf went in | Mist the dough immediately before loading, score immediately before loading |
| Crust turned out too hard | Over-steaming plus a long uncovered finish | Shorten the uncovered stretch by 5 to 10 minutes, keep the covered phase at 20 minutes |
Two more mistakes are worth calling out because they are nearly universal. Opening the oven door during the first 20 minutes dumps the steam and lets the crust set early, which is why the loaf cracks or tears at the sides. And storing bread in a plastic bag while it is still warm traps condensation straight onto the crust.
If you want the color deeper without the shade turning tough, add about 3 percent brewer’s malted barley to your flour. Bakers report a noticeably darker, better-flavored crust, and it works especially well on whole wheat where the bran can mute the browning.
Frequently Asked Questions
How do I get a crispy crust on bread without a baking stone?
Turn a heavy sheet pan upside down and preheat it in the oven for 45 to 60 minutes, or let a cast iron skillet or griddle heat with the oven. That stored heat hits the loaf the instant it lands and sets the base before the crumb finishes expanding. A preheated Dutch oven works the same way and adds steam. What matters is a hot, heavy surface under the bread, not a specific stone.
Why does my homemade bread crust stay soft after baking?
Nine times out of ten it is underbaking on the uncovered portion, which is exactly where the crust forms. A loaf can look golden and still be chewy when you slice it. Add 5 to 10 minutes uncovered at 450F and probe for 190 to 200F internal. Softness within hours usually means steam never cleared, so reduce the water or pull the steam pan for the last 10 minutes.
Should I use steam or a steam oven?
If your oven has a real steam function, use it at full power for the first 20 minutes and keep the door shut. If it does not, any of these works about as well: a covered Dutch oven, 1 to 1.5 cups of boiling water in a pan on the lowest rack, or ice cubes in a hot pan. The steam is what keeps the crust flexible so the loaf expands, and that phase matters more than the appliance.
How can I make gluten-free bread have a crisp crust?
Gluten-free dough has no protein network, so the loaf spreads and the surface dries unevenly, which is why the crust stays pale and crumbly. Bake it hotter and longer than a wheat loaf, hold steam for the whole bake rather than 15 minutes, and add a little cornstarch or tapioca starch if your blend allows it. Bake to 205 to 210F internal and cool it fully before slicing.
Can I re-crisp a loaf that has gone soft?
Yes. Run it at 375F for 5 to 10 minutes, or 5 minutes in an air fryer or toaster oven at 350F, with a light mist of water on the crust first. That drives off the surface moisture and re-dries the shell. A stale loaf takes the same treatment and even improves, because the starches have fully set. Freezing a loaf that already has a good crust keeps it crisp far longer than the counter.
How long should bread cool before cutting the crust?
A whole boule wants at least 2 hours, a pan loaf about 1 hour, rolls 30 to 45 minutes, and a baguette around 30 minutes. Cooling is not optional: starches finish setting and the crust dries into a shell during that window. Cut warm bread and the crumb gummy center turns gummy and pasty too. Always cool on a wire rack rather than the pan, or steam collects underneath and softens the bottom.
Knowing how to get a crispy crust on homemade bread comes down to three levers on your next bake: 500F, steam for the full 20 minutes, and a dough with nothing extra in it. Give the stone or the pot a full 45 minutes to heat, then do not shorten the uncovered stretch at the end. That last stretch is where a soft loaf becomes a crisp one, and it is the step almost everyone cuts first.