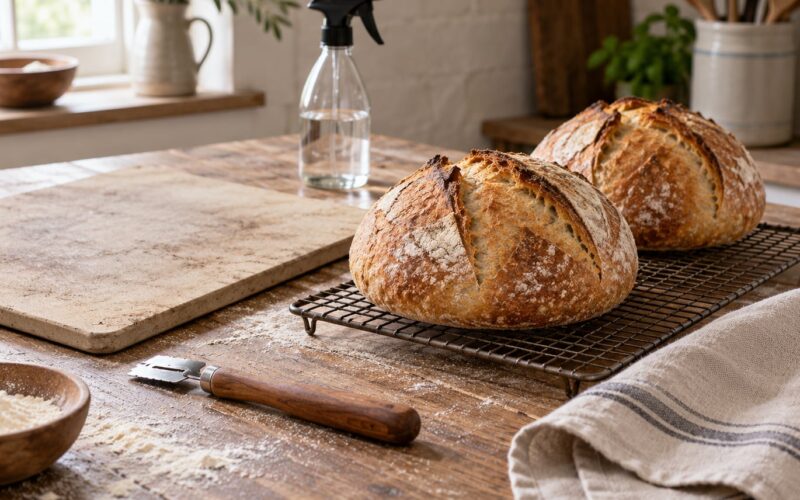
Proper hand kneading takes about 8 to 10 minutes of actual pressing and folding, but the clock is only a fallback. Learn how to knead dough by hand properly by watching the dough, not the timer: it is ready when the surface turns smooth and slightly shiny, it feels tacky instead of sticky, and it pushes back gently when you poke it.
The reason most people quit kneading is that they cannot tell what finished dough looks like. Videos move fast, the dough looks different every time, and nobody says what to do about the sticky shaggy lump in the bowl. Those are all fixable problems, and they mostly come down to flour, water, and patience.
On the site we bake a lot of bread, and the same handful of cues come up every week. I will walk through the whole process, then give you a decision procedure for the two questions that get asked most: is my dough too dry, or is it just under-kneaded? And how long should this actually take?
Table of Contents
- What You Need
- Step-by-Step: How to Knead Dough by Hand Properly
- 1. Mix the Dough Until No Dry Flour Remains
- 2. Give the Dough a Short Rest
- 3. Fold and Press the Dough
- 4. Work the Dough Until It Becomes Smooth and Elastic
- 5. Check the Dough Before and During Rising
- Common Mistakes and How to Fix Them
- Tips for Better Hand-Kneading
- Frequently Asked Questions
- How long does it take to knead dough by hand?
- How do I know when dough is properly kneaded?
- Why does my dough never pass the windowpane test?
- Do you knead dough before or after letting it rise?
- Is it better to knead dough by hand or with a mixer?
- How do I knead dough that sticks to everything?
What You Need
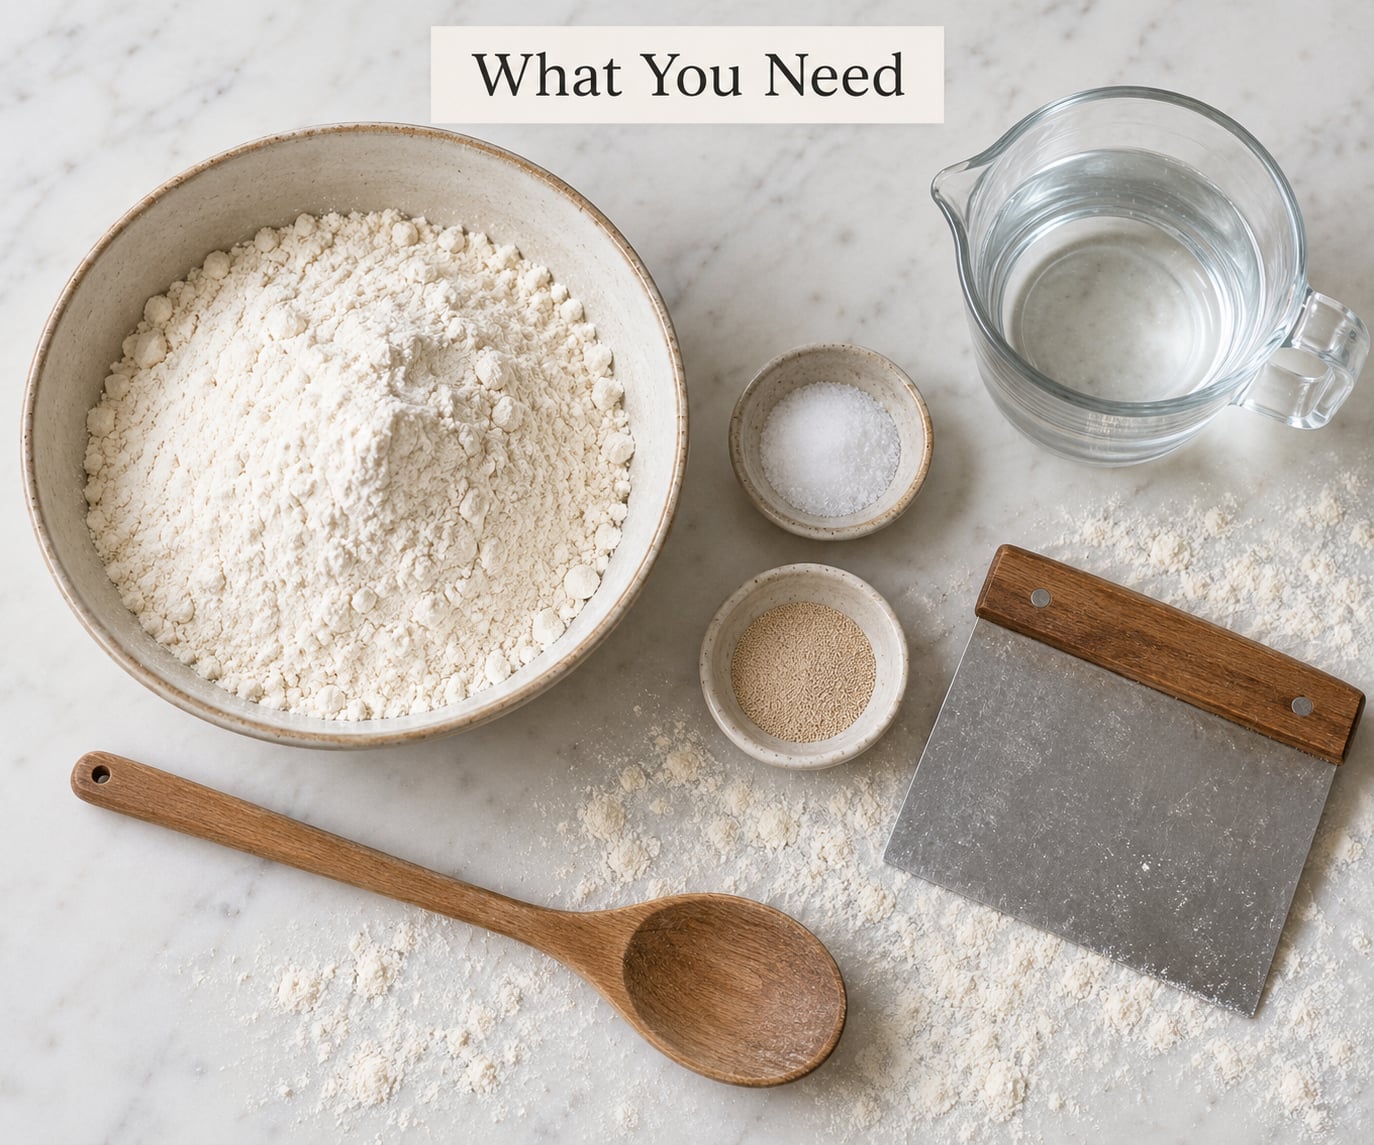
You need very little, which is one reason hand kneading is the best way to learn bread. Beyond the recipe ingredients, the tools are a bowl, a work surface, and something to lift sticky dough off that surface with.
- Flour. Bread flour or all-purpose flour. Bread flour has more protein, so it reaches a workable gluten network in fewer minutes.
- Water. Room temperature is fine. Warm water speeds things up; cold water slows fermentation down.
- Salt. It tightens the gluten network and controls the yeast. Sprinkle it evenly rather than dumping it in one spot.
- Yeast, if the recipe is yeasted. Instant yeast can go straight into the flour; active dry yeast needs warm water and a few minutes to soften first.
- A large bowl for mixing and resting the dough.
- A clean work surface with a light dusting of flour. Wood or laminate works fine.
- A bench scraper or dough scraper. This is the single most useful tool for wet dough and it costs almost nothing.
Weigh your ingredients if you can. A kitchen scale removes the cup-measure problem that quietly wrecks hydration, since a US cup is 240ml and a Canadian cup is 250ml, and that difference alone can turn a workable dough into slack, sticky dough that never comes together.
Step-by-Step: How to Knead Dough by Hand Properly
1. Mix the Dough Until No Dry Flour Remains
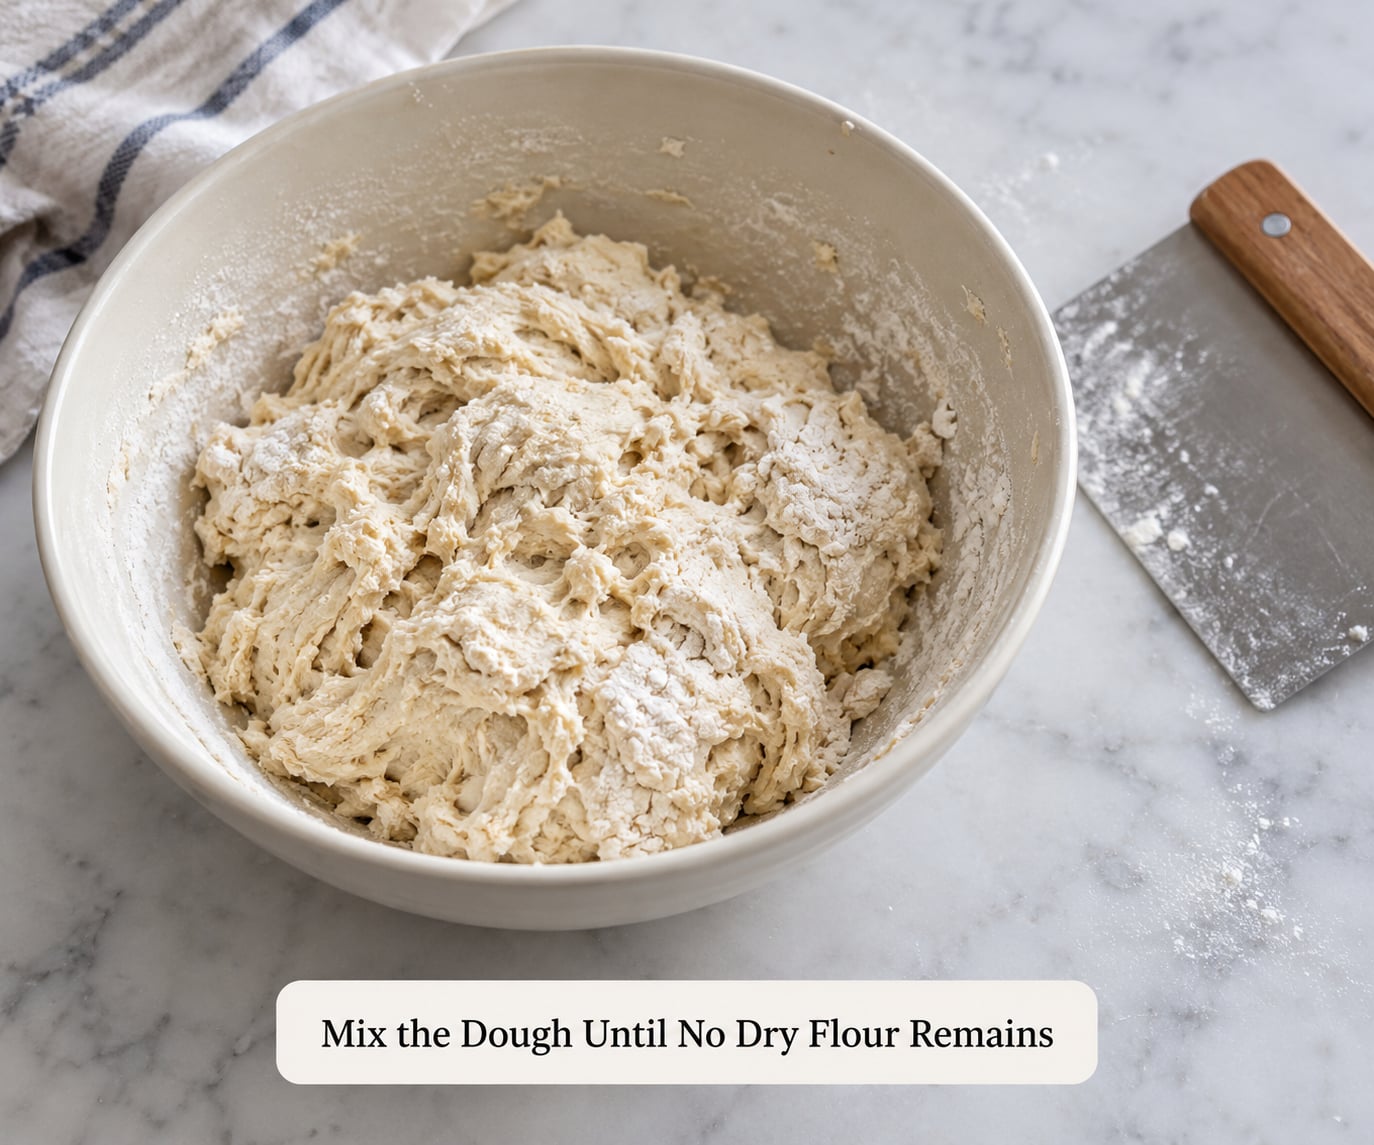
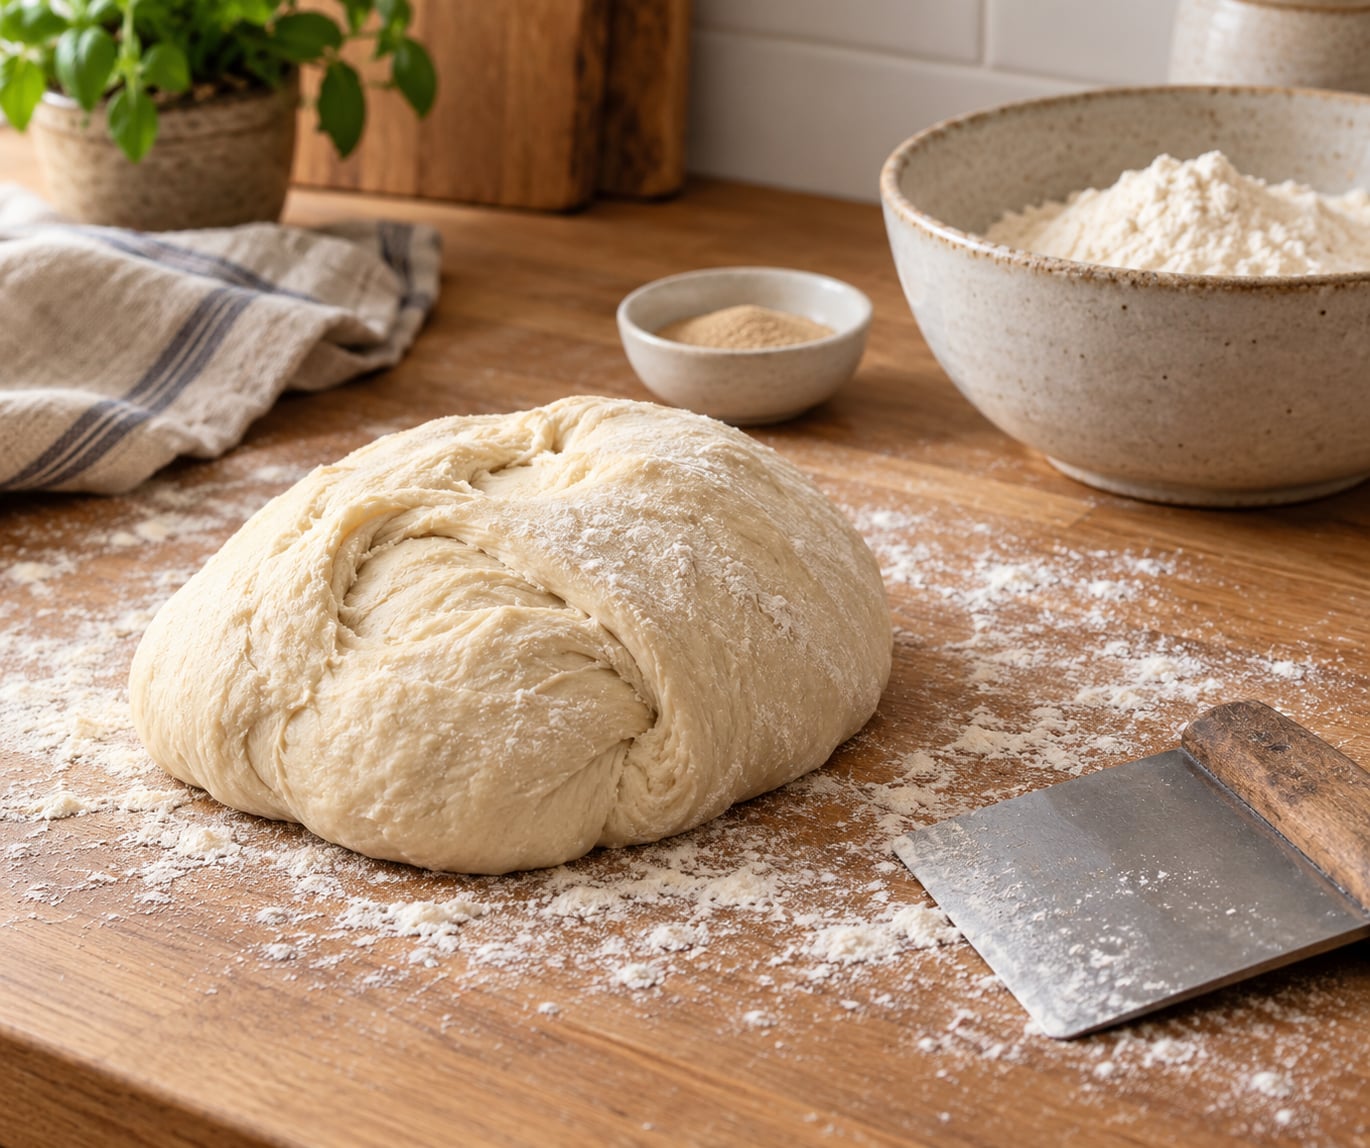
Combine the flour, yeast, and salt in the bowl first, then add the water. Stir with a wooden spoon or your hand until no dry flour is loose in the bottom of the bowl.
The dough will look terrible. That is normal. It will be shaggy, sticky, and uneven, and some bakers add more flour right here. Resist it. If the dough is wetter than you expected, the answer is time, not flour, because a wet dough that gets dusted with extra flour bakes as a dense loaf with a dull crust.
Add water gradually rather than all at once. Hold back about a tablespoon of the recipe liquid, add it, and look again. You want a dough that holds together in a mass when you squeeze it but still has visible tears at the edges.
2. Give the Dough a Short Rest
Cover the bowl with a damp towel or plastic wrap and let the dough sit 10 to 20 minutes before you touch it. This is an autolyse-style rest, and it does two things: the flour hydrates fully, and the gluten relaxes.
Most of what beginners experience as hard kneading is really impatience. You can skip this rest and your dough will still work, but you will be fighting a tight, resistant mass that was never given a chance to drink.
3. Fold and Press the Dough
Tip the dough onto your floured surface. Push down and away from you with the heel of your hand, then fold the far edge back toward the center. Turn the dough a quarter turn and repeat.
That press, fold, turn sequence is one cycle. Most people use too much force on the press and rush the turn. Use steady, moderate pressure and let the fold do part of the work, which is why a firm dough should feel like firm dough and a wet one should need almost no pressure at all.
Keep the dough centered on your surface. A wandering ball that creeps toward the edge of the board is what makes people add flour mid-knead, and a dough scraper is the fix. Scoop it back to the middle and keep going.
4. Work the Dough Until It Becomes Smooth and Elastic
Around the 3-minute mark, pause and test it. The most-repeated rule from bakers on The Fresh Loaf is a good one: knead three minutes, then test. If the dough is tacky but not clinging to your fingers, it is about right. If you see loose raw flour, it is too dry.
You are looking for four things together:
- The rough, torn surface fills in and turns smooth and faintly shiny.
- The dough starts resisting your hand instead of spreading out under pressure.
- It springs back slowly when you poke it, rather than staying as a dent or deflating.
- It holds a rounded shape and stays where you put it.
The windowpane test is the classic check: stretch a small piece of dough between your thumbs until it thins, then hold it up to the light. A developed dough stretches into a thin membrane without tearing.
Here is where I will disagree with the standard advice. The windowpane test is unreliable on stiff, low-hydration dough such as bagel dough, and a lot of bakers think their dough is under-kneaded when the dough is simply too lean to stretch that far. The Fresh Loaf thread is blunt about it: forget the windowpane. Use the feel of the dough first, and treat the membrane as a bonus rather than a pass or fail grade.
5. Check the Dough Before and During Rising
Knead before the first rise, not after. The rise is fermentation, not development, so a second knead after proofing mostly degasses a dough you had already organized. A light degassing press after the first rise is fine and often helps shape a loaf.
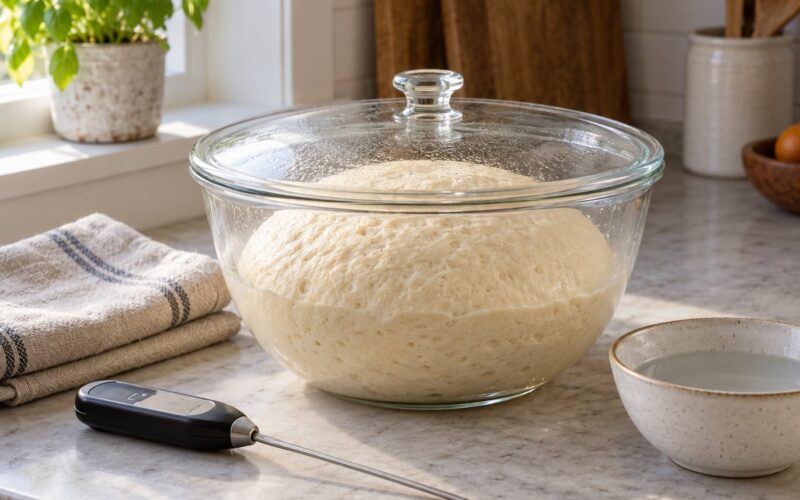
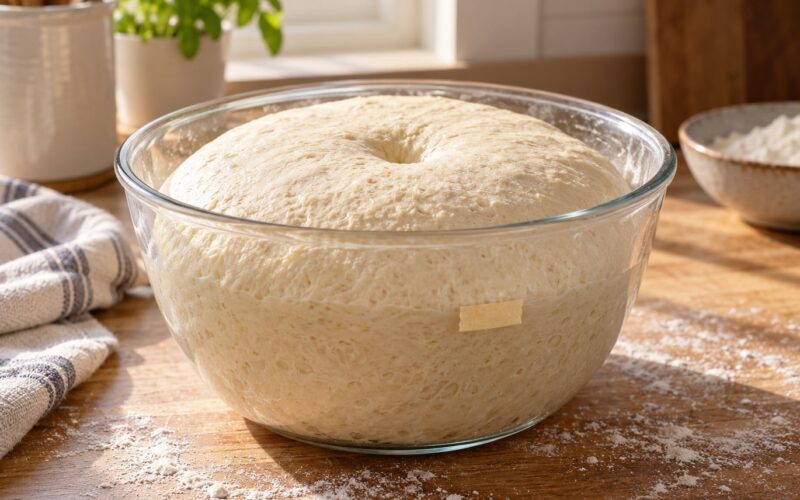
Set the dough in an oiled bowl, cover it, and let it rise until it has roughly doubled in size, which usually takes 60 to 90 minutes at room temperature. Then press your fingers about half an inch into the surface. If the dent fills back slowly and only partly, the dough is ready to shape. If it springs straight back, give it longer.
Once shaped, the final proof runs 30 to 90 minutes depending on how rich the dough is. Fat-enriched doughs like brioche rise more slowly because the butter slows the yeast down, and they also want gentler kneading since fat interferes with gluten formation.
Common Mistakes and How to Fix Them
Nearly every kneading complaint traces back to flour, water, pressure, or timing. Here are the ones that come up most, with the correction for each.
- Adding flour to the work surface while kneading. This is the most common beginner move and the most damaging one, because a dusting that looks like a dusting is really a meaningful drop in hydration. Start with the lightest possible dusting and scrape the dough up instead of dusting again.
- Kneading too briefly. Under-kneaded dough tears instead of stretching and spreads out on the baking sheet instead of holding its shape. Keep going until the dough resists your hand, even if the recipe says 5 minutes.
- Pressing too hard. Slamming the heel of your hand into stiff or enriched dough breaks gluten bonds you were trying to build. Slow down and use less force, especially with bagel dough and brioche.
- Refusing to rest a sticky dough. If the dough grips your hands so badly you cannot lift it, stop kneading and cover it for 20 minutes. Then fold it in the bowl instead of on the counter.
- Confusing bulk fermentation with kneading. Time spent rising is not time spent developing gluten, and dough that has doubled is not kneaded dough. Judge each stage by its own cues.
- Kneading past the point of development. Overworked dough turns sticky again and loses its spring, which confuses people who assume more kneading always helps.
Is your dough too dry, or just under-kneaded? Here is the decision procedure, since the two look nearly identical on the counter. Press a finger into the dough. If it leaves an indentation that stays put and the dough crumbles at the edges when you try to stretch it, the dough is too dry, and no amount of kneading fixes that. If it stretches without tearing but feels slack and smooth with no resistance, it is under-kneaded and needs more cycles.
For dough that is genuinely too dry, work in a few teaspoons of water next time rather than dusting the surface now. You cannot put the water back into a kneaded dough, because the flour has already swollen.
Tips for Better Hand-Kneading
Knead inside the bowl when space is tight. You can build most of a dough’s gluten by lifting one side and folding it over, rotating a quarter turn, and repeating. No counter, no sticky surface, and it works well in a small kitchen. Search for it under the related search of kneading dough by hand in the bowl.
Use stretch and fold for very wet dough. Cover the dough, let it rest 20 minutes, fold it over itself, and repeat three times across an hour. Bakers on The Fresh Loaf report slightly better crumb than traditional kneading at the same hydration, and it takes far less effort. On r/Breadit the same advice comes up repeatedly: when the dough is wetter than you want to fight, stop fighting it.
Adapt the movements if your hands or wrists hurt. A page-one Reddit thread asked about low-impact kneading from someone who had just started baking with limited mobility. The answers are practical: knead in a bowl with folding motions instead of pressing, use the heel of the hand rather than the fingers, work in short sessions rather than one long block, and lean your weight into the press instead of using arm strength.
Judge by feel, then confirm with the clock. Bake the same dough twice, once at 8 minutes and once at 12, and compare the crumb. Most people find 10 to 12 minutes is right for a beginner on bread flour, and that number sticks with you after a handful of loaves.
Watch the dough, not the recipe. Experienced bakers on the Fresh Loaf forums argue that kneading matters less than thorough mixing and good shaping when your flour has enough protein. For most home loaves, a good mix and a confident shape will carry you further than chasing ten perfect minutes.
Frequently Asked Questions
How long does it take to knead dough by hand?
Most bread dough needs 8 to 10 minutes of active kneading, and beginners usually land between 10 and 12. Bagel dough and biscuit dough take under 5 minutes because they are stiff. Stop when the dough feels smooth, slightly tacky, and pushes back against your hand rather than at a fixed minute mark.
How do I know when dough is properly kneaded?
Look for four signs together: the surface turns smooth and faintly shiny, the dough resists your hand instead of spreading, it springs back slowly when poked, and it holds a round shape. Any one of those alone can mislead you. Check every three minutes so you catch the change rather than missing it.
Why does my dough never pass the windowpane test?
Two reasons are common. Stiff, low-hydration dough such as bagel dough simply will not stretch thin enough for the test, so use the feel of the dough instead. Second, tearing usually means the dough is under-kneaded rather than flawed, and it will keep working for several more cycles before it stretches without ripping.
Do you knead dough before or after letting it rise?
Knead before the first rise. That rise is fermentation, and kneading afterward mostly degasses gluten you have already organized. A light pressing with your fingers after the first rise is useful for shaping, but save the real kneading for the mixing stage.
Is it better to knead dough by hand or with a mixer?
A stand mixer develops gluten faster and more consistently, which is useful for stiff doughs. Hand kneading teaches you what dough should feel like and costs nothing beyond flour and time. For rich or very wet doughs, hands are arguably better, since a mixer can heat and break down the gluten.
How do I knead dough that sticks to everything?
Do not add flour. Cover the dough and let it rest 20 minutes so the gluten relaxes, then knead it inside the bowl using fold-and-turn motions. A wet, slack dough needs no pressure at all, only repeated lifting and folding. Keep a scraper nearby to lift it off the surface when you do move to the counter.
Start with the simple version: mix until no dry flour is left, rest the dough 15 minutes, then press with the heel of your hand, fold, turn a quarter turn, and repeat until the dough is smooth, tacky, and springy. Ten minutes is a good first target. Bake it, taste it, and adjust your own number from there, because your flour and your hands are different from mine.