To make bean dip for a crowd, scale one formula by the can instead of rewriting the recipe. Give each guest a quarter cup, round up by half, and pick your serving temperature up front. Active time is about 20 minutes; the rest is chill or bake time you can spend doing something else.
Bean dip runs short at parties for one boring reason: the host estimates low and the bowl gets scraped clean before the second half. The fix is arithmetic, not a better recipe. One 15-ounce can of beans turns into roughly 2 cups of finished dip, so four cans cover 20 people with a little cushion.
The version below is vegan and gluten-free, and it stays creamy without any dairy, which makes it the safe pick for a mixed table. It also holds for a full game or party without a pot on the stove.
Table of Contents
- What You Need for Bean Dip for a Crowd
- Step-by-Step: How to Make Bean Dip for a Crowd
- Step 1: Choose and Prepare the Beans
- Step 2: Blend the Base
- Step 3: Add Flavor and Adjust the Texture of Bean Dip for a Crowd
- Step 4: Taste, Chill, and Serve
- Common Mistakes and How to Fix Them
- Why the dip came out watery, gummy, or bland
- Hot or cold, and how to hold it either way
- A make-ahead timeline for game day
- What to serve with it, and a three-ingredient shortcut
- Frequently Asked Questions
- How much bean dip should I make for a crowd?
- Can I make bean dip ahead of time?
- How do I keep bean dip from getting watery?
- What can I use instead of tahini?
- How long does homemade bean dip last in the refrigerator?
- Can bean dip be served warm or cold?
- Conclusion
What You Need for Bean Dip for a Crowd
Six things carry the recipe, and five of them are cupboard staples. Everything else is seasoning you can leave off. The only fresh items you truly need are lemon juice and garlic, and even those can be swapped.
Pantry staples (per 4 cans, which feeds 20 to 24 people):
- 4 cans (15 ounces each) cannellini or great northern white beans, or pinto beans if you want the Tex-Mex version
- 3/4 cup tahini, well stirred
- 1/3 cup fresh lemon juice, roughly 2 lemons
- 4 garlic cloves
- 2 teaspoons smoked paprika
- 1 teaspoon ground cumin
- 1 to 1 1/2 cups water or low-sodium broth, held back to add last
- 1/3 cup olive oil, divided between the blend and the drizzle
- Kosher salt and black pepper
The ratio to actually remember: 3/4 cup tahini and 1/3 cup lemon juice per 3 cans of beans. Double it for 6 cans, halve it for 2. Seasoning does not scale as aggressively, so taste each batch as you go rather than multiplying the paprika blindly.
Optional flavor additions: a small handful of cilantro or flat-leaf parsley, sliced scallions, diced roasted red pepper, a jalapeño or two for heat, a splash of sherry vinegar, or 1 teaspoon chili flakes. I add smoked paprika twice as often as cumin, because cumin gets earthy fast in a big batch.
Equipment: a blender or food processor that holds at least 7 cups, a 9×13 baking dish or two shallow platters, a rubber spatula, a small bowl for the garnish, and something airtight for the fridge. Blenders smaller than 7 cups mean working in two batches, which is fine, just budget ten extra minutes.
Here is the scaling table, which is the part most recipes skip entirely:
| Guests | Cans of beans (15 oz) | Finished dip | Serving dish |
|---|---|---|---|
| 10 | 2 | 4 to 5 cups | 9×13 baking dish |
| 20 | 4 | 9 to 10 cups | Deep 9×13 or two 9×9 dishes |
| 30 | 6 | 13 to 15 cups | One 9×13 plus one 9×9 |
| 40 | 7 | 16 to 18 cups | Two platters or a rimmed sheet pan |
| 50 or more | 9 | 20 to 22 cups | Three platters, refilled once |
Those can counts assume a quarter cup per person with a 50 percent cushion. If the dip is one of three appetizers and people are also eating dinner, the lower end of each row is plenty. If bean dip is the whole plan, use the higher end.
Step-by-Step: How to Make Bean Dip for a Crowd
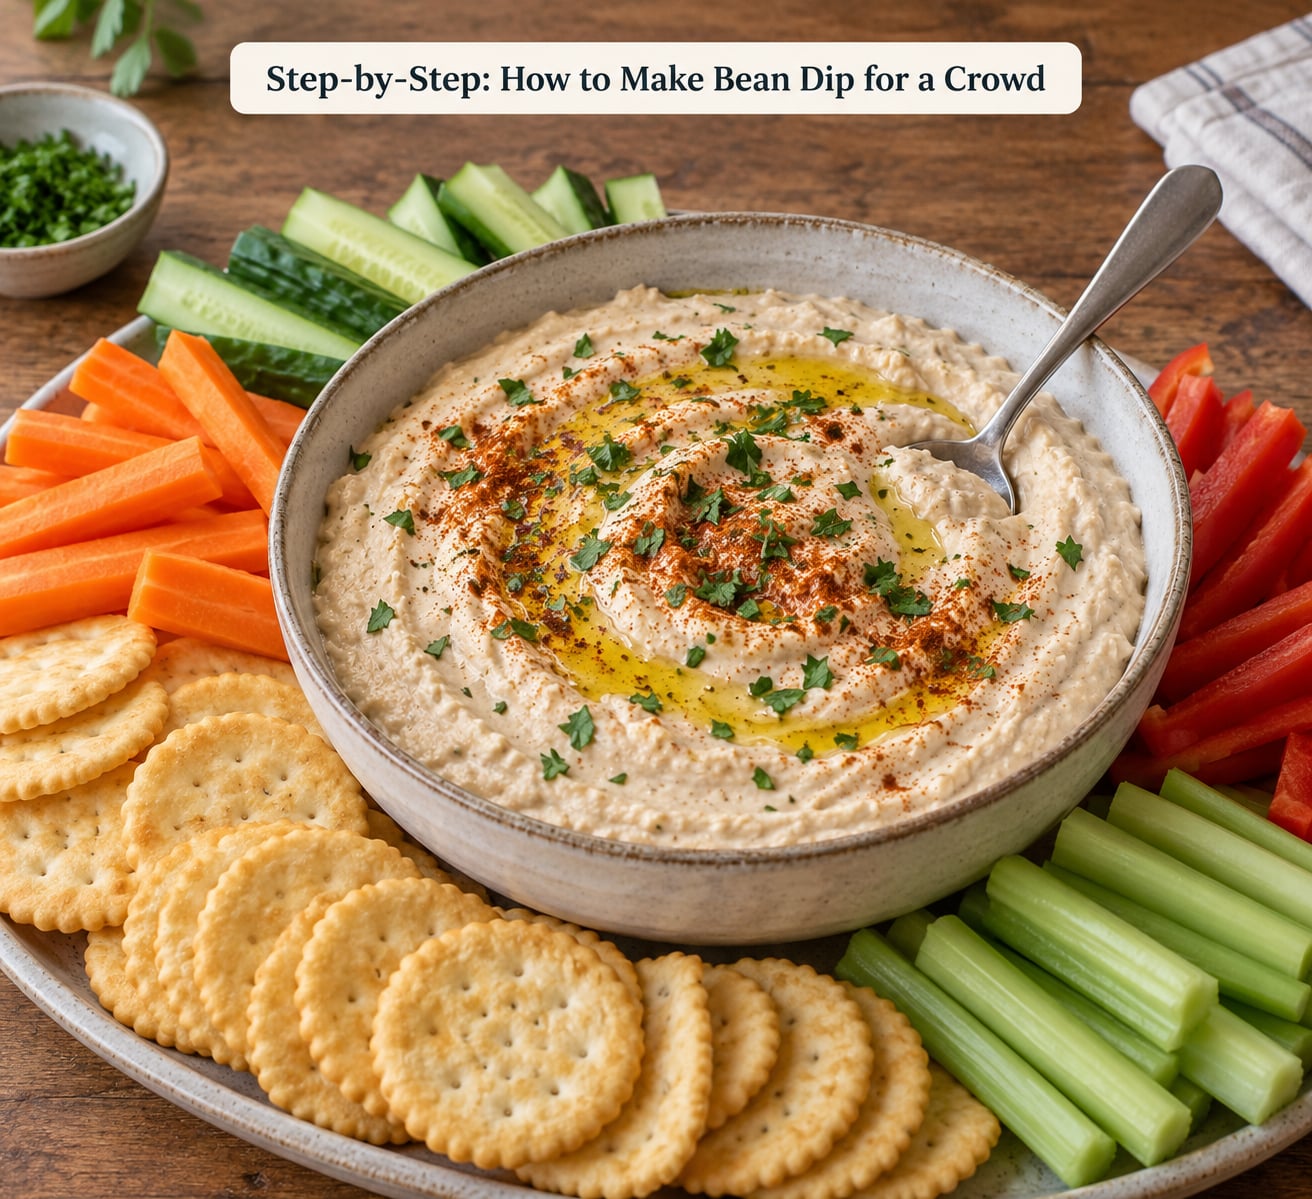
Step 1: Choose and Prepare the Beans
Drain the beans and rinse them well under cold water. That rinsing matters more than it sounds: the thick starchy liquid in the can is the main reason a bean dip turns gluey rather than creamy.
For the smoothest texture, warm the drained beans for 5 minutes in a pot with a splash of water or broth, or in the microwave in a covered bowl on high. Warm beans blend into a silkier paste, and the difference is obvious once you have compared the two side by side.
Cannellini and great northern beans give a mild, buttery base that lets lemon and paprika lead. Pinto beans are earthier and darker, and they take a taco seasoning blend nicely if you want the familiar restaurant-style flavor. You tell it is done when the beans look dry and slightly cracked rather than glossy.
Step 2: Blend the Base
Put the warm beans, tahini, lemon juice, garlic, paprika, cumin, 2 tablespoons of the olive oil, and a generous pinch of salt in the blender. Start on low and run short pulses, then move to medium.
Pulseing matters. Long high-speed runs heat the tahini and turn it gluey before it loosens again, and the whole batch can seize in a way that leaves you scraping paste off the walls. Twenty seconds on, twenty seconds off, until the mixture moves like thick paint and no whole beans remain.
Scrape down the sides once. When the dip is done, it should slump slowly off a spoon and hold a soft ridge for a second before leveling out. That is the texture you want, and it is worth judging it at this stage before you add any liquid.
Step 3: Add Flavor and Adjust the Texture of Bean Dip for a Crowd
Now season. Add salt a pinch at a time and taste with a clean spoon each round. Because the beans vary in saltiness, tasting is faster than any fixed number, and it is the step people skip and then wonder why the dip tastes flat.
Loosen with liquid only while the machine is running, a tablespoon at a time. Water keeps the flavor clean, broth adds depth, and a small amount of olive oil makes it silkier. If it gets thinner than you like, hold your nerve: a dip that looks slightly loose in the bowl sets up as it chills, since the tahini firms in the refrigerator.
Taste again for acid. Lemon is the seasoning people underdo. If the dip tastes dull rather than sour, it probably needs lemon rather than more salt, and a second hit of smoked paprika before you reach for salt again.
Step 4: Taste, Chill, and Serve
For a cold dip, cover and refrigerate for at least 1 hour, overnight if you can. Chilling does two things: it firms the tahini so the dip holds a chip, and it lets the garlic and paprika settle into something rounder instead of sharp.
For a warm dip, transfer to a slow cooker on low or warm in a saucepan over the lowest heat, stirring now and then. Do not let it simmer hard, or the dairy-free version can tighten and break visually even though it still tastes fine.
Before serving, scrape the top flat with the back of a spoon, drizzle with the reserved olive oil, and add the garnish last. Drizzle with olive oil and add cilantro right before people arrive, since herbs wilt and turn dark within an hour in a warm room.
Plan on a quarter to a third cup per guest as a snack portion, and keep cold dips over ice if the event runs past two hours. Perishable food left at room temperature should be tossed after two hours, or one hour if the room is above 90 degrees, so set out small amounts and refill from the fridge rather than one giant bowl that sits out all evening.
Common Mistakes and How to Fix Them

Why the dip came out watery, gummy, or bland
Watery: too much liquid went in, or a watery salsa or canned layer added moisture. Fix it by chilling it, since cold thickens the set, or by stirring in 3 tablespoons of extra tahini while the machine runs.
Gummy and gluey: usually the beans were not drained, or you poured everything in and ran the blender straight through. Strain nothing, just add liquid a tablespoon at a time on low speed until it loosens. It will look wrong for about ten seconds and then turn creamy again.
Bland: under-salted and under-acid, which is the most common complaint by far. Both are fixable at the last second with salt and a hard squeeze of lemon, so put both bowls out before guests arrive.
Too sour: the lemon settled at the bottom of a big bowl, so the first dip was sharp and the last was flat. Mix thoroughly with a spatula before serving, and add a tablespoon of tahini or broth to soften it.
Greasy pool on top: the dip was blended with more oil than it could absorb and then sat. Stir the surface back in right before serving, and save the drizzle for the top only.
Hot or cold, and how to hold it either way
Cold is the easier call for a crowd, and the brighter one. The lemon and tahini read as fresh and creamy straight from the fridge, and there is no heat source to manage while you are hosting.
Warm is what people expect at a football party. A slow cooker on low holds a batch for three or four hours with a stir an hour in, and it keeps the dip scoopable without drying out. Warming it in the oven dries the surface, so a crock pot, warming tray, or the stovetop on low is the better tool.
If you want both, blend one base and split it. Warm half with an extra splash of broth in the crock pot, chill the other half for a cold platter, and put each on a separate table. Two platters also solves the problem of people taking the last of something.
A make-ahead timeline for game day
The day before: blend the dip, season it, cover it, and refrigerate. Wash the serving dish and portion the chips or crackers into bowls. Holding the dip overnight is a genuine improvement in flavor.
Two hours before: take it out of the fridge, stir well, and set it in the serving dish so it can lose the fridge chill. Slice any vegetable sticks. If it thickened overnight, a tablespoon of water or lemon juice brings it back.
At kickoff: drizzle the olive oil, add the fresh herbs and scallions, and put out the small bowls of extra toppings: chopped cilantro, sliced jalapeños, extra shredded cheese or pickled onions if dairy is fine for your table.
Keep the rest of the batch in the fridge and refill rather than putting it all out. It costs you one trip to the kitchen and keeps everything in the dip bowl within safe eating temperature for the whole event.
What to serve with it, and a three-ingredient shortcut
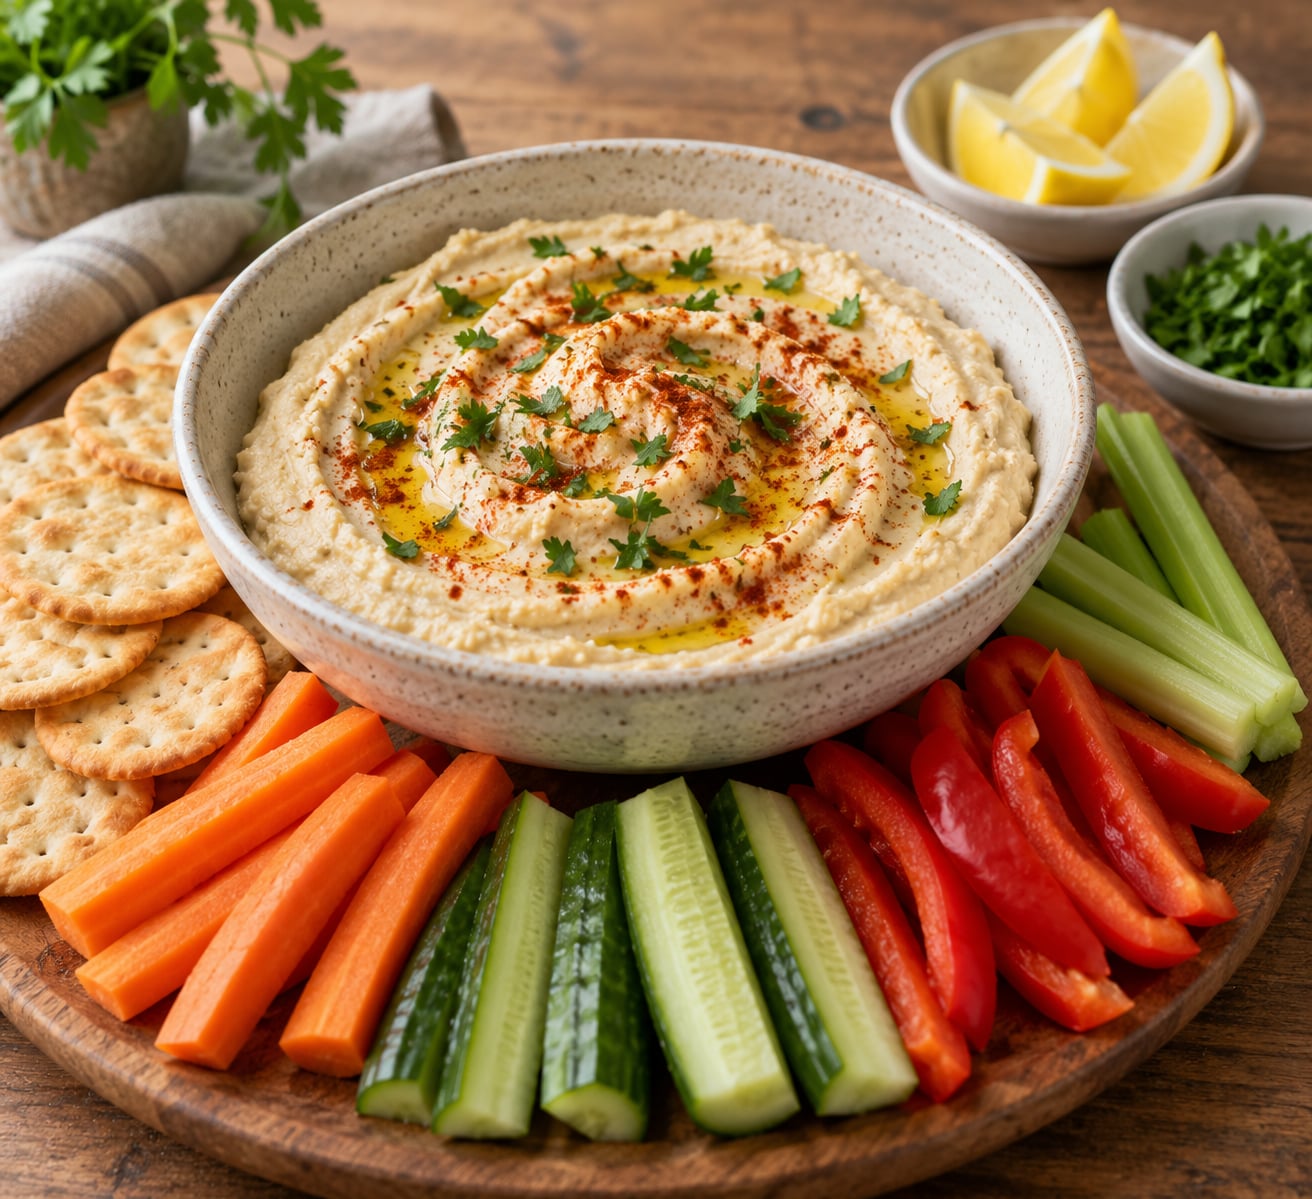
Tortilla chips are the obvious answer, and for a gluten-free table you have better options: corn chips, gluten-free crackers, or plain pita triangles. Veggie sticks work well, and so does warm cornbread cut into squares, which is the move if you want the dip to sit closer to a Southern table than a game-day one.
For a big group on a small budget, put out two dips rather than one: this bean dip alongside a plain guacamole seasoned with garlic salt is the classic two-can-plus-three-containers formula hosts have used for years. Cheap, fast, and nobody argues about it.
There is also a genuine three-ingredient version: two cans of refried beans, one tub of sour cream or a dairy-free alternative, and a packet of taco seasoning, stirred together and chilled. It works, it is not as good as the blended version, and it is the right answer when the fridge space is tight and you have forty people arriving in two hours.
Frequently Asked Questions
How much bean dip should I make for a crowd?
Plan on a quarter cup per guest for a snack spread, or a third cup if the dip is the main thing people are eating, then add half again on top of that. A 15-ounce can of beans makes roughly 2 cups of finished dip, so 4 cans cover 20 people, 6 cover 30, and 8 cover 40 with the buffer already built in.
Can I make bean dip ahead of time?
Yes, and it is better the next day. Blend the dip, refrigerate it in an airtight container, and wait at least an hour before serving, though overnight is the sweet spot. Hold the olive oil drizzle and any fresh herb or chile garnish until the moment you serve, since both lose their color and edge in the fridge.
How do I keep bean dip from getting watery?
Two things cause thin dip: too much liquid in the blender, and a wet layer left standing. Drain and rinse canned beans well, add tahini and lemon before any water, and trickle liquid in only while the machine runs. If a layer starts to pool on a platter, fold it down into the layer below before it reaches the top.
What can I use instead of tahini?
Almond butter and sunflower seed butter are the closest swaps, and both thicken and smooth the dip the same way tahini does. Greek yogurt or sour cream also work when dairy is fine, and add a pleasant tang. For a lighter option, blend an extra quarter cup of white beans with two tablespoons of whichever nut butter you are using.
How long does homemade bean dip last in the refrigerator?
Three to four days in a sealed container, with the best texture in the first two days. After that the flavor flattens, so add a fresh squeeze of lemon and a pinch of salt before serving. To keep it longer, freeze flat in a freezer bag for up to three months and thaw it in the fridge overnight.
Can bean dip be served warm or cold?
Both work, and they taste like two different dips. Cold from the fridge, it reads bright and creamy and works layered on a platter with chips and raw vegetables. Warmed, it loosens into something closer to a sauce, so hold it on low in a slow cooker, stirring about once an hour so it does not tighten.
Conclusion
How to make bean dip for a crowd is mostly one number and one decision. Get the number first, count a quarter cup per guest, add half again, and pick cold or warm before you start cooking. Then blend, season by taste, and let it chill at least an hour so the flavor settles and the texture firms up enough to carry a chip.