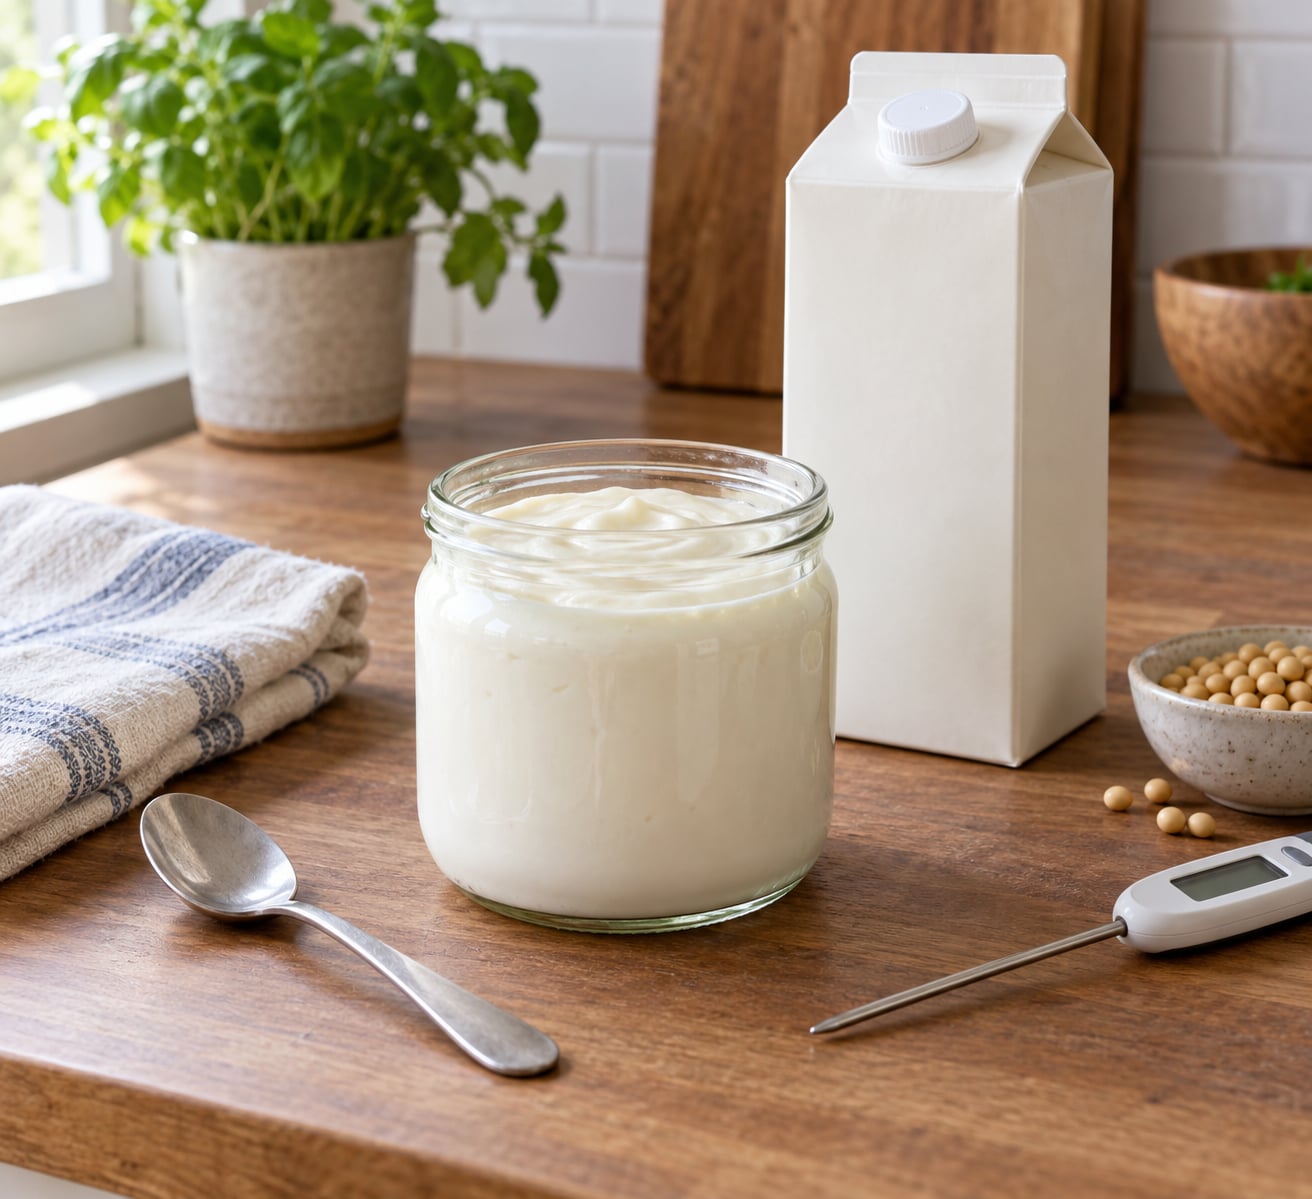
Here is how to make vegan yogurt at home: about 20 minutes of hands-on work, then 6 to 15 hours of hands-off incubation in a warm spot. You need only three things, plant milk, a starter with live active cultures, and a place that stays near 105-110°F. The bacteria eat the milk’s sugars and make lactic acid, which thickens the milk and gives yogurt its tang.
Soy milk gives you the thickest, most neutral result. Coconut is the easiest, since it needs no heating and no thickener. If you avoid soy, oat and almond work fine, but they need a spoon of starch to set properly.
Table of Contents
- What You Need
- Which incubation method fits your kitchen?
- Step-by-Step
- 1. Heat the plant milk
- 2. Cool it to culturing temperature
- 3. Mix in the starter culture
- 4. Incubate the yogurt
- 5. Chill it for thicker yogurt
- 6. Add flavors and store the finished yogurt
- Common Mistakes
- The yogurt is still thin after a full ferment
- It curdled into curds and whey
- Nothing happened at all
- It is far too sour
- Lumps and graininess
- A skin or film on top
- Frequently Asked Questions
- Do I need a special yogurt maker to make vegan yogurt?
- What plant milk works best for homemade vegan yogurt?
- How long should vegan yogurt incubate before it is ready?
- Why is my vegan yogurt thin instead of thick?
- Can I use a store-bought vegan yogurt as a starter?
- How long does homemade vegan yogurt last in the refrigerator?
- Your First Batch
What You Need
For a batch that fills two pint jars, gather the following. Quantities are for about 4 cups of finished yogurt.
- Plant milk, 4 cups. Unsweetened, shelf-stable soy or full-fat canned coconut milk. Check the carton and skip anything with gums, gelatin, or added thickeners.
- Starter, 2 to 3 vegan probiotic capsules or 2 tablespoons of plain store-bought vegan yogurt. Look for 25 to 50 billion CFU per capsule on the label.
- Thickener, optional, 1 to 2 teaspoons tapioca starch. Agar-agar or calcium-activated pectin also work. Skip this for soy and coconut.
- Small pinch of sugar, optional. Most plant milks have far less fermentable sugar than dairy milk, and a teaspoon per cup helps low-sugar bases get going.
- Equipment. A saucepan, an instant-read thermometer, a glass or ceramic jar with a lid, a non-metal spoon or silicone whisk, and a warm spot such as an oven with just the light on or an Instant Pot on its yogurt setting.
Use glass or ceramic, and skip metal spoons. Metal can inhibit the bacteria you are trying to grow. If you want to be careful, pour boiling water over the jars and let them air-dry before you fill them.
Which incubation method fits your kitchen?
All of these work. They differ mostly in how much attention they need and how thick the finished texture tends to be.
| Method | Total time | Equipment | Resulting texture | Best for |
|---|---|---|---|---|
| No-heat, room temperature | 24 to 48 hours | Jar and a warm cupboard | Soft, sometimes loose | Coconut or cashew bases, first-time batches |
| Stovetop, heated milk | 8 to 12 hours | Saucepan, thermometer, warm spot | Smooth and creamy | Soy, oat, almond, cashew |
| Instant Pot, yogurt setting | 8 to 13 hours | Instant Pot | Consistent, thick | Hands-off batches while you work or sleep |
| Slow cooker | 6 to 10 hours | Slow cooker on warm | Thick, sometimes grainy if overheated | Large batches, no thermometer control |
| Yogurt maker | 6 to 10 hours | Dedicated unit | Even and repeatable | Making yogurt weekly |
The reason heating matters is that soy and oat proteins coagulate as the milk warms, and that network is what holds the set together. Coconut and cashew bases are already fatty and emulsified, so they set from the cultures alone. Home fermenters on r/yogurtmaking note that soy does not need the hard boil dairy milk requires, just a gentle heat to about 110°F.
Step-by-Step
1. Heat the plant milk
Pour 4 cups of soy, oat, almond, or cashew milk into a saucepan and warm it slowly over medium heat, stirring so nothing scorches on the bottom. Bring it to about 180°F for oat and almond, and stop at 110°F for soy, which scatters and gets grainy if pushed harder.
Skip this step entirely for coconut or a homemade cashew cream base. You are looking for steam and a slightly thicker consistency, not a simmer.
2. Cool it to culturing temperature
Live cultures die above about 115°F, and pouring boiling milk over a starter wastes it. Let the pot sit until the thermometer reads 105-110°F, roughly 20 to 30 minutes, or pour it into a cold jar to speed things up.
If you have a second thermometer, check the temperature at the bottom of the jar, not just the top. A ten-degree miss either kills the culture or slows the ferment noticeably.
3. Mix in the starter culture
For capsules, open 2 to 3 and empty the powder into a small splash of the warm milk, whisk to a smooth paste, then stir that back into the full pot. This matters more than it looks. Home cooks on r/veganrecipes report that starting with a small amount of milk disperses the culture far more evenly than dumping it straight in.
For store-bought yogurt, stir 2 tablespoons of plain, unsweetened vegan yogurt with live cultures listed on the label. Then whisk the whole pot gently, taking care not to whip in a lot of air. The base should look evenly cloudy with no streaks of white powder.
If your base is almond or oat and you skipped the thickener, whisk in 1 to 2 teaspoons of tapioca starch now. Slurry it with a little cold water first, or it will clump.
4. Incubate the yogurt
Pour the base into sterilized jars, cover loosely, and hold it near 105-110°F. The oven with the light on, a switched-off dehydrator, or a wrapped-in-a-towel Instant Pot on warm all land in the right range.
Warm spot: 6 to 10 hours for the first ferment, checked every hour or two after hour six. Instant Pot yogurt setting: 8 to 13 hours, hands-off. Room temperature, no heating: 24 to 48 hours, which is the traditional coconut method.
You will know it is close when the surface is set and matte rather than shiny, and the edges have pulled slightly away from the glass. Taste a small spoonful from hour six onward if you are unsure. Gentle tang means it is done; sharp and bracing means it needs to come out now.
5. Chill it for thicker yogurt
Refrigeration is not a formality. It stops the bacteria and firms the protein network, which is where the body in the yogurt comes from. Most batches need 6 to 12 hours in the cold to reach eating texture, and overnight is usually right.
Yogurt makers that look loose straight out of incubation often look perfect the next morning. That is normal, not a failed batch.
6. Add flavors and store the finished yogurt
Keep the base plain in the fridge and stir in fruit, maple, or spices at serving. Sugar stirred in before fermenting feeds the bacteria and softens the set. A pinch of salt, though, sharpens the tang rather than weakening it.
Sweet additions: mashed blackberries or blueberries with a spoon of maple, apple butter with cinnamon, vanilla and cardamom, or a spoonful of date syrup. Savory additions: lemon zest with sea salt for a dressing, garlic and dill for tzatziki, or olive oil and cracked pepper over beans.
Store plain yogurt in an airtight glass jar in the coldest part of the fridge for 5 to 7 days. Coconut-only batches lean toward 3 to 5 days. Once a jar is open, eat it within three days. If you have extra, freeze it flat in a bag and thaw a scoop at a time for smoothies; the texture softens but the flavor holds.
One safety note worth keeping straight. Fermented tang is sharp and clean, like yogurt. A rotten, sulfurous smell or fuzzy colored mold means discard the whole batch, no matter how good the texture looks. When in doubt, throw it out.
Common Mistakes
Nearly every failed batch comes down to under-fermented, over-fermented, or contaminated. Work through the symptom list below before changing your recipe.
The yogurt is still thin after a full ferment
Two causes pull in opposite directions, and this split is the one home yogurt makers actually use. Either it needs more time and you pulled it early, or it went too far, the proteins collapsed, and the liquid pushed itself out of the network.
Give it two more hours if it tastes only mildly tangy. If it tastes sharp, the curds have separated and there is no going back, but you can rescue the texture. Drape a fine mesh strainer or cheesecloth over a bowl, tip in the yogurt, and refrigerate for 2 to 3 hours. The result is close to vegan Greek yogurt.
It curdled into curds and whey
That is over-fermentation. The bacteria produced more acid than the set could hold. Chill what is left and drain it through cheesecloth for the best of it. Next time, taste from hour six and take the batch out the moment the tang lands.
Nothing happened at all
Usually the cultures were killed or there were too few of them. The milk was likely above 115°F when you added the starter, or you used capsules with added prebiotics such as inulin or fructooligosaccharides, which many bacteria cannot use. The plants may have simply run out of food; adding 1 to 2 teaspoons of sugar per cup of base covers that.
It is far too sour
Either the culture count was very high or it sat warm far too long. Stronger probiotics, and more of them, make a faster batch. Halve the capsule count next time and start tasting early at six hours.
Lumps and graininess
Nearly always a blending problem, not a fermentation one. Soy and cashew bases need a full minute in a blender, not a whisking. Undissolved starch is the other culprit, so slurry it with cold water before it goes in.
A skin or film on top
A skin on soy yogurt is normal and comes from a protein film during incubation. Press it down gently before chilling, or run a spoon across the surface to break it up.
Frequently Asked Questions
Do I need a special yogurt maker to make vegan yogurt?
No. You need a warm spot near 105-110F, and most kitchens already have one. An oven with just the light on, an Instant Pot on its yogurt setting, or a slow cooker on warm all work. A dedicated yogurt maker just holds the temperature more precisely, which means less babysitting but a similar end result. Many first batches are made with no equipment beyond a jar and a warm cupboard.
What plant milk works best for homemade vegan yogurt?
Soy makes the thickest and most neutral yogurt, with enough protein to set on its own. Full-fat coconut milk is the easiest and needs no heat or thickener, but the result is softer. Almond and oat milk both work once you add 1 to 2 teaspoons of tapioca starch, since they have too little protein and fat to hold a set alone. Rice milk ferments reliably and is another good option.
How long should vegan yogurt incubate before it is ready?
Incubation time depends on your method. A warm spot at 105-110F takes 6 to 10 hours, an Instant Pot on the yogurt setting runs 8 to 13 hours, and an unheated coconut or cashew base ferments at room temperature over 24 to 48 hours. Taste a small spoonful from hour six onward. Gentle tang means it is ready, and sharp tang means it should come out immediately.
Why is my vegan yogurt thin instead of thick?
There are only two causes, and they need opposite fixes. Either you pulled it before the cultures finished, in which case give it another two hours, or you incubated it too long and the set broke, pushing liquid out of the network. You can rescue the second case by draining it through cheesecloth in the fridge for 2 to 3 hours, which gives you vegan Greek-style yogurt.
Can I use a store-bought vegan yogurt as a starter?
Yes, and it is the cheapest reliable option. Use about 2 tablespoons of plain, unsweetened vegan yogurt, and check the label for live active cultures. Flavored varieties have too much sugar and additives and give an unpredictable ferment. Once your own batch works, reserve 2 tablespoons in a small jar and use that as your starter for the next round instead of buying anything new.
How long does homemade vegan yogurt last in the refrigerator?
Plain homemade vegan yogurt keeps 5 to 7 days in an airtight glass jar in the coldest part of the fridge. Coconut-only batches lean closer to 3 to 5 days. Once you add fruit or other mix-ins, eat it within three days. Freeze extra in a flat freezer bag and thaw portions for smoothies. Sharp sourness, a rotten smell, or fuzzy colored mold means the batch should be discarded.
Your First Batch
Start with the simplest version: a jar of full-fat coconut milk and one probiotic capsule, mixed, covered, and left on a warm counter for 24 hours. No heat, no thermometer, nothing to buy but the milk. Once you trust the sour smell and the tang, switch to soy for a thicker result and a shorter ferment.
That is the whole method. A live culture, a warm spot, and patience. If your batch goes well or goes sideways, tell us which base you used and how long you incubated it, so the next reader knows what actually happened.