Yes, you can make dairy free ice cream without a machine, and one thing decides whether it works: fat. An ice cream maker churns air into the mix and keeps ice crystals tiny, so without one you do the aerating yourself by whipping chilled full-fat coconut cream, and you keep the crystals small with dissolved sugar and fat, then let it set in a loaf pan for four to six hours.
The whole job takes about 20 minutes of hands-on time plus the freezing, and almost everything goes wrong in one of two ways. Either the base was too thin to hold structure, or it sat in a wide dish and froze into something crunchy. Fix those two things and you get a scoopable, creamy result every time.
Table of Contents
- What You Need to Make Dairy Free Ice Cream Without a Machine
- Ingredients for the whipped coconut cream base
- Step-by-Step
- How to Make the Base Smooth and Creamy
- How to Freeze It Without an Ice Cream Maker
- Three no-machine methods compared
- Common Mistakes and How to Fix Them
- Flavor Variations and Bases Without Coconut
- Frequently Asked Questions
- What is the best dairy-free milk for homemade ice cream without a machine?
- How long does dairy-free ice cream take to freeze without an ice cream maker?
- Why is my dairy-free ice cream icy after freezing?
- Can I make dairy-free ice cream without coconut milk?
- How should I store homemade dairy-free ice cream?
- Can I use a loaf pan or shallow baking dish to freeze ice cream?
- Conclusion
What You Need to Make Dairy Free Ice Cream Without a Machine
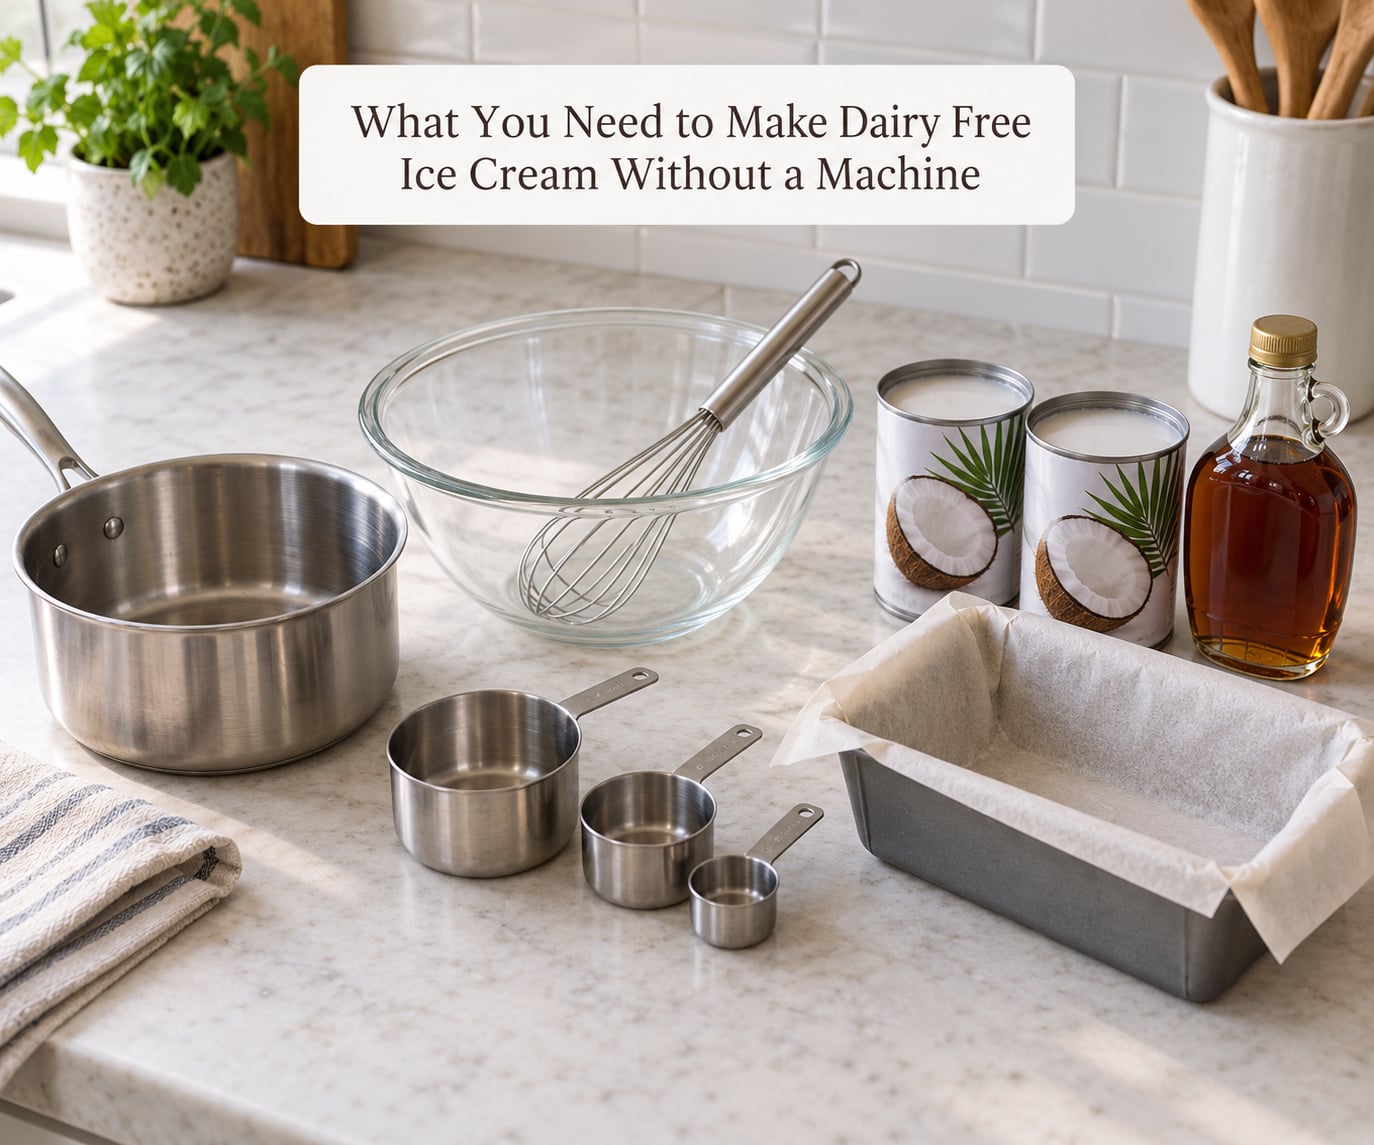
Equipment is where most people assume they are stuck, and almost none of it is required. A hand mixer, a stand mixer, a blender, or a food processor will all aerate the base. A plain whisk works too. It takes longer and it whips less air, so plan on stiff peaks rather than soft ones.
You also need a shallow 8-inch square baking dish or a loaf pan, a sheet of parchment paper, a spatula, and about four to six hours of freezer time. Chilling the cans and the mixing bowl in the refrigerator overnight is not optional if you want the coconut cream to separate properly, and the bowl needs to be cold before you start whipping.
Ingredients for the whipped coconut cream base
- 2 cans full-fat coconut milk, 13.5 oz (400 ml) each, refrigerated overnight
- 1/2 cup (120 ml) maple syrup, or 3/4 cup (180 ml) vegan sweetened condensed milk
- 2 tsp vanilla extract, the kind with alcohol in it
- 1/4 tsp fine sea salt
- 1/4 tsp xanthan gum or guar gum, optional
That makes about 3 pints, or six servings of about 1/2 cup. The alcohol in the vanilla is worth a note. Alcohol lowers the freezing point, so it keeps the finished ice cream from setting rock-hard, which is a common complaint about homemade dairy-free versions.
Full-fat is the requirement, not a preference. Light coconut milk has roughly half the fat, and reduced-fat versions freeze hard and grainy no matter how long you whip them. If coconut is out, the closest swap is a dairy-free heavy whipping cream, with the same chilling and whipping routine.
Step-by-Step
How to Make the Base Smooth and Creamy
Take the cans out of the refrigerator and open them without shaking. Scoop the solid white cream off the top of each can and leave the clear liquid behind. One 13.5 oz can usually gives you close to 1 cup of cream; you should end up with roughly 2 cups total. Save the liquid in a jar in the fridge. It is good in coffee, smoothies, and overnight oats.
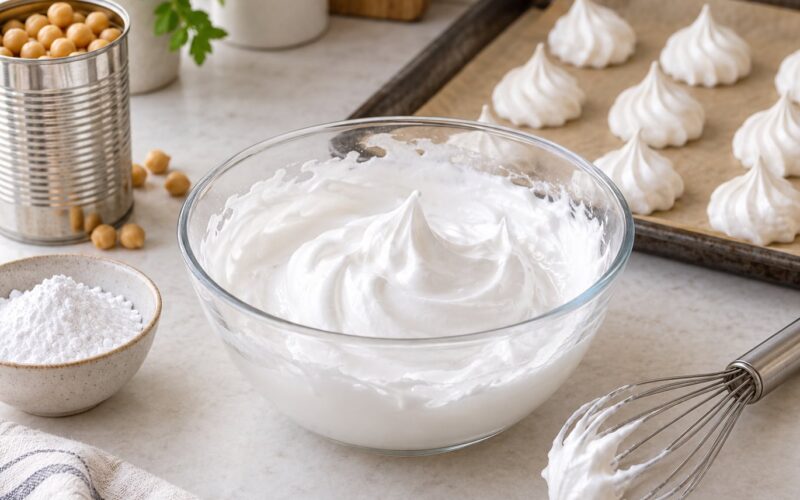
Put that cream in the coldest bowl you have, along with the bowl’s beaters, and whip for 3 to 5 minutes. You are looking for stiff peaks that hold when you turn the bowl upside down. If your mixer wanders through thin cream and watery liquid, the cans were not cold enough. That batch is not salvageable, so chill the remainder and try again.
Add the maple syrup or condensed milk a spoonful at a time while the mixer keeps running, then the vanilla and salt. Whip another 2 minutes until it looks like soft-serve. Fold in a pinch of xanthan or guar gum with a spatula if you are using it. It thickens the mix slightly and buys you a day or two of scoopability, which matters more with nut and oat bases than with coconut.
Fold, do not stir. Use a spatula and cut down through the mixture, turning the bowl a quarter as you go. Beating a no-churn base hard after the sweetener goes in knocks the air out and turns the texture grainy.
How to Freeze It Without an Ice Cream Maker
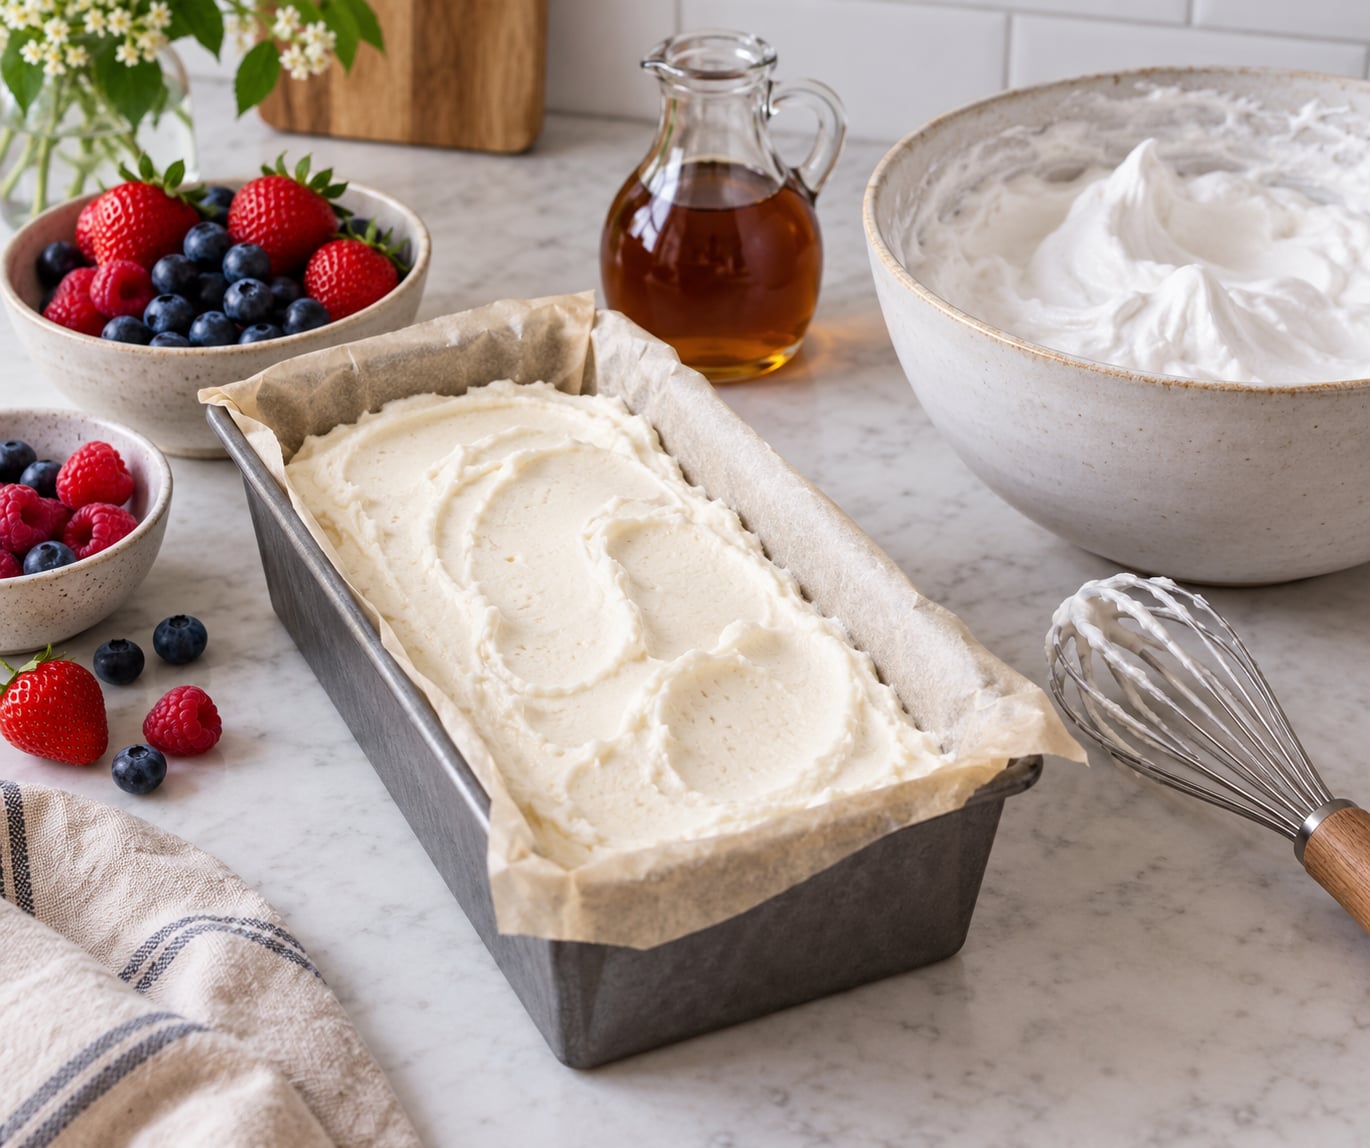
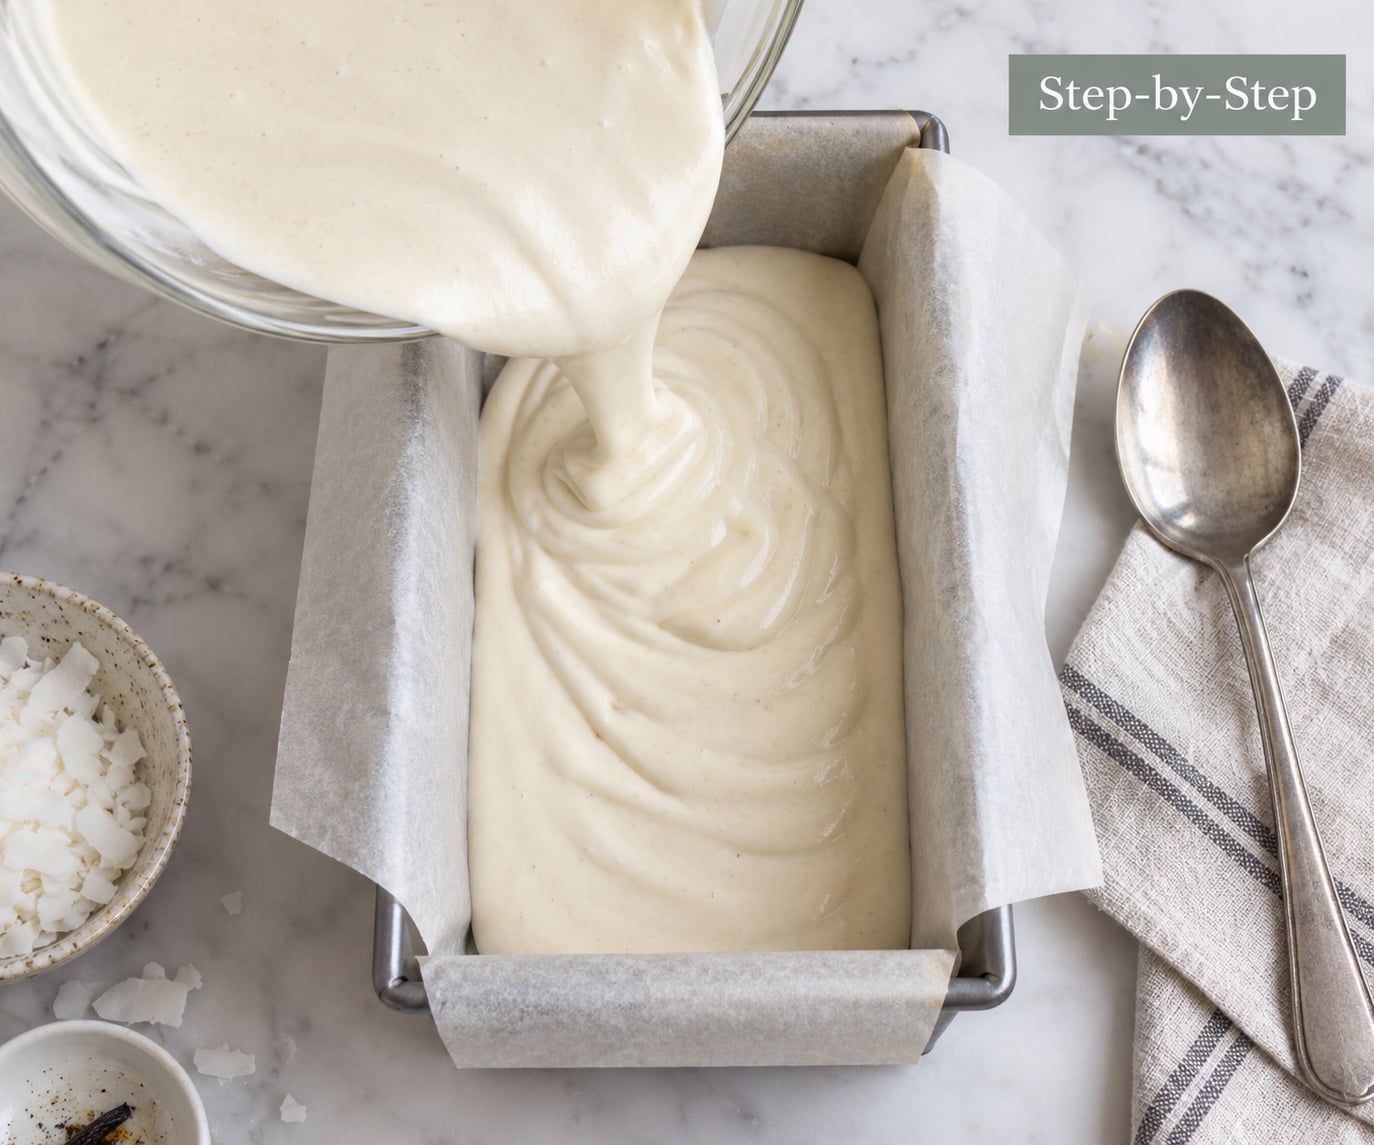
Line the loaf pan or the 8-inch square dish with parchment paper, leaving an inch of overhang on two sides. Pour the base in and smooth the top. The shallower the layer, the faster it freezes and the smaller the crystals, so about 1.5 inches deep in a square dish beats a deep loaf tin for speed.
Freeze flat and uncovered for the first 2 hours, until the surface firms and dulls. Cover it with the parchment overhang plus a tight lid or plastic wrap pressed directly onto the surface. That contact is what stops freezer odors and surface ice from forming. Then freeze for another 2 to 4 hours.
You can tell it is ready by pressing a finger into the center. If it dents without cracking, it is set. If it is still spongy, give it another 30 minutes.
Before you scoop, move it from the freezer to the counter for 15 to 20 minutes. Dairy-free ice cream has less fat than churned dairy ice cream, so it stays harder and needs a longer thaw. Ten minutes is rarely enough, and forcing a hard scoop is the fastest way to end up with a bowl of crystals.
Plan the timing backward from when you want to eat. Start 6 hours ahead for a square dish, 8 hours ahead for a loaf tin, and 12 hours ahead if you want to freeze it firm for sandwiches. Serving straight from the freezer works only if you scoop with a warm spoon between servings.
Three no-machine methods compared
| Method | Active time | Equipment | Result | Best for |
|---|---|---|---|---|
| Whipped coconut cream | 10 to 15 min | Mixer or whisk | Creamiest, richest coconut flavor | Beginners and short ingredient lists |
| Blended cashew and oat base | 5 min plus 4 hours soaking | High-speed blender | Dense and slightly icier, no coconut | Coconut-free, nut-based houses |
| Frozen cube blend | 25 to 40 min blending | Blender and ice cube tray | Lightest, aerates as it blends | No mixer at all |
The frozen cube method is the one to use when you own no mixer. Make the base without the sweetener, pour it into ice cube trays, freeze until solid, then blend the cubes in short bursts, scraping down the sides, until you see a smooth cream. Two or three tablespoons of the reserved coconut liquid loosen the blend when it seizes. Expect it to take 5 to 8 minutes of blending, and expect a lighter, airier result than the whipped method.
Common Mistakes and How to Fix Them
Nearly every complaint about no-churn dairy-free ice cream is one of four problems. Here is how to tell them apart.
| What went wrong | Why it happened | What to do |
|---|---|---|
| Icy and crunchy crystals | Base was thin, pan was shallow, or it refroze | Use full-fat cream, freeze in a 1.5 inch layer, cover in contact with the surface, and never refreeze a thawed batch |
| Rock hard, un-scoopable | Too little sugar, or a pure sugar substitute | Add more maple syrup or condensed milk next time, and use an alcohol-based vanilla extract |
| Grainy or curdled | Cream was not cold enough, or you stirred instead of folding | Chill cans and bowl overnight, whip to stiff peaks first, then fold the sweetener in |
| Soupy or weeping in the freezer | Too much liquid, often thin oat or almond milk folded in late | Skip added plant milk, or blend it in with the cream rather than pouring it in |
| Coconut flavor too strong | Cream was soft and underwhipped, or you used reduced-fat milk | Whip to stiff peaks, use full-fat, and lean on a strong mix-in like coffee, cocoa, or blackberry jam |
A note on sweeteners. Sugar is doing real work here, not just adding sweetness. It lowers the freezing point and keeps water molecules from organizing into large crystals, which is why stevia and other non-caloric sweeteners produce something hard and gritty even when you get the fat content right. Maple syrup swaps one for one with honey, and readers report that 1/3 to 1/2 cup of granulated sugar in place of the maple syrup gives an even creamier result. If you want to cut sugar, cut it by a third, not in half.
Two more fixes worth knowing. If the base splits while you sweeten it, the cream was not whipped stiff enough, so chill the bowl in the freezer for 10 minutes and whip it back together. If the finished ice cream tastes flat, a tiny pinch more salt makes the sweetness read as flavor instead of just sugar.
Flavor Variations and Bases Without Coconut
Once the base method is solid, the flavor work takes a minute. Fold mix-ins in after the final whip but before freezing, and keep total additions under a cup so the base still sets firm.
- Blackberry jam swirl — ripple 1/3 cup of seedless blackberry jam through the base with a knife, then freeze. Mountain blackberries are at their peak in July, which makes this the best time of year for it.
- Peach and brown sugar — fold in 3/4 cup of diced ripe peach with 2 tbsp brown sugar. A little lemon juice keeps the color bright.
- Chocolate — 3 tbsp cocoa powder plus 1/4 cup more maple syrup, mixed in with the sweetener.
- Mint chip — peppermint extract to taste, folded in with chopped dark chocolate.
- Coffee and black walnut — 2 tbsp of cold brew or espresso plus 1/3 cup chopped black walnuts. The walnut bitterness cuts the sweetness.
- Sweet potato and cinnamon — blend 3/4 cup of cooked sweet potato into the base before whipping for a custard-like, pale orange scoop.
For a coconut-free base, soak 1 cup of raw cashews in boiling water for 30 minutes, then drain and blend them with 1 cup of oat milk, 1/2 cup maple syrup, 1 tsp vanilla, and 1/2 cup cold water until perfectly smooth. Freeze-blend it in short bursts if your blender struggles, then pack and freeze. The texture is denser and a touch icier than coconut, which is normal. For a nut-free version, use an unsweetened soy or pea-based whipping cream in place of the coconut cream and follow the same whipping and folding steps. Avoid almond and rice milks in the base. They are too thin to hold anything together.
Frequently Asked Questions
What is the best dairy-free milk for homemade ice cream without a machine?
Full-fat canned coconut milk, chilled overnight so the cream rises to the top, is the best base for no-machine ice cream. Its fat is what gives the finished scoop structure. A dairy-free heavy whipping cream works the same way. Oat, almond, and rice milks are too thin to whip into anything stable on their own, and are best used blended into a nut base instead of poured in.
How long does dairy-free ice cream take to freeze without an ice cream maker?
Plan on 4 to 6 hours in a shallow dish and 6 to 8 hours in a loaf tin. Start frozen and uncovered for the first two hours, then cover and finish freezing. Before scooping, let it sit at room temperature for 15 to 20 minutes, since dairy-free ice cream holds a lower fat content and stays harder than dairy ice cream.
Why is my dairy-free ice cream icy after freezing?
Ice crystals form when water freezes slowly or the base lacks enough fat and dissolved sugar to keep it from organizing into large crystals. Common causes are light or reduced-fat coconut milk, a shallow or wide pan, non-caloric sweeteners like stevia, a cover that never touched the surface, and refreezing a batch that thawed. Use full-fat cream, freeze about 1.5 inches deep, and never refreeze.
Can I make dairy-free ice cream without coconut milk?
Yes. Blend soaked raw cashews with oat milk, maple syrup, and vanilla until smooth, then freeze. For a nut-free and soy-free option, an unsweetened pea-based whipping cream behaves like coconut cream and follows the same chilling, whipping, and folding steps. Avoid almond and rice milk in the base because they are too thin to support a scoopable texture.
How should I store homemade dairy-free ice cream?
Press plastic wrap or parchment directly onto the surface, then cover tightly and keep it at 0°F (minus 18°C) or below. That contact prevents surface ice and freezer odors. Eat it within one to two weeks for the best texture, since the crystals keep growing even when stored correctly. Soften for 15 to 20 minutes before scooping.
Can I use a loaf pan or shallow baking dish to freeze ice cream?
Both work. A shallow 8-inch square dish is usually better because the base freezes in a thinner layer, which sets faster and keeps crystals smaller. A loaf pan gives you the classic sandwich-bar shape and slices cleanly once firm. Line whichever you use with parchment paper so you can lift the frozen block out without scraping the pan.
Conclusion
Start with the cans. Put two cans of full-fat coconut milk and your mixing bowl in the refrigerator tonight, because that overnight chill is the step people skip and then blame the ice crystals on everything else.
Once they are properly cold, whip the solid cream to stiff peaks, sweeten with maple syrup or vegan condensed milk, fold rather than stir, and freeze about 1.5 inches deep in a parchment-lined dish. Start six hours before you plan to serve, cover it in contact with the surface, and give it a 20-minute thaw before the first scoop.