Fermenting hot sauce at home takes three ingredients, a clean jar, and about two weeks of patience. You chop fresh peppers, cover them with a 3% salt brine, and let lactic acid bacteria and wild yeast do the rest before you blend the mash with vinegar and refrigerate it. Nothing fancy, and no starter culture needed.
The part people get wrong is salt. Too little and you invite trouble, too much and the sauce eats like a seasoning rather than a hot sauce. Get the ratio right and everything after it mostly takes care of itself.
One note before we start: salt does two jobs here. It makes the brine by pulling water out of the peppers, and it selects for the bacteria you want by suppressing the ones you don’t. That is why the number matters more than the brand of salt.
Table of Contents
- What You Need
- Step-by-Step
- 1. Choose and Clean Your Peppers
- 2. Cut the Peppers and Make the Brine
- 3. Pack the Jar and Remove Air Pockets
- 4. Ferment at Room Temperature
- 5. Taste and Decide When It Is Ready
- 6. Blend and Finish the Hot Sauce
- 7. Bottle and Refrigerate
- Food Safety: Acidity, Salt, and Botulism
- Common Mistakes
- Frequently Asked Questions
- Do I need a special jar to ferment hot sauce at home?
- How long does homemade hot sauce take to ferment?
- What salt percentage should I use for fermented hot sauce?
- Can I add vinegar after fermenting hot sauce?
- Is white mold on fermented peppers safe?
- Should I add sugar or garlic before fermenting hot sauce?
- Conclusion
What You Need
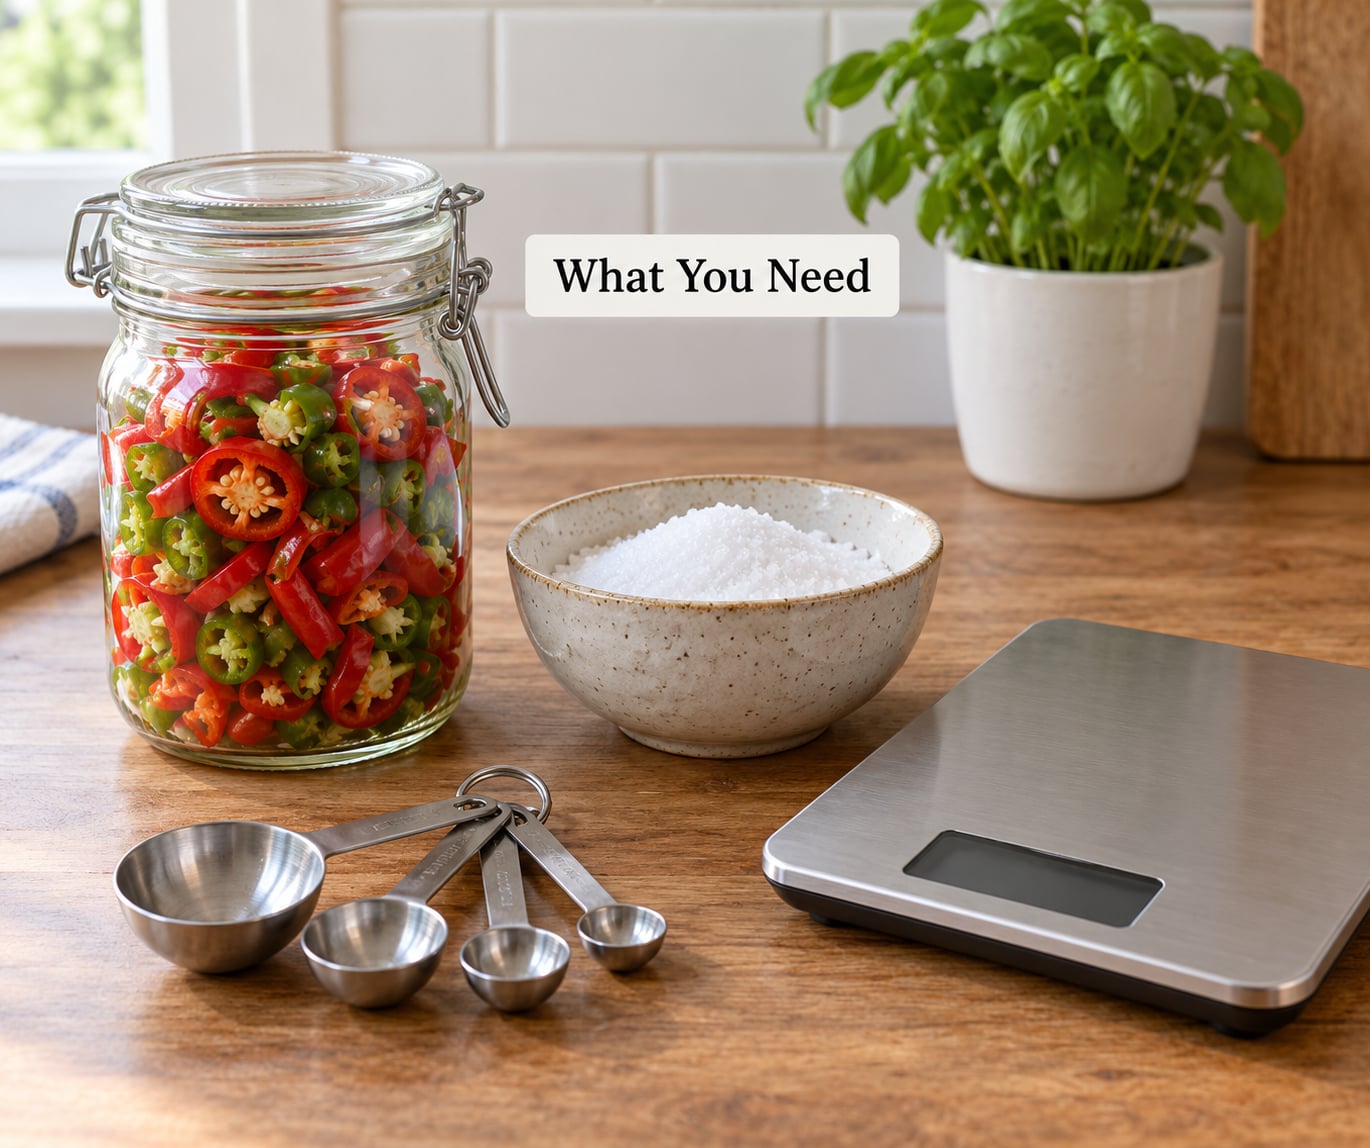
A basic batch is about a pound of peppers, 4 ounces of salt, a cup of filtered water, and half a cup of vinegar for finishing. Everything else is optional flavor.
Peppers: Any fresh chili works. Serrano and jalapeno make a familiar, medium-hot sauce. Cayenne or fresno bring a cleaner, brighter heat. Habanero, ghost, and Carolina Reaper are all fine for anyone who wants them, and home fermenters on thehotpepper.com run superhot batches with no special precautions beyond normal salt discipline. Fresh is non-negotiable here; dried peppers and pepper powder rehydrate differently and make their own rules.
Salt: Pickling salt, canning salt, or kosher salt without iodine. Iodine inhibits the ferment, which is exactly the opposite of what you want. If your bag says “iodized,” put it back on the shelf.
Water: Filtered or chlorine-free tap water. Chlorine is a sanitizer, and putting a sanitizer in the brine kills the bacteria you just invited in. People on thehotpepper.com and tvwbb.com both land on the same short ingredient list: peppers, chlorine-free water, kosher or canning salt, and vinegar.
Vinegar: White wine vinegar is the cleanest background flavor. Apple cider vinegar is the most common home cook’s pick and adds mild fruit. Red wine vinegar is good if you are chasing a smoky, aged profile. Use the vinegar only at the end, never in the brine.
Equipment: A mason jar or any glass jar with a mouth wide enough for your peppers, a weight to hold them under the brine (a smaller jar, a baggie of brine, or a fermentation weight all work), a kitchen scale, a funnel, and a blender or food mill for finishing. An airlock lid is helpful but not required. Reddit beginners report success with mason jars, silicone bags, and vacuum sealers, so the method is flexible.
Step-by-Step
Here is the whole process for how to ferment hot sauce at home, in the order that actually matters. Work clean, keep the peppers under liquid, and taste before you bottle.
1. Choose and Clean Your Peppers
Select peppers that are firm and fresh with no soft spots, splits, or wrinkles. Cut out any bruised area rather than trying to ferment around it, because damaged tissue is where spoilage organisms get a foothold.
Do not wash the peppers in plain soap, and avoid washing them at all if you can. Rinse under cool running water if you want to, then dry them thoroughly. Before you cut anything, wash your hands, sanitize the cutting board and knife, and wipe down the counter.
Pull the stems off but leave the green cap on top of the pepper. This is the detail most recipes gloss over, and it matters: the cap seals the shoulder so the pepper holds its shape and keeps its flesh instead of collapsing into mush in the brine.
2. Cut the Peppers and Make the Brine
Chop the peppers into a rough dice, about half-inch pieces. Rough cuts give the bacteria more surface to work with, which speeds things up. Some fermenters seed the whole peppers instead for a slower, chunkier ferment; either is fine, but dice is the beginner-friendly choice.
Seed or not is a preference question. Pepper heat lives mostly in the flesh, and the seeds add mild flavor, so removing them softens the heat and makes the sauce smoother. Leaving them in costs nothing and gives you more body.
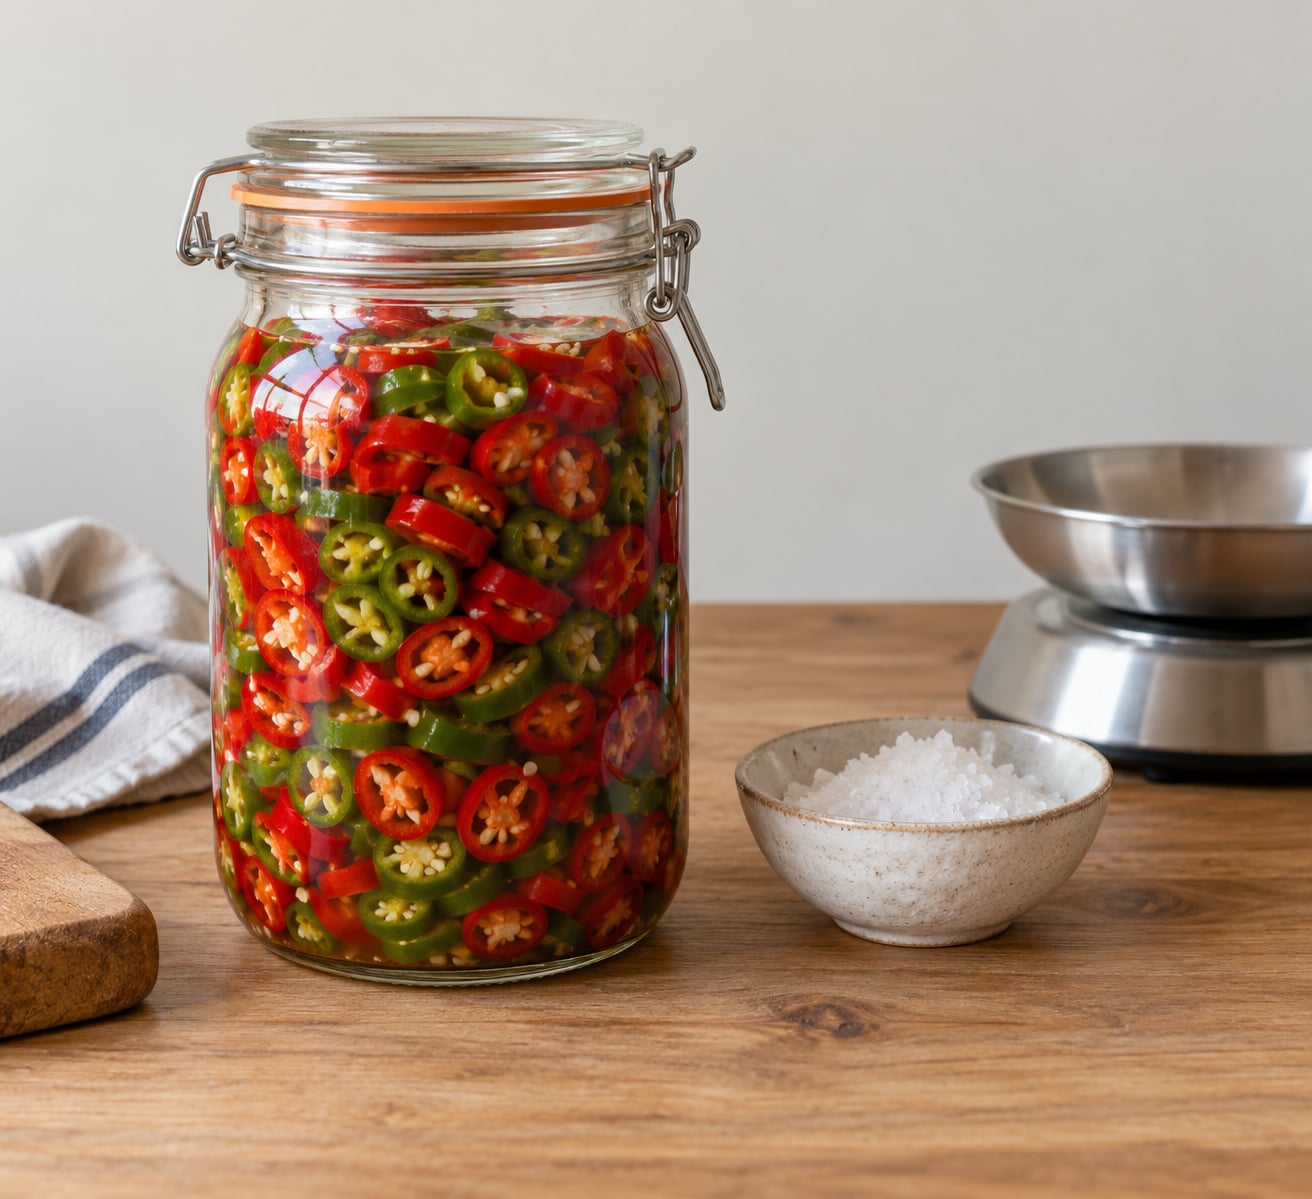
Then make the brine. Dissolve 3 tablespoons of non-iodized salt into 4 cups of chlorine-free water, which comes out to roughly a 3% brine. Stir until it is fully dissolved before it touches the peppers, because undissolved salt sitting at the bottom of the jar makes one very salty layer and one bland layer.
You can also skip the brine entirely and dry-salt the peppers: about 1.5 teaspoons of fine salt per cup of chopped peppers, massaged in until the peppers glisten and give up a little liquid of their own within a few minutes. Both methods are the same idea in different clothes. Pick one and use the same ratio every time so you can compare batches later.
3. Pack the Jar and Remove Air Pockets
Put the peppers in the clean jar a little loose, then pour in enough brine to cover them completely. Every pepper must sit under the liquid. Pepper above the brine line is pepper exposed to oxygen, and oxygen is an invitation to mold.
Press the peppers down gently with a clean utensil to release trapped air pockets. Bubbles clinging between the peppers are oxygen pockets, and they are the quiet reason some batches mold in the spot where they were most loosely packed.
Set your weight on top so the peppers stay submerged as the brine level drops over the next week. If you do not have a weight, a small jar filled with brine works. Then close the lid loosely, or screw it on and crack it just enough for gas to escape. Do not seal a jar airtight for the first few days. On r/fermentation this is the most repeated beginner question, and the honest answer is that both methods work as long as you release the pressure.
4. Ferment at Room Temperature
Keep the jar on the counter out of direct sunlight, ideally between 65 and 75 degrees Fahrenheit. This is the number that matters most. A kitchen that runs warm will move faster, and a cool room in the 50s will slow the whole thing down by days.
What active fermentation looks like, day by day:
- Days 1 to 2: Little or nothing. Bubbles may be trapped in the jar. This is normal and not a sign of failure.
- Days 3 to 5: Visible bubbles when you gently squeeze the jar or lift the weight. The brine may turn cloudy, which is bacterial bloom doing its job.
- Week 2: A tangy, fermented smell when you open it. Liquid may have dropped, so top it up with fresh 3% brine and push the peppers back under.
- Week 3 and beyond: Sourness climbs fast. Taste here, because after this point the sauce keeps going whether or not you are ready.
A thin film or the flat, cream-colored sheet of kahm yeast on the surface is a common and harmless occurrence. It forms in the air gap every vegetable ferment develops. Skim it off with a clean spoon and carry on.
Expect a burp. Gas builds from the ferment itself, and a sealed jar can push its lid or spray brine when opened. Crack the lid over the sink for a second every day or two, or fit an airlock if you plan to leave it alone for weeks.
If nothing at all is happening after a week, check three things in order: the temperature of your kitchen, whether the peppers are still fully submerged, and whether the salt ratio was right. Warm, submerged, salty ferments move. If it fails after those, it was almost certainly under-salted or started with damaged peppers.
5. Taste and Decide When It Is Ready
Taste from day five onward with a clean spoon, never a fork that has been in your mouth. Start at five days for a bright, barely tangy sauce, seven to ten days for a classic fermented flavor, and two to three weeks for a deep, sharp, almost wine-like sourness.
Use the aroma as a checkpoint before the taste. A healthy ferment smells sharp, tangy, and pleasantly sour, sometimes fruity. Anything putrid, ammonia-like, or rotten means the batch goes in the trash, no tasting required.
Beginners coming from sauerkraut or kimchi often expect the funk they know from those. Hot sauce ferments read as cleaner and brighter, mostly because the peppers and the final vinegar pull the flavor in a different direction. That is normal.
6. Blend and Finish the Hot Sauce
Blend or strain the mash after it reaches the sourness you want. A blender gives you a smooth, pourable sauce, a food mill gives you a coarse texture with skin in it, and a fine-mesh strainer held under firm pressure gives you a clear, thin sauce that will not seed into an oily mess in the fridge. That last outcome is the reason straining exists.
Add vinegar at this stage, not before. Most recipes use about half a cup per pound of peppers as a starting point, then adjust. The vinegar seasons the sauce and drops the pH, which slows any remaining activity once the jar hits the fridge.
Add-ins go in after fermentation too, so they do not feed the bacteria or alter the ferment’s balance. Popular options on the hot sauce forums include mustard seed, garlic, onion, dried chilies, a spoonful of honey, or a splash of Worcestershire. Smoked paprika or chipotle powder after blending is an easy route to a smoky sauce.
7. Bottle and Refrigerate
Pour the finished sauce into clean bottles or jars and refrigerate. Do not water-bath can a naturally fermented sauce at home. Acidified sauces get stored in the fridge, and refrigeration is what keeps them stable there.
Label each bottle with the pepper mix and the fermentation date, plus the blend date. You will not remember which jar was the three-week one by the time you reach for it in February.
Refrigeration slows further change rather than stopping it, which r/FermentedHotSauce beginners learn the same way. A refrigerated bottle keeps its character for months, typically two to six, and continues drifting slowly the whole time. Leave sauce sitting warm on the counter for a week after bottling and you will come back to something noticeably more sour.
Freeze surplus batches instead. Fermented sauce freezes well in a jar with headroom, and thawing in the refrigerator keeps the texture intact.
Food Safety: Acidity, Salt, and Botulism
How to ferment hot sauce at home safely comes down to four habits: 3% salt, full submersion, clean equipment, and a straight-faced smell check before you ever taste.
Botulism is the fear that comes up most on forums, and it is a fair question. Clostridium botulinum is an obligate anaerobe, meaning it needs oxygen-free conditions to grow, which sounds alarming until you look at what it actually requires. It also needs low acid, low salt, and specific temperature conditions. Salt at 3% is far above what C. botulinum tolerates, and the lactic acid bacteria in your ferment drive the pH down as they work, producing the acidity that makes the environment hostile to it. The anaerobic jar environment by itself is not enough to make it dangerous.
The practical guidance for home ferments:
- Measure salt by weight, not by guessing. Weigh it, or use the volume conversions above consistently.
- Never use iodized salt. Iodine kills the ferment and the bacteria that protect the batch.
- Keep every pepper under brine, every time you open the jar.
- Use very clean jars and utensils, washed in hot soapy water and rinsed well.
- Leave fuzz, off colors, or any bad smell alone. Toss the batch without tasting it.
Peppers are a low-acid vegetable, so treat this as a salted vegetable ferment rather than a canned product, and follow the salt and submersion rules without exception. If you are ever unsure about a batch, or if anyone in your household is pregnant, elderly, or immunocompromised, ask them to look at the batch before you serve it, and skip home fermentation entirely when in doubt.
Common Mistakes
Almost every failed first ferment comes down to one of five things.
- Too little salt. The peppers look fine for a week and then soften and smell off. Fix: 3% brine, or 1.5 teaspoons of fine salt per cup of peppers, weighed.
- Peppers above the liquid line. The exposed pieces dry out and grow fuzz while the rest ferments fine. Fix: pack tighter and use a weight.
- Opening the jar constantly. Repeated handling lets air and stray organisms back in. Fix: check once a day, quickly, and stop fiddling.
- A kitchen that is too warm. Above roughly 80 degrees the ferment can turn vinegary and thin in days. Fix: move the jar somewhere cooler, or blend and refrigerate immediately.
- Assuming every surface growth is harmless. Kahm is flat, cream-colored, and smells yeasty. Fuzzy, colored, or textured growth is mold. Fix: skim kahm, discard fuzzy mold.
Two smaller ones worth knowing: never boil or cook the sauce after fermenting unless you want to cook out all the character you spent two weeks building, and do not dilute the mash with unfermented ingredients. If you want more liquid, top up with fresh 3% brine before it goes in the fridge.
Frequently Asked Questions
Do I need a special jar to ferment hot sauce at home?
No. A mason jar is the standard choice, and any glass jar with a mouth wide enough for your pepper pieces works fine. All you truly need is something that keeps the peppers submerged, which you can do with a smaller jar, a baggie filled with brine, or a fermentation weight. Start with a loose lid so gas can escape, and move to an airlock only if you plan to leave the jar alone for weeks.
How long does homemade hot sauce take to ferment?
Plan on 7 to 14 days at room temperature for a bright, tangy sauce, and up to 3 to 4 weeks for a deeper, sharper flavor. Ferments kept at 65 to 75 degrees Fahrenheit move fastest. Start tasting around day five, because sourness keeps climbing after that and you may want the sauce sooner than you think.
What salt percentage should I use for fermented hot sauce?
Use a 3% brine by weight, which works out to about 3 tablespoons of non-iodized salt per 4 cups of filtered water. If you dry-salt the peppers instead, use roughly 1.5 teaspoons of fine salt per cup of chopped peppers. Weighing the salt is the most reliable method. Iodized salt inhibits the ferment and should never be used.
Can I add vinegar after fermenting hot sauce?
Add vinegar after fermenting, never during. Most recipes use about half a cup per pound of peppers as a starting point, then you adjust to taste. The vinegar seasons the finished sauce and lowers the pH enough to slow any residual activity once the bottle is refrigerated.
Is white mold on fermented peppers safe?
Judge by texture and smell. A flat, cream-colored sheet known as kahm yeast is harmless, skim it off with a clean spoon, and continue. Fuzzy growth, green or black coloring, or any rotten smell means the batch is spoiled and should be discarded without tasting.
Should I add sugar or garlic before fermenting hot sauce?
Skip both during the ferment. Sugar feeds the bacteria and speeds up activity, and garlic can overpower the pepper flavor. Add garlic, honey, mustard seed, or spices after fermentation and blending, where they season the finished sauce without changing its character.
Conclusion
Start with one pound of fresh peppers, weigh out your salt, and get those peppers under brine in a clean jar today. That single batch teaches you more about temperature, timing, and tang than any recipe will, and it costs about the same as one bottle from the shelf.
Two rules cover almost everything: keep the salt at 3% and keep every pepper under the liquid. Get those right and the bacteria will take care of the rest. Start small, taste at day five, and adjust the next batch longer or shorter once you know what sourness you actually like.
Late in the garden season, when the jalapenos and serranos are stacking up faster than you can use them, this is the best possible answer. Fermenting turns a glut of cheap peppers into a sauce that tastes like something you cannot buy.