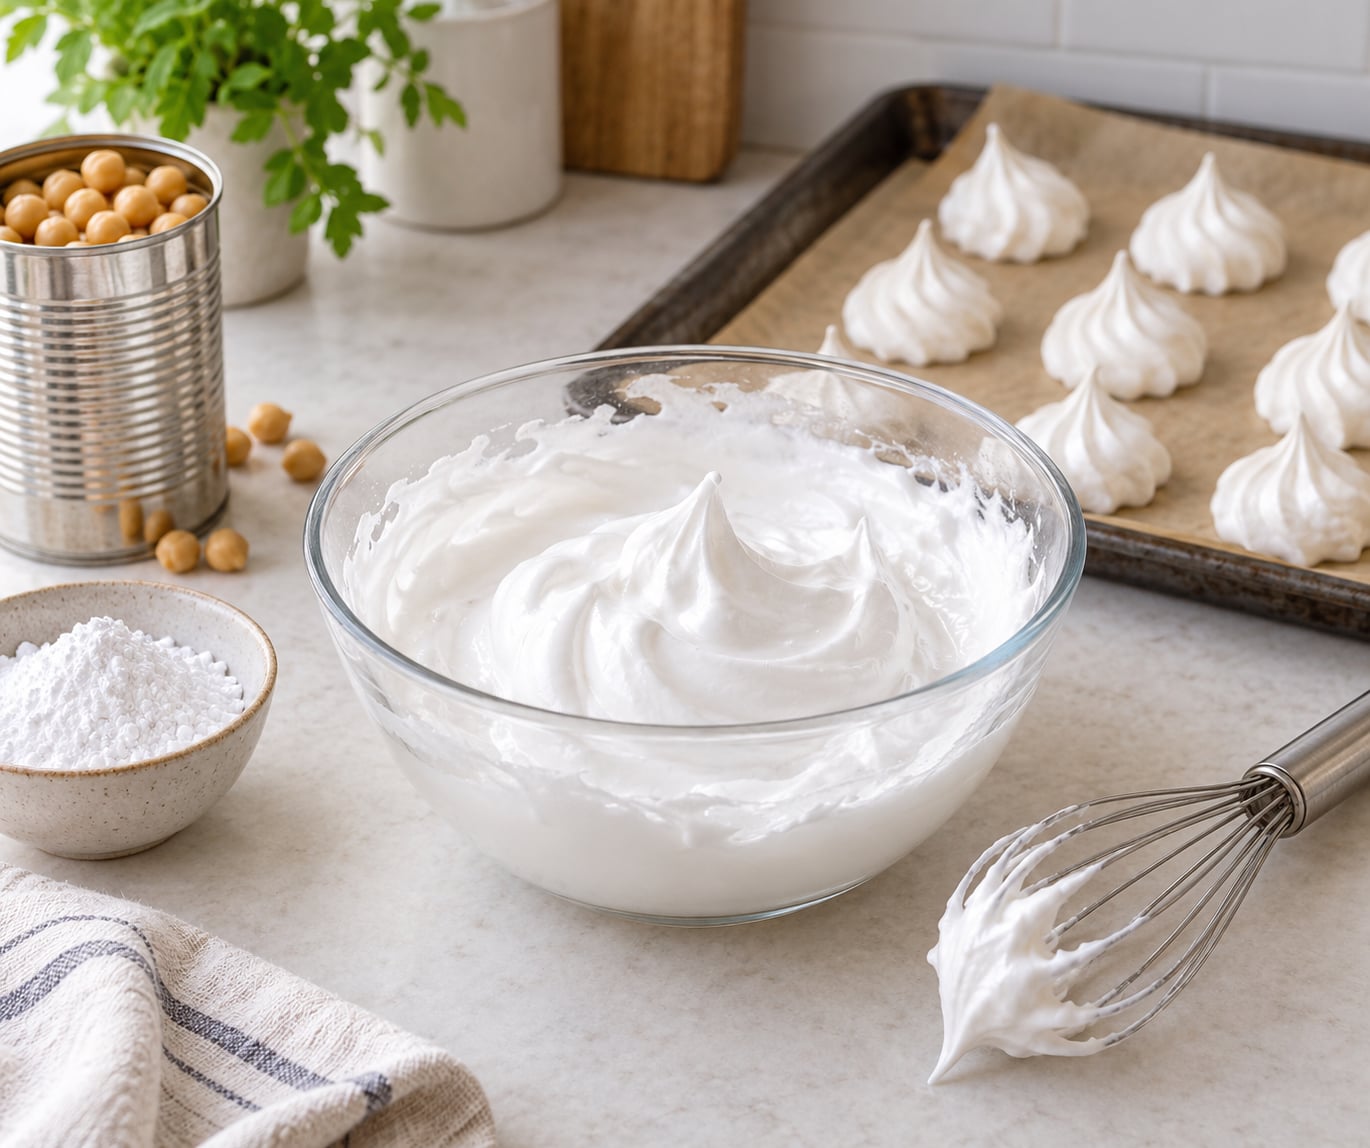
Learning how to make aquafaba meringue is mostly a matter of patience and sugar timing. You whip the starchy liquid left from canned chickpeas with sugar and cream of tartar until it holds stiff, glossy peaks, then bake it low and slow until crisp. It pipes, browns and snaps like egg-white meringue, so an egg-free pie topper or cookie is genuinely possible.
From start to finish the whole thing takes about 15 minutes of active work and 45 minutes of baking, plus an hour of cooling you are not allowed to interrupt. Most of the failures I see come down to two things: stopping the mixer before the sugar is fully incorporated, and opening the oven door too early.
Below is the small-batch method I use, plus how to fix a batch that goes wrong. Everything here is egg-free and gluten-free as written, and updated for 2026.
Table of Contents
- What You Need
- How much aquafaba equals one egg white?
- Will Aquafaba Whip Without Cream of Tartar?
- Step-by-Step: How to Make Aquafaba Meringue
- Step 1: Prepare the Aquafaba
- Step 2: Whip the Aquafaba
- Step 3: Shape and Bake the Aquafaba Meringue
- Step 4: Cool and Store the Meringue
- Common Mistakes and Fixes
- Frequently Asked Questions
- Do I have to bake aquafaba meringue?
- Can I make aquafaba meringue with dried chickpeas?
- Why is my aquafaba meringue not getting stiff?
- How long does baked aquafaba meringue keep?
- Is aquafaba meringue gluten-free and vegan?
- Can I use aquafaba meringue on a pie or cupcakes?
- Conclusion
What You Need
For roughly 20 to 25 small meringues or one pie topping:
- 1/2 cup (120ml) aquafaba — about half of a standard 15oz can of chickpeas, drained
- 1/4 teaspoon cream of tartar
- 1/2 cup (100g) granulated sugar — caster or superfine works best, and it dissolves faster
- 1/2 teaspoon vanilla extract, added at the end
- A pinch of salt, optional but it sharpens everything
- A spotlessly clean glass or metal bowl and a balloon whisk, hand mixer, or stand mixer
- A sheet pan lined with parchment or silicone, and a piping bag if you want shapes
- An oven thermometer, if you have one
Two things matter more than the rest of the kit. The bowl must be free of fat, because a trace of oil stops a foam cold. And the piping tip should be large, usually a star tip, since tight little kisses dry out before the middle sets.
One can of chickpeas yields roughly 3/4 cup of aquafaba, so a single batch leaves you enough for a second round of cookies or a few chocolate mousse servings. Keep the leftover liquid in the fridge in a sealed jar for up to four days, or freeze it in an ice cube tray.
How much aquafaba equals one egg white?
Three tablespoons, about 45ml, is the standard swap. Two tablespoons per white works for cake batters where you want less lift; four tablespoons per white is closer to a meringue made for piping.
- 1 egg white: 3 tbsp (45ml) aquafaba
- 2 egg whites: 1/4 cup (60ml) aquafaba
- 3 egg whites: 1/2 cup (120ml) aquafaba
- 4 egg whites: 2/3 cup (160ml) aquafaba
- 6 egg whites: 1 cup (240ml) aquafaba
If you are replacing six whites in a recipe, that is a full cup of aquafaba, and you will want the sugar scaled to match rather than copied straight from the egg version.
Will Aquafaba Whip Without Cream of Tartar?
Yes, but the foam is noticeably less stable and more likely to deflate on the way to the oven. Cream of tartar is an acid that slows the proteins from over-whipping and holds the bubble walls in place for longer, and aquafaba needs that help more than egg whites do.
If you have none, a squeeze of lemon juice works about half as well, and home bakers on baking forums report it often fails outright and never goes stiff. Vinegar is worse. My advice is to keep the 1/4 teaspoon in the ingredient list. It costs almost nothing and it is the difference between a meringue that holds a shape and one that melts on the tray.
Step-by-Step: How to Make Aquafaba Meringue
Step 1: Prepare the Aquafaba
Open the can and pour the liquid through a sieve into your mixing bowl, leaving the chickpeas behind. Chill it for 15 minutes if you have the time. Cold liquid whips slower but the foam tends to hold its structure better, and a warm bowl is the main reason people under-whip.
You can also reduce it. Simmer the liquid in a small pan until it is roughly half its original volume, cool it, and use it as if it were the same amount of fresh aquafaba. Reduced aquafaba is the rescue move when a batch will not stiffen, and it is what I use for anything that has to hold a piped shape for more than an hour.
Step 2: Whip the Aquafaba
Add the cream of tartar and the salt, then whip on medium speed until the liquid turns pale and foamy, roughly 2 minutes with a stand mixer or 3 to 4 with a hand mixer. Nothing much will happen for the first minute. Push through it.
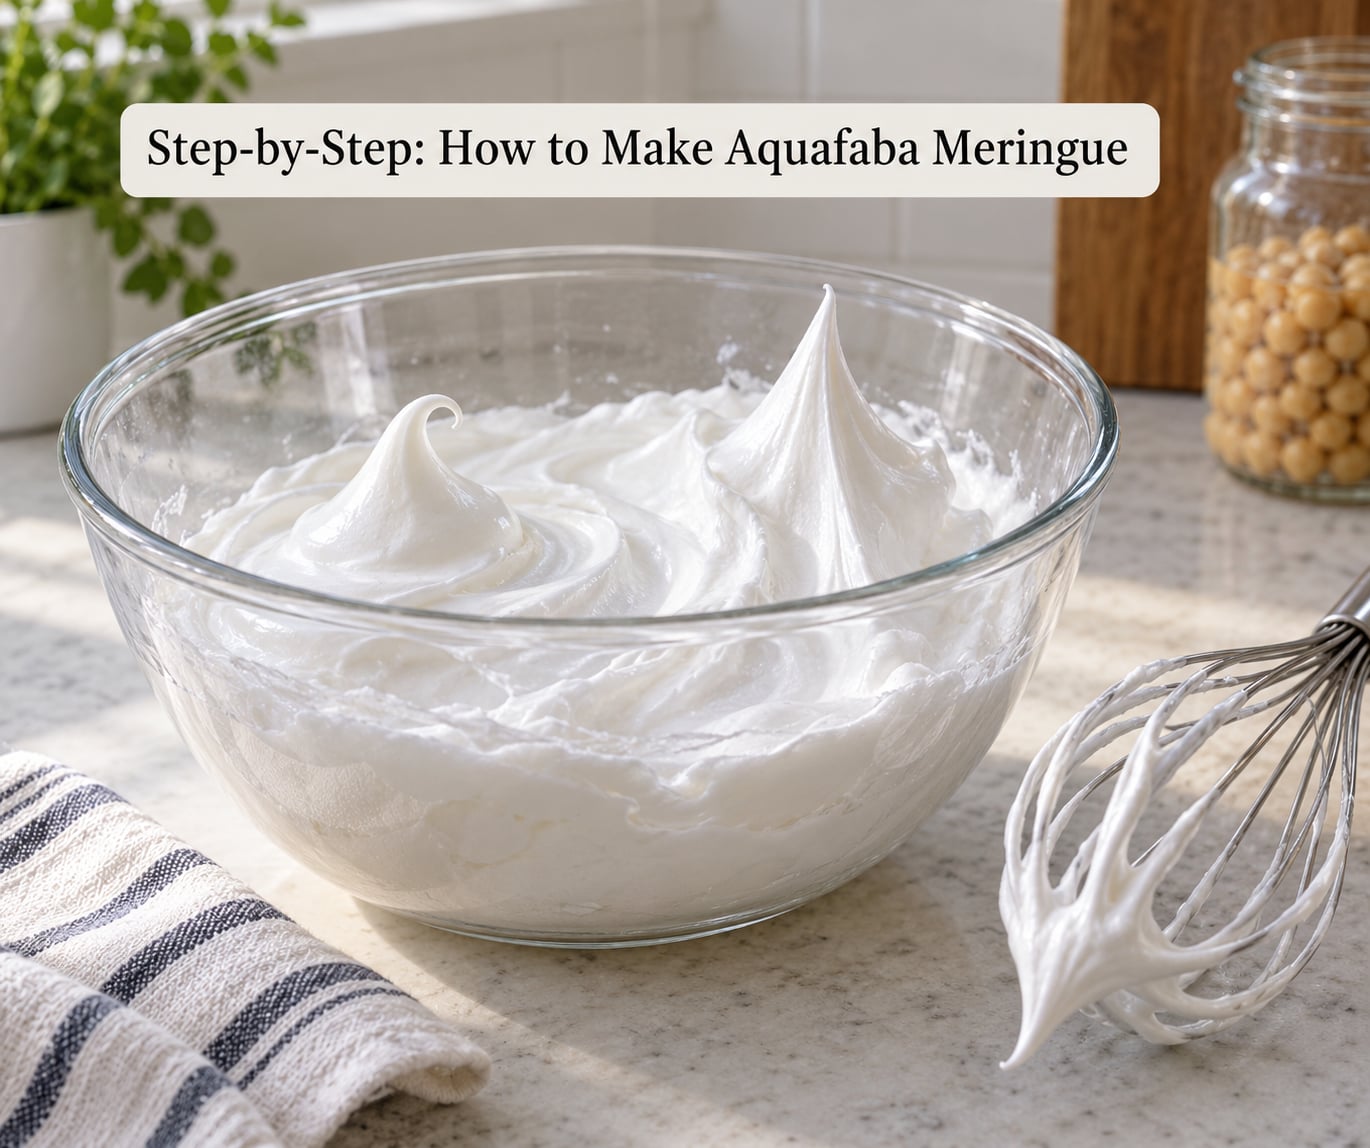
Once you see loose bubbles, turn up to high speed and start adding sugar a tablespoon at a time, giving it 15 to 20 seconds to absorb before the next. That slow addition is the whole technique. Dumping sugar in at once gives you gritty meringue that never goes truly stiff.
Watch for three stages. Loose and foamy looks like soapy water. White and glossy means it has thickened and the sugar is going in. Stiff peaks means lifting the beater leaves a peak that curves over at the tip and holds without sliding. Expect 6 to 9 minutes on a stand mixer and 8 to 14 with a hand mixer — aquafaba takes longer to whip than egg whites, and stopping at six minutes with a hand mixer is the single most common reason readers end up with chewy discs.
Stir in the vanilla at the very end, off the heat, so it does not cook off.
Step 3: Shape and Bake the Aquafaba Meringue
Heat the oven to 250F (120C) and line a sheet pan with parchment. Pipe or spoon the meringue into shapes with a space of about 1 inch between them, since the pieces spread a little as they set. Keep them small for cookies or pile the mixture in the middle of the pan for a single pavlova-style round.
Bake for 45 minutes. Do not open the door to check. Do not rotate the pan. Do not use a convection setting, which dries the outside before the middle sets. The meringue is not done when the timer ends, which is why the next step matters more than this one.
Some bakers go lower and longer — 225F (110C) for 90 minutes for extra-dry results, or 175F (80C) for 2 hours if they are piping tall shapes for a pavlova or a bûche de noël decoration. You are looking for a shell that feels dry and papery on the outside and no longer gives when you very gently touch the underside.
Step 4: Cool and Store the Meringue
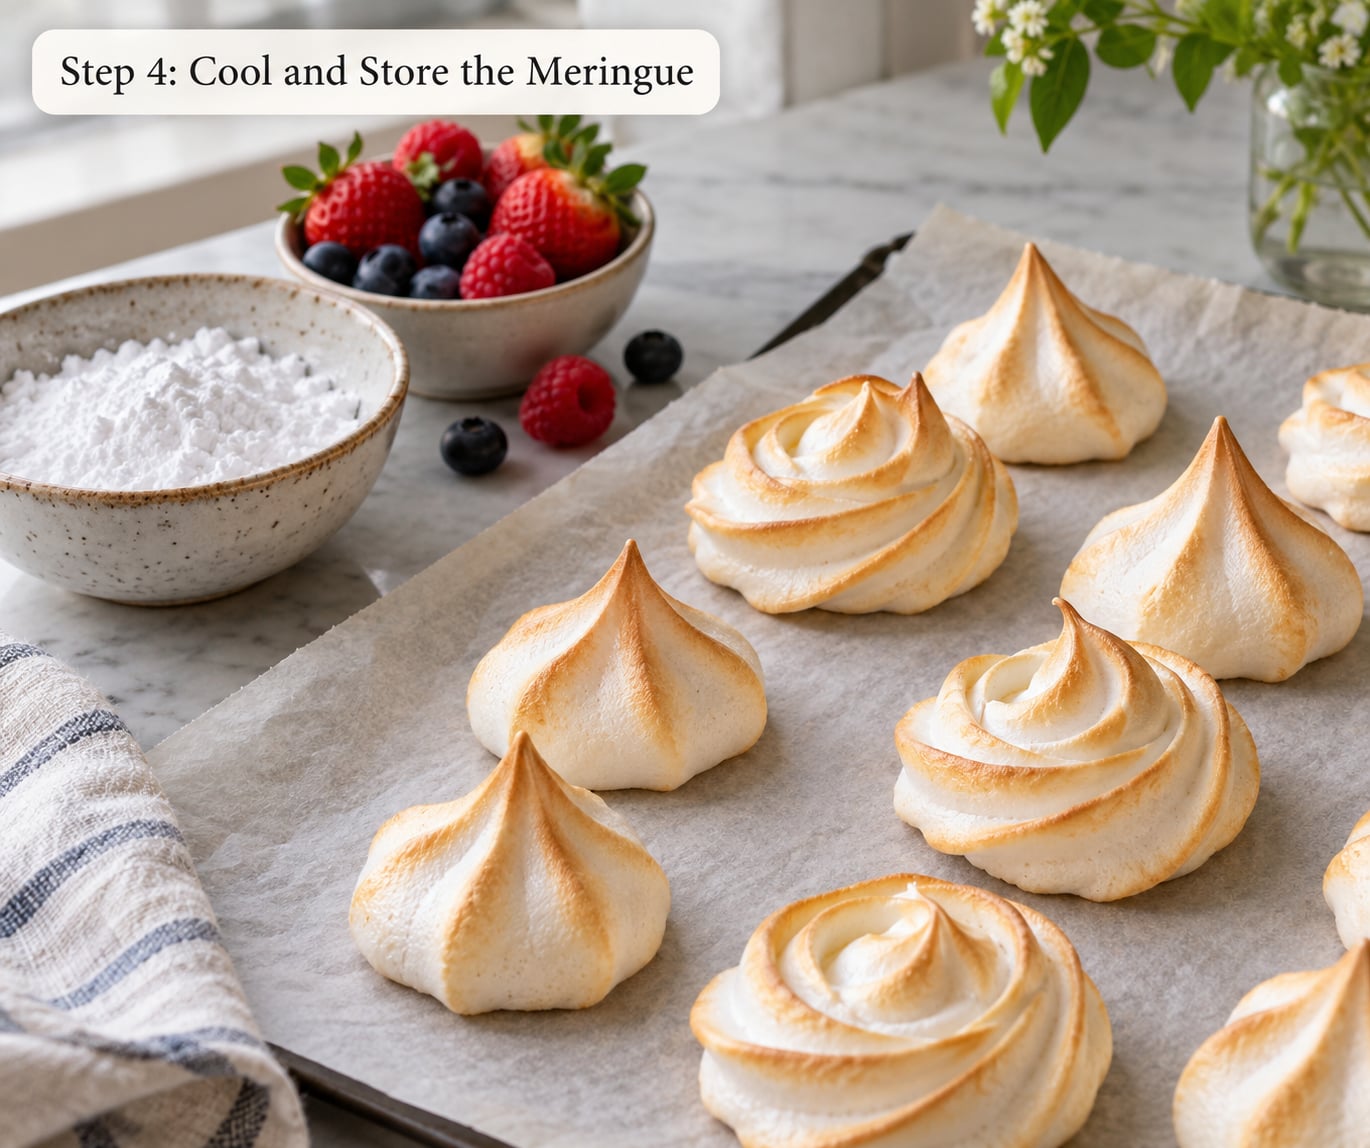
Turn the oven off and leave the door closed. The trapped heat finishes drying the centers as the meringue cools. Opening that door is what deflates collapsed meringues, and readers describe it on baking forums as the meringues vanishing from the tray. Wait at least an hour, then move them to a rack.
Store finished meringues in an airtight container at room temperature for up to five days. In hot, humid weather, refrigerate them, since humidity is the one thing that turns a crisp meringue sticky within minutes.
Now use them. The pieces are lovely on their own with a cup of coffee, or as a topping for lemon meringue pie where you torch the surface. Meringue nests and tart shells make a good pairing, and crumbled over sweet potato or persimmon pie it does the job the whipped cream topping used to do.
Common Mistakes and Fixes
The meringue will not get stiff. Usually under-whipping or a bowl that was not clean. Beat two minutes past what you think is enough, and make sure no oil or plastic residue is on the bowl or beaters. If it still will not hold, put the mixture back in the pan, reduce it by half, cool it, and whip again. Concentration fixes almost every failure I have seen.
It looks stiff but bakes chewy. The peaks before the sugar has fully absorbed are not the real test. Pull the beater out and look for glossy, satin-like peaks with no grainy sugar visible at the base. Grainy means keep whipping and adding sugar.
It spread flat or stuck to the parchment. Too much spread usually means the meringue was baked too hot or too fast, which sets the outside and leaves the inside wet. Cooler and longer fixes it. To stop sticking, use silicone instead of parchment, or run a hot knife along the base before the meringue cools completely.
It deflated or collapsed the moment the oven opened. The door. This is not a baking fault, it is an opening-the-door fault. Leave the oven closed for the full hour after switching it off.
It has a beany or tangy taste. Raw aquafaba does taste of chickpea. Long, low drying drives the volatile compounds off, so a meringue baked to the full low-and-slow schedule and cooled inside the oven comes out tasting purely sweet and vanilla. Serving it slightly underbaked is what keeps that flavor around.
It cracks or has brown patches. Cracks come from over-baking a small shape, brown patches from a hot spot. Use an oven thermometer, move the tray to the center of the rack, and pull smaller pieces earlier.
One last swap worth knowing: canned white beans and cannellini whip reasonably well, about two minutes slower than chickpeas. Home-cooked bean water is the unreliable one, because the water-to-bean ratio while cooking is unmeasured, so the protein content swings batch to batch.
Frequently Asked Questions
Do I have to bake aquafaba meringue?
Yes. Aquafaba meringue is a raw foam, so unlike a French meringue made with cooked Italian meringue, it needs baking to set. Bake at 250F (120C) for about 45 minutes, then leave it in the switched-off oven with the door closed for another hour. Only a meringue cooked to a hot sugar syrup holds without baking, and that route needs a candy thermometer.
Can I make aquafaba meringue with dried chickpeas?
You can, but not without extra work. Dried chickpeas produce a weaker foam than canned ones, so many cooks soak and cook the beans, keep the cooking water, and reduce it by half before whipping. Canned chickpeas are more reliable because the starch and protein content is already consistent. Home-cooked bean water varies from batch to batch, which is why results are less predictable.
Why is my aquafaba meringue not getting stiff?
Three causes cover almost every case: under-whipping, a contaminated bowl, or weak bean liquid. Aquafaba needs 6 to 9 minutes in a stand mixer or 8 to 14 with a hand mixer, longer than egg whites, so give it time. Wipe the bowl and beaters with a little lemon juice before starting to remove any grease. If it still will not hold, reduce the liquid by half, cool it, and whip it again.
How long does baked aquafaba meringue keep?
In an airtight container at room temperature, baked aquafaba meringues keep about five days and stay crisp if the air is dry. In humid weather, refrigerate them, or the sugar surface absorbs moisture and goes sticky within minutes. Meringues piped onto a frosted cake are best assembled within a few hours of baking, since the frosting starts pulling moisture out of the dry foam.
Is aquafaba meringue gluten-free and vegan?
Both, as long as you check two ingredients. Aquafaba, sugar, vanilla and cream of tartar are all plant-based and gluten-free, but many butters, vanilla extracts and anti-caking powders contain dairy derivatives or gluten. It is naturally free of egg, dairy and gluten, which makes it useful for egg-allergic households, though it is not a substitute for egg white in every cake or macaron recipe.
Can I use aquafaba meringue on a pie or cupcakes?
Yes, and it is one of its best uses. Torch it on top of a lemon or citrus pie so the sugar browns in front of your guests, pipe it onto cupcakes right before serving, or drape it over a tart for a pavlova-style finish. Add it as close to serving as you can, since frosting and fruit filling both release moisture that softens the meringue.
Conclusion
Start with 1/2 cup of aquafaba and 1/4 teaspoon of cream of tartar, whip until the peaks are stiff and glossy, and add the sugar slowly rather than all at once. Bake at 250F for 45 minutes, then leave the oven shut for an hour. If a batch does not stiffen, halve the liquid and whip it again — that fix alone rescues most of them.