The safest way to make herb-infused oil at home is to use fully dried herbs or spices, keep everything you touch spotless and bone dry, and refrigerate the finished jar at 40°F or below. Because oil excludes air, any moisture trapped in it can grow Clostridium botulinum, and the toxin that produces cannot be smelled, tasted, or seen.
I know that last part is the one that makes people uneasy, because most of us learned to trust our noses with oil for years. You cannot trust your nose here. The only defense is a method that removes moisture, keeps the jar cold, and gives you a discard date you actually write down.
Three rules cover almost every case:
- Dry everything. Herbs, spices, jars, spoons, lids, and the counter they sit on. Moisture is the whole problem.
- Refrigerate by default. Fresh-herb and garlic oils go into the fridge immediately and get used fast. Dried-herb oils keep longer but still belong cold.
- Date it, then honor the date. An unlabeled jar is a jar you will not remember, and you will not throw out on time.
Table of Contents
- What You Need
- Step-by-Step: How to Make Herb Infused Oil Safely
- Step 1: Choose herbs and dry them completely
- Step 2: Clean and completely dry the jar
- Step 3: Combine the herbs and oil
- Step 4: Inspect the oil for moisture or cloudiness
- Step 5: Strain, seal, and label
- Step 6: Store the oil safely
- How long is too long if the jar is already made?
- Three home fixes that do not work
- Common Mistakes
- Using fresh herbs because the recipe looks prettier
- Rinsing herbs and skipping the drying
- Using a spoon that came off the salad
- Swapping the lid for a loose cap
- Leaving herbs floating above the oil line
- Skipping the label
- Storing it on the counter or the fridge door
- Tasting or smelling to check whether it went bad
- Sharing it as a gift or selling it
- Reaching for it on skin
- Frequently Asked Questions
- Can I make herb-infused oil with fresh herbs?
- How long does homemade herb-infused oil last?
- Does herb-infused oil need to be refrigerated?
- How can I tell if herb-infused oil has gone bad?
- Can I strain out the herbs before storing the oil?
- Conclusion
What You Need
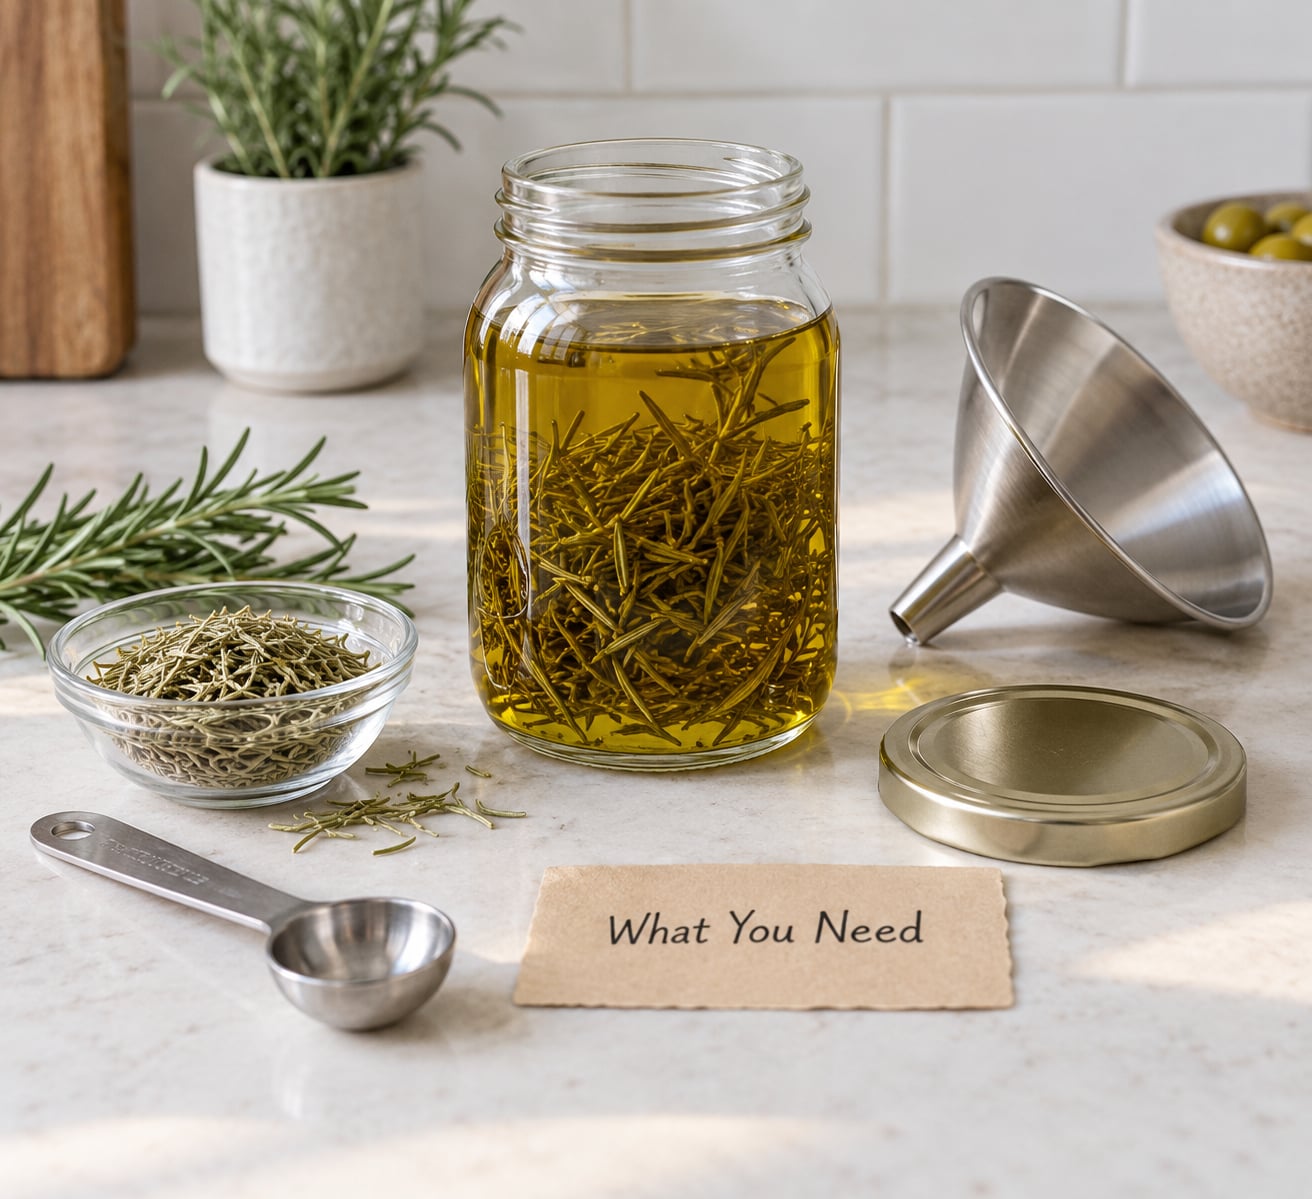
You need less than most blogs suggest. Everything below is either a piece of kitchen equipment or something you probably already have in a drawer.
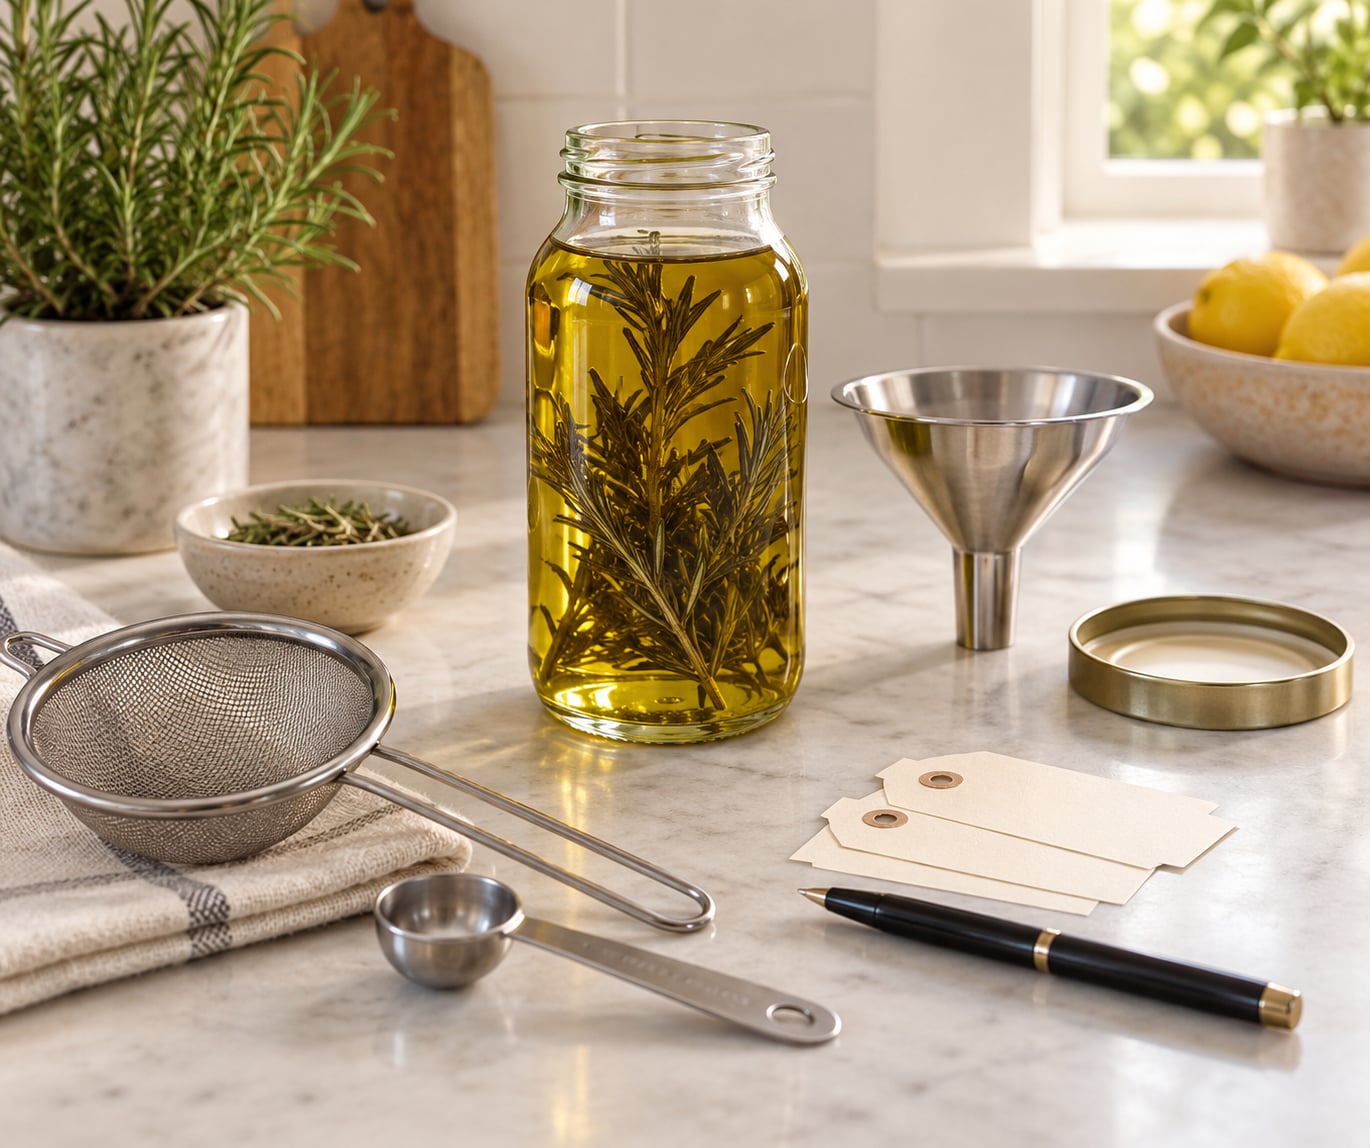
- A completely dry glass jar with a lid that fits. Mason jars work. Any jar that takes a tight seal works, as long as it is food-grade and free of chips or cracks.
- A high-quality olive or canola oil. Olive oil tastes better and holds up longer; canola resists rancidity slightly better because it carries less polyunsaturated fat.
- Fully dried herbs or spices. Commercially dried rosemary, thyme, oregano, sage, chili flake, peppercorn, and dried garlic all qualify. Fresh leaves from the garden do not, until they are dried.
- A clean funnel and a fine-mesh strainer or coffee filter, both washed and dried completely before they touch the oil.
- Labels and a marker or masking tape. Write the herb, the oil, and the date.
- Clean gloves if you are batching more than a jar or two. They cost nothing and they keep your hands out of the oil.
- Citric acid, a pH meter, and a tested recipe only if you plan to follow a validated fresh-herb method. That is a different project from dried-herb oil, and it has its own approved herb list.
A moisture indicator strip or a food-grade thermometer is optional. Neither replaces the basics, and both cost more than the oil in most small batches.
Step-by-Step: How to Make Herb Infused Oil Safely
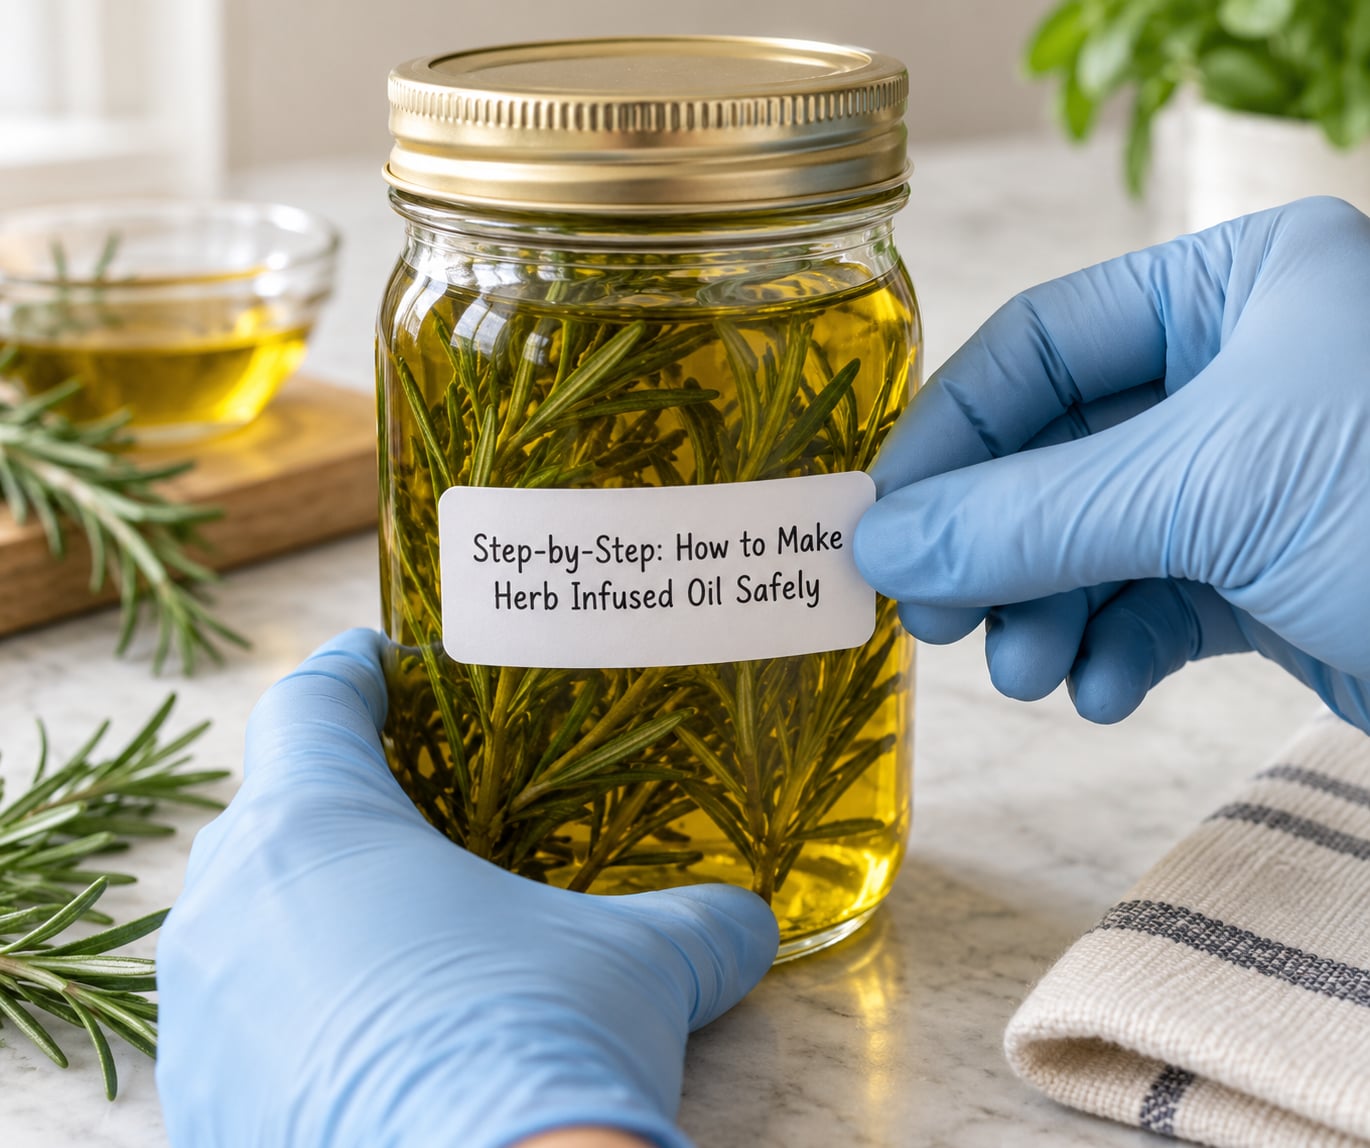
Read all six steps before you start, because the order matters. Sanitizing after you have already handled damp herbs does nothing useful.
Step 1: Choose herbs and dry them completely
Pick herbs that are genuinely dry in the package or on the plant. Press a leaf between your fingers: if it bends without cracking, it still holds moisture. A crumbled leaf that snaps and crumbles into dust is ready.
To dry herbs yourself, air-dry them in a single layer out of direct sun for one to two weeks, turning them every couple of days. A dehydrator set between 95°F and 115°F dries most herbs in a few hours. Do not use a kitchen oven at high heat; it cooks the plant material rather than drying it evenly, and the wet center is exactly what you are trying to avoid.
Washing fresh herbs before drying is fine. Rinsing them and then putting them straight into oil is not. Washing adds moisture that does not go away on its own, and a Stack Exchange thread I read on this topic kept circling the same point: rinsed herbs are only safer if they are completely dry afterward.
Fresh herbs go into oil only when you are following a validated acidification method for fresh herbs, used exactly as written and limited to the herbs it approves.
Step 2: Clean and completely dry the jar
Wash jars, lids, strainers, and funnels with hot soapy water and rinse them well. Then sanitize by boiling the jars in water for 10 minutes, or by using a registered germicidal product according to its label. Air-dry everything until there is no surface moisture at all.
This is the step people skip. Residual water in a supposedly clean jar introduces exactly the microorganisms that thrive in oil. A damp lid is as bad as a damp jar, and a wet spoon going back into the finished oil puts the whole batch at risk.
Step 3: Combine the herbs and oil
For a small batch, use roughly one loosely packed cup of fully dried herbs per cup of oil. Loosely packed means not compressed, because packing herbs tight traps pockets of air you cannot reach later.
Make sure every piece of herb sits below the oil line. Anything floating above the surface is exposed to air, which encourages oxidation and mold growth on the exposed leaf.
Cold infusion is the default and the safest: seal the jar and leave it in a dark cupboard for one to ten days, shaking gently a few times along the way. A warm infusion shortens that to about five minutes at 140°F, and some extension bulletins allow up to 180°F when pouring over dried herbs. Never simmer the oil, never boil it, and never heat it past what those methods specify. Heat that would actually destroy spores also degrades the oil long before it reaches the jar.
Over the infusion days, the oil should turn a deeper color and take on a clear, herbaceous aroma. If the smell is harsh or the oil is thin and cloudy, something is off.
Step 4: Inspect the oil for moisture or cloudiness
This is where how to make herb infused oil safely is won or lost, and it takes ten seconds. Let the jar settle, then look at it in good light.
Pause and throw the batch out if you see persistent bubbles after it settles, droplets of water at the bottom, an unusually cloudy or milky oil, herbs that clump together, or any sign you were not confident about the dryness in the first place. Cloudiness means water is in there, and water means growth is possible.
Discoloration that is a richer, deeper shade of green or gold is normal and not a safety signal. Blackened leaves, fuzzy patches, or a film on the surface are not normal at all.
Step 5: Strain, seal, and label
Pour the oil through a clean, dry fine-mesh strainer or coffee filter into a sterilized jar. Leave a little headspace, around half an inch, rather than filling to the brim, then cap tightly.
Label the jar the day you finish, not the day you remember to. Write the herb, the oil, and the preparation date on masking tape or a paper label stuck to the glass. Masking tape outlasts most markers on an oily surface.
You can leave the herbs in the oil if you prefer, and many cooks do. Removing them at the end of infusion cuts the surface area where microbes can sit, so strain if the flavor is where you want it. If you made a fresh-herb oil using a validated acidification method, do not strain or alter it unless that method tells you to.
Step 6: Store the oil safely
Refrigerate finished herb-infused oil at 40°F or below. Put it on a middle shelf rather than the door, because the door warms up every time it opens. Dark glass slows rancidity, and light adds to it.
Use a conservative window and write it on the label. Garlic in oil gets four days refrigerated. Other fresh-herb oils get about a week. Dried-herb oils can hold roughly three months refrigerated, which is the cap University of Maine Extension Bulletin #4385 sets.
Every time you use the oil, use a clean dry utensil. A spoon that has been in the fridge and is wet with condensation is enough to matter.
Unrefrigerated homemade infused oil should not be treated like a pantry product. The widely repeated advice to leave a jar in a sunny window for two to four weeks is exactly the practice extension services warn against: warm light plus a plant ingredient is the riskiest combination in this whole topic.
How long is too long if the jar is already made?
If you have already made one and read a warning afterward, sort it by ingredient rather than by smell. Garlic in oil past four days refrigerated goes in the trash. Other fresh-herb oils past about a week go too. Dried-herb oil past three months refrigerated goes out. If it sat on the counter for more than about two hours at any point, discard it regardless of the date, and freezing earlier does not reverse the exposure.
Three home fixes that do not work
- A splash of vinegar or a squeeze of lemon. Acid spread by pouring lands unevenly and misses the pockets around stems and cloves. Only a measured soak of the ingredient in acid, at specified ratios and times, does what you need it to do.
- Heating the oil. Spores survive cooking temperatures that oil can tolerate. There is no home skillet method that solves this.
- Paying more for the oil. Premium extra virgin olive oil changes flavor and peroxide value. It does not make an infusion with fresh material safer.
Common Mistakes
Using fresh herbs because the recipe looks prettier
Fresh is wetter by definition, and wet is what grows. Fix: dry it fully first, or use the fresh-herb acidification method exactly as published, for the herbs on its list.
Rinsing herbs and skipping the drying
Rinsing adds surface water. Fix: rinse under running water, dry with a salad spinner or towel, then dry thoroughly before the oil touches them.
Using a spoon that came off the salad
A damp utensil is enough. Fix: keep a dedicated dry spoon or chopstick with the jar and use nothing else.
Swapping the lid for a loose cap
A seal that is not tight lets the jar breathe and the label go unreliable. Fix: use a matching lid, and check the seal by tipping the jar to see if it leaks.
Leaving herbs floating above the oil line
Exposed plant material sits in air, not oil, and molds easily. Fix: press everything under the surface or add enough oil to cover it.
Skipping the label
Undated oil never gets thrown out on time, because nobody remembers. Fix: label every jar before it goes into the fridge.
Storing it on the counter or the fridge door
Counter temperature lets growth happen slowly. The door warms every trip. Fix: middle shelf, back of the fridge, door closed.
Tasting or smelling to check whether it went bad
Botulinum toxin has no odor and no taste. Smell and appearance can tell you a jar is rancid, which is a quality problem, or that something is visibly wrong, which is a reason to discard. Neither test proves safety. Fix: judge by ingredient, elapsed time, and storage temperature.
Sharing it as a gift or selling it
Extension services scope this guidance to home use. Selling homemade infused oil requires a licensed food processing authority, and gifting a jar without a date and ingredient list is how someone else ends up with an unjudgeable bottle. Fix: label gifts the same way you label your own, and keep them out of any sale.
Reaching for it on skin
The same anaerobic risk applies to salves and body oils made from the same material. Keep those out of eyes and off broken skin, follow tested topical recipes, and do not treat a jar you would eat as a cosmetic. Fix: keep culinary and topical oils on separate shelves and clearly labeled.
Frequently Asked Questions
Can I make herb-infused oil with fresh herbs?
Only if you follow a validated fresh-herb acidification method exactly, and only for the herbs on that method’s approved list. University of Idaho researchers published tested methods using citric acid solution, and Penn State Extension carries the ratios. Plain fresh herbs in plain oil, with no acid step, is the highest-risk version of this recipe. The safer home route is to dry the herbs first and treat the jar as a dried-herb oil.
How long does homemade herb-infused oil last?
It depends entirely on what went into it. Garlic in oil keeps about four days refrigerated. Other fresh-herb oils last roughly a week. Dried-herb oils can hold around three months in the fridge, which is the ceiling University of Maine Extension sets. Freezing in small portions stretches that further. Whatever the number, write it on the jar when you make it, because the clock starts at preparation, not at the first time you dip into it.
Does herb-infused oil need to be refrigerated?
Yes, by default, including dried-herb oils. Refrigeration at 40°F or below slows the growth of any spores that survived drying, and it slows rancidity, which is a separate quality problem. Keep the jar on a middle shelf rather than the door, since door temperature rises with every opening. Leaving a jar on the counter, or in a sunny window as some blogs recommend, removes the only protection you have.
How can I tell if herb-infused oil has gone bad?
You cannot fully tell, and that is the point. Botulinum toxin has no smell, no taste, and no visible sign, so a dangerous oil can look and smell perfect. Cloudiness, water droplets, persistent bubbles, fuzzy growth, or blackened leaves mean discard immediately, but a clean-looking jar is not a clean bill of health. Judge by ingredient, time elapsed, and storage temperature instead of by your senses.
Can I strain out the herbs before storing the oil?
Yes, for dried-herb oils made by simple infusion. Strain through a clean, dry fine-mesh strainer or coffee filter into a sterilized jar, leave about half an inch of headspace, cap tightly, and date it. Removing the solids cuts the surface area where microbes can sit. The exception is a fresh-herb oil made with a validated acidification method: follow that method’s instructions on straining rather than improvising.
Conclusion
Start with the jar. Wash it, sanitize it, and let it dry completely, then bring herbs that are unquestionably dry enough to crumble. Mix one loosely packed cup of dried herbs to a cup of oil, keep everything submerged, inspect for any cloudiness or water, cap tightly, label it with today’s date, and put it on a middle fridge shelf.
If you want to work with fresh herbs, do not improvise. Follow a validated acidification method from an extension service exactly as written, and stay inside its approved herb list. Nothing about this recipe is hard. It just asks you to respect the water.