How to make vinegar from apple scraps comes down to three things: leftover peels, cores and trimmings, some sugar, and unchlorinated water, plus an optional splash of raw apple cider vinegar to get things moving. The sugar feeds wild yeast, the yeast turns it into alcohol, and acetic acid bacteria convert that alcohol into vinegar over two to six weeks.
It is a slow recipe, but almost all of it is waiting. The active work is maybe twenty minutes on day one, and the rest is smelling the jar and tasting a teaspoon now and then.
The part I like best is what it does with a busy October kitchen. Peeling apples for a pie, coring a bushel for cider, pressing preserves — all of it leaves fiber that would otherwise go in the trash. Down here in Appalachia that pile adds up fast, and a jar of scrap vinegar on the counter is a good answer to it.
Table of Contents
- What You Need
- Ingredients for a 1-quart starter batch
- Equipment
- How much to make at once
- Which scraps work best
- Step-by-Step: How to Make Vinegar from Apple Scraps
- 1. Choose and Prepare the Apple Scraps
- 2. Combine the Scraps with Sugar and Water
- 3. Cover and Ferment the Mash
- 4. Check for Vinegar and Strain It
- 5. Bottle and Store the Vinegar
- Common Mistakes
- 1. Using a tight lid
- 2. Using chlorinated tap water
- 3. Using sugar substitutes
- 4. Forgetting to keep the scraps submerged
- 5. Stirring after a pellicle forms
- 6. Bottling too early
- 7. Using it for canning or pickling
- Frequently Asked Questions
- Can I make vinegar using only apple peels and cores?
- Do I need a vinegar mother or starter culture to make apple scrap vinegar?
- How long does it take to make vinegar from apple scraps?
- How do I know when my apple scrap vinegar has finished fermenting?
- Can I use apple scraps with seeds, stems, and bruised pieces?
- How should homemade apple vinegar be stored, and how long does it last?
What You Need
You need a wide-mouth glass jar with a cloth cover, a strainer, and about a pound of apple scraps. Everything else is either in the pantry or already in the sink.
Ingredients for a 1-quart starter batch
- About 1 pound of apple peels, cores and chunks — roughly 12 to 18 apples’ worth
- 1/4 cup sugar — the rule of thumb is 1 tablespoon per cup of water
- 2 quarts filtered, rain, or distilled water — never chlorinated tap water
- 2 tablespoons raw, unfiltered apple cider vinegar — optional, but it speeds things up
Equipment
- A wide-mouth glass jar, roughly a quart or a half gallon
- A folded cotton kitchen cloth or piece of muslin, plus a rubber band
- Fermentation weights, or a clean glass bottle filled with water and capped
- A wooden spoon or silicone spatula
- A strainer, a funnel, and clean bottles for the finished vinegar
You do not need to buy a culture. Wild yeasts live on apple skin and acetic acid bacteria are everywhere in the air and on your kitchen surfaces, which is why a cloth cover and a clean jar are enough.
How much to make at once
Online recipes disagree wildly about sugar, from 1 tablespoon per cup of water up to half a cup per cup. Too much sugar leaves you with a jar of alcohol that never acidifies. The range below keeps the ratio sane at every size.
| Batch size | Apple scraps | Sugar | Filtered water | Raw ACV starter |
|---|---|---|---|---|
| 1-quart jar | About 1 lb (12 to 18 apples) | 1/4 cup | 2 quarts | 2 Tbsp |
| Half-gallon jar | About 2 lb (24 to 30 apples) | 1/2 cup | 1 gallon | 1/4 cup |
| Full gallon | About 3 lb (36 to 45 apples) | 3/4 cup | 1 1/2 gallons | 1/2 cup |
Which scraps work best
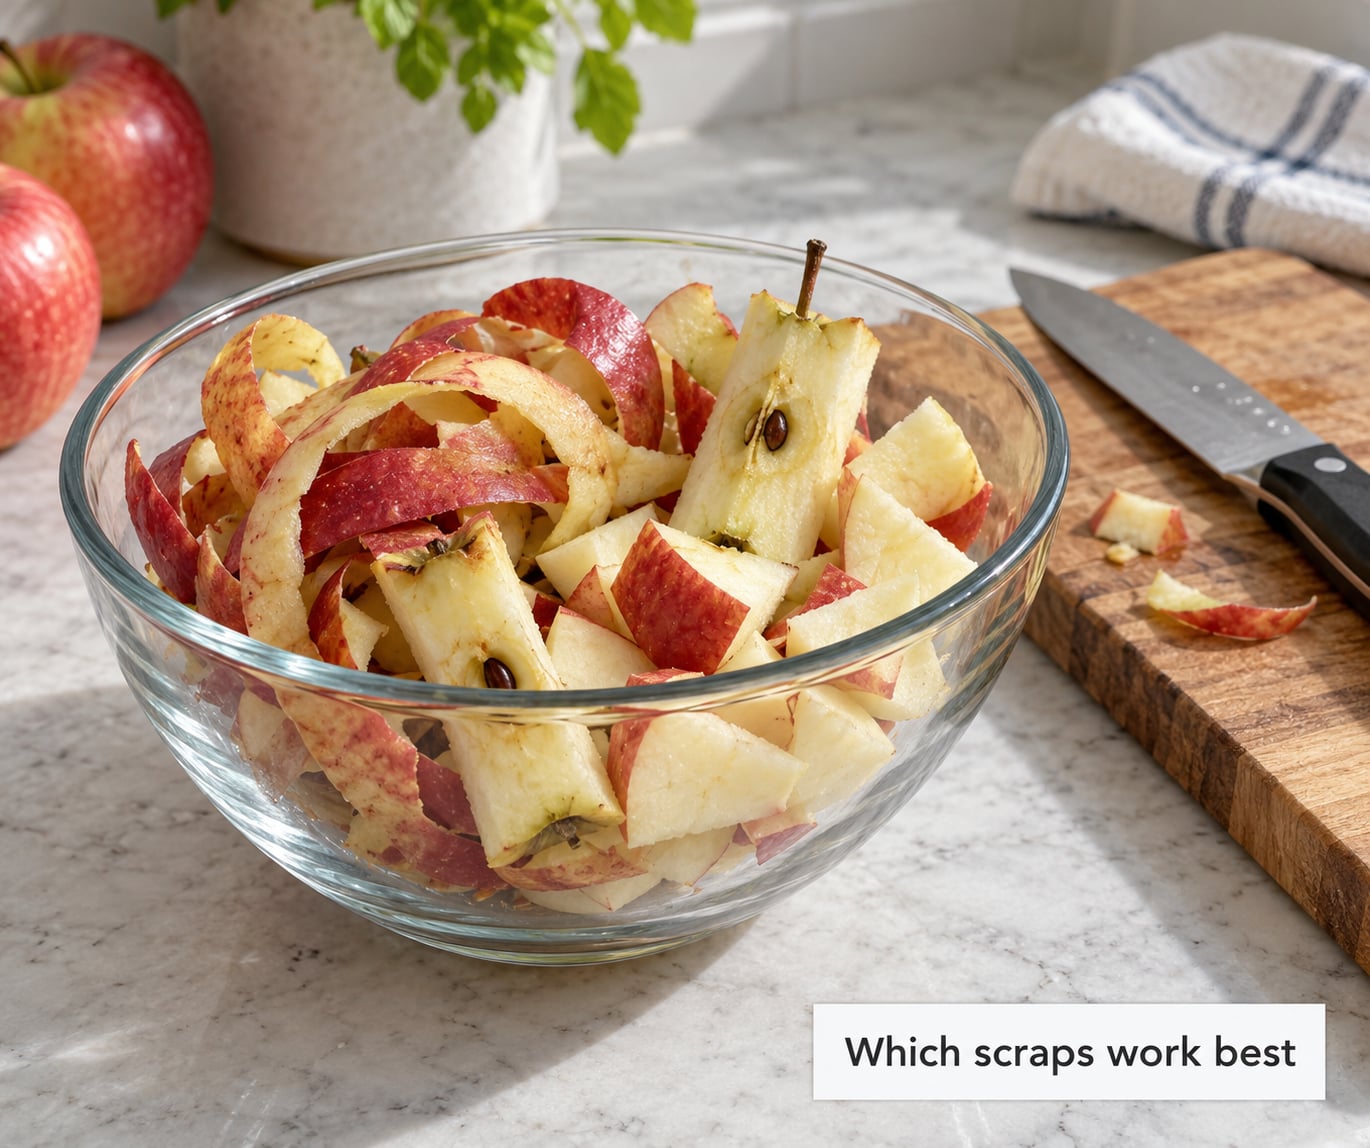
Peels, cores, cores with the stem still on, and bruised or windfall pieces are all fine. Scrub them first, even if they look clean, and cut anything large down to roughly one-inch chunks so the liquid reaches the middle.
Mix sweet and tart apples in a ratio near 70 sweet to 30 tart. Honeycrisp, Gala, Fuji, Golden Delicious, Ambrosia and Braeburn all work, and the sweet side ferments faster and tastes rounder. A mixed bag beats a single-variety batch every time.
Leave out anything with rot, fuzz, or a fermented smell, and skip commercial cider, which is already acidified. Skip any sugar substitute too. Stevia, erythritol, xylitol and monk fruit will not feed yeast, so the ferment simply stalls.
Step-by-Step: How to Make Vinegar from Apple Scraps
1. Choose and Prepare the Apple Scraps
Wash every peel and core under cold water, then pull off any bruised, soft or fuzzy parts. A little browning is fine; mold is not.
Chop the scraps into pieces about the size of a walnut, or crush them lightly with the back of a knife. Smaller pieces give the bacteria more surface area, and the whole batch finishes faster in pieces than it does in whole halves.
2. Combine the Scraps with Sugar and Water
Warm the measured sugar in the water until it dissolves completely, then let the water cool to room temperature. Hot water kills the wild yeasts you are trying to invite in.
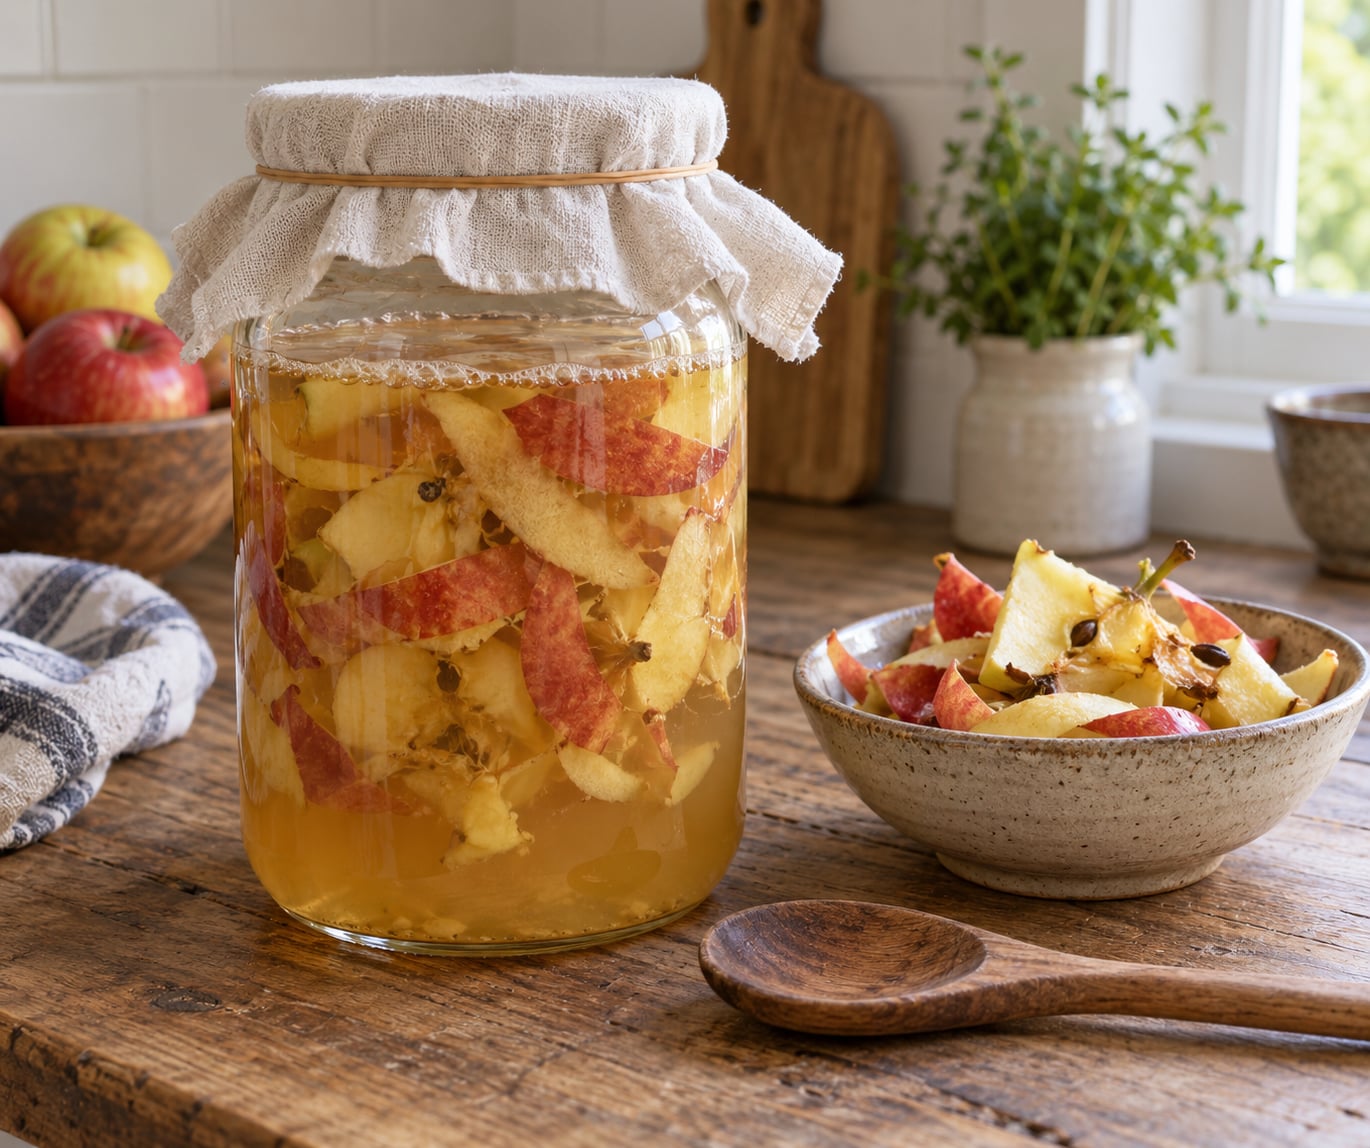
Pack the chopped scraps into your clean jar, about three-quarters of the way up. Pour the cooled sugar water over them and stir once with a wooden spoon until nothing sits dry on the bottom. The mash should be fully submerged and about as thick as thin applesauce.
If it will not stay under the liquid, weight it down now. A screw-top glass bottle filled with water and closed tight works perfectly, and a handful of large glass marbles wrapped in a little plastic wrap is the other reliable trick.
3. Cover and Ferment the Mash
Fold the cloth into a square, lay it over the jar mouth, and secure it with a rubber band. Leave the cover loose enough to breathe, and never use an airtight lid. The first stage needs the yeasts, and the second stage needs oxygen, so a sealed jar is the most common reason batches fail.
Set the jar somewhere dark with room temperature, around 70 to 80 degrees F is ideal. Above the refrigerator usually works. Keep it out of direct sun, leave the cloth on, and stop opening it to look.
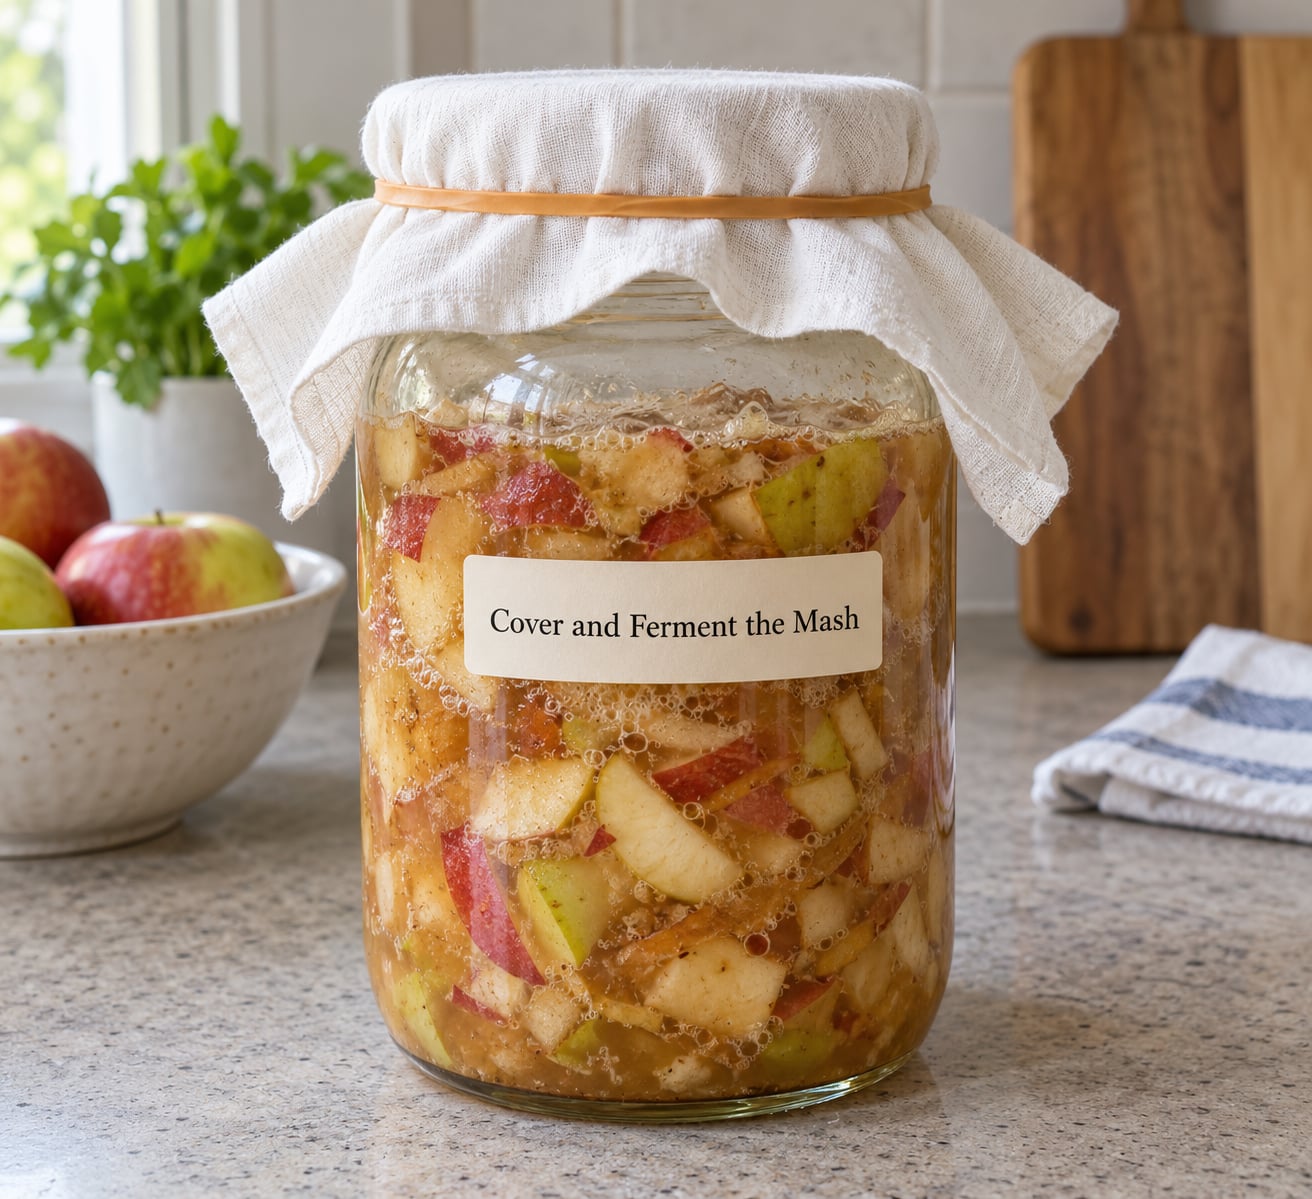
Here is roughly what the jar does day by day.
| Time | What you should see and smell | What to do |
|---|---|---|
| Days 1 to 3 | Steady small bubbles, thin foam on top, sweet and fruity smell | Nothing. Keep the cloth on and the weights down |
| Days 4 to 14 | Bubbling slows to an occasional plop, smell turns sharp and slightly alcoholic | Taste a teaspoon around day 10. It should be moving from sweet to sour |
| Days 15 to 21 | Bubbling mostly stops, smell is distinctly sour and vinegary | Taste daily. Once it is sharply sour, move to straining |
| Weeks 4 to 6 and beyond | Still and quiet, a cloudy pellicle may float on top, flavor deepens | Strain and bottle, or leave it longer for stronger acidity |
A cool kitchen changes these numbers more than anything else. Below about 65 degrees F, expect eight to twelve weeks rather than three. Warm kitchens that sit near the stove finish in two weeks, which is why a thermometer on the shelf is more useful than a calendar.
4. Check for Vinegar and Strain It
Start tasting at about day 10. Take a teaspoon from below the surface, never the film on top. The change you are listening for is sharp: a cooked-apple-and-alcohol note that gives way to a clean, puckering sourness and a smell that hits your nose before it hits your tongue.
If it still tastes only sweet and fizzing, you are still in the alcohol stage. Let it sit. There is no trick to speed that up, and adding more sugar now only makes it worse.
Strain through a fine sieve or clean cloth into a second jar, pressing the pulp dry. Set the pulp aside. Chickens eat it happily, it makes good compost, and the pectin in it can thicken a small batch of jam.
5. Bottle and Store the Vinegar
Pour the strained vinegar into clean glass bottles, leaving about an inch of headspace, and cap loosely to begin with. Carbon dioxide keeps forming for a few hours after straining, and a bottle screwed down tight in a warm kitchen can burst. Tighten the caps the next day, once nothing is hissing.
Label the bottle with the date. Vinegar is essentially self-preserving at that acidity, so stored in a cool dark cupboard it keeps for years and simply mellows. A tight seal is required for long storage; it is only the first few hours after straining that need slack.
Save any pellicle that forms and drop it into your next batch. Regulars on fermentation forums call it a vinegar mother or SCOBY, and reusing it builds up a culture that gets your next jar going in half the time.
Common Mistakes
Almost every failed batch traces back to one of four things, and none of them is your technique. Before you panic about an ugly film on the surface, check it against this table.
| What you see | What it is | What to do |
|---|---|---|
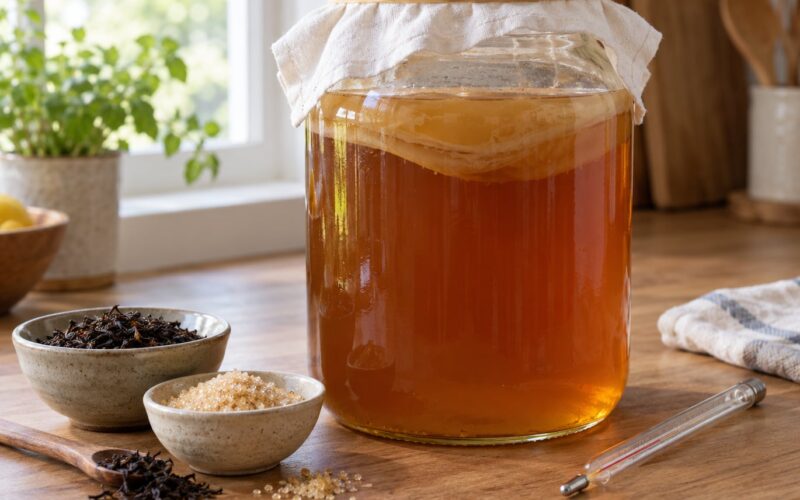
| Flat, tough, rubbery grey-white sheet at the surface | A pellicle, the acetic acid bacteria colony, sometimes called a SCOBY | Leave it. It is a sign the vinegar is working, and you can save it for the next batch |
| Matte, dry, wrinkled white or grey film | Kahm yeast, a harmless surface yeast | Skim it off. The vinegar is fine to use, though the flavor can taste a little dull |
| Fuzzy, wet, or green, black or pink pinpoint specks | Harmful mold | Discard the whole batch, wash the jar with hot soapy water, and start over |
1. Using a tight lid
Air is the whole point. The alcohol stage needs yeasts and the oxidation stage needs oxygen, and an airtight Mason jar gives them neither. Use a cloth secured with a rubber band and resist the urge to peek.
2. Using chlorinated tap water
Municipal chlorine kills the bacteria you are counting on, and the ferment quietly stalls for weeks. Use filtered, distilled, or collected rainwater, or boil your tap water and let it cool for an hour first.
3. Using sugar substitutes
Erythritol, xylitol, stevia, and monk fruit will not feed wild yeast. Regular sugar, honey, or molasses will. Honey is fine and gives a slightly rounder flavor.
4. Forgetting to keep the scraps submerged
Anything floating above the liquid grows mold instead of vinegar. Weight the mash down, and if the scraps rise back up after a day or two, add more weight or more water.
5. Stirring after a pellicle forms
Once that film appears, leave it alone. Stirring breaks it apart, and the bacteria have to rebuild from scratch.
6. Bottling too early
Sealing a jar that is still finishing its alcohol stage traps a fizzy, weakly acidic liquid that will never become vinegar. Wait until the bubbles have stopped for good and the taste is sharp.
7. Using it for canning or pickling
Never do this. Homemade vinegar has an unknown pH and cannot be relied on to kill E. coli, Salmonella, or Listeria, which is what a tested water-bath recipe for canned pickles depends on. If you want safe refrigerator pickles, use a vinegar whose acidity is labeled, and dilute it to at least 5 percent acidity before it touches the produce. Your scrap vinegar is for dressings, marinades, and cleaning.
Frequently Asked Questions
Can I make vinegar using only apple peels and cores?
Yes. Peels and cores carry plenty of sugar and all the wild yeast and bacteria you need. Most batches use nothing but scraps, sugar, and water. The scraps simply need to make up about a pound per quart jar, be chopped small, and stay submerged under the liquid while they ferment.
Do I need a vinegar mother or starter culture to make apple scrap vinegar?
No. A starter is optional. The wild yeasts on apple skin and the acetic acid bacteria in the air will usually start a ferment on their own, it just takes longer. Two tablespoons of raw unfiltered apple cider vinegar speeds things up and gives you a more predictable result, and supermarket vinegar that is pasteurized will not work as a starter.
How long does it take to make vinegar from apple scraps?
Plan on two to six weeks. A kitchen near 80 degrees F often tastes vinegar by week three, while a cool room below 65 degrees F can take eight to twelve weeks. Bubbling in the first days tells you the ferment is alive, but bubbling stopping is not the finish line, the sharp sour taste is.
How do I know when my apple scrap vinegar has finished fermenting?
Taste a teaspoon from below the surface every few days after day 10. It is finished when the sweetness is gone, the smell is sharply sour, and it puckers the back of your throat. If it is still sweet and fizzy, the yeast is still making alcohol and needs more time. If you have pH strips, anything under 4.2 is a good sign.
Can I use apple scraps with seeds, stems, and bruised pieces?
Yes, and it saves a step. Seeds, stems, and bruised or windfall pieces are all usable, as long as the fruit is sound. Pull off anything soft, fuzzy, or rotten, because a single moldy apple will take the batch with it. The seeds can lend a mild bitterness, which is easy to leave behind by straining.
How should homemade apple vinegar be stored, and how long does it last?
Bottle it in clean glass and keep it in a cool, dark cupboard with the caps tight once any post-straining fizzing has stopped. Properly fermented vinegar keeps for years and just mellows in flavor as it ages. If you leave it on the mother in an open jar, refrigerate it and expect to use it within about a year.
Start with a quart jar this week, while you still have scraps. Pack them, weigh them down, cover with a cloth, and then mostly leave it alone. Taste it at day 10 and every few days after, and the vinegar will tell you when it is ready.