To clean wild mushrooms, brush off loose dirt with a soft brush, trim any dirty stem base, and give them a brief rinse in cool water only when brushing cannot remove the grit. Dry them thoroughly and clean right before you cook, because water left on the flesh makes mushrooms soggy and shortens their life in the fridge.
It takes about five minutes for a normal basket. The slower part is the identification, and that has to come first — no cleaning method turns an uncertain mushroom into a safe one.
The rule most kitchen advice leaves out: cleaning is about the surface, and the surface is the easy part. A wild mushroom arrives carrying forest debris and sometimes living insects that a grocery-store button never sees, and it also arrives already soaked through with the water of the mushroom itself. Everything below is about removing the first thing without adding more of the second.
Table of Contents
- What You Need
- How to Clean Wild Mushrooms Step by Step
- Step 1: Identify the Mushroom Before Cleaning
- Step 2: Remove Soil and Forest Debris With a Brush
- Step 3: Rinse Only When Necessary
- Step 4: Dry the Mushrooms Thoroughly
- Step 5: Trim, Inspect, and Prepare for Cooking
- Common Mistakes
- Tips for Cleaning Wild Mushrooms
- Frequently Asked Questions
- Should you wash wild mushrooms before cooking them?
- Can you soak wild mushrooms to remove dirt?
- How do you remove bugs from wild mushrooms?
- How should cleaned wild mushrooms be stored?
- Does washing mushrooms make an unknown species safe to eat?
- Conclusion
What You Need
Almost nothing. That is the honest answer, and it surprises people who expect a cleaning station. What you need is a soft brush, a knife, a towel, and a clear process.
- A reliable field guide or two, plus a local expert contact. Confirm the identification of every specimen before it goes anywhere near your cutting board. Multiple identification features matter: cap shape, gill or pore structure, the base of the stem, spore print, and what it was growing on.
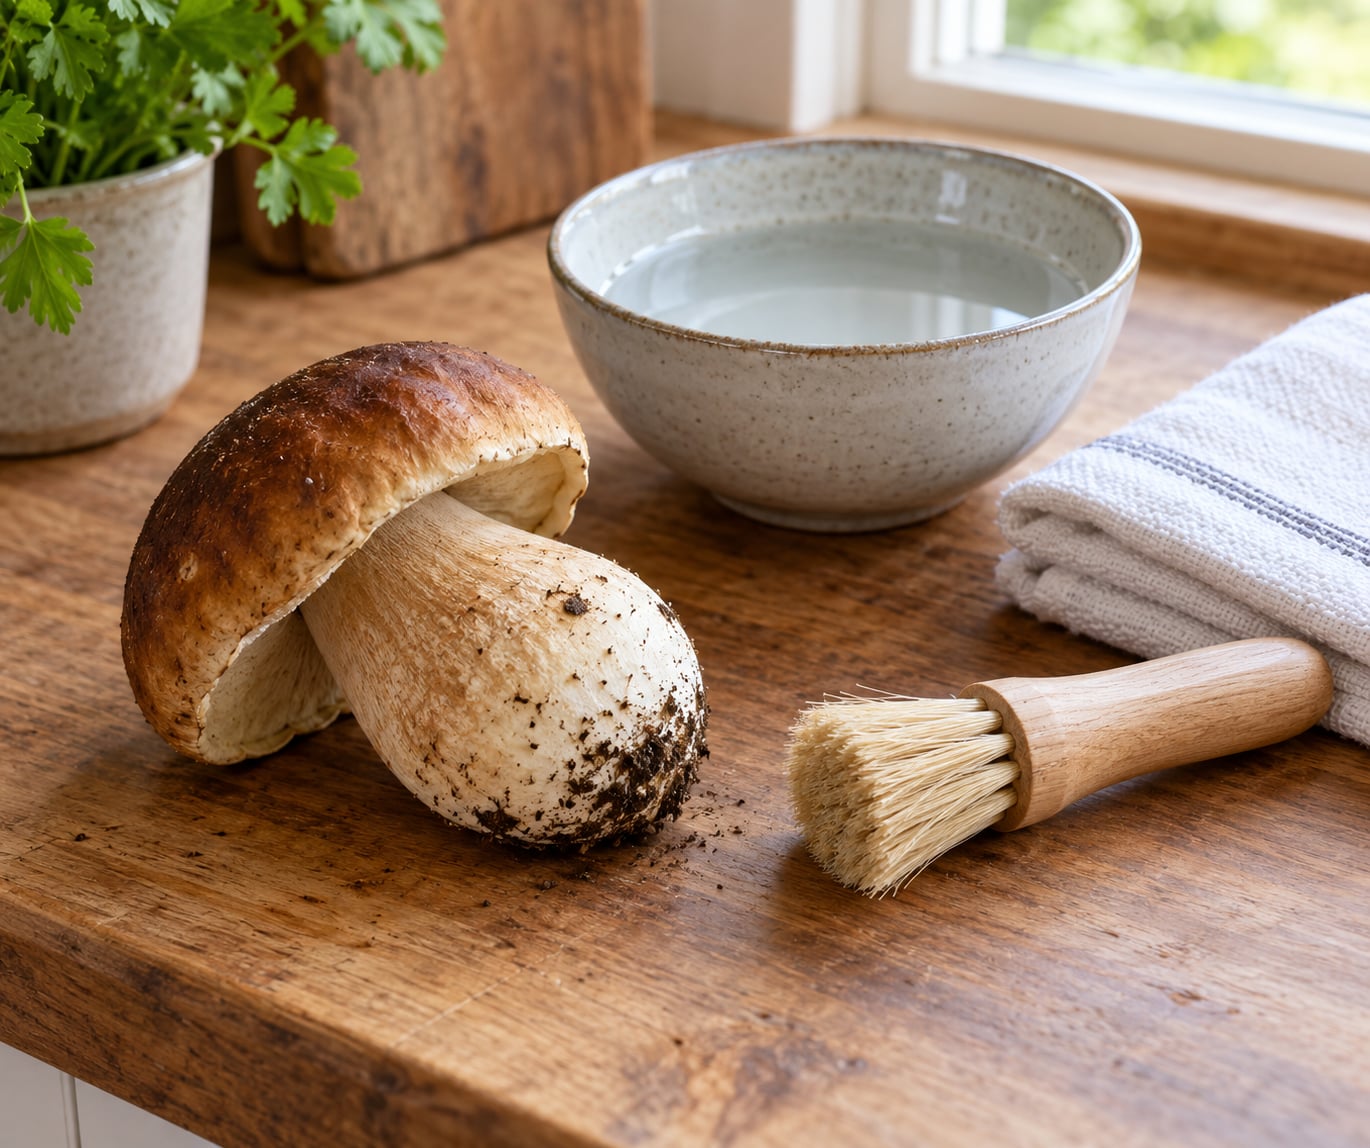
- A soft-bristled brush. A clean pastry brush or a mushroom brush works. A soft toothbrush is an acceptable substitute when a bristle has bent past the point of being gentle.
- A small bowl of cool water and a fine-mesh strainer or colander, for the mushrooms that genuinely need water.
- A clean kitchen towel or several clean paper towels for drying. Drying is not optional.
- A small paring knife for trimming the stem base.
- A paper bag or rigid container for transport and short-term storage. Skip sealed plastic, which traps condensation.
If you have zero doubt about a specimen’s identity, work with it. If there is any doubt, set it aside and do not clean, taste, or cook it. Cleaning is a hygiene step, not a safety step, and nothing you do to the outside of a mushroom changes what it is.
Two more habits make the rest of the process easier. Keep species in separate bags or separate compartments of your basket, because you may find one specimen that changes your read on the whole group later. And carry a paper bag rather than a sealed plastic sack, since plastic traps the condensation that speeds spoilage before you even get home.
How to Clean Wild Mushrooms Step by Step
Step 1: Identify the Mushroom Before Cleaning
Cleaning cannot make an unknown or misidentified mushroom safe, so identification comes first and everything else waits. Look at several features at once rather than trusting one, and pay attention to the gills or pores, the ring on the stem if there is one, and the base of the stem where it meets the ground.
When a feature is missing — a cut or broken stem base, a chewed cap — set that specimen aside. Check your identification with an experienced local forager or your regional mycological association before you cook it. Some also carry spore prints and chemical compounds that cause illness, so the safe rule is simple: if you cannot say with confidence what it is, leave it in the woods where it grew.
You will know this step worked when you can name the species, name the features that convinced you, and would still make the same call a week later.
Step 2: Remove Soil and Forest Debris With a Brush
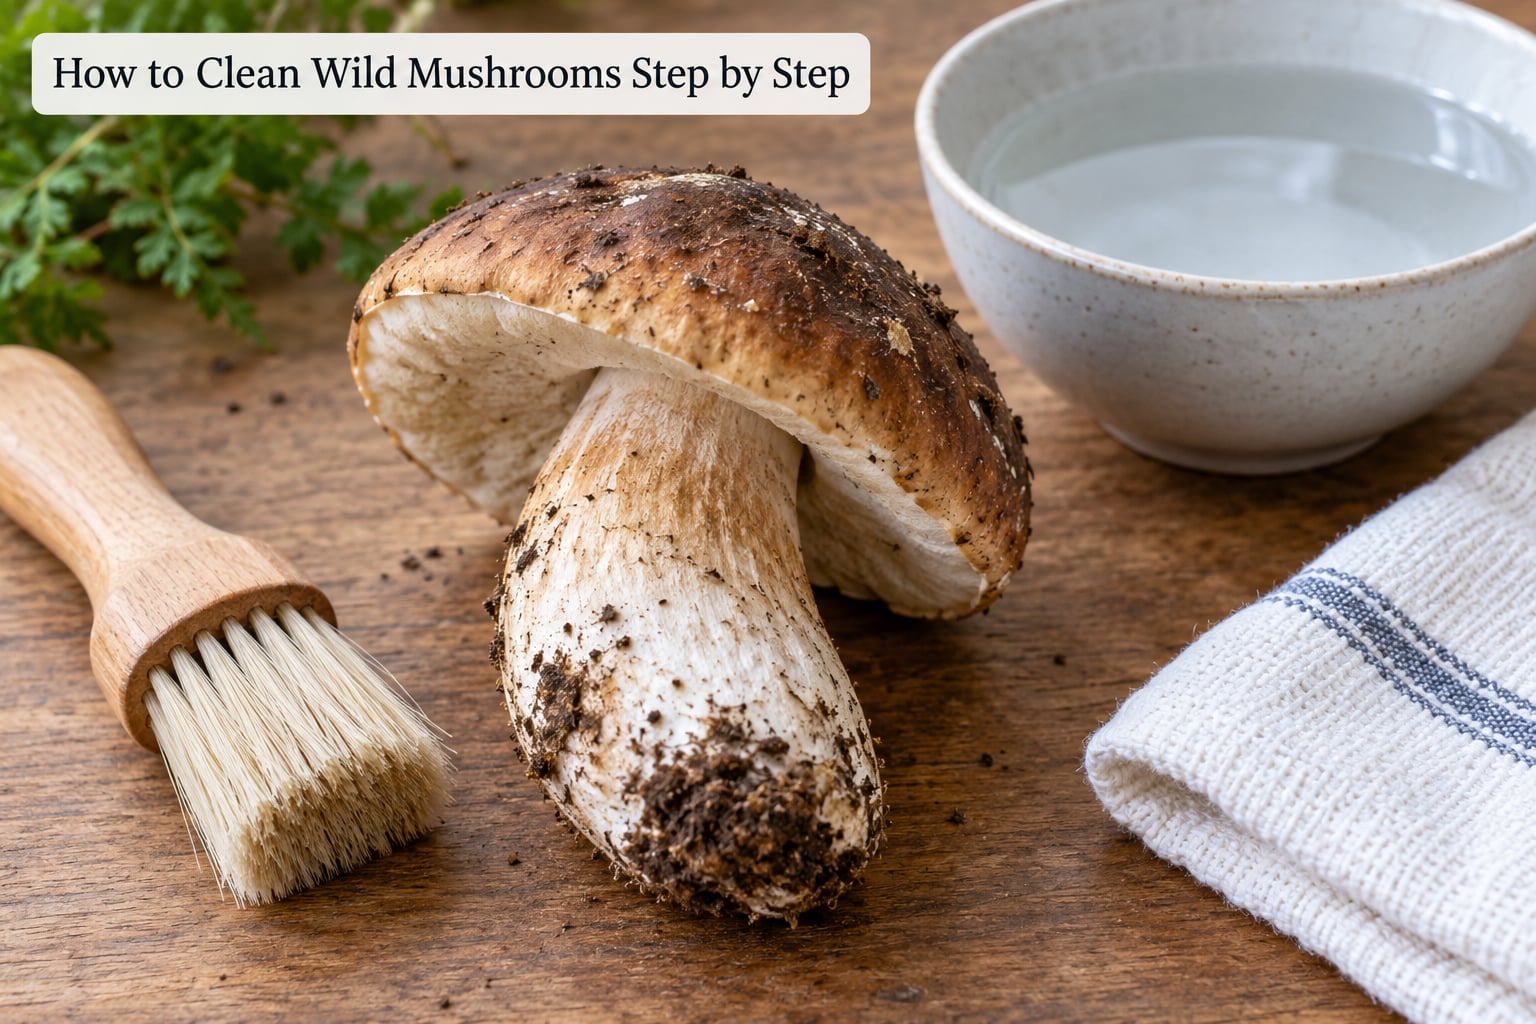
For lightly dirty mushrooms, a dry brush removes nearly everything. Work the soft bristles over the cap, down the stem, and under the gills or pores, knocking loose pine needles, leaves, wood chips, and clinging insects rather than grinding them into the flesh.
Sweep the debris into your hand or off the board rather than pushing it across the surface. Hold the cap lightly from underneath so the gills do not tear on thick or brittle specimens, and work the least porous areas last.
You will know this step worked when the cap and underside look free of loose forest litter and there is no grit left on the surface you are about to cook.
One pass is rarely enough on a specimen that was sitting in leaf litter. I go over each mushroom twice, once on the cap and once underneath, and I check the point where the stem meets the ground because that is where the worst of the dirt hides. Delicate species like hedgehogs and small chanterelles take an even lighter hand, since their spines and frills tear if you press hard.
Step 3: Rinse Only When Necessary
Rinse only when brushing cannot do the job. For very dirty or creased mushrooms, hold each one briefly under cool running water, rub the surface gently with your fingers or the soft brush, and let the debris go. A short rinse costs you far less than a soak.
Never soak wild mushrooms, never leave them sitting in a bowl of water, and never run a sliced or cut mushroom under the tap. Mushrooms are porous, so water moves into the flesh faster than heat can push it out, and a soaked mushroom cooks gray and releases water into the pan instead of browning. Skip peeling too; the skin holds moisture and flavor.
You will know this step worked when the remaining grit rinses away and the mushroom still feels dry and springy rather than slack and heavy in your hand.
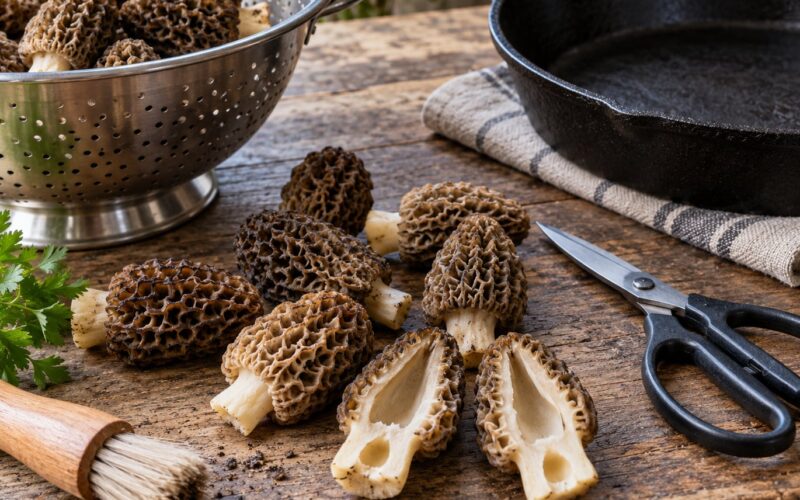
Species changes how much water you need. Morels are honeycomb on the inside, so grit hides deep in those pits and wants a careful rinse plus a brush along the ridges. Chanterelles and black trumpets collect sand in their false gills, and a dry brush followed by a short rinse usually clears them. Puffballs have no gills at all, so a damp towel is enough. Firm, low-porosity boletes and chicken of the woods need little more than brushing.
Step 4: Dry the Mushrooms Thoroughly
Drying is what makes the difference between a clean mushroom and a soggy one. Pat each mushroom dry with a clean towel, spread them on the towel or on a rack, and let them drain and air out until the surface no longer feels damp.
Residual water dilutes sauces, turns breading soft, and throws off the pan temperature so the mushrooms sear instead of fry. If you washed, give them longer than you think you need. For a big autumn haul, spinning small batches in a salad spinner works well, since a full spinner barely moves anything.
A quick test tells you whether you are done: press the cap between two fingers. If it leaves a cool damp mark on the towel, give it more time. If it feels the same as an uncleaned mushroom from the basket, it is ready for the pan.
Step 5: Trim, Inspect, and Prepare for Cooking
Cut away only what is damaged or dirty: the stem base, a torn gill, a patch of slime. Most of the stem is edible and worth keeping — slice it thin and cook it with the cap, since it usually has more flavor than the cap.
Then inspect before you cut. Larger, older specimens are worth splitting lengthwise to check for internal worms, and small holes near the stem base usually mean something is living inside. Move to the recipe once you are satisfied. If you must store them first, clean them as late as you can, keep them loosely wrapped in a paper bag in the fridge, and expect to brush them again right before cooking. Refrigeration plus any residual moisture is the fastest route to a slimy cap.
Common Mistakes
- Soaking mushrooms. The fix: use a quick rinse, or skip water entirely and dry-clean.
- Rinsing pre-sliced mushrooms. The fix: clean whole, then slice. Cut surfaces absorb water fast and release it into your pan.
- Reaching for baking soda, vinegar, flour, or dish soap. The fix: none of these belong on a mushroom. They leave residue or odor, and none of them makes an uncertain identification safer.
- Washing to rescue a mushroom you could not identify. The fix: cleaning changes dirt, not species. Leave it behind.
- Skipping embedded grit. The fix: check the crevices and stem bases, and cut out dirt that will not brush away.
- Storing cleaned mushrooms wet or sealed in plastic. The fix: dry them fully and store loosely in paper, cleaned as late as possible.
Tips for Cleaning Wild Mushrooms
- Field dress at the harvest site when you can: knock off dirt and trim the dirty base before the mushroom goes in the basket, so mud does not sit against the gills for the drive home. If you are on a steep slope or the ground is damp under moss, a quick brush does more good than trying to dig.
- Keep species in separate bags or compartments until identification is confirmed, in case one specimen is not what you thought.
- Use the least water that works. Most field dirt comes off with a dry brush.
- On a camping trip with little water, brush and wipe, then eat the same day. Skip the soak and save it for home. A damp bandana does the job of a towel at the trailhead.
- Before dehydrating, brush clean and trim first, then slice — but do not soak, since you are trying to drive water out, not put it in.
- Label each bag with species and date if you plan to cook later, and remember that anything washed hours ahead of the pan will spoil faster.
Frequently Asked Questions
Should you wash wild mushrooms before cooking them?
Only when brushing will not do it. Wild mushrooms carry soil, pine needles, and insect larvae that cultivated mushrooms never have, so a clean is worth doing. Give a dirty mushroom a brief rinse under cool water, then dry it thoroughly. For a lightly dirty specimen, a dry brush and a damp towel are enough, and the mushroom will sear better for it.
Can you soak wild mushrooms to remove dirt?
No. Mushroom flesh is porous and drinks up water, and a soak leaves it heavy and gray. It dilutes sauces, sogs breading, and keeps water in the pan while you cook. A quick rinse followed by complete drying is the limit. If a mushroom is so dirty that a rinse will not fix it, it is usually better to leave it than to soak it.
How do you remove bugs from wild mushrooms?
Split larger specimens lengthwise and look inside, since larvae usually move in from the stem base. For a stubborn infestation, a very brief dip in cold salted water, roughly a tablespoon of salt per four cups for ten seconds or so, can encourage them out. Rinse under cool running water and dry the mushroom well afterward, because anything longer starts to soak the flesh.
How should cleaned wild mushrooms be stored?
If you must store them, clean them as late as possible and keep them loosely wrapped in a paper bag in the refrigerator. Avoid sealed plastic, which traps condensation, and avoid washing ahead of time, since refrigerator moisture speeds rot. Mushrooms that are still slightly dirty often keep longer than mushrooms that have been washed and dried. Cook them within a day or two.
Does washing mushrooms make an unknown species safe to eat?
No. Washing removes surface dirt and insects, and it changes nothing about the mushroom itself. Cooking also does not neutralize every toxic compound, and some cause serious illness. If you cannot identify a specimen with confidence, do not clean it, cook it, or taste it. Leave it where you found it and check with an experienced local forager or your regional mycological association.
Conclusion
Identify first, brush out the debris, rinse only when brushing cannot finish the job, dry completely, inspect once more, and cook promptly. Trim only what is dirty, since most of the stem is worth keeping.
And if you are not certain what you are holding, stop before the water. Skip cleaning altogether, leave the mushroom in the woods, and check with an experienced local forager before it ever reaches your kitchen. This guide was refreshed for 2026 and follows the same order every autumn.