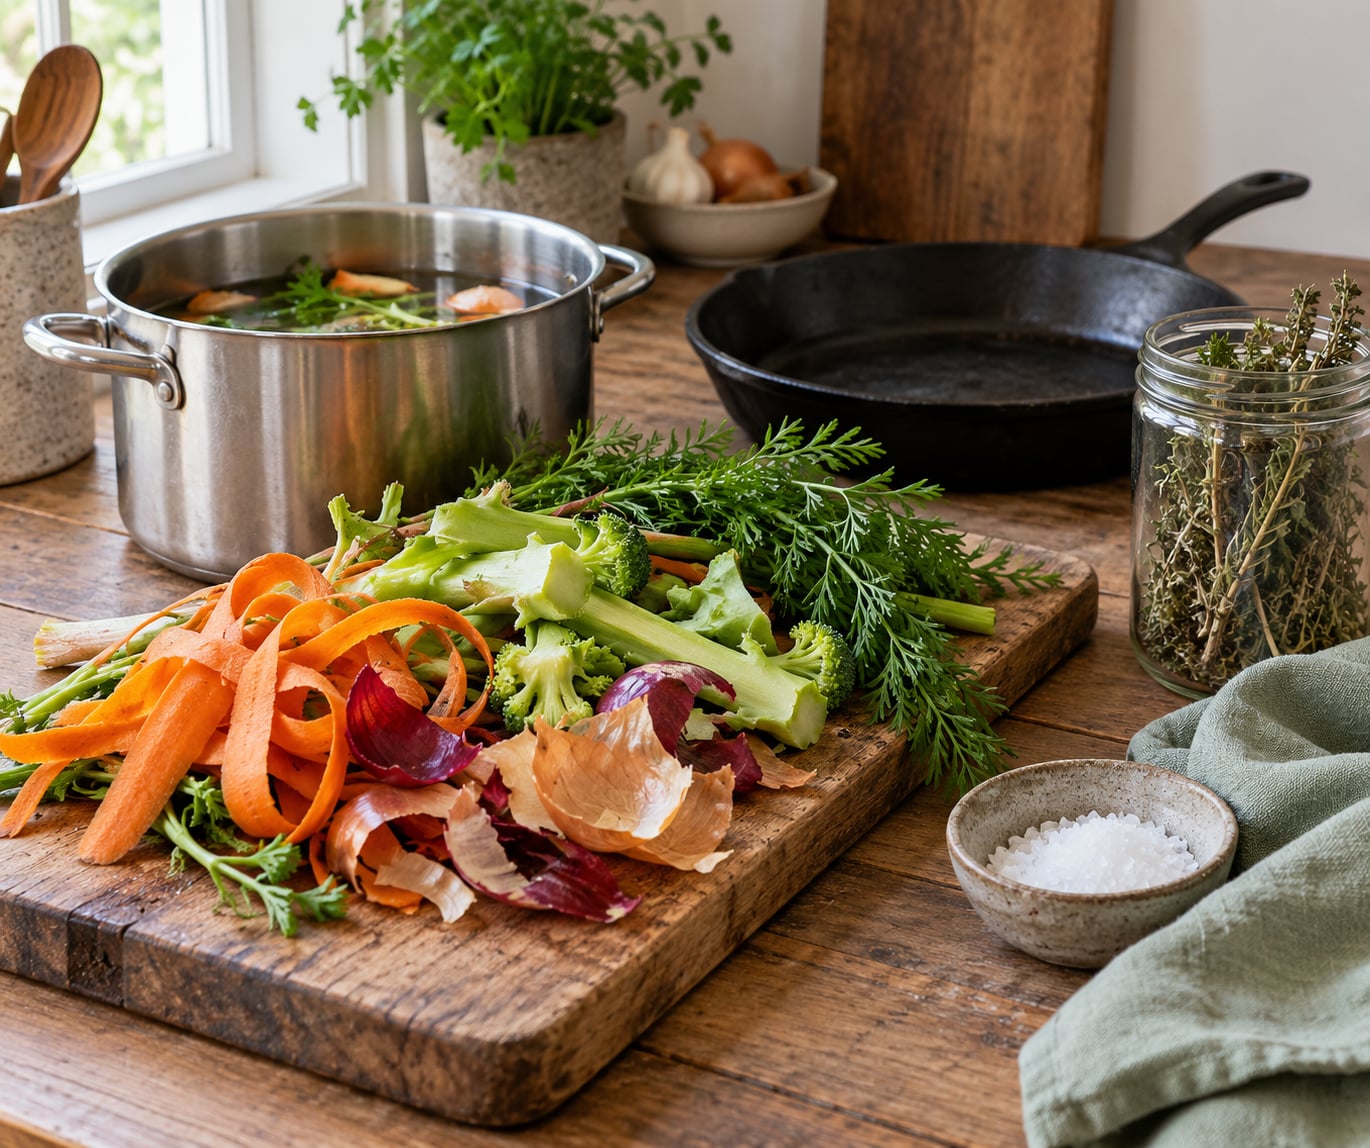
Most of what lands in the compost bin is not food waste at all. It is the part of the vegetable you already paid for and did not cook: carrot peels, broccoli stems, onion skins, celery leaves, mushroom stalks, the tops still attached to the beets. Learning how to use vegetable peels and stems takes about ten minutes of sorting and a little method, and the payoff is a weeknight side dish, a pot of stock or a bag of crisps made from ingredients that were heading for the trash anyway.
The honest version: some scraps are worth eating and some are not, and the difference comes down to texture and bitterness, not safety. Peel the tough outer layer off a butternut or parsnip, slice a fibrous stem thin, and give everything a few extra minutes in the pan. Do that and the same pile of trimmings that tastes disappointing raw tastes like food.
Here is the sort-by-texture approach I use. It is short on rules and long on specific techniques, so you can start tonight with whatever is already in your fridge.
Table of Contents
- What You Need
- Step-by-Step: How to Use Vegetable Peels and Stems
- How to Use Vegetable Peels and Stems by Texture
- Make Vegetable Peel and Stem Stock
- Sauté Peels and Stems Into a Quick Side Dish
- Crisp Them in the Oven or Air Fryer
- Blend Them Into Sauces, Soups, and Dressings
- Pickle or Ferment Sturdy Stems
- Dry Herbaceous Stems for Seasoning
- Common Mistakes
- Frequently Asked Questions
- What veggie scraps should I keep out of stock?
- Are vegetable peels safe to eat?
- How do I use broccoli stems?
- Can you eat carrot tops and other leafy tops?
- How long can I keep veggie scraps in the freezer?
- How do I use vegetable scraps without a compost bin?
- Conclusion
What You Need
Start by deciding what is actually worth keeping. In my kitchen, the saving list is short and practical: carrot and parsnip peels, zucchini and cucumber ends, onion skins and the papery outer layers of garlic, celery leaves and the cut ends of celery stalks, mushroom stems, leek greens, scallion whites, broccoli and cauliflower stems and leaves, herb stems such as cilantro, mint and dill, the leafy tops on carrots, beets, radishes, turnips and kohlrabi, and citrus peel if it is unwaxed.
Skip anything that has been sitting at room temperature for days, anything slimy or fuzzy, and anything you would not happily eat from the middle of the vegetable. A good rule of thumb is that a peel is a worse candidate than the flesh only when it is thick, waxy or bitter.
Give everything a wash before it goes into the pan, and the wash matters more here than it does for the flesh because peel carries whatever was on the outside of the produce. Scrub firm peels under cold running water, then soak tender trimmings in a solution of one tablespoon of baking soda or white vinegar per quart of cool water for 10 to 15 minutes, rinsing well afterward.
If you are not soaking, a thorough scrub with a brush still works. Either way, dry everything before it goes into a hot pan or the food steams instead of cooking and turns slippery.
As for tools, the list is short: a colander for rinsing and draining, a vegetable peeler for the thick peels, a sharp knife for slicing stems thin, a skillet for sautés and crisps, a baking sheet for roasting, a stockpot for the scrap bag, and a couple of airtight containers for storing what you are not using the same day. That is the whole kit.
Step-by-Step: How to Use Vegetable Peels and Stems
How to Use Vegetable Peels and Stems by Texture
The fastest way to know what to do with a trimming is to stop asking what vegetable it came from and start asking what it feels like. Bend it. Squeeze it. If it snaps, it is crisp and wants to be cooked fast or roasted hot. If it bends without snapping, it is tender and wants a pan, a pot or a blender. If it strings and feels ropey, it is fibrous and wants slicing paper-thin. If it is dense and starchy, it is sturdy and wants liquid and time.
| Texture | Examples | Best method |
|---|---|---|
| Crisp, thin | Potato, sweet potato, zucchini, cucumber peel | Oven chips or air fryer at 350°F for 15 to 20 minutes |
| Tender, moist | Zucchini ends, carrot peels, radish peel, scallion whites | Quick sauté, 4 to 6 minutes, finished with acid |
| Fibrous | Broccoli stems, kale ribs, celery, fennel, herb stems | Slice thin, cook 8 to 12 minutes, or blend |
| Starchy, sturdy | Onion skins, mushroom stems, leek greens, potato peel, celery leaves | Stock, simmered about 60 minutes |
| Leafy, herbaceous | Carrot tops, beet greens, kohlrabi leaves, sweet potato leaves, turnip greens | Blanch and sauté, pickle, or dry into powder |
Southern and Appalachian kitchens already lean on this more than most. Kohlrabi leaves have the toughness of collard greens and want a long braise. Turnip greens are mustard-sharp raw and mellow fast. Sweet potato leaves cook down like spinach with a pleasant earthiness, and they are worth a hot oil skillet with garlic rather than a gentle steam. Ramps, in season for a few weeks in the spring, send up leaves and thin stems that behave like a delicate green onion.
Okra stems are fibrous enough to peel, and the peeled length slices into a salad or a pickle. Field pea pods, once the peas are shucked, are a mild green that dries out for chips. Whatever the region, the sorting method is the same.
Make Vegetable Peel and Stem Stock
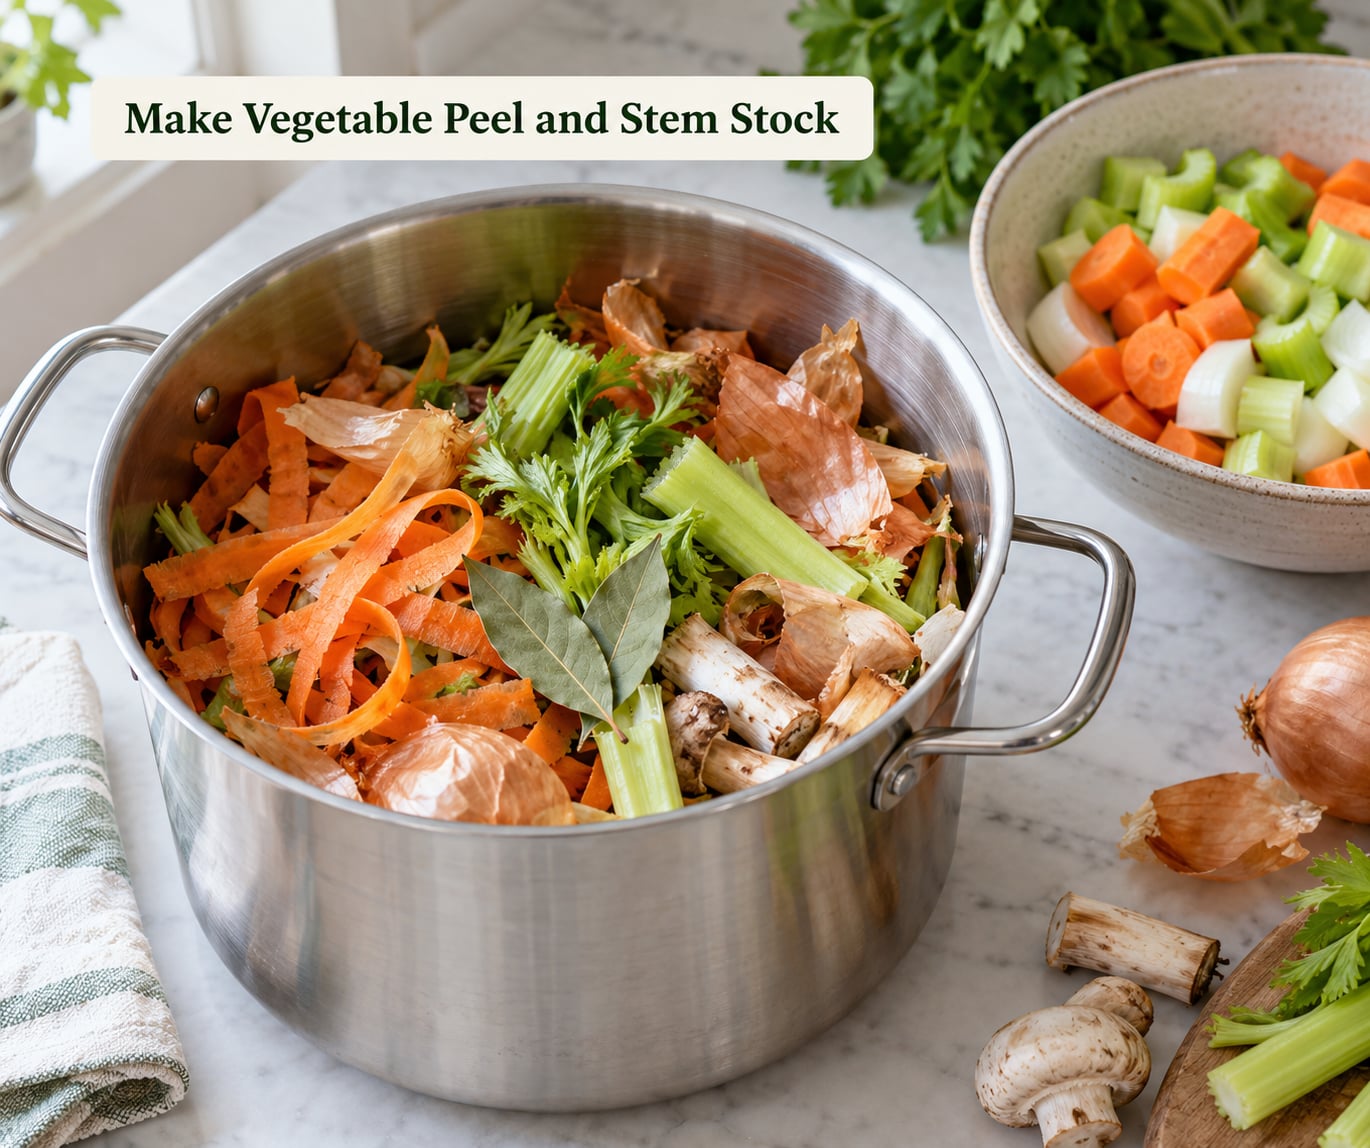
The freezer scrap bag is the single most useful habit in this whole guide, and it is the one that solves the apartment problem too. Keep a labeled bag or container in the freezer, and every time you finish prepping vegetables, toss in the peels, stems, skins and ends that you are not using that night.
When the bag is full, which for one person is roughly a quart and a half, and for a family is closer to three quarts, you make stock. Fill a stockpot with the frozen scraps, add about eight cups of cold water, and add aromatics if you have them: a halved onion, a few peppercorns, two bay leaves, a strip of celery, a few garlic cloves, and a tablespoon of anything from the pantry, miso, tomato paste, a splash of wine, whatever improves the pot.
Bring it to a boil, then turn it down to the barest simmer and let it go for 60 minutes. Skim the foam off the top in the first ten minutes, because that foam is what makes a scrap bag taste muddy. Strain through a fine sieve without pressing the solids, since pressing pulls in pulp and haze.
Season at the end, not the beginning. Salt added early gives you a flat, unsalted-looking broth and no way to fix it. Refrigerate the finished stock for three to four days or freeze it in portions of a cup or two, where it will keep for a few months.
Sauté Peels and Stems Into a Quick Side Dish
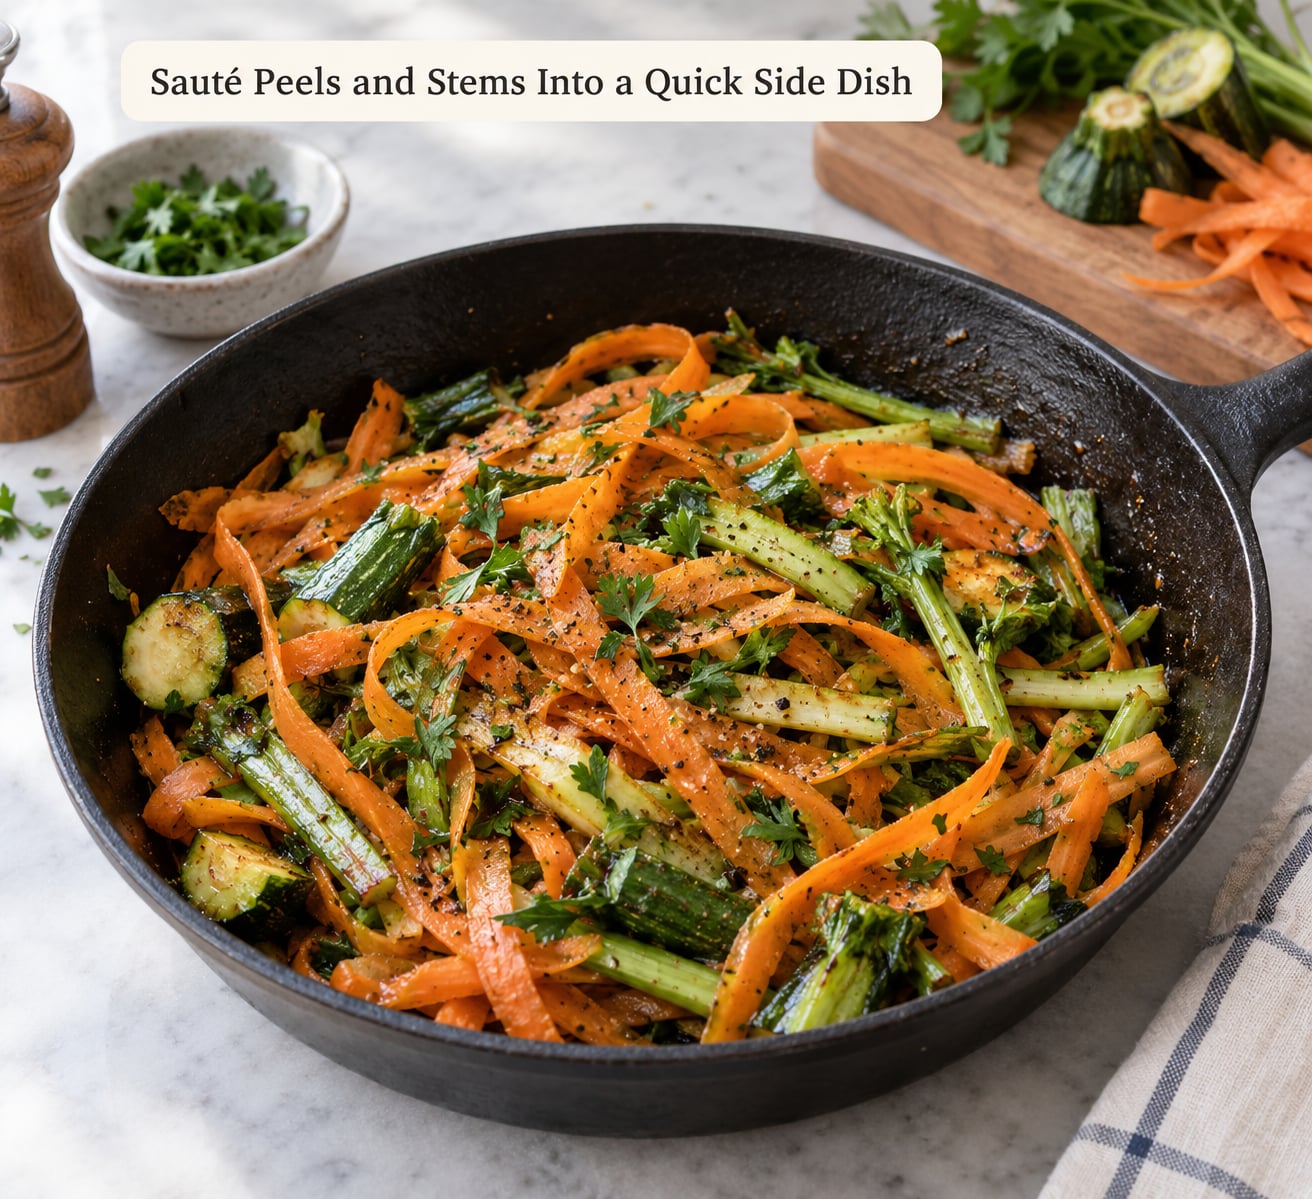
This is the fastest use in the guide and the one that converts the most skeptics. Slice tender peels and stems into a thin julienne or a rough chop, aim for pieces no thicker than a pencil lead, and get the skillet properly hot with a generous film of oil before anything goes in.
Cook without crowding so the pieces hit the pan rather than steam each other. Four to six minutes over medium-high, stirring often, is enough for carrot peels, zucchini ends, radish peel and scallion whites. Add a splash of vinegar, a pinch of sugar or a squeeze of lemon at the end and the dish tastes like a deliberate vegetable side, not like leftovers.
Fibrous stems need longer. Broccoli stems sliced thin, celery and kale ribs go in the same pan for eight to twelve minutes, usually with garlic or a spoon of mustard added in the last minute. If you have ever pulled a broccoli stem out of a soup and thought it was a mistake, this is the version that changes your mind.
One trick worth stealing: peel the outside layer off a broccoli stem with your vegetable peeler first, then slice. The stringy skin is what makes people spit it out, and the core underneath is sweet and tender enough to eat raw.
Crisp Them in the Oven or Air Fryer
Peel chips are the most forgiving method and the one that gets shared around, mostly because the ingredient is free. It works for potato, sweet potato, zucchini, cucumber, carrot, parsnip, beet and apple peel, provided the peel is thin and the slices are even.
Slice no thicker than a coin, then dry them properly. This is the step people skip and the reason their chips stay soft in the middle. Lay the slices on a towel or a paper bag and pat them dry, or give them ten minutes in a low oven or a dehydrator, or let them sit out on a rack. Wet peel steams instead of crisping, and no amount of extra heat will fix that.
Toss with a small amount of oil and a light seasoning. Oil goes on sparingly because it fries the edges before the center browns, and salt goes on after roasting if you want maximum crunch. Roast at 350°F for 15 to 20 minutes, turning once, until the edges are brown and the centers have lost all moisture. In an air fryer at 380°F, they are usually done in 8 to 10 minutes and come out more evenly crisp.
Eat them the same day. Chips that sit overnight go soft in a sealed container, and no storage method changes that.
Blend Them Into Sauces, Soups, and Dressings
Blending handles the trimmings that are too fibrous to eat and too flavorful to discard. Celery leaves, broccoli stalks, herb stems and carrot tops all work, and they disappear completely into a sauce where they would be distracting as a side dish.
Some can go in raw and some cannot. Raw is fine for carrot tops, parsley, cilantro and dill stems, beet greens, and the soft inside of a broccoli stalk. Cook first, and cool slightly, anything stringy: kale ribs, chard stems, fennel fronds, and thick celery. Two or three minutes in hot oil or a few minutes in boiling water is enough to soften them without losing their character.
Watch the water. Every peel and leaf carries some water, so a sauce built only from trimmings turns watery unless you reduce it. Simmer the blended mixture for a few minutes until it thickens and the flavor concentrates, then finish with lemon juice, vinegar, salt and something sharp. A spoonful of mustard or a little nutritional yeast fixes a flat green sauce faster than more blending will.
A carrot-top pesto is the version to try first. Blanch the tops for 30 seconds, squeeze them dry, blend with olive oil, garlic, lemon and a salty cheese, and you have a bright green sauce that goes over potatoes, beans or toast.
Pickle or Ferment Sturdy Stems
Sturdy stems and peels hold their shape well, which makes them good candidates for pickling. Celery, fennel, broccoli stems, kohlrabi, radish peel, cauliflower leaves and the tough outer leaves of cabbage all take to a quick refrigerator pickle.
Slice them thin or into short strips, about a quarter-inch thick, and pack them into a clean jar with a tablespoon or two of salt. That salt draws out water and starts the softening, and it is what gives you crunch instead of mush. Let them sit for 20 minutes, then drain off the liquid that collects.
For a straight vinegar pickle, bring a cup of 5 percent acidity vinegar, a cup of water, a tablespoon of sugar and a tablespoon of salt to a boil, pour it over the packed vegetables, and refrigerate. They are ready in about 30 minutes and keep their crunch for two weeks in the fridge.
A 2 percent brine, meaning two tablespoons of salt per cup of water, is the base for a garlicky ferment. Keep the vegetables under the brine, add a weight so nothing floats, and leave the jar at room temperature. Check that nothing has gone cloudy or fizzy-smelling before you eat it, and refrigerate once the flavor you want is reached.
Dry Herbaceous Stems for Seasoning
Herb stems are the most valuable thing in the scrap pile and the easiest to overlook, because they look like leftovers attached to a bunch of cilantro. Cilantro and parsley stems carry more flavor than the leaves. So do dill, mint, chive, and basil stems.
The quick use is to chop them and fold them into sauces, where they behave like a concentrated version of the herb. A stock made with herb stems, a chimichurri, a green salad dressing, or a finishing spoon over a pot of beans all use them well.
The keeping use is drying. Hang stems in small bundles in a dry room, or lay them on a dehydrator tray at 95°F until brittle, then strip the leaves off and blitz the stems into a powder. Stir that powder into salt, butter, or a vinaigrette. It is a pantry item for months and it solves the problem of a bunch of herbs that will not be used before they flop.
Common Mistakes
Everything turns slimy. The fix is dry trimmings and a hot pan. Moisture trapped in a pile of peel steams the pile instead of searing it, and the result is soft and slick. Pat the pieces dry before cooking, cook in a single layer, and give the pan room.
The sauce or stock tastes bitter or muddy. Parsnip, turnip and butternut peel can be bitter, and that bitterness is not a cooking problem, it is a preparation problem. Peel parsnip and butternut instead of just scrubbing them, and skip turnip and tomato leaves in a stock entirely. If the pot is already bitter, more cooking will not save it; start again with milder scraps.
Crisps stay soft or burn. Too thick, too wet, or too crowded. Slice them thinner, dry them until they feel leathery, and give them space on the sheet. If the edges darken before the centers crisp, move them off the heat for two minutes, then finish with residual warmth.
A blended sauce turns watery. Reduce it. Cook the blend down for a few minutes until it holds the back of a spoon and add acid at the end. Raw trimmings also release more water than cooked ones, so cooking the fibrous ones first is worth the extra two minutes.
The scrap bag sits forgotten until it smells. Label it with the month, write the date, and put it where you will see it. Fill the pot from it whenever it reaches roughly a quart and a half, and never let scraps pile up on the counter for more than a couple of days in a warm kitchen.
No yard and no compost pickup. Stock, crisps, pickles and dried herb powder are the outlets that work in a rental, and a small lidded bin on the counter is enough for a steady stream of them. If even that is not possible, municipal organics programs and neighborhood collection days are more common than people assume, and a neighbor with a bed is often glad to take greens and browns.
A few habits make the rest easier. Keep the freezer scrap bag by the sink rather than buried in the freezer, because the bag you cannot see is the bag that goes bad. Cook trimmings the same day you trim when you can, and only freeze what is waiting for a batch. And treat the washing step as non-negotiable for anything you are going to eat with the skin still on.
Frequently Asked Questions
What veggie scraps should I keep out of stock?
Keep parsnip, turnip and rutabaga peel out of stock, along with potato peel, tomato leaves, rhubarb leaves and bell pepper seeds and pith. These are the scraps most often blamed for a bitter, muddy stock. Onion skins, celery leaves, carrot peels, mushroom stems, leek greens and herb stems are all good additions.
Are vegetable peels safe to eat?
Yes, for most vegetables, once you wash them. Scrub firm peels under running water, and soak tender trimmings in cold water with a tablespoon of baking soda or white vinegar per quart for 10 to 15 minutes. Buy organic when you plan to eat the skin, and skip anything that was cut open and left at room temperature for more than a couple of days.
How do I use broccoli stems?
Peel the tough outer layer off the stem with a vegetable peeler, then slice the tender core thin. Raw slices go into slaws and salads, and thin slices sauté in about 8 to 12 minutes or blend straight into soups and sauces. Thick unpeeled pieces are stock material rather than a side dish.
Can you eat carrot tops and other leafy tops?
Carrot tops, beet greens, radish leaves, kohlrabi leaves and turnip greens are all edible. Their flavor is stronger and sometimes bitter or peppery raw, so blanch them briefly, sauté them with garlic and oil, or blend them into a pesto. Dry them for a herb salt when the bunch would not get used in time.
How long can I keep veggie scraps in the freezer?
Frozen scraps keep three to six months and can go straight from freezer to pot with no thawing. Label the bag with the month so you can use the oldest first, and if it is past six months, discard the bag rather than cooking it. A freezer bag should never be opened again after it has thawed and been refrozen.
How do I use vegetable scraps without a compost bin?
Cook them. A freezer scrap bag that fills to a quart and a half makes about eight cups of stock after an hour of simmering, and the rest works as sautéed sides, oven chips, quick pickles, blended sauces and dried herb powder. Those five outlets use everything a compost pile would take, which means an apartment is not a reason to throw trimmings away.
Conclusion
The first step is the one people skip: put a bag in the freezer tonight and start saving what you are about to throw away. Sort that pile by texture rather than by vegetable, and you will find you already have the raw material for stock, a skillet side and a batch of crisps.
Once you know how to use vegetable peels and stems, throwing them away stops feeling like tidying and starts feeling like waste. The whole method is ten minutes of sorting and a hot pan, and once you have done it once it is hard to go back.