Composting kitchen scraps in a small yard takes about 3 by 3 feet of ground, a bin with a fitted lid, and a steady supply of dry browns. Layer your scraps with roughly twice as much shredded cardboard, dry leaves, or straw by volume, keep the mix as damp as a wrung-out sponge, and turn it every week or two. In most climates that gives you finished compost in three to six months between spring and fall.
Space is the only real constraint, and 3 feet square is enough for one household. What actually goes wrong in tiny yards is smell, rodents, and a pile that stays wet and never heats up. Get those three right and the method is genuinely simple.
Table of Contents
- What You Need
- Required items
- Nice to have
- How to Compost Kitchen Scraps in a Small Yard
- Step-by-Step
- Choose a small-yard composting location
- Set up a bin or contained compost area in a small yard
- Separate scraps and prepare dry materials
- Layer greens and browns in the right ratio
- Moisten and turn the compost
- Harvest finished compost and start again
- Common Mistakes
- Frequently Asked Questions
- What kitchen scraps should not be composted?
- How small can a compost bin be?
- Will a compost bin attract rats and raccoons?
- How do I keep my compost from smelling bad?
- What is the laziest way to compost kitchen scraps?
- How long does it take kitchen scraps to compost?
- Start With One Bin and One Bag of Browns
What You Need
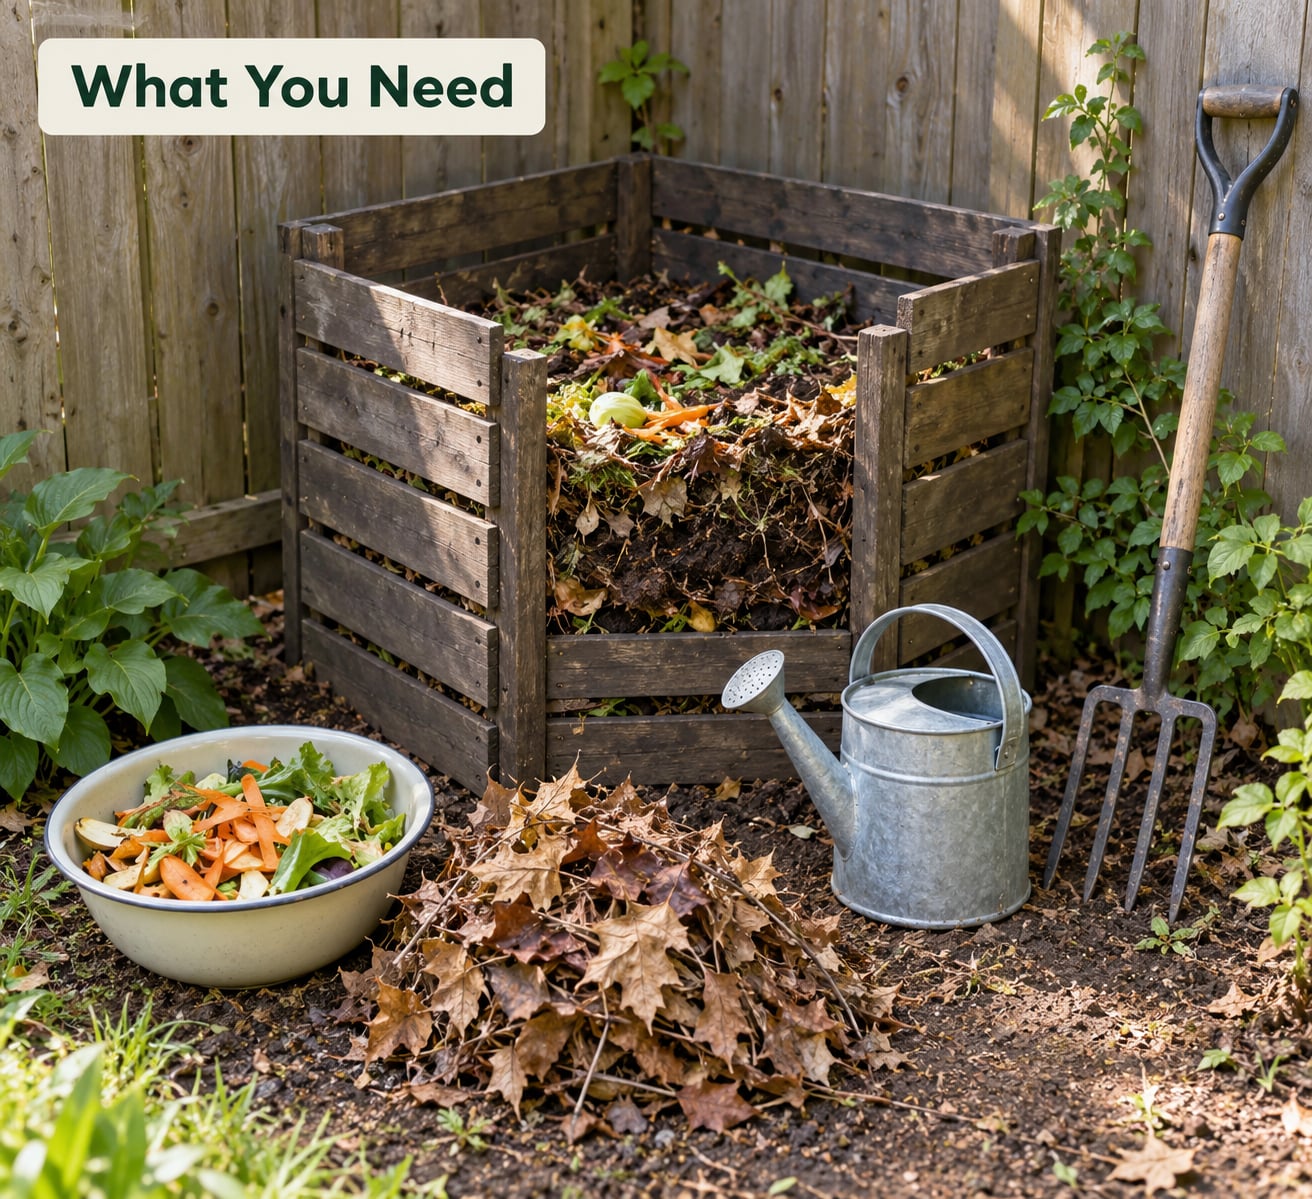
You need a container, a browns supply that never runs out, and two cheap tools. That is the whole list. Everything else on this list is a convenience, and skipping it costs you nothing but a few extra trips.
Required items
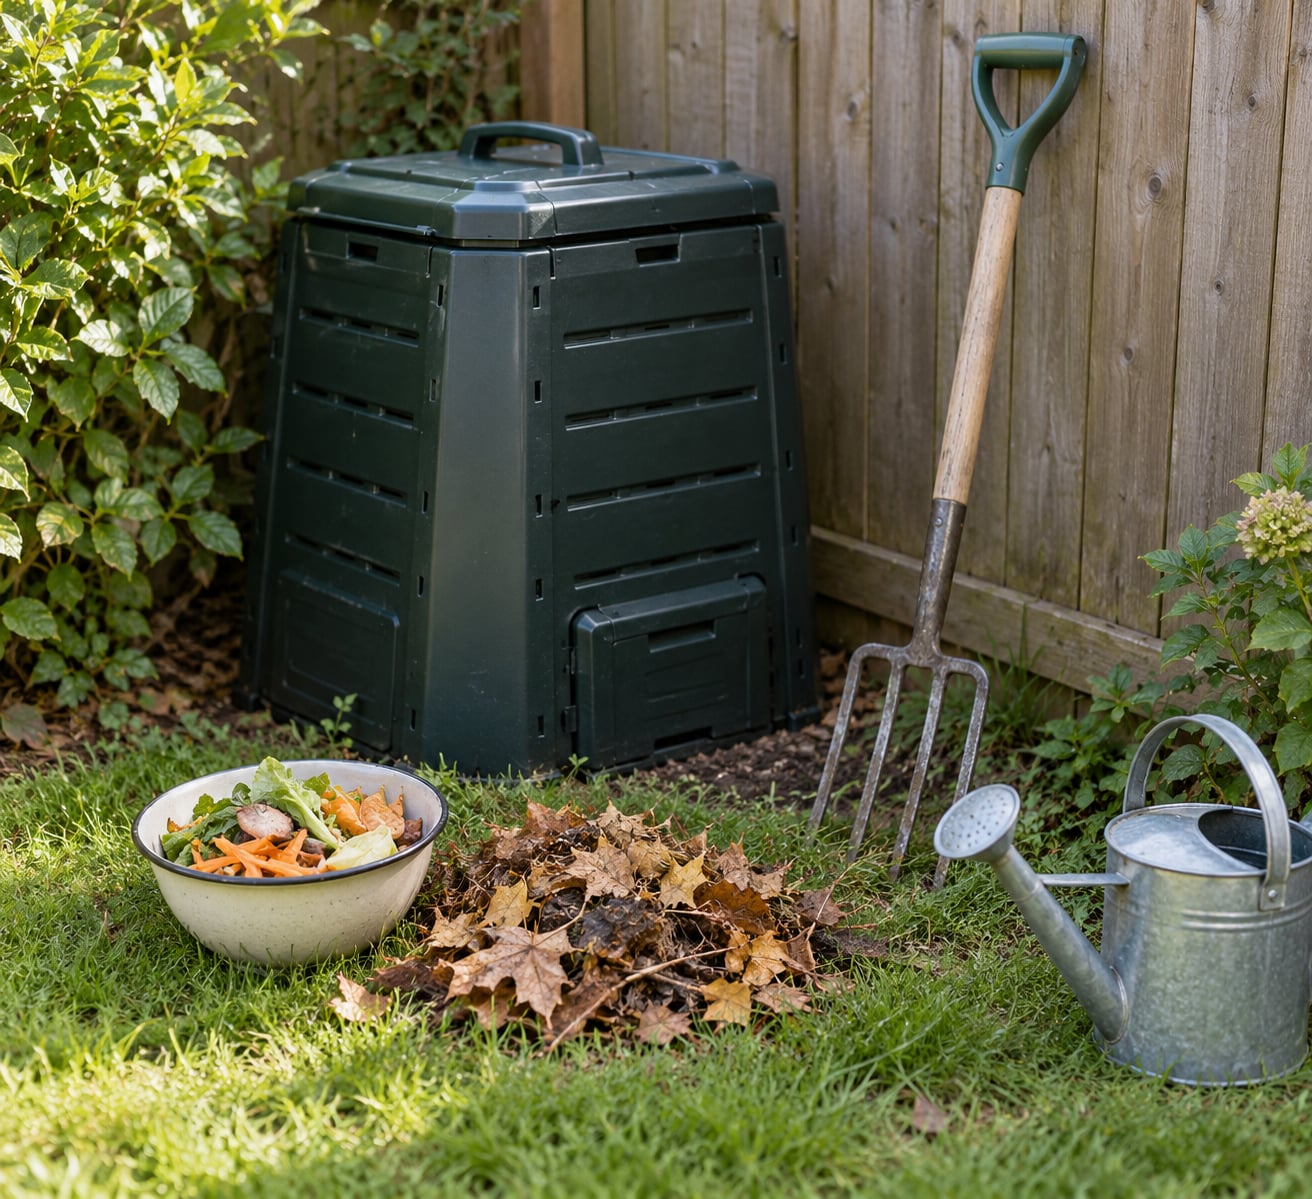
- A bin or contained compost area — a 10- to 20-gallon plastic tote, a pallet cube, a wire mesh cylinder, or a small ground pile. A fitted lid matters more than size in rodent-prone neighborhoods.
- Dry browns — shredded cardboard, dry leaves, straw, uncoated paper, egg cartons. Store them in a bag beside the bin so you can cover each deposit immediately.
- Kitchen greens — fruit and vegetable scraps, coffee grounds, tea leaves, crushed eggshells.
- A watering can — for re-wetting dry browns as you layer them.
- A garden fork, spade, or thick stick — for turning and mixing.
Nice to have
A piece of wire mesh for screening finished compost is worth having. A tarp keeps rain from soaking a pile through a humid week. A compost thermometer tells you whether the center reached 130-140°F, which is the temperature that kills weed seeds and most pathogens. A worm bin is not a luxury, but it is an alternative method rather than a supply.
If you want to see how each option compares before you commit, this table sizes the common methods against the space they actually use.
| Method | Space needed | Footprint | Pest risk | Time to finished compost |
|---|---|---|---|---|
| 10-gallon tote with drilled holes | 1 square foot | Under a counter or beside a shed | Low with a fitted lid | 3-6 months warm, 6-10 months cool |
| Pallet cube | 3×3 feet | Side yard or patio corner | Medium, wire mesh liner helps | 4-8 months |
| Wire mesh cylinder | 3 feet across | Any flat corner | Medium to high without a lid | 4-8 months |
| Small ground pile | 3×3 feet | Any flat corner | High | 3-6 months in warm weather |
| Trench or in-ground | 2×2 feet of digging space | Beds and lawn edges | Low | 2-4 months |
| Worm bin | 1 square foot indoors | Patio, garage, under a sink | Low | 6-12 months, harvest by lifting the bin |
How to Compost Kitchen Scraps in a Small Yard
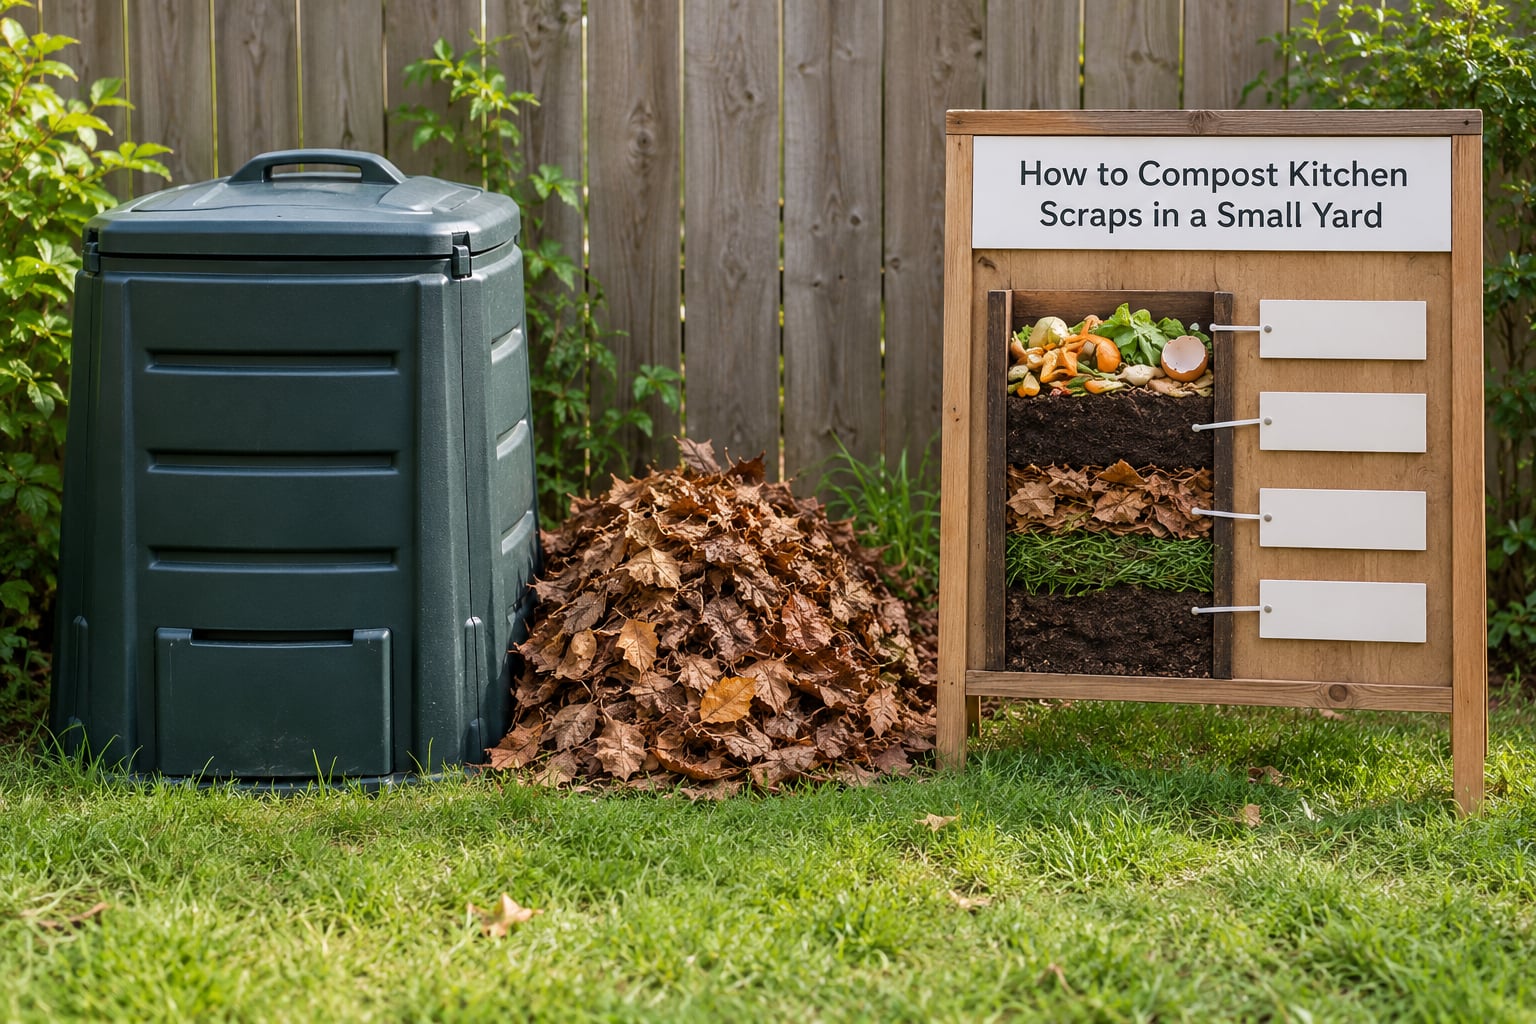
The method is a cycle you repeat all season: deposit scraps, bury them under browns, keep the pile damp and airy, and turn it. Because a small pile holds less heat than a big one, the ratio and the moisture matter more here than anywhere else. Get the ratio wrong and a 3-by-3-foot pile will not get warm enough to work well.
Think in volumes you already have. Two coffee cans of greens to four coffee cans of browns is the same as one bucket to two. Common kitchen containers make the ratio easy: a coffee can, a cereal box, a one-quart jar, a five-gallon bucket. If you mix greens and browns in roughly one part greens to two parts browns by volume and cover every deposit the moment you make it, you will not need to measure anything again.
A zone 5b gardener on the Permies forum described the routine that best fits a small yard: scraps go into a bag indoors, each deposit gets covered with shredded paper and egg cartons, and the batch gets buried in the garden in November. He reported that the result did not smell bad, only faintly of earth. That is the outcome to aim for, and it comes from burying scraps and covering them rather than from any additive.
Small yards add two constraints nobody mentions. Your pile loses heat quickly on cold nights, so a straw or leaf blanket on top in fall buys you weeks of activity. And in humid regions, a pile that sits under a roof drip line will never dry out, so choose a spot with drainage on all four sides.
Step-by-Step
Choose a small-yard composting location
Pick a level, well-drained spot in partial shade with airflow on at least two sides. Stay away from open windows, gas meters, water spigots, and downspout discharge.
The distance rules matter more than most guides admit. Keep the bin at least 10 feet from your house, well away from the neighbor’s fence line, and downhill of nothing in particular. Never place it over a drain or near a creek or storm drain.
Shade slows the pile, but full sun bakes it dry. Morning sun with afternoon shade is the sweet spot in the South; in the North, a spot that gets a few hours of sun keeps things moving in spring and fall.
Set up a bin or contained compost area in a small yard
A 10-gallon storage tote is the cheapest and most effective small-yard bin. Drill 8 to 12 holes about a quarter inch wide in the sides, five or six in the bottom for drainage, and leave the lid intact so it closes flush. Stand it on bricks or a scrap of pallet so air can reach the bottom.
A pallet cube gives you more volume in the same footprint. Set four pallets on edge and fasten the corners with stainless screws, then line the interior with hardware cloth or chicken wire so nothing tunnels out. It drains well and breathes, but it needs a heavy tarp or a hinged lid over the top in raccoon country.
A wire mesh cylinder works too. Roll 1-inch chicken wire into a circle 3 feet across, join the ends with stakes, and line the bottom with cardboard so scraps do not fall through. It is fast to build and cheap, and it is the least secure option against determined animals.
Separate scraps and prepare dry materials
Chop everything before it goes in. Cutting a carrot top into coin-sized pieces speeds decomposition noticeably, because it gives bacteria more surface to work on.
Good greens include fruit and vegetable scraps, coffee grounds and filters, tea leaves, wilted garden weeds, and crushed eggshells. Coffee grounds count as browns if you are mixing them with lots of fruit, since they are low in nitrogen once they have been roasted.
Keep these out: meat, fish, dairy, eggs in shell, oils and grease, cooked food with fat or protein, and anything a neighbor would not want to smell from a window. If you cook with sticks of butter or deep-fry, the pan wipes and grease go in the trash. Large amounts of pine needles also break down very slowly, so use them as mulch on top rather than mixed through the pile.
Keep a bag of browns next to the bin at all times. Shredded cardboard is the easiest to find and stores flat against a wall.
Layer greens and browns in the right ratio
Start with a base layer of browns 4 to 6 inches deep so nothing touches bare soil. Then add greens, cover them completely with twice as much browns, and tamp down lightly.
Repeat. The test is simple: if the last thing you added was a layer of food scraps you can see and smell from two feet away, you need another layer of browns on top.
A finished layer is roughly three inches of greens and six inches of browns, which keeps the carbon-to-nitrogen ratio close to the two-to-one volume range that small piles need. Chopped browns mix more evenly than whole leaves; break up any mats by hand as you build.
Moisten and turn the compost
After every deposit, mist the layer until it feels like a wrung-out sponge. If you can squeeze a handful and get only a drop or two, the moisture is right. Bone-dry browns are the usual reason a small pile stalls.
Turn every 5 to 10 days in warm weather, less often when it is cool. Break up any compacted layer, move material from the edges and the bottom to the center, and restore the browns cover. Turning adds the oxygen that keeps decomposition aerobic, which is what prevents the sour, anaerobic smell people associate with composting.
If the pile smells like ammonia, it is too green and too wet. Add a bucket of browns and turn. If it smells sour or vinegary, the same fix applies with more airflow.
Hot weather gives you speed. In a pile that reaches 130-140°F, turn every three or four days to keep the heat from killing the organisms doing the work. Once autumn arrives, add a 6-inch cap of straw or dry leaves to hold warmth through the season.
Harvest finished compost and start again
Finished compost is dark, crumbly, and smells like forest floor rather than food. Nothing recognizable remains, and a handful squeezed in your fist should hold its shape without dripping.
Scoop it out, or turn it onto a tarp and sieve it through hardware cloth to drop out twigs and eggshell pieces. Any coarse material goes back into the bin as browns. Spread the finished compost an inch or two over beds in spring, or mix it into potting mix at roughly one part compost to three parts soil.
Small bins are harvested by lifting the whole container and setting it on a tarp, which is one real trade-off of the compact method. Leftover scraps go back in with fresh browns, and the cycle restarts.
Common Mistakes
Almost every small-yard compost problem is one of five things. Find the symptom, apply the fix, and give it two weeks before you change anything else.
| Symptom | What is happening | Fix |
|---|---|---|
| Sharp sour or rotten smell | Too wet, too few browns, not enough air | Add two buckets of dry browns and turn thoroughly |
| Ammonia smell | Too much nitrogen, not enough carbon | Cover with cardboard or leaves, turn, add no greens for a week |
| Lots of small flies around the lid | Exposed food scraps | Bury scraps 6 inches deep and leave a full browns layer on top |
| Nothing is decomposing | Too dry, too cold, or pieces too large | Water it, chop what is left, add browns, and wait out cold weather |
| Ants crawling in | Cool dry conditions and sweet scraps | Add water and browns; ants usually clear once the pile is active |
| Standing liquid under the bin | Overwatering or no drainage | Add browns to absorb, ensure holes are clear, stop over-misting |
| Rats or raccoon tracks | Food is reachable at or below ground level | Lid it, raise it off the ground, and line the base with 1/4-inch mesh |
| Bin is full and nothing has broken down | Volume limit reached | Harvest the bottom half, or move to a second bin and let the first cure |
Wildlife is the one problem a small yard cannot ignore, and it is the most common worry people bring to a compost setup. Rats and opossums are drawn to food value, so keep everything above ground in a lidded container, line the base with 1/4-inch hardware cloth, and never bury scraps in an open pile near a house. Raccoons are stronger and more curious: a fitted lid is the only reliable answer, and bungee cords on a loose tarp will not hold one.
A compost thermometer solves a guessing game. A cheap dial thermometer pushed into the center of a lidded bin tells you whether the interior is actually hot, and without one you are guessing from the outside of a plastic tote.
Winter is the other common worry, and it is more manageable than people expect. Decomposition slows but does not stop as long as the pile is above freezing. A 6-inch blanket of leaves or straw, plus a sheltered spot against a south-facing wall, keeps a small pile working through most winters. Cold does not make compost unsafe; it just makes it slow. Bring the bin closer to the house in the coldest months if you can move it without emptying it.
If a household member objects to the setup, the fix is design rather than persuasion. Put the bin where nobody has to look at it from the kitchen window, bury garden scraps directly in the beds instead of collecting them at all, or switch to trench composting and make one trip a month instead of daily. Advice threads on small-space composting tend to start with a household that refused to compost because they thought it was gross. What came back was not about convincing anyone. It was about building something closed, shaded, and out of sight.
Frequently Asked Questions
What kitchen scraps should not be composted?
Leave out meat, fish, poultry, dairy, eggs in shell, cooking oils, grease, and cooked foods high in fat or protein. These attract rodents and flies and break down into odors rather than compost. Also skip oily foods, large woody stems, and treated or glossy paper. Small amounts of cooked vegetables with minimal fat are generally fine once chopped and buried.
How small can a compost bin be?
A 10-gallon storage tote is the practical floor for a small yard, and it holds roughly 1 cubic foot of material. That is enough for one household if you harvest finished compost every few months and keep a pile of dry browns beside it. Below that size, turning becomes difficult and you will compact the material by hand, so a 3-by-3-foot pallet cube is the better long-term setup.
Will a compost bin attract rats and raccoons?
An open pile will, but a lidded bin on legs rarely does. Keep the container covered, stand it on bricks or a pallet so nothing reaches underneath, and staple 1/4-inch hardware cloth around the base where the bin meets the ground. Bury every deposit under 6 inches of browns and never leave cut fruit on the surface. In areas with a known rat problem, a closed tote is the only setup worth using.
How do I keep my compost from smelling bad?
Smell means too much nitrogen, too much moisture, or not enough air. Cover every deposit with twice its volume of browns, keep the pile as damp as a wrung-out sponge rather than wet, and turn it every 5 to 10 days so decomposition stays aerobic. If a small bin sits in full sun during humid weather, move it into partial shade or cap it so rain does not keep it soaked.
What is the laziest way to compost kitchen scraps?
Skip the bin entirely and bury scraps. Chop them, drop them 8 to 12 inches deep in a garden bed or lawn, cover each hole, and leave the spot alone until spring. A second lazy option is trench composting: dig a 12-by-12-inch trench, layer scraps and shredded cardboard, and backfill. Both need no turning, no moisture management, and no footprint beyond the digging space.
How long does it take kitchen scraps to compost?
A small bin run in warm months gives finished compost in three to six months when you keep the two-to-one browns-to-greens volume ratio and turn it regularly. A ground pile in summer can manage two to three months. Cold weather stretches this to six to ten months, and a worm bin moves more slowly still, typically six to twelve. Harvest by the texture and smell test rather than the calendar.
Start With One Bin and One Bag of Browns
Start small and concrete. Put a lidded tote or a 3-by-3-foot pallet cube in the shadiest well-drained corner you have, and fill a bag with shredded cardboard and dry leaves before you make your first deposit.
Then layer one part kitchen scraps with two parts browns, dampen it until it feels like a wrung-out sponge, and cover the top completely. Turn it every week or two through the warm months, add browns whenever you see food, and check the temperature. In three to six months you will have finished compost, and the whole operation will never take more than about a square foot of standing space.