The fastest way to sharpen kitchen knives at home is a two-part routine: use a whetstone to grind out a fresh edge, then use a honing rod before each cook to straighten it back up. A stone reshapes a dull blade by removing a few thousandths of an inch of steel. A rod removes nothing at all.
Either one alone leaves you short. Together they take about ten minutes and no special skill, and a beginner can learn the whole routine in an afternoon.
The reason it matters is not performance, it is safety. A dull knife needs more force to cut, and force is what sends it sliding off a tomato skin and into your thumb. A sharp knife cuts because you asked it to, not because you leaned on it.
Table of Contents
- What You Need
- Step-by-Step: How to Sharpen Kitchen Knives at Home
- How to Sharpen a Knife With a Whetstone for Deeper Sharpening
- Use a Honing Rod or Manual Sharpener for Routine Care
- Check the Edge and Test the Result
- Common Mistakes
- Frequently Asked Questions
- How often should I sharpen kitchen knives at home?
- Can I sharpen a serrated kitchen knife with a whetstone?
- What angle should I use when sharpening a kitchen knife?
- Is a honing rod the same as sharpening a knife?
- What grit whetstone should a beginner use?
- When is professional knife sharpening worth it?
- Conclusion
What You Need
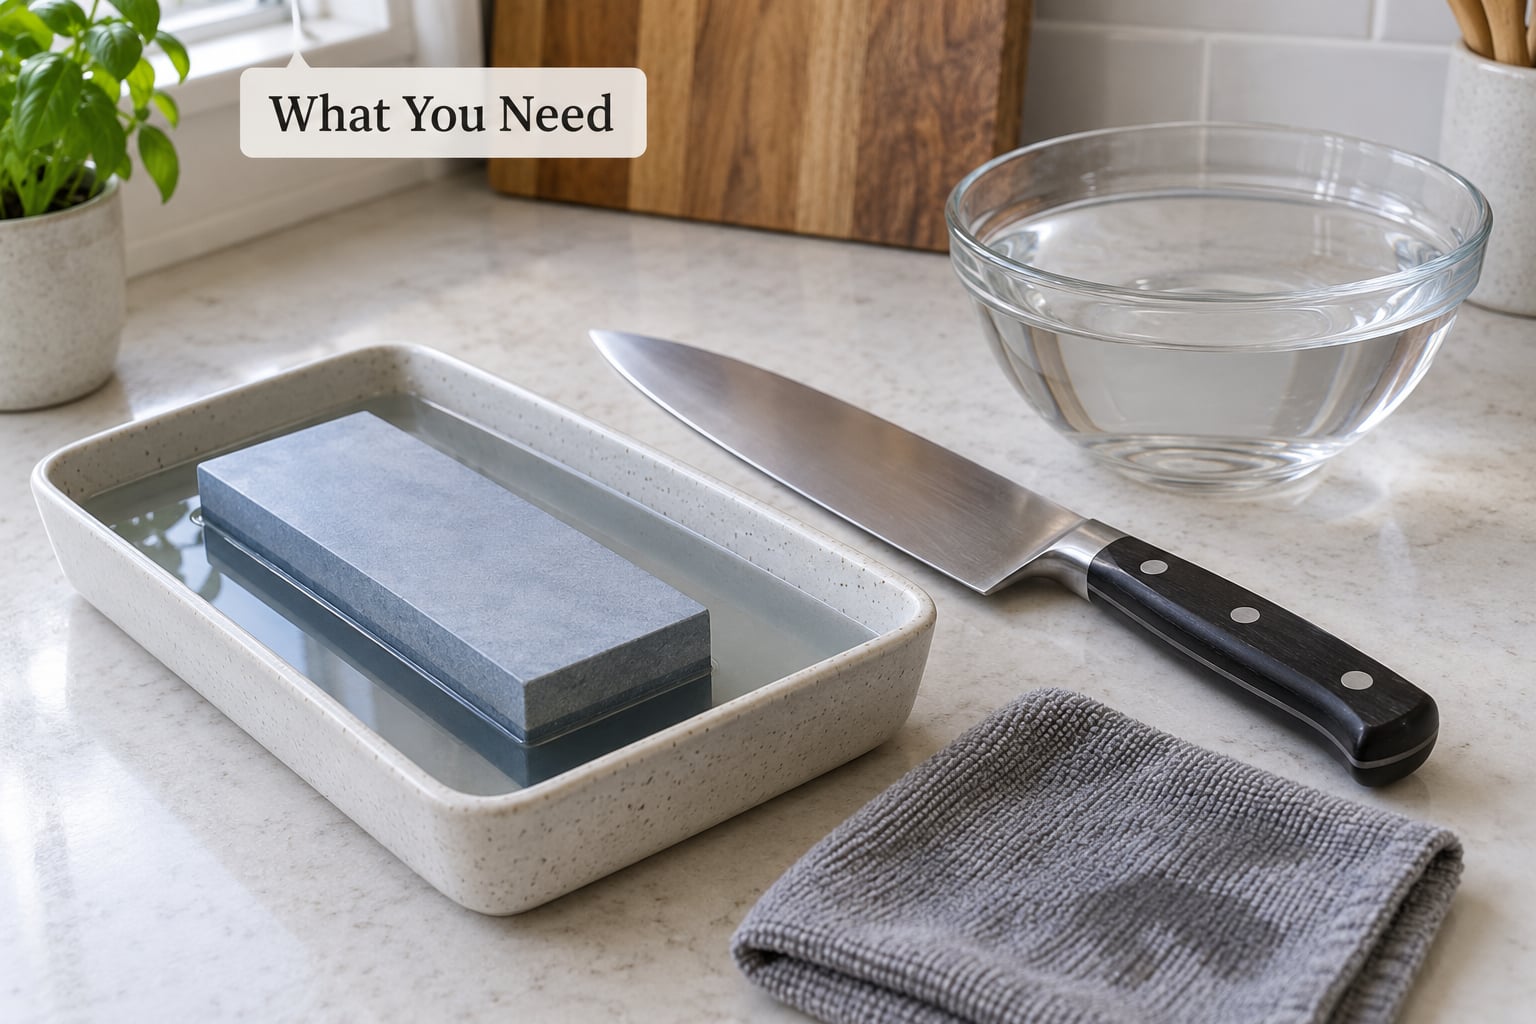
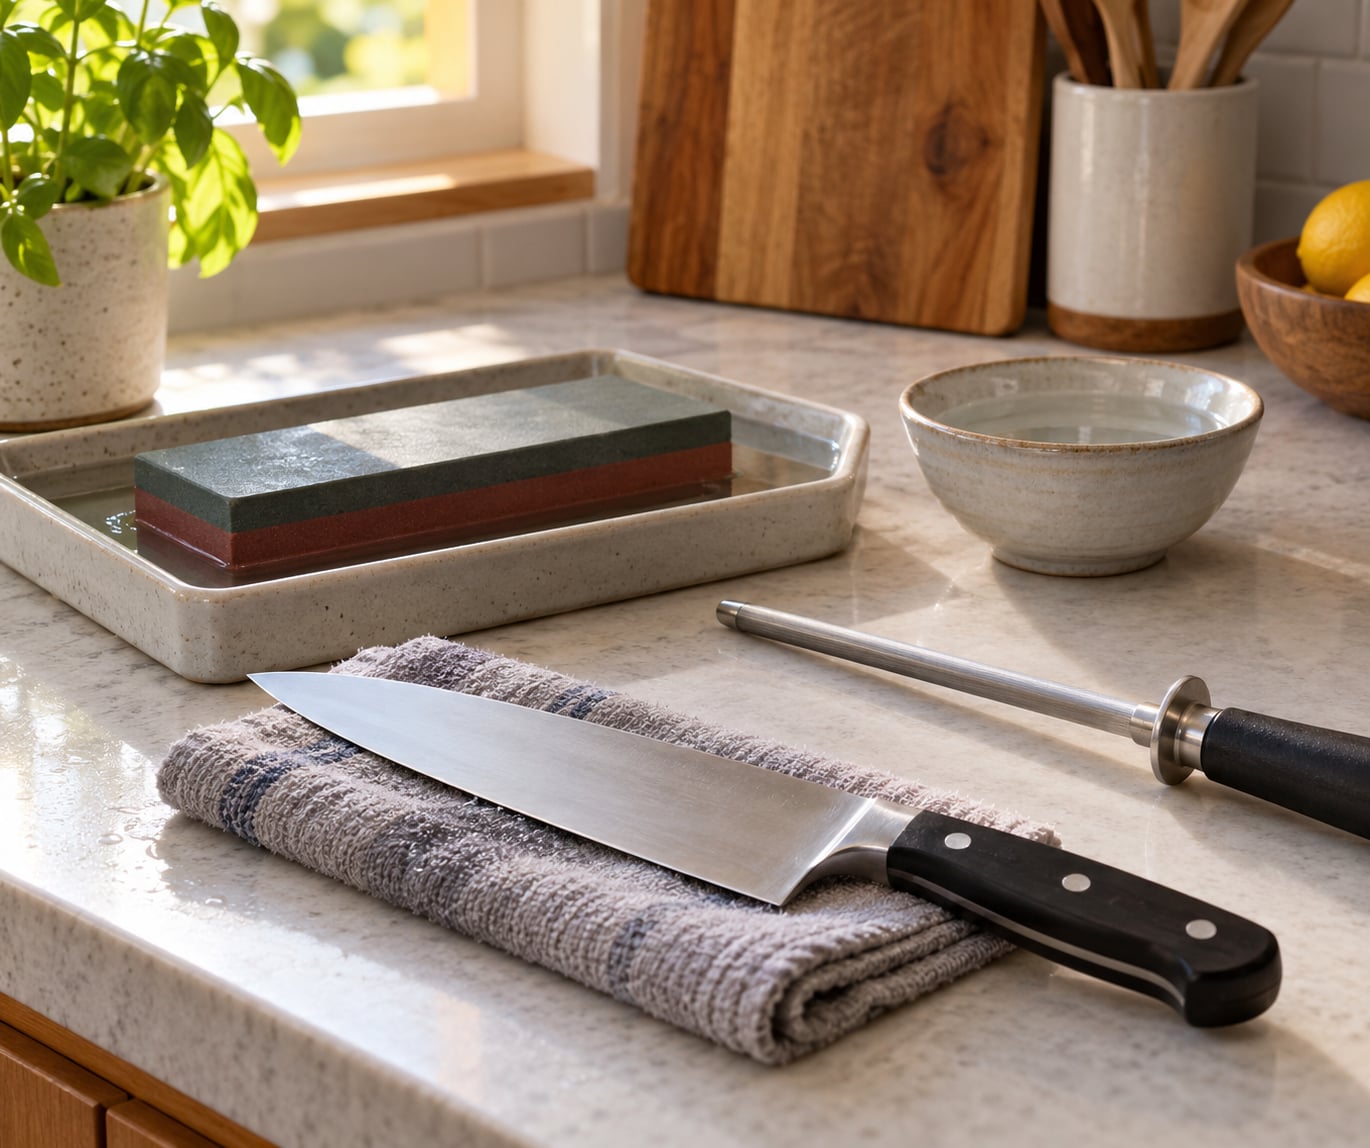
You need less than most people expect. For routine care, a honing rod and a damp cloth are enough. For a proper sharpening, add a whetstone and a tray or bowl to soak it in.
- A whetstone for sharpening. A dual-grit stone with a coarse side around 400 to 600 and a fine side around 1000 covers everything a home cook does. A 600/1000 combo is the usual recommendation.
- A honing rod for straightening the edge between sharpenings. Steel, ceramic and diamond rods all work; ceramic and diamond need less pressure than steel.
- A shallow tray or bowl and water if your stone is a water stone. Most modern stones are oil stones and take a few drops of light oil instead.
- A non-slip mat or damp folded towel so nothing moves under your hands.
- Old newspaper or a scrap of cardboard to lay your knife on so it does not scar your counter.
- A marker, optional but useful. A felt-tip line along the edge shows you where the stone is or is not touching.
Before you start, learn your knife. The tip is the pointy end, the heel is the thick end nearest the handle, and the spine runs along the top. The sharpening side is the side that faces down when the knife rests flat on the counter. Most knives are sharpened on one side first and finished on the other, and the second side takes far fewer strokes.
One more thing worth checking: whether the blade is straight. Hold it edge down against a flat surface, or look down the blade from tip to heel with the light behind you. A bent knife will never sharpen properly, and no amount of stone will fix it.
Step-by-Step: How to Sharpen Kitchen Knives at Home
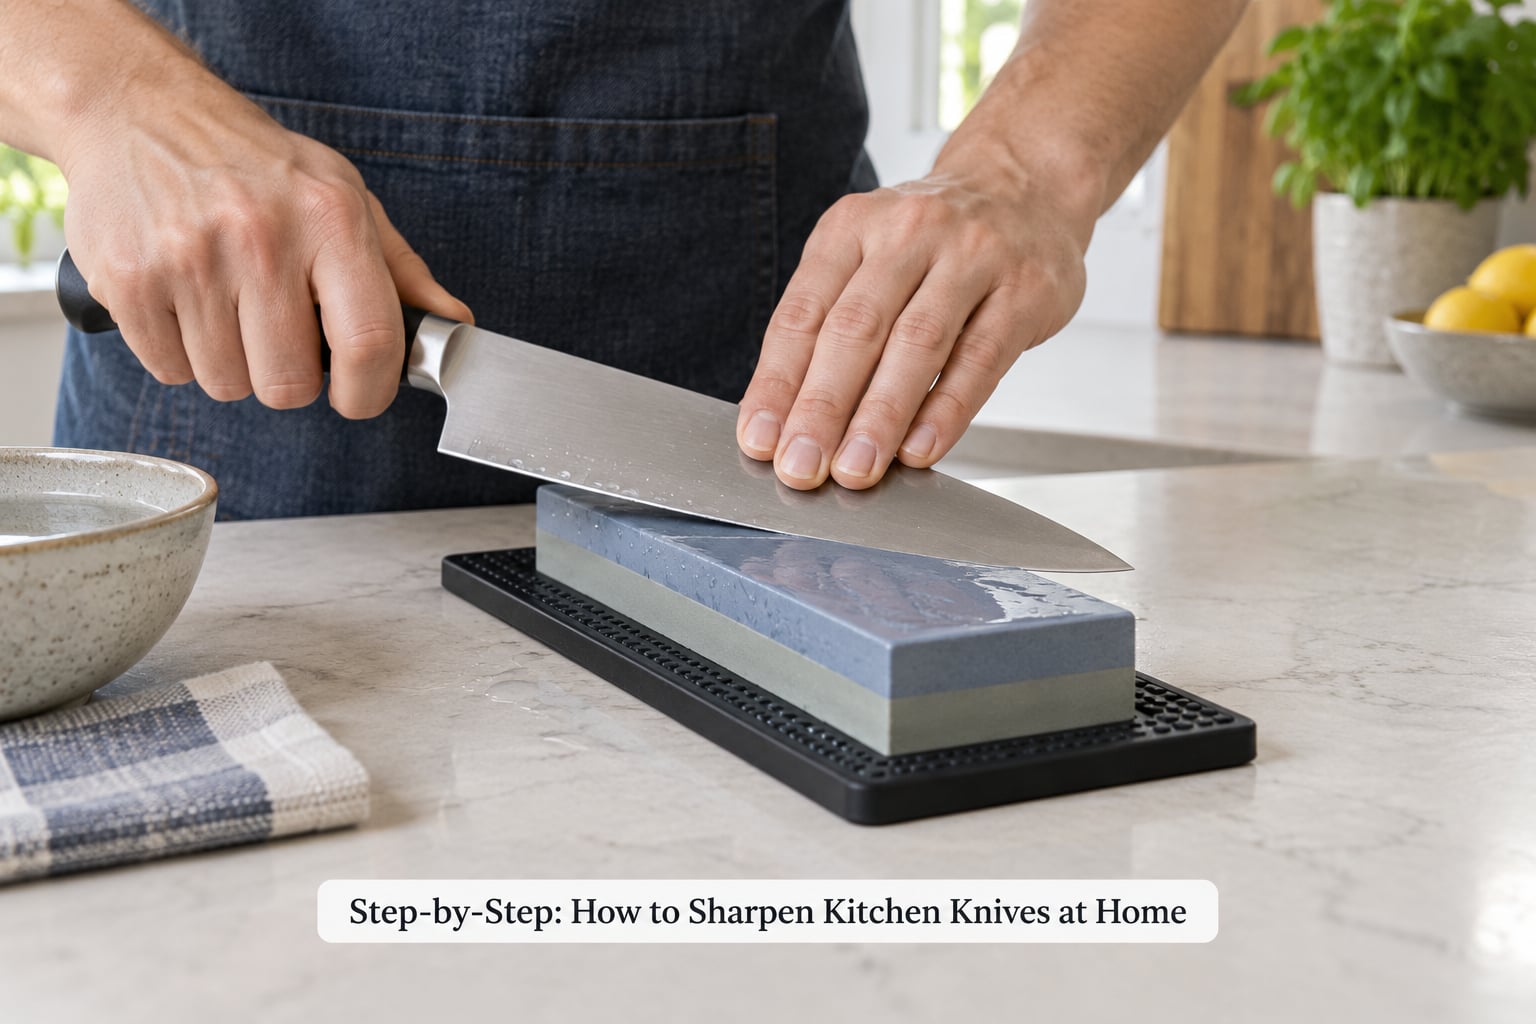
Work at a comfortable height where your forearm can rest on the counter. Most beginner problems come from hunching over the knife, so set the angle up before you pick up the blade.
Wash the knife and dry it before it touches any abrasive. A hidden grit of steel or a chip of food can nick the stone and leave scratches on the edge.
How to Sharpen a Knife With a Whetstone for Deeper Sharpening
- Prep the stone. Water stones soak for 10 to 20 minutes until bubbles stop rising. Oil stones just need a few drops spread across the surface. Set the stone on a non-slip mat, or on a damp folded towel, and press down to make sure it does not move.
- Find the angle. Aim for 15 to 20 degrees per side. Hold the knife upright, then tilt it down to a 45 degree angle, then halve that again to roughly 22 degrees. If that feels fiddly, lay two coins on their edges on the stone and rest the blade spine against them. Your hand learns the angle faster than your eye does.
- Sharpen the first side. Rest two fingers flat on the blade near the spine for control and light downward pressure. Draw the blade from heel to tip in 10 to 25 strokes, keeping the same angle the whole way. Stop and run a fingertip very lightly from the spine toward the edge. A rough, scratchy ridge is a burr, and that means the stone has done its work on this side.
- Flip and repeat. Turn the knife over and use the same number of strokes on the other side at the same angle. Equal stroke counts on both sides are what keep a knife cutting straight instead of veering.
- Refine and remove the burr. Move to the fine side of the stone, or a 1000 to 6000 grit stone, with much lighter pressure. This knocks the burr off and polishes the apex. A knife can feel sharper after step four but cut poorly until the burr is gone, so do not skip this.
- Clean and store. Rinse the blade, dry it fully, and put it away in a block, on a magnetic strip, or in the drawer with a guard. Never leave a wet knife in a wooden block or a sheath.
Repeat the stroke count a few times, not just once. A knife that has been cutting drywall screws for six months takes several rounds before a burr shows up at all.
Use a Honing Rod or Manual Sharpener for Routine Care
A honing rod straightens an edge that has rolled sideways from cutting. It does not remove metal, which is exactly why it is the safe tool to use before every meal.
- Stand the rod upright and anchor the base on your cutting board, tip pointing away from you. Or brace the handle against your hip if you are at a counter.
- Hold the knife at roughly 20 degrees to the rod.
- Use light pressure and 3 to 5 strokes per side, alternating, from heel to tip. Steel rods want a slightly heavier hand. Ceramic and diamond rods want almost none.
- Finish with a couple of gentle downward strokes with the blade angled very slightly toward the tip, which smooths any last wire edge.
Keep your guiding hand on the spine and away from the path of the blade. The single most common accident in home sharpening is a knife skipping off the rod and landing on the fingers holding it. Six strokes with correct angle beats twenty with force.
A honing rod fixes an edge that has bent. It cannot fix an edge that is genuinely dull, chipped, or rolling behind a full bolster, and it will not rescue a knife that has not been sharpened in years. Those need a stone.
Electric and pull-through sharpeners do remove metal, quickly and more evenly than most beginners can by hand. The tradeoff is that they set their own angle, they cannot reach the heel on a knife with a full bolster, and they take off a lot of steel fast. For a quality knife you care about, a stone is the gentler path.
Check the Edge and Test the Result
Four checks, from fastest to most honest.
- Look down the blade. Hold it perpendicular to your eyes with light behind the edge. A straight edge shows no bright glints or dark dips. A rolled edge scatters light and looks fuzzy.
- Feel for the burr, carefully. After each side, stroke a fingertip lightly from the spine toward the edge. A burr is a rough hook of metal that forms on the opposite side once the stone has reached full depth. Never push a fingernail toward the edge to test.
- Slice paper. Hold a sheet of printer paper by one corner and draw the knife down through it with a normal cutting grip. It should go through cleanly with no tearing or sawing.
- Cut a tomato. A ripe tomato skin is the honest test. If the knife skids or crushes the flesh, it is not sharp yet.
Then do a real cutting test: slice a piece of onion or a stalk of celery and look at the slices. Thin, even, translucent slices with no bruising mean the edge is doing its job.
Afterwards, stropping on a strip of leather loaded with compound is a bonus, not a requirement. It polishes the apex and buys you a little more time between stone sessions.
Common Mistakes
Pressing too hard. Pressure does not sharpen, it grinds. It removes steel fast, generates heat, and leaves a scratchy edge instead of a clean one. Light, consistent pressure is the whole technique. If you can see a groove worn into the stone, you have been leaning on it.
Guessing the angle. Rocking the blade up and down as you stroke grinds a rounded edge rather than a straight one. The two-coin or 90-45-22.5 trick exists because a feel you cannot repeat is a feel you will lose.
Stopping before the burr forms. If you switch sides too early, you have only polished a partial bevel and the edge will feel fine for a day, then dull fast.
Leaving the burr on. A burr feels like it is sharp but tears food and rolls over in your hand. If the knife slices paper but shreds a tomato, the burr is still there.
Thinking the rod is the sharpener. A rod maintains an edge. It cannot restore one that has already gone. This is the most common misunderstanding in the whole topic, and it is why people hone a dull knife every night and wonder why nothing changes.
Sharpening toward your fingers. With a rod, stroke down and away from the hand holding it. With a stone, keep the blade in front of your knuckles the entire stroke.
Soaking an oil stone. Water ruins most resin-bonded stones and leaves them unusable. If in doubt, one drop of light mineral oil, spread, and wiped clean after.
Attempting a serrated bread knife on a stone. The scallops have to be reshaped one at a time and flattened individually, which takes a sharpener with the right hardware. Serrated knives are a genuine dead end for home stone work. Send them out.
And sometimes sharpening is the wrong answer altogether. If the tip is bent, the spine is chipped, or the blade flexes when you push the spine against a fingertip, the knife needs repair or replacing, not more stone.
Frequently Asked Questions
How often should I sharpen kitchen knives at home?
Hone before you cook if you want, since it removes no steel. Sharpen on a stone every few months for a knife you use daily, or twice a year for occasional use. Judge by feel instead of the calendar: when a paper slice starts to tear or a tomato skin crushes instead of parting, it is time for the stone.
Can I sharpen a serrated kitchen knife with a whetstone?
Not realistically. Each scallop has to be reshaped and flattened separately while the valley between teeth stays untouched, and a plain stone will round the tips off before you finish. A serrated knife that has lost its bite is a job for a specialist with the right sharpening jig. Keep it out of the dishwasher instead.
What angle should I use when sharpening a kitchen knife?
Fifteen to 20 degrees per side for most home knives. Under about 15 degrees gives an extremely sharp edge that chips easily, while over 20 gives a tougher edge that dulls faster. Get a repeatable angle by halving twice from upright to 45 degrees, or rest the spine against two coins stacked on their edges.
Is a honing rod the same as sharpening a knife?
No, and this is where most confusion starts. Honing straightens an edge that has bent sideways and removes no metal. Sharpening grinds away steel to form a new edge, and only a stone, a diamond plate or a powered sharpener does that. The two work together: hone often, sharpen occasionally.
What grit whetstone should a beginner use?
A dual-grit stone with 400 to 600 on one side and about 1000 on the other handles nearly every home kitchen knife. Start on the coarse side to set the bevel, then finish on the fine side to remove the burr. A 1000 and 6000 combo is plenty if you already own a coarse stone. Keep it simple until the angle feels automatic.
When is professional knife sharpening worth it?
When the blade is badly damaged rather than merely dull, when it has a full bolster the rod cannot reach past, when it is a single-bevel Japanese knife, or when a bent tip or chipped spine needs grinding back to shape. Most home kitchens handle routine sharpening themselves, but a specialist job goes years without needing to be repeated.
Conclusion
Start with the gentlest thing that will work. Rinse the knife, dry it, and straighten the edge with a few light strokes on a honing rod. Test with a paper slice and a tomato skin. If it bites cleanly, stop there and put the knife back in the block.
If it does not, work the stone slowly. Soak it, set the angle once and hold it, use even light pressure, and wait for a burr on each side before you flip. Finish on the fine grit, clean the blade, test again, and store it dry.
That is the whole routine, and it is the 2026 answer to how to sharpen kitchen knives at home. Ten minutes, two tools, no metal lost more than it needs to be.