To learn how to grow sweet potatoes at home, you start from slips — green shoots sprouted from a sweet potato — plant them in soil that has reached 65F after your last spring frost, then let the vines grow for 85 to 120 days before you dig, cure and store the tubers. Most first-time growers can handle the whole cycle in an afternoon of setup plus a season of light watering.
The crop is less fussy than its reputation suggests, but it punishes two things: cold soil and rich, wet ground. Get those right and a single sweet potato from the kitchen can feed a household.
Sweet potato (Ipomoea batatas) is a storage root, not a seed. That single fact drives everything else in this guide, including why you cannot bury a cut piece and expect potatoes the way you can with a russet.
Table of Contents
- What You Need
- Preparing Sweet Potato Slips or Seed Tubers
- Choosing a Planting Site and Soil
- Planting Sweet Potatoes
- Caring for the Vines
- Preventing Common Pests and Diseases
- Harvesting Sweet Potatoes
- Curing and Storing the Crop
- Step-by-Step
- 1. Start slips 6 to 8 weeks before your last frost
- 2. Root the slips
- 3. Prepare the bed or bucket while you wait
- 4. Plant when the soil hits 65F
- 5. Water evenly and weed by hand
- 6. Dig when the vines die back
- 7. Cure 10 to 14 days, then store cool
- Common Mistakes
- Frequently Asked Questions
- Can I grow a sweet potato from a supermarket sweet potato?
- How long does it take to grow sweet potatoes?
- Can I root sweet potato vines from cuttings?
- How much space does one sweet potato plant need?
- What should I not plant near sweet potatoes?
- Start With Warm Soil and Healthy Slips
What You Need
You need very little: healthy planting material, loose well-drained soil, consistent water, and a way to keep the roots cool and dry after harvest. Everything below is optional except the first two.
Preparing Sweet Potato Slips or Seed Tubers
Slips are the answer to whether you can use a supermarket sweet potato — usually yes, with one caveat about sprout inhibitors. Buy a firm, healthy tuber with no soft spots, ideally organic or from a local grower, since grocery potatoes are sometimes treated with a compound that suppresses sprouting.
The toothpick method is the one people trust most: stick three or four toothpicks into a whole sweet potato, suspend it in a jar so the bottom third sits in water, and set the jar in a warm spot at 70 to 80F. Shoots appear in a few weeks and reach 6 inches in 3 to 8 weeks total.
You can also bury the tuber in a box of damp sand or in warm soil in a pot. Same result, less evaporation, and it suits anyone who would rather not babysit a water jar.
You can cut slips from a sprouted sweet potato and the tuber will keep making more. Snip a shoot at its base where it joins the tuber, root it separately, and leave the mother potato in the jar to produce a second wave. Once a slip is rooted and planted, it is on its own.
What does not work is burying a whole tuber in the garden bed and expecting one clean crop. It will grow, but the roots spread along every buried stem node and you end up pulling tiny tubers from places you never planted.
Choosing a Planting Site and Soil
Choose a spot with 6 to 8 hours of direct sun, shelter from strong afternoon heat if you can manage it, and soil that drains freely after a hard rain. Sweet potatoes have shallow feeder roots and absolutely no tolerance for standing water.
Raised beds and loose sandy loam are the easiest option. Heavy red clay — common across the Appalachians — should be opened up with compost and, where the clay is really tight, a handful of coarse material worked through the top 12 inches. Skip the fertilizer high in nitrogen; it buys you vine and no tuber.
For containers, use a 5 gallon bucket as the floor of your thinking. Anything smaller starves the roots. Drill several drainage holes in the base, fill with a quality potting mix amended with compost, and plan on roughly three plants per bucket.
Above ground, space plants 12 to 18 inches apart in the row and leave 3 to 4 feet between rows so you can walk in and weed without snapping vines.
Planting Sweet Potatoes
Plant when your soil is at 65F or warmer, which usually lands 2 to 3 weeks after the last spring frost. A soil thermometer in the morning is more reliable than the calendar; a stretch of warm days will not warm heavy ground.
Dig a hole 4 inches deep, lay the slip in at an angle, and bury the bottom two or three leaf nodes. Those buried nodes are where the storage roots form. Backfill gently and press the soil down around the crown without compacting it.
Water the row right after planting so the soil settles around the roots, then keep it evenly moist until the plants are established. Nothing stresses new slips faster than a dry root ball followed by a flood.
Caring for the Vines
Watering is the whole care routine once the plants are rooted. Give them about an inch a week during the first two months, then ease off — sweet potatoes are drought tolerant once established, and a late-season dry spell is actually what concentrates sugars in the root.
Weed by hand, early and often, while the plants are small. Once the vines run, they shade out most competitors on their own, and pulling big weeds at that point costs you roots. Do not hoe deeply; the feeder roots sit right under the surface.
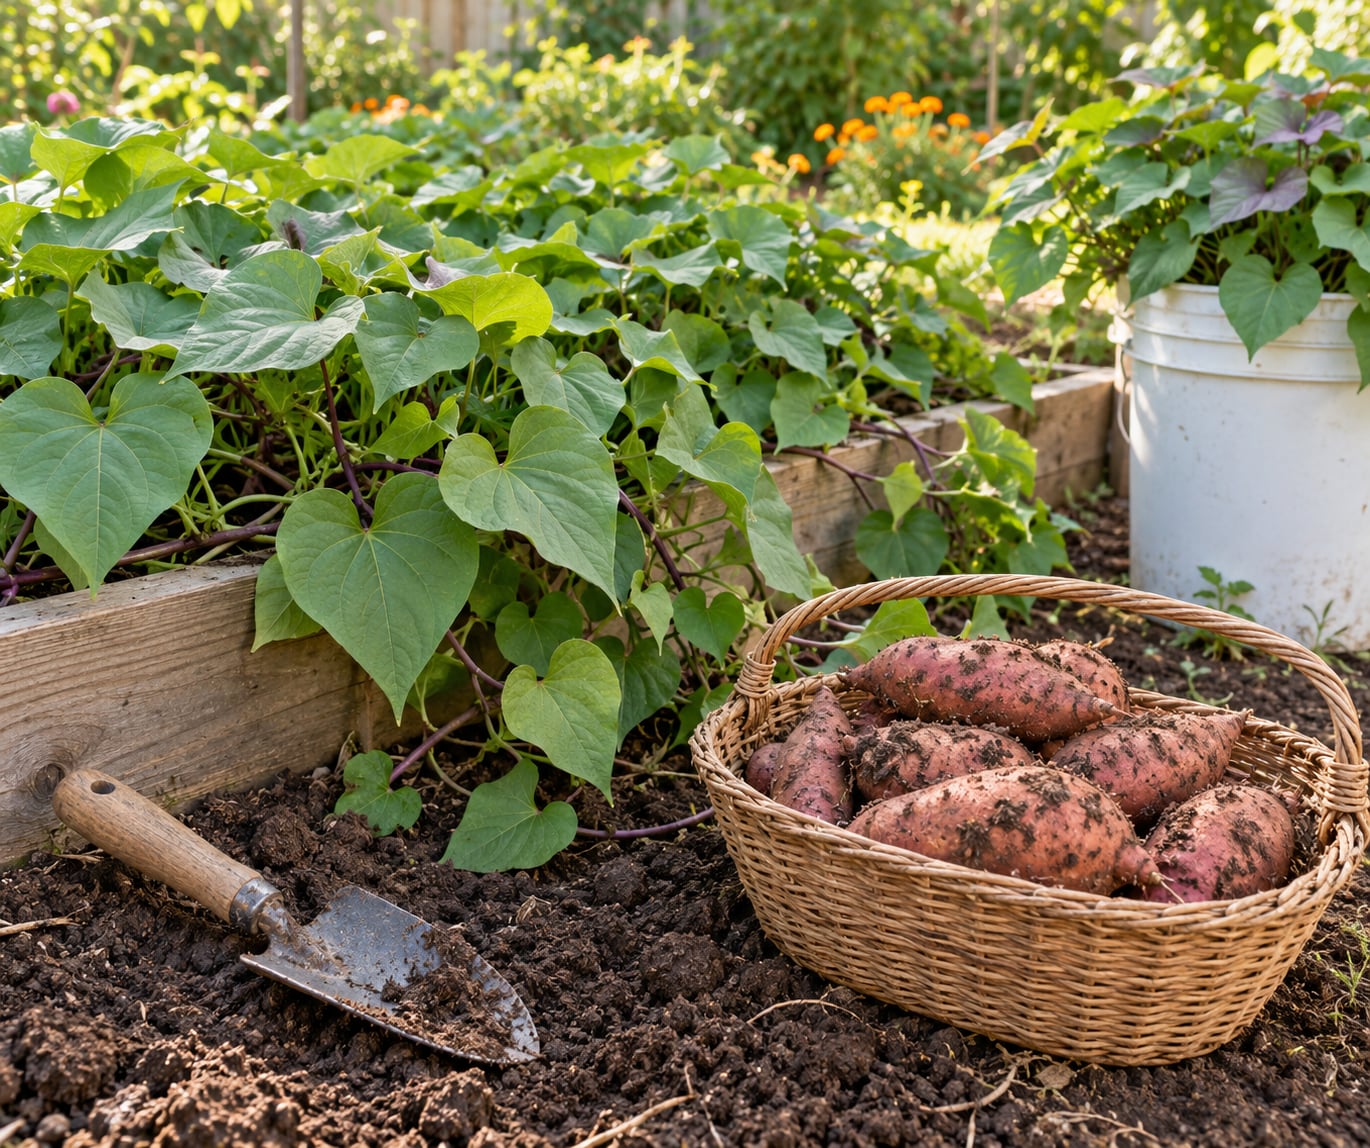
Let the vines grow. Trailing types spread 6 to 10 feet and that sprawl is normal, not a problem. If you must cut them for appearance, keep it light; heavy late-season pruning can stall tuber development.
Apply mulch once the soil has warmed, leaving a little breathing room around each crown. It holds moisture and keeps the soil temperature steady through the hottest weeks.
Preventing Common Pests and Diseases
Sweet potatoes are tough, and the cheapest pest control is inspection twice a week in July and August. Look at the leaf undersides for aphids, cut away vines chewed by garden beetles, and check tuber shoulders in heavy soil for wireworm damage.
Rotate your planting spot every year or two. That single habit prevents most of the fungal and nematode problems that build up in a fixed sweet potato bed, where the same soil grows the same crop year after year.
Deer will take the tops off young plants overnight. Wire mesh at 24 inches is the only reliable fix; repellents mostly buy you a day.
Harvesting Sweet Potatoes
Harvest when the vines yellow and die back, or when the days to maturity for your variety runs out, whichever comes first. Most varieties need 85 to 120 days. In zones 9 and 10, or anywhere with a long hot season, growers commonly report needing five months rather than three or four.
Dig well away from the plant — 18 inches out or more — and then move in toward the crown with your hands. Every stab with a shovel damages a tuber, and damaged roots cure poorly and rot in storage.
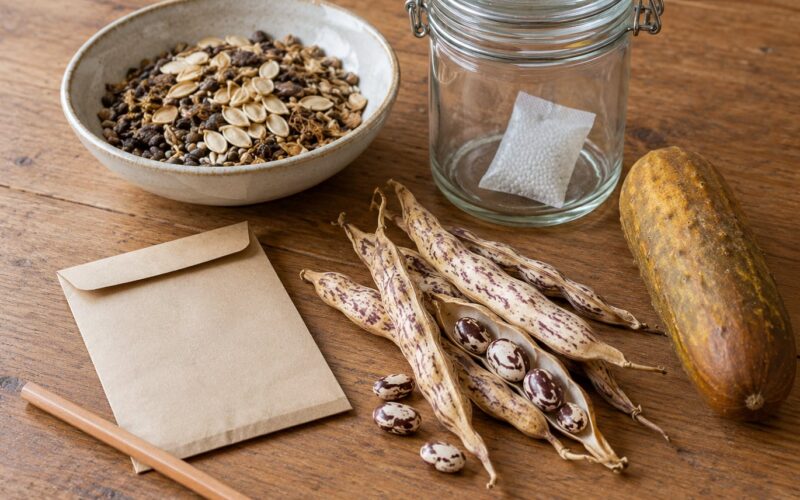
Expect a mixed haul. Alongside a few large sweet potatoes you will find a layer of runts, small and oddly shaped. That is normal. The big ones are for the table; the small ones are for next year’s seed.
Curing and Storing the Crop
Curing is what converts starch to sugar and thickens the skin, and it is the step most first-time growers skip. Do not eat them straight out of the ground expecting the sweetness you know from the store.
Hold the unwashed tubers at 75 to 80F with good air movement for 10 to 14 days. A warm attic, a heated garage, or a room with a dehumidifier all work. Below 55F the skin never sets properly, and above 85F you invite rot and sprouting.
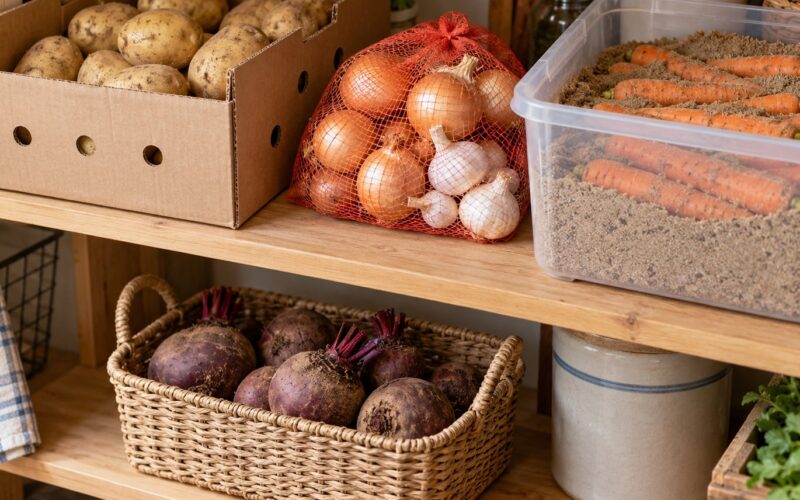
Store cured potatoes in a cool, dark place at 55 to 60F, not in the refrigerator, where the starch converts to sugar and the quality falls off. Check the pile monthly and pull anything that feels soft or smells off.
Step-by-Step
Here is the whole cycle in order, with the signal that tells you each step actually worked.
1. Start slips 6 to 8 weeks before your last frost
Suspend a healthy sweet potato in water at 70 to 80F or bury it in damp sand in a warm box. You know it worked when green shoots reach 6 inches with a few leaves and a stem you can hold without the whole thing falling apart.
2. Root the slips
Snip each slip at its base and stand it in a shallow cup of water, leaves above the rim, for 5 to 10 days. Roots a couple of inches long mean the slip is ready to transplant, and a slip that rotted at the base goes in the compost, not the bed.
3. Prepare the bed or bucket while you wait
Work compost into the top 12 inches, check drainage by pouring a bucket of water in a hole and seeing how fast it drains, and set out your spacing: 12 to 18 inches in the row, 3 to 4 feet between rows.
4. Plant when the soil hits 65F
Bury the bottom two or three leaf nodes, water the row, and wait. A properly planted slip stands upright within a week and puts out new leaves within two.
5. Water evenly and weed by hand
About an inch a week for the first two months, then less. Signs of trouble show up in the leaves: yellowing means wet roots or nitrogen shortage, wilting in afternoon heat means the shallow roots need water, tiny curled leaves point to aphids.
6. Dig when the vines die back
You know it is time when the tops yellow and the days-to-maturity window closes. Dig from the outside in, use your hands near the crown, and accept that the first pass turns up more runts than sweet potatoes.
7. Cure 10 to 14 days, then store cool
Cure at 75 to 80F, then move to 55 to 60F storage. It worked when the skin feels set and slightly rubbery and a cut sample tastes sweet rather than starchy.
Common Mistakes
Most failed sweet potato crops come down to timing, water, or expectations. Each one below has a fix you can apply in the same season.
Planting too early. Planting on the calendar instead of on soil temperature is the number one mistake. A slip in 50F soil sits for weeks and may never take. Wait for 65F.
Heavy, wet soil. Sweet potato has no tolerance for waterlogged ground. In clay, use a raised row or a mound 8 inches high rather than fighting the soil with fertilizer.
Overwatering. Constantly moist soil starves the roots of air and dilutes the sugars. Water deeply and less often, and cut back as the season moves toward harvest.
Cutting roots while digging. A spade goes through tubers you cannot see. Approach the crown with your hands and accept a slower dig.
Overcrowding. Vining varieties spaced 6 inches apart starve each other. Give each plant its 12 to 18 inches, or choose a bush type such as Purple Strain for a tight bed or container.
Forgetting to cure. This one does not cost you the crop, it costs you the flavor. Ten to 14 days at 75 to 80F turns starch into sweetness and sets the skin.
Letting every node root. Vines that root along their length set small tubers in the wrong place. Lift a wandering vine or trim the nodes that have taken, and keep the row weeded so you know what is there.
Two seasonal notes that smooth the whole process. Start slipping eight weeks before your last frost so the plants go in already rooted, and count back 120 days from your first autumn frost — if that date has already passed, grow slips as an ornamental vine and enjoy the leaves in a salad instead.
Frequently Asked Questions
Can I grow a sweet potato from a supermarket sweet potato?
Usually yes. Choose a firm tuber with no soft spots and suspend it in water at 70 to 80F until it sends up 6 inch shoots. The one catch is that some grocery potatoes are treated with a sprout inhibitor, which is why organically grown or locally sourced sweet potatoes sprout more reliably. If yours never sprouts after six weeks, buy a fresh tuber and try again.
How long does it take to grow sweet potatoes?
Most varieties need 85 to 120 days between planting and harvest, or about three to four months. Add 3 to 8 weeks ahead of that to produce slips, and 10 to 14 days of curing after digging. In zones 9 and 10, or any long hot season, budget closer to five months because growth slows in extreme heat.
Can I root sweet potato vines from cuttings?
You can, but it is not the same crop. A cutting taken from vine tips roots in water within about a week and grows as an ornamental vine, and it may set small tubers if the nodes are buried. To get full sized sweet potatoes, plant a slip instead: a cutting has less energy behind it and rarely produces a worthwhile main crop.
How much space does one sweet potato plant need?
Leave 12 to 18 inches between plants in the row and 3 to 4 feet between rows so you can walk in and weed. Vining varieties spread 6 to 10 feet along the ground, so give them a dedicated patch. In containers, a 5 gallon bucket with drainage holes handles about three plants of a bush type variety.
What should I not plant near sweet potatoes?
Keep other nightshades such as tomatoes, peppers and eggplants away from the bed, and avoid planting a second season of sweet potatoes in the same soil. Sweet potatoes also compete poorly with dense plantings like sweet corn, squash and pumpkins that shade the ground. Leave the row sunny and give it a year or two before rotating back to it.
Start With Warm Soil and Healthy Slips
Your first move is small: pick a sunny, well-drained spot or a 5 gallon bucket with holes in the bottom, and set a healthy sweet potato in water or warm damp sand this week. Slips take 3 to 8 weeks, so starting now is what puts plants in the ground when your soil hits 65F rather than a month after it should have been.
Everything after that is waiting and watering. Updated for 2026.