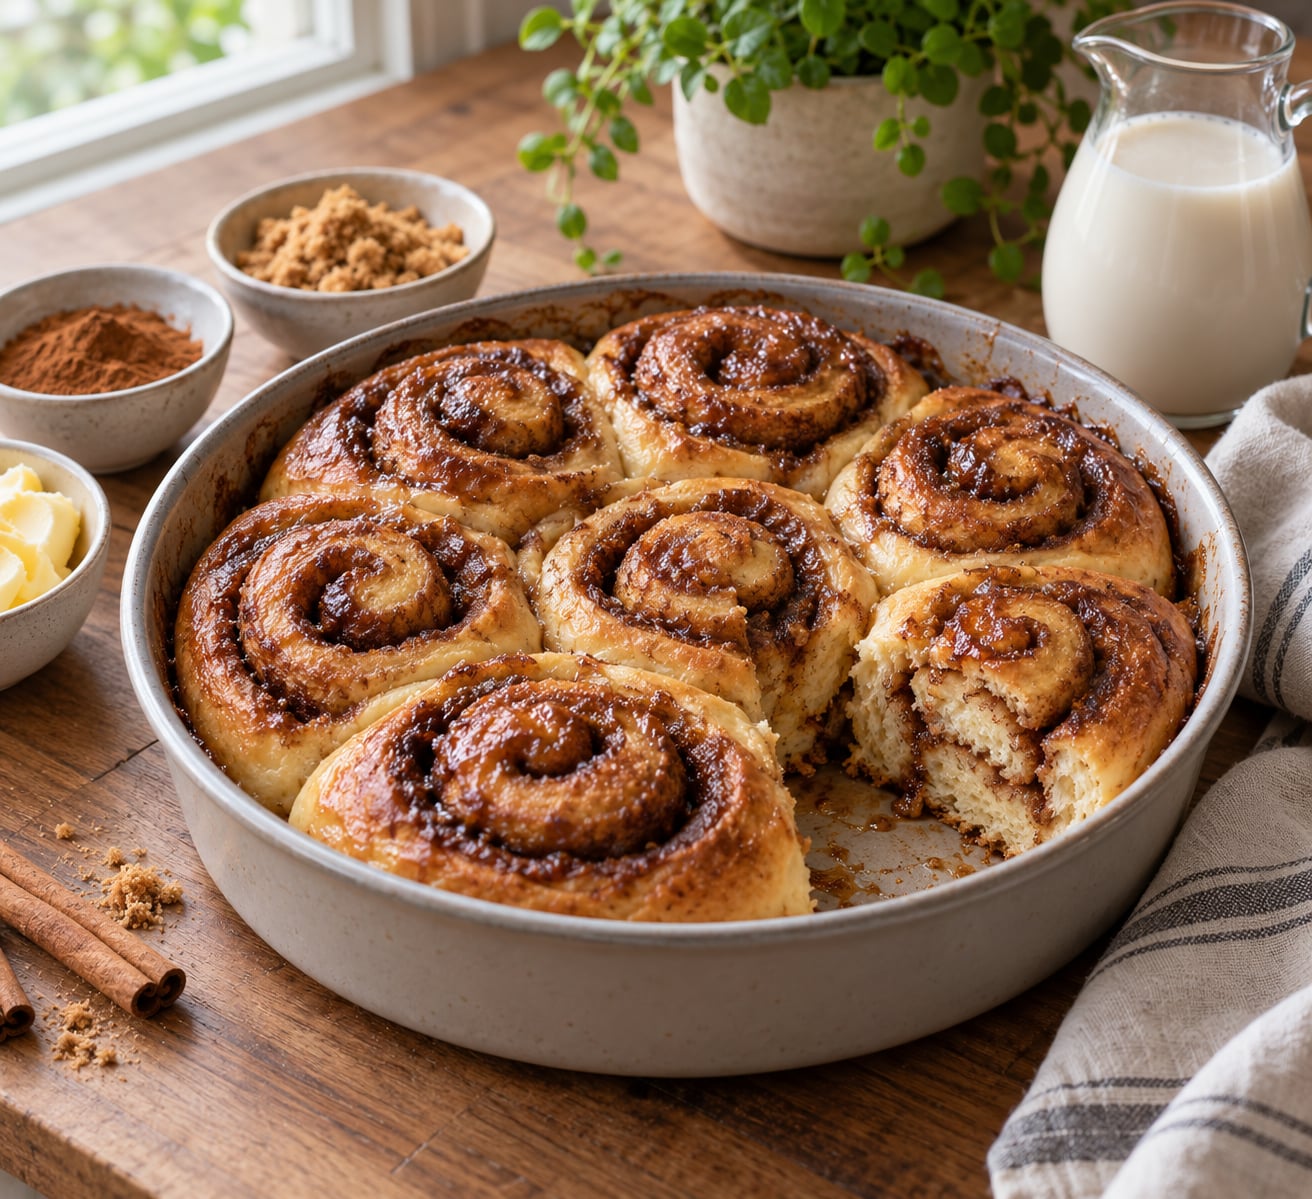
Cinnamon rolls are built from four dairy ingredients: the milk in the dough, the butter in the dough and the filling, the cream cheese frosting, and sometimes an egg. Dairy-free cinnamon rolls are made by swapping unsweetened plant milk for the milk, vegan butter, coconut oil, or olive oil for the butter, dairy-free cream cheese or a simple glaze for the frosting, and a flax egg or unsweetened applesauce for any egg. The yeast does all the structural work, so the four swaps leave you with the same soft swirl. Budget about three hours from start to the first cut, and most of that is waiting.
The one thing that trips people up is heat. Yeast goes dormant and then dies above roughly 120F, and dairy-free dough has less fat to cushion it, so a too-hot bowl of plant milk gives you a dense brick instead of a rise. Keep a thermometer in the milk, not the guess. Everything else about this method is forgiving, and the filling can be mixed while the dough proves.
This is how to make cinnamon rolls dairy free from scratch, with the visual cues you need at each stage, plus the swaps for nut-free, soy-free, and gluten-free kitchens.
Table of Contents
- What You Need to Make Dairy-Free Cinnamon Rolls
- Dough
- Filling
- Glaze (pick one)
- Equipment
- The swaps at a glance
- Step-by-Step
- Activate the Yeast and Make the Dough
- Mix the Cinnamon Filling and Prepare the Pan
- Make Dairy-Free Cinnamon Rolls
- Bake, Glaze, and Cool the Rolls
- Common Mistakes and How to Fix Them
- Frequently Asked Questions
- Can I make dairy-free cinnamon rolls without yeast?
- How far ahead can I make dairy-free cinnamon rolls?
- Can I use coconut oil instead of vegan butter?
- Can this cinnamon roll recipe be made gluten-free?
- Conclusion
What You Need to Make Dairy-Free Cinnamon Rolls
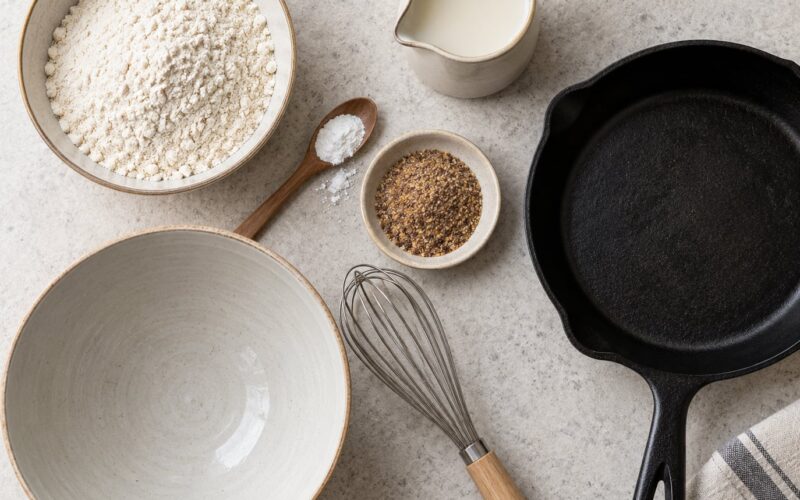
You need four short ingredient groups and about half an hour of mixing. Nothing in the list is unusual, and each dairy item has a direct stand-in you can buy in the same aisle as your flour.
Dough
- 3 1/2 to 4 cups (440 to 500 g) all-purpose flour or bread flour
- 2 1/4 teaspoons (7 g) instant yeast, or active dry yeast
- 1/4 cup (50 g) granulated sugar
- 1 teaspoon fine salt
- 1 cup (240 ml) unsweetened plant milk, warmed to 110-120F (43-49C)
- 5 tablespoons (70 g) vegan butter, softened, or 1/4 cup (55 ml) melted coconut oil or olive oil
- 1 flax egg or 1/4 cup unsweetened applesauce (optional)
Filling
- 3/4 cup (165 g) packed dark brown sugar
- 2 tablespoons (10 g) ground cinnamon, plus 1/2 teaspoon if you like it louder
- 3 tablespoons (42 g) vegan butter or coconut oil, softened
- 1/2 teaspoon vanilla extract and a small pinch of salt
Glaze (pick one)
- Cream cheese style: 4 oz (115 g) vegan cream cheese, 1 cup (120 g) powdered sugar, 1 teaspoon vanilla, 2 to 4 tablespoons plant milk
- Maple style: 1 cup (120 g) powdered sugar, 1/3 cup (80 ml) maple syrup, 1 teaspoon vanilla, a splash of water
- Apple butter style: 1/2 cup (120 g) apple butter thinned with 1 to 2 tablespoons plant milk
Equipment
A 9×13-inch (23×33 cm) metal pan, or two 8-inch round pans. Parchment paper, a rolling pin, an instant-read thermometer, and unflavored dental floss for cutting, which gives a far cleaner slice than a serrated knife. A stand mixer with a dough hook saves about five minutes but is not required.
The swaps at a glance
| Instead of | Use | What changes |
|---|---|---|
| Whole milk | Unsweetened oat, flax, or soy milk | Nothing worth noticing. Oat milk browns best and does not curdle. |
| Almond milk | Oat milk or unsweetened soy milk | Almond milk works but leaves a faint almond note and a slightly tighter crumb. |
| Butter in the dough | Vegan butter sticks | Closest match. Plant butters vary, so check the label for water. |
| Butter in the filling | Coconut oil or vegan butter | Coconut oil melts fast, so spread it on soft dough. |
| Olive oil in the dough | Extra virgin olive oil, 1/4 cup | Tender and fragrant; less rich than butter but very workable. |
| Egg | 1 flax egg (1 tbsp ground flaxseed plus 3 tbsp water) | Adds speckle and a little density. Applesauce adds moisture instead. |
| Cream cheese frosting | Vegan cream cheese, plus cornstarch if loose | Plant versions are softer, so chill it and stir in 1 teaspoon cornstarch. |
| Sweetened condensed milk | Coconut condensed milk | Direct swap for a poured glaze. |
One clarification worth making: dairy-free, lactose-free, and vegan are three different labels. Dairy-free means no cow’s milk. Vegan also rules out honey, so swap any honey glaze for maple or agave. If you are baking for a nut allergy, choose oat, flax, or soy milk and a vegan butter that is not nut-based, and skip almond or cashew cream cheese.
Step-by-Step
Activate the Yeast and Make the Dough
Warm 1 cup of plant milk to 110-120F (43-49C). It should feel like a warm bath, not hot enough to blink at. Pour it into a bowl, stir in the sugar, then sprinkle the yeast over the top and let it sit for 5 minutes. A creamy foam means the yeast is alive. If nothing happens, your milk was too hot and you should start over with fresh yeast.
Add about 3 cups of the flour and mix with a sturdy spoon until no dry pockets remain, then knead on a lightly floured surface for 8 to 10 minutes. The dough should feel smooth, slightly tacky, and elastic, and a small ball should stretch into a thin windowpane without tearing. If it clings to your hands, add flour a tablespoon at a time; if it tears as you knead, add a tablespoon of warm water.
Beat the vegan butter or melted oil into the dough until it disappears, then add the salt and any flax egg or applesauce. Knead 3 more minutes. Put the dough in an oiled bowl, cover it, and leave it in a warm spot for 60 to 90 minutes, until it has roughly doubled and a finger pressed halfway in leaves a dent that springs back slowly.
Mix the Cinnamon Filling and Prepare the Pan
Stir the brown sugar, cinnamon, vanilla, and salt together first, then work in the softened fat until you have a soft, spreadable paste. Mixing the sugar into the fat before adding the cinnamon keeps both from separating, and it will not feel gritty. If the paste is stiff, microwave the fat for five seconds at a time until it moves like shortening.
Grease the pan and line the bottom with parchment, letting it climb the corners. That sheet is the insurance policy: filling that leaks during the second rise welds itself to bare metal and tears the roll apart when you try to lift it out. Give the parchment a light spray of cooking oil too.
Make Dairy-Free Cinnamon Rolls
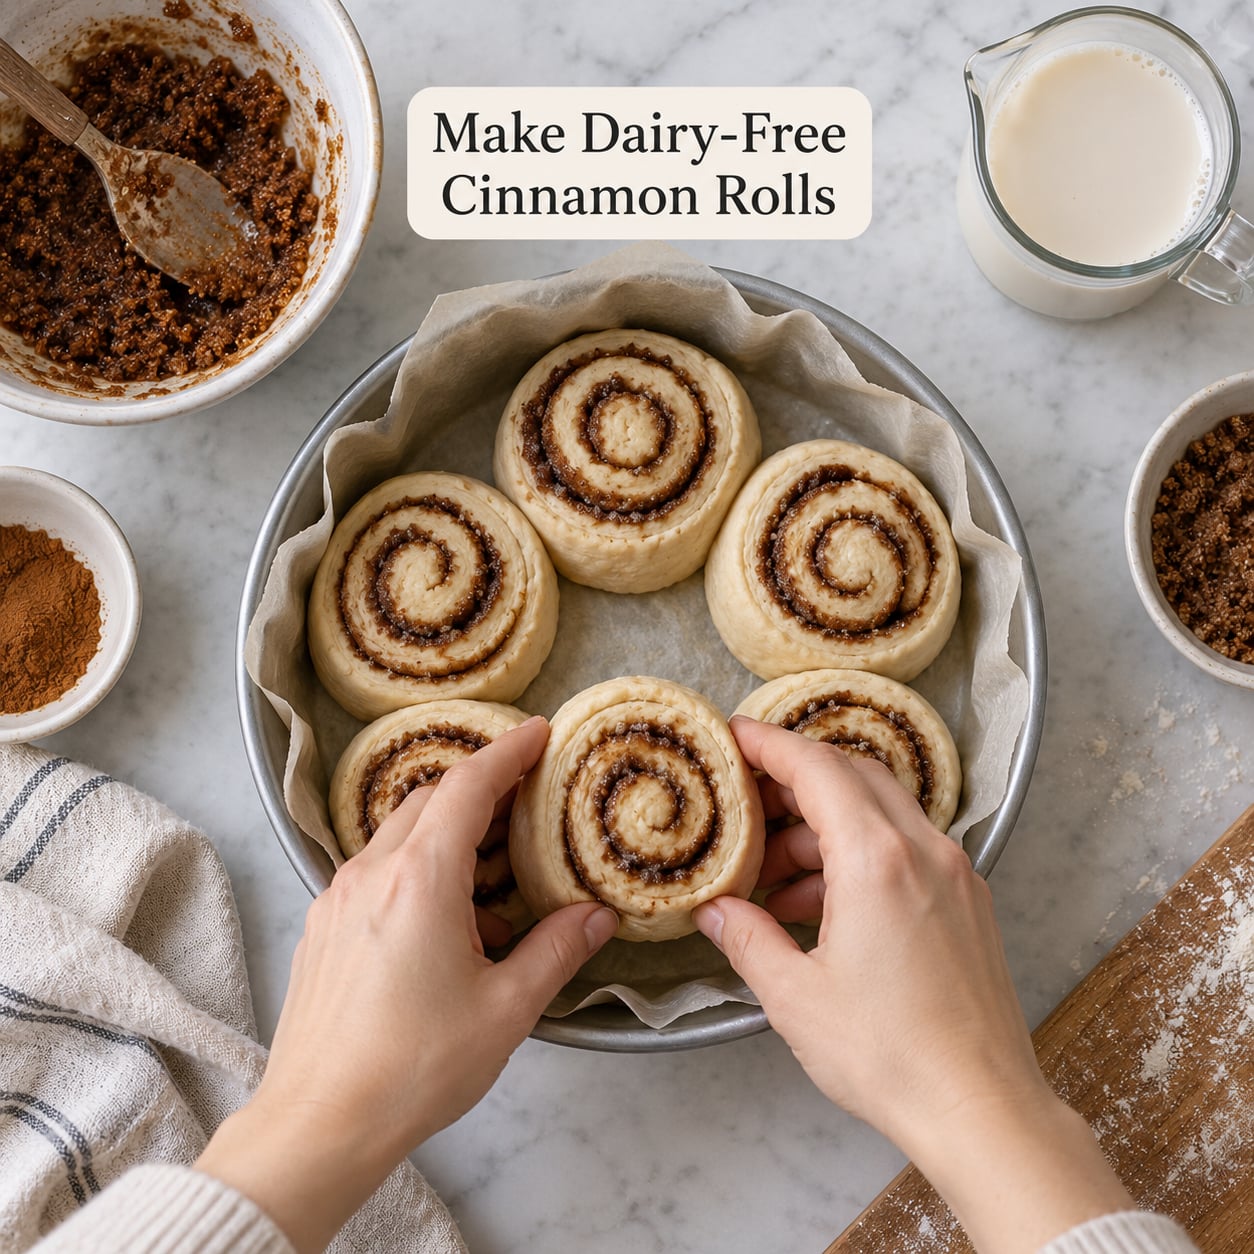
Punch the dough down, then let it rest 10 to 15 minutes so the gluten relaxes and the roll does not spring back on you. Roll it into a 12 by 18-inch (30×45 cm) rectangle with the long edge facing you.
Spread the filling edge to edge, leaving a 1-inch (2.5 cm) strip bare along one short end. That bare strip becomes the seam, and leaving it clean is what stops the filling from shooting out the bottom of the roll.
Starting from that bare edge, roll the dough into a tight log, pinch the seam closed, and lay it seam-side down. Cut it into 8 to 10 even pieces. Unflavored dental floss is the trick: slide a 12-inch length under the log, cross the ends over the top, pull them in opposite directions, and the roll slices clean without dragging the filling out with it.
Nestle the pieces into the pan cut-side up with about 1 inch (2.5 cm) between them. Crowding forces a tall rise that collapses; leaving real space gives you taller, better-shaped rolls. Cover and let the second rise happen for 45 to 60 minutes, until the rolls look puffy and have nearly doubled.
Bake, Glaze, and Cool the Rolls
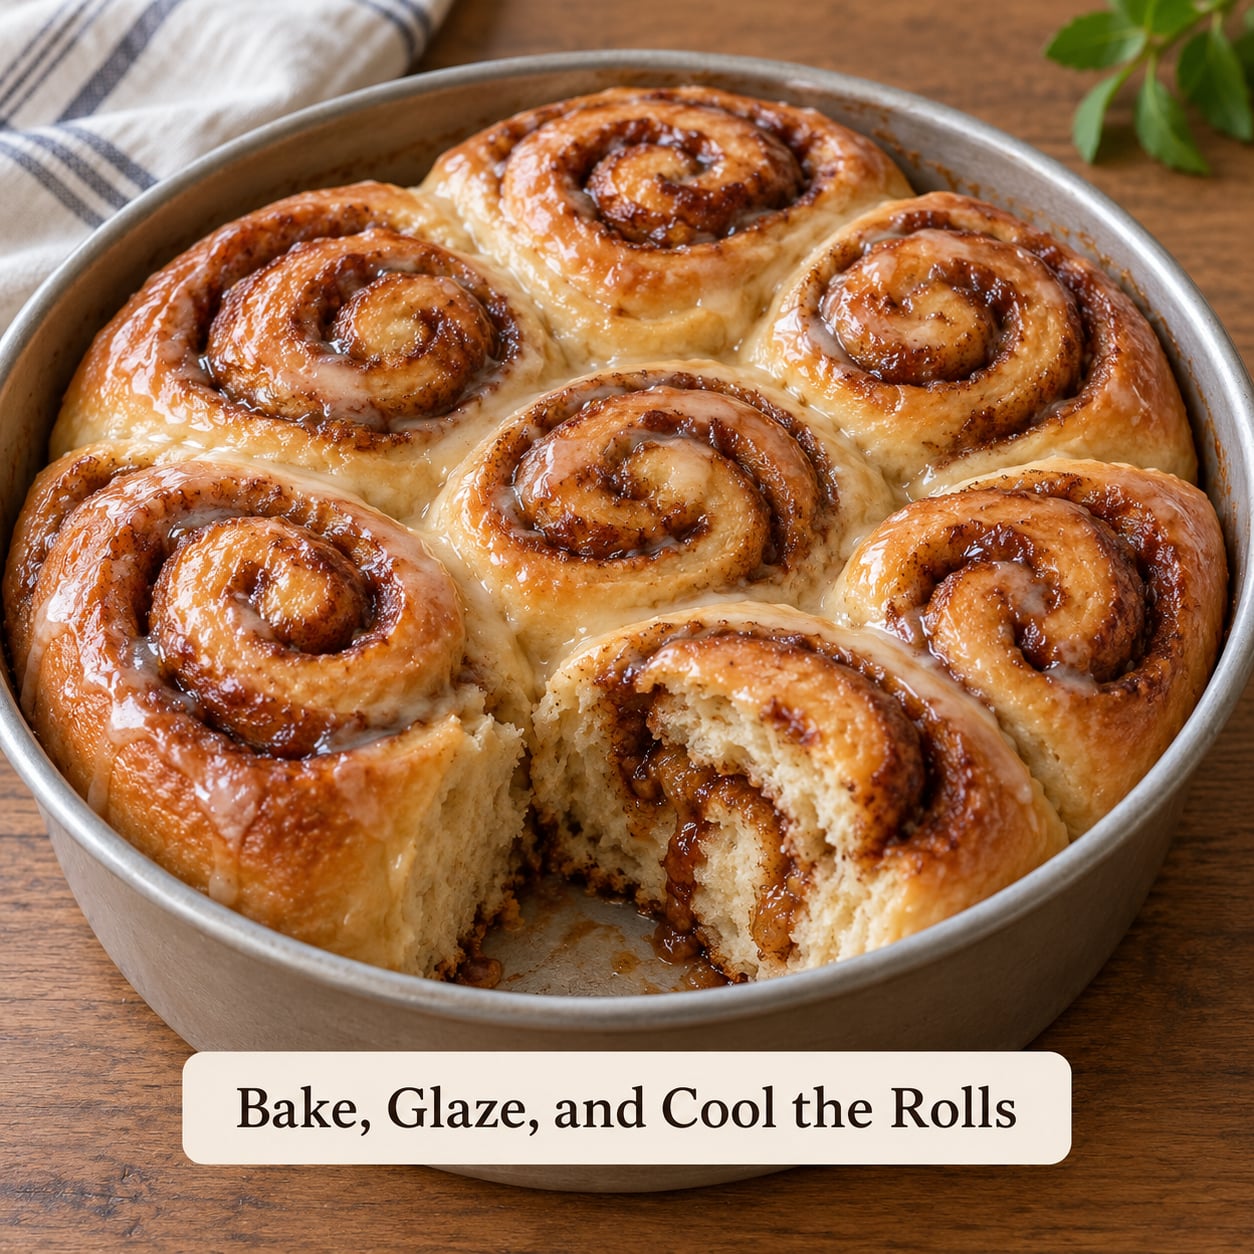
Bake at 350F (175C) for 20 to 25 minutes. The edges should be deep golden and the centers set, not pale. If you want certainty, slide an instant-read thermometer into the thickest roll and look for 190F (88C) at the center. That temperature means the starches have set and the crumb will not go gummy as it cools.
Cool the pan on a rack for 10 to 15 minutes before you glaze. Glazing a hot roll melts the glaze into a thin puddle, and cutting it straight out of the oven compresses the still-soft center into a gummy seam. Once it is warm rather than hot, spread the glaze over the top and cut with a serrated knife using a gentle sawing motion.
Common Mistakes and How to Fix Them
Almost every bad dairy-free cinnamon roll traces back to one of six things: temperature, proofing, filling, or the pan. Match the symptom, then fix the cause next time.
Dough that will not rise. The liquid was too hot, the yeast was old, or the dough was too tight. Check for a foam in the yeast after five minutes before you commit to the rise. For the next batch, keep the milk at 110-120F and add a tablespoon or two more liquid if the dough feels stiff.
Rolls that are dense or heavy in the middle. Two causes dominate: an under-proofed dough and too much whole-wheat or almond flour. Wait for the full double before shaping, not for a slight puff, and let the shaped rolls rise until they nearly double again. If you use oat milk and bread flour, you will get the lightest crumb; nut milks tighten it slightly.
Filling leaking out of the bottom. You filled to the very edge and left no clean strip for the seam, or the second rise was too warm and too long. Leave that 1-inch border, roll tightly, and keep the second rise below about 80F (27C) if your kitchen runs hot.
Filling that is bitter or too sweet. Ground cinnamon loses its sweetness after about six months, which makes the sugar taste cloying in comparison. Fresh cinnamon tastes more bitter in a small amount and sweeter in a generous one, so buy a small jar and refresh it. Dark brown sugar also pushes the filling toward bitter; light brown sugar is more forgiving.
Rolls spreading flat in the pan. The dough was under-proofed, the pan was greased but the rolls were not room temperature, or the oven was cooler than 350F. Give the shaped rolls the full second rise and check the oven temperature with an independent thermometer if the rolls bake pale.
A sticky or soggy finish. You cut them hot. Ten minutes of cooling matters more than people think. For storage, keep baked rolls airtight at room temperature for up to 2 days, refrigerate for 4 to 5 days, or freeze for up to 2 months and thaw in the pan.
For make-ahead, let the shaped rolls rise, cover the pan tightly, and refrigerate it for up to 18 hours. Take the pan straight from the fridge into a 350F oven, give it 5 extra minutes, and bake as usual. Overnight dough also has a deeper flavor, which is why many bakers prefer it.
To reheat, warm a whole roll at 350F for 8 to 10 minutes, or toast a cut side in a dry skillet for two minutes. The microwave works in 20 seconds but leaves the edges chewy, so I only use it for a fast taste test.
Frequently Asked Questions
Can I make dairy-free cinnamon rolls without yeast?
You can, but the texture changes completely. Without yeast you are making enriched muffin dough rather than a yeasted roll, and you will want about 2 teaspoons of baking powder in place of the yeast, no first rise, and a shorter bake of 18 to 22 minutes at 350F. The crumb will be more cake-like and less pull-apart, and it will not keep as long at room temperature.
How far ahead can I make dairy-free cinnamon rolls?
You can shape the rolls and refrigerate them covered for up to 18 hours before the second rise finishes, then bake straight from the fridge with 5 extra minutes added. Baked rolls keep 2 days at room temperature airtight, 4 to 5 days refrigerated, or up to 2 months frozen. Glaze only after baking, never before, or it will soak into the dough overnight.
Can I use coconut oil instead of vegan butter?
Yes, and it works well in both the dough and the filling. Use melted coconut oil in the dough at 1/4 cup for 5 tablespoons of butter, and softened coconut oil for the filling. Two notes: coconut oil browns less than butter, so pull the rolls a minute or two earlier if you want deeper color, and spread the filling onto soft dough because coconut oil sets quickly.
Can this cinnamon roll recipe be made gluten-free?
Yes, using a 1-to-1 gluten-free flour blend that already contains xanthan gum, plus an extra 1/2 teaspoon of xanthan gum if the blend is plain. Reduce the flour to 3 cups, expect a stickier dough that needs 2 tablespoons more liquid, and let the shaped rolls rise a full 60 to 90 minutes since gluten-free dough proofs more slowly. Texture will be cakier, not stretchy.
Conclusion
Mix the dough and start the first proof before you think about shaping anything. That rise is where the texture is won, and skipping it is the reason most dairy-free cinnamon rolls come out heavy. Once the dough has truly doubled, the rest is plant milk, plant butter, and a cinnamon filling you can stir together while you wait. Every one of those swaps is forgiving, so give it the full first rise and let the oven do the rest.