Slimy homemade oat milk comes down to three things: cold water, a short blend, and fast chilling. Oats are roughly 60% starch, and the moment you tear the grain open in a warm blender, that starch escapes and turns your milk into a gel. Keep the water icy, keep the blend under about 45 seconds, and strain it twice, and the starch stays trapped in the pulp where it belongs.
So if you have been wondering how to make oat milk that is not slimy, the answer is less about the oats than about temperature and time. The whole batch takes about 10 minutes and one cup of oats, which makes roughly three cups of milk. No special equipment beyond a blender and something to strain with. In the Appalachian kitchen we test recipes in, this is the version that stopped people from giving up on homemade oat milk entirely.
Table of Contents
- What You Need
- Step-by-Step
- 1. Soak the oats to soften them without turning them pasty
- 2. Blend in controlled bursts to avoid slimy oat milk
- 3. Strain the milk thoroughly
- 4. Add flavor and stabilize only as needed
- 5. Chill promptly and use it
- What to do with the pulp
- Common Mistakes: What Makes Oat Milk Slimy and How to Fix It
- Frequently Asked Questions
- Why does my homemade oat milk come out slimy?
- How can I make homemade oat milk that isn’t slimy?
- Why is store-bought oat milk smoother than homemade?
- How do I make homemade oat milk thicker and creamier?
- Can I heat homemade oat milk without it turning to pudding?
- How long does homemade oat milk keep in the fridge?
- Conclusion
What You Need
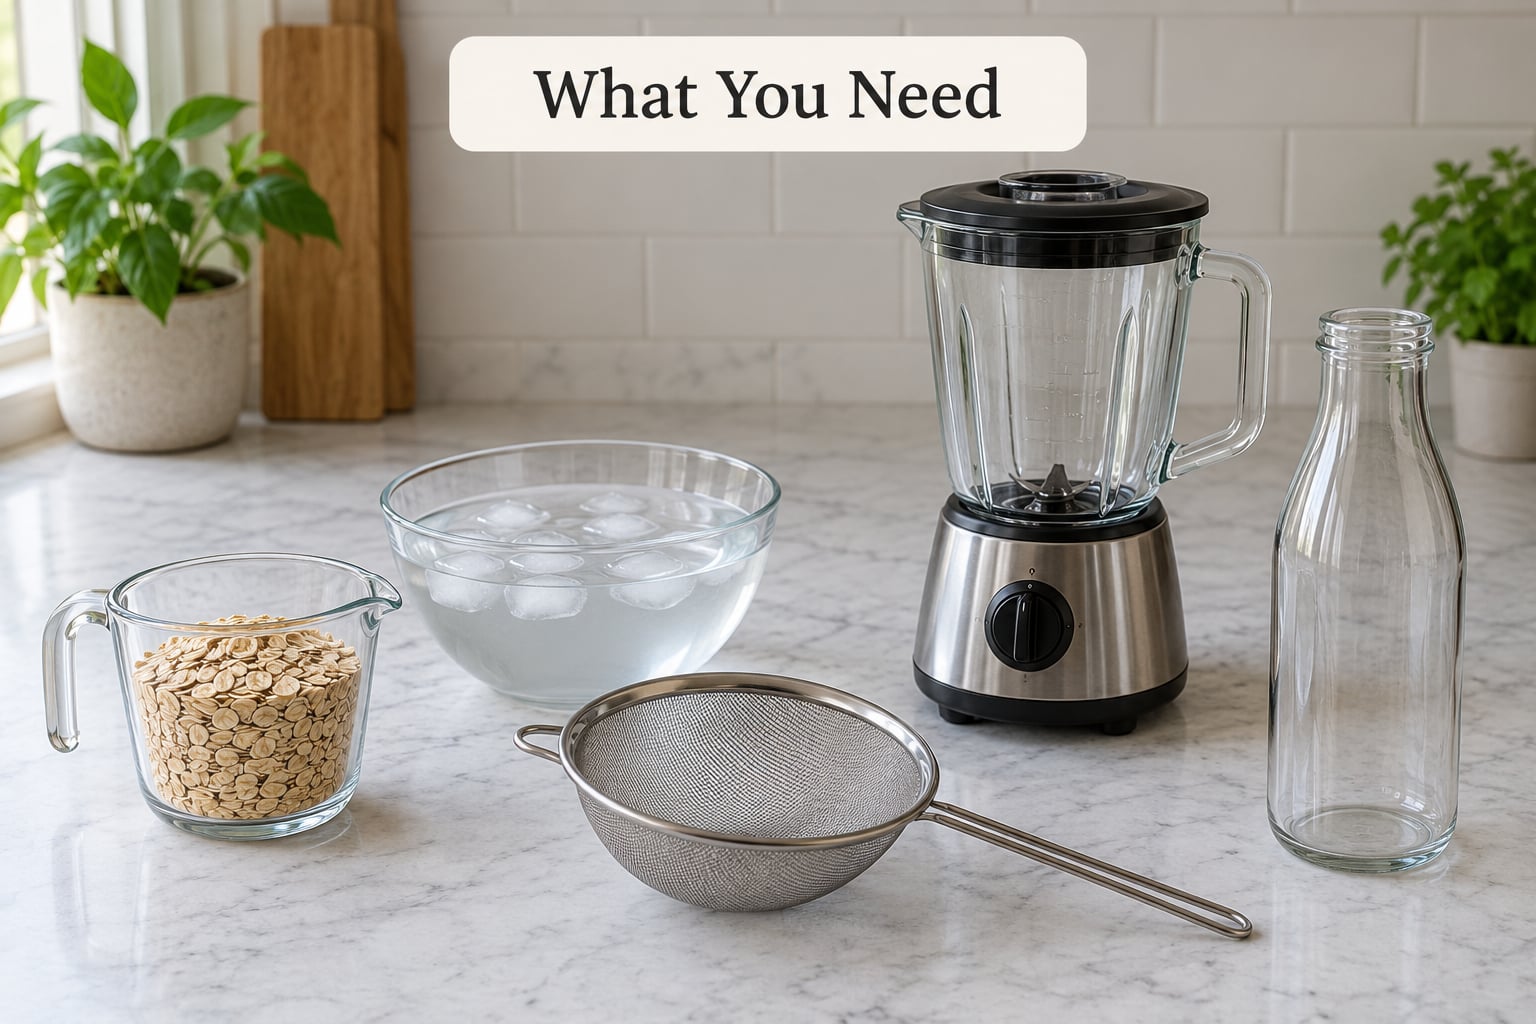
The list is short on purpose. Every extra ingredient is one more thing that can throw off the texture.
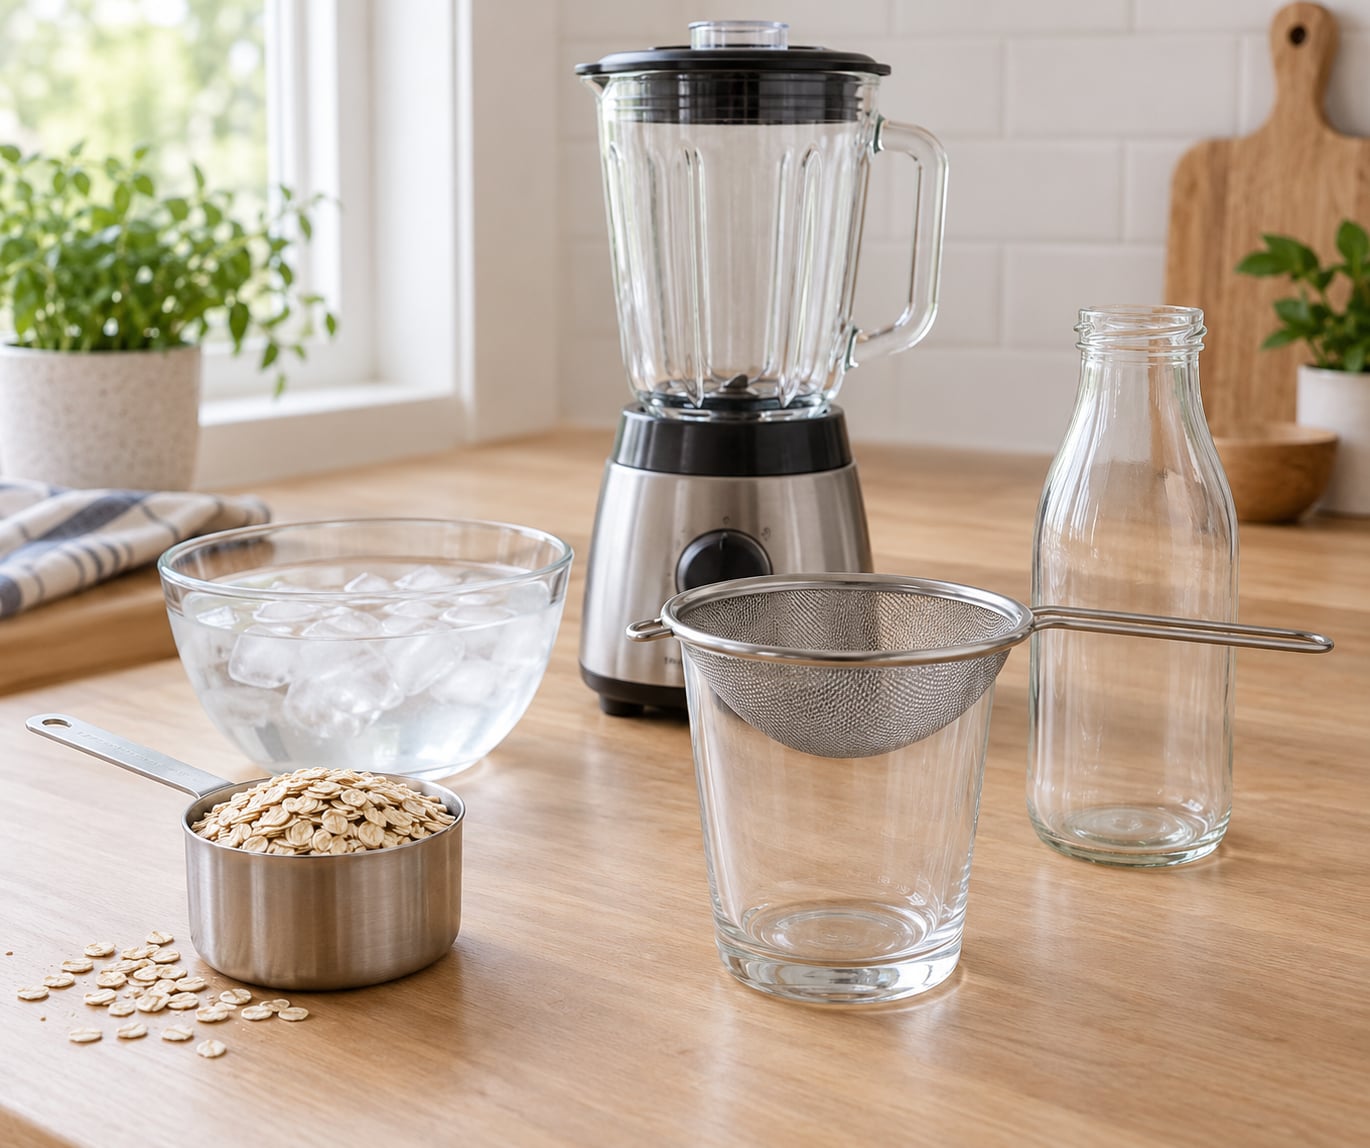
- 1 cup old-fashioned rolled oats (about 90 g). Not instant or quick oats, which are pre-cooked and break down into paste too fast.
- 1 cup ice cubes plus 3 cups cold water. The ice is not optional. It is the single most reliable fix for sliminess, because a blender jar heats up fast from friction alone.
- A blender, any wattage. A personal-size blender works better than a big jar, since smaller batches stay cold.
- A fine-mesh strainer, nut milk bag, or cheesecloth. For the cleanest result, use two: a nut milk bag for the first pass, a fine sieve for the second.
- A clean glass jar or bottle with a lid for the fridge.
Optional, added after straining: 1 teaspoon vanilla extract, 1 teaspoon maple syrup, a pinch of salt, or 1/4 teaspoon xanthan or guar gum if you want it to stay put in coffee. A refrigerated pitcher of filtered water, not tap, gives a cleaner taste.
Step-by-Step
1. Soak the oats to soften them without turning them pasty
Soak 1 cup rolled oats in the 3 cups of cold water for 20 to 30 minutes, then drain and discard that water. This softens the oat bran so the milk tastes less papery, and rinsing washes away the loose starch sitting on the outside of each grain.
How it worked: the rinsed water runs slightly cloudy, and the oats feel soft and slightly rubbery rather than hard. Skipping the soak is fine too, but the flavor gets grittier. Skipping the rinse is where a lot of the slime starts, because that surface starch goes straight into your milk.
What does not work is soaking for hours or overnight. Soaking releases mucilage, a soluble polysaccharide that thickens liquid the way flax does. Twenty minutes softens the grain; twelve hours turns it into a gel you cannot strain out. If you want to be strict about it, treat soaking as optional and just blend dry oats into the ice water.
2. Blend in controlled bursts to avoid slimy oat milk
Put the drained oats and the ice cubes in the blender first, add the 3 cups cold water on top, and blend in short bursts. Start with two or three 5-second pulses, then work up to a continuous blend and stop at 30 to 45 seconds. Stop the moment the liquid looks uniformly off-white with no visible oat flecks.
How it worked: the milk is smooth and pourable, with no foam or thick residue clinging to the sides of the jar. If you hit 45 seconds and it still looks grainy, give it two more 5-second pulses rather than one long run.
Friction heats the liquid, and heat is what gelatinizes starch, so over-blending is the second big cause of slime after warm water. If your blender runs hot enough that the jar is warm to the touch after 30 seconds, you have gone too far. Add a couple more ice cubes and blend again. Speed is not the goal here. Temperature control is.
3. Strain the milk thoroughly
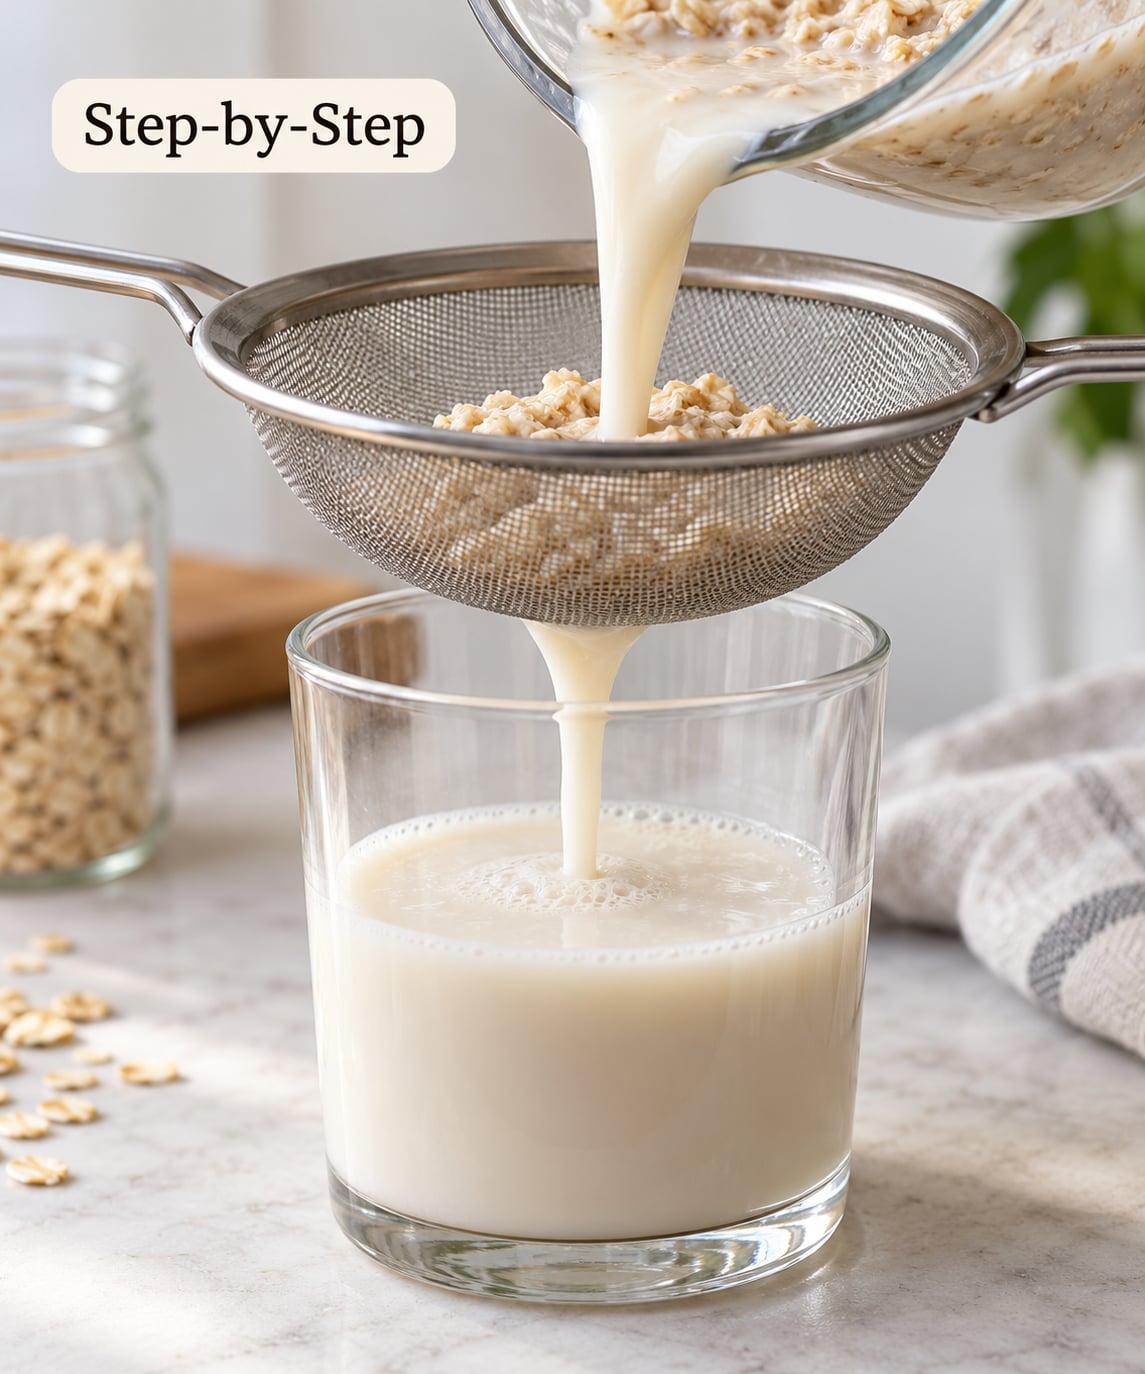
Pour the blended milk through a nut milk bag or, failing that, cheesecloth lined over a bowl. Let it drip for a few minutes, then pass the collected liquid through a fine-mesh sieve into your jar. That second pass catches fines that make the milk feel like it leaves a film in your mouth.
Press the pulp with the back of a spoon, gently, and stop as soon as it stops dripping. Squeezing hard drives starch and fine particles through the weave, which is exactly what you were trying to keep out.
How it worked: the strained milk runs like light cream, coating the back of a spoon without clinging. Pour a thin layer on a plate and tip it. If it holds its shape or leaves a gelatinous skin, it is not finished, so send it through the sieve again.
4. Add flavor and stabilize only as needed
Stir in vanilla, maple syrup, salt, or any sweetener after straining, never before, so nothing gets trapped in the pulp. A quarter teaspoon of xanthan or guar gum whisked in at this stage keeps the milk from separating in coffee, but more than that and it goes slimy again, which defeats the point.
For a richer body, add 1/4 cup raw sunflower seeds or hemp hearts to the blender with the oats. They emulsify the liquid and add fat and protein, and because there is less free starch in the jar, those batches tolerate a slightly longer blend. Expect creaminess closer to a latte than a cereal milk.
5. Chill promptly and use it
Seal the jar and put it in the fridge right away. Cooling fast sets the texture before the starch can finish swelling, and cold milk simply reads as thinner and cleaner on the tongue than warm milk from the same batch.
Store it covered in the fridge and use it within three to four days. Homemade oat milk carries no preservatives, so treat that window seriously rather than the week-long window on a carton. If it smells sour or faintly fizzy, pour it out.
What to do with the pulp
That handful of wet pulp is not waste. Stir it into banana bread or muffins in place of a third of the dry oats, mix it into oatmeal cookie dough, or spread it thin on a tray and bake it until crisp, then grind it into a rough oat flour. The same pulp works as a thickener for soup or gravy.
Common Mistakes: What Makes Oat Milk Slimy and How to Fix It
Almost every slimy batch traces back to one of these eight things, and you can usually name the culprit by looking at the finished glass.
Thick, gel-like, gummy texture. Usually warm water, over-blending, or a long soak that released starch. Swap a cup of the water for ice cubes, keep the blend under 45 seconds, and skip long soaks.
Gritty or sandy, with a film on the tongue. Oat fines made it through a coarse strainer, or the pulp got squeezed too hard. Strain through a nut milk bag, then a fine sieve, and press the pulp gently.
Watery and tastes like oat water. Too much water, or the oats drained too long after soaking. Drop to 3 cups of water per cup of oats and drain for under a minute.
Chalky or powdery aftertaste. Not enough straining, or too much bran in the batch. Double-strain, and use certified gluten-free oats to cut cross-contact.
Sediment in the bottom of the jar. Stored too long, or shaken while still warm. Shake it cold, refrigerate within an hour, and use it within three to four days.
Turns to pudding when heated. Starch gelatinizes near boiling, and with no fat or gum present there is nothing to slow it. Keep the heat below a boil, whisk constantly, and add a fat such as coconut oil or hemp hearts.
Will not froth for a latte. There is not enough fat or protein to trap air. Blend in hemp hearts or sunflower seeds, or use a milk-frothing pitcher instead.
Keeps separating in coffee. No emulsifier or stabilizer in the batch. Add 1/4 teaspoon of xanthan or guar gum after straining, and no more than that.
Two situations deserve a note. If you have no blender, a food processor works in short 20-second pulses, and an immersion blender in a tall jar gets close to the same result, since both keep the volume small enough to stay cool. And if you like the idea of using an enzyme, a capsule containing amylase, which is the starch-digesting enzyme, breaks starch down to sugar and gives the least slimy milk of all. Treat it as a trade: less body, more sweetness, so cut your added sweetener to about half.
Heating deserves its own warning. Oat milk has no protein to set and no fat to buffer, so it can thicken into a loose gel in a pan or a kettle. Warm it over medium-low heat, keep it below a rolling boil, and whisk every thirty seconds or so. A splash of fat and a small pinch of gum make it noticeably more forgiving.
Frequently Asked Questions
Why does my homemade oat milk come out slimy?
Sliminess is starch, not a bad technique. Oats are about 60% starch, and blending ruptures the grain so that starch escapes into the water. Heat from the blender and agitation make it swell and gelatinize, which is the gel you are tasting. Cold water, a short blend, and thorough straining keep it inside the pulp.
How can I make homemade oat milk that isn’t slimy?
Use ice-cold water with ice cubes, blend in short bursts for no more than 30 to 45 seconds, and never squeeze the pulp hard. Drain and discard any soaking water after 20 to 30 minutes. Strain twice, once through a nut milk bag and once through a fine sieve, then chill the finished milk immediately.
Why is store-bought oat milk smoother than homemade?
Packaged oat milk goes through an industrial process, often with added emulsifiers and stabilizers like gellan gum, plus fortification for calcium and vitamin D. It is also homogenized and pasteurized. You can approximate the mouthfeel at home with 1/4 teaspoon of xanthan or guar gum and a handful of hemp hearts, but it will never be identical.
How do I make homemade oat milk thicker and creamier?
Three options work well. Reduce the water from 4 cups to 3 cups per cup of oats for a drinkable body. Blend in 1/4 cup hemp hearts or raw sunflower seeds for real fat and protein. Or whisk in 1/4 teaspoon of xanthan or guar gum after straining. Go easy on the gum, since too much brings the sliminess right back.
Can I heat homemade oat milk without it turning to pudding?
Yes, with care. Keep the heat below a rolling boil, use medium-low rather than high, and whisk every thirty seconds so the starch does not settle and gelatinize in one spot. Adding a small amount of fat such as coconut oil or blended hemp hearts, plus a pinch of gum, makes it far more tolerant of heat for hot chocolate or chai.
How long does homemade oat milk keep in the fridge?
Plan on three to four days, stored covered in the coldest part of the fridge. Homemade oat milk has no preservatives, so it does not keep like a carton does. If a thin layer forms at the top or the bottom smells sour or faintly fizzy when opened, pour it out rather than straining and reusing it.
Conclusion
Start with the soak and the ice. Soak 1 cup of rolled oats in cold water for 20 to 30 minutes, drain and throw that water away, then blend with ice cubes for no more than 45 seconds. Strain through a nut milk bag and a fine sieve, press the pulp gently, and get the jar into the fridge right away. Do those four things and you have oat milk that pours like milk instead of gel.