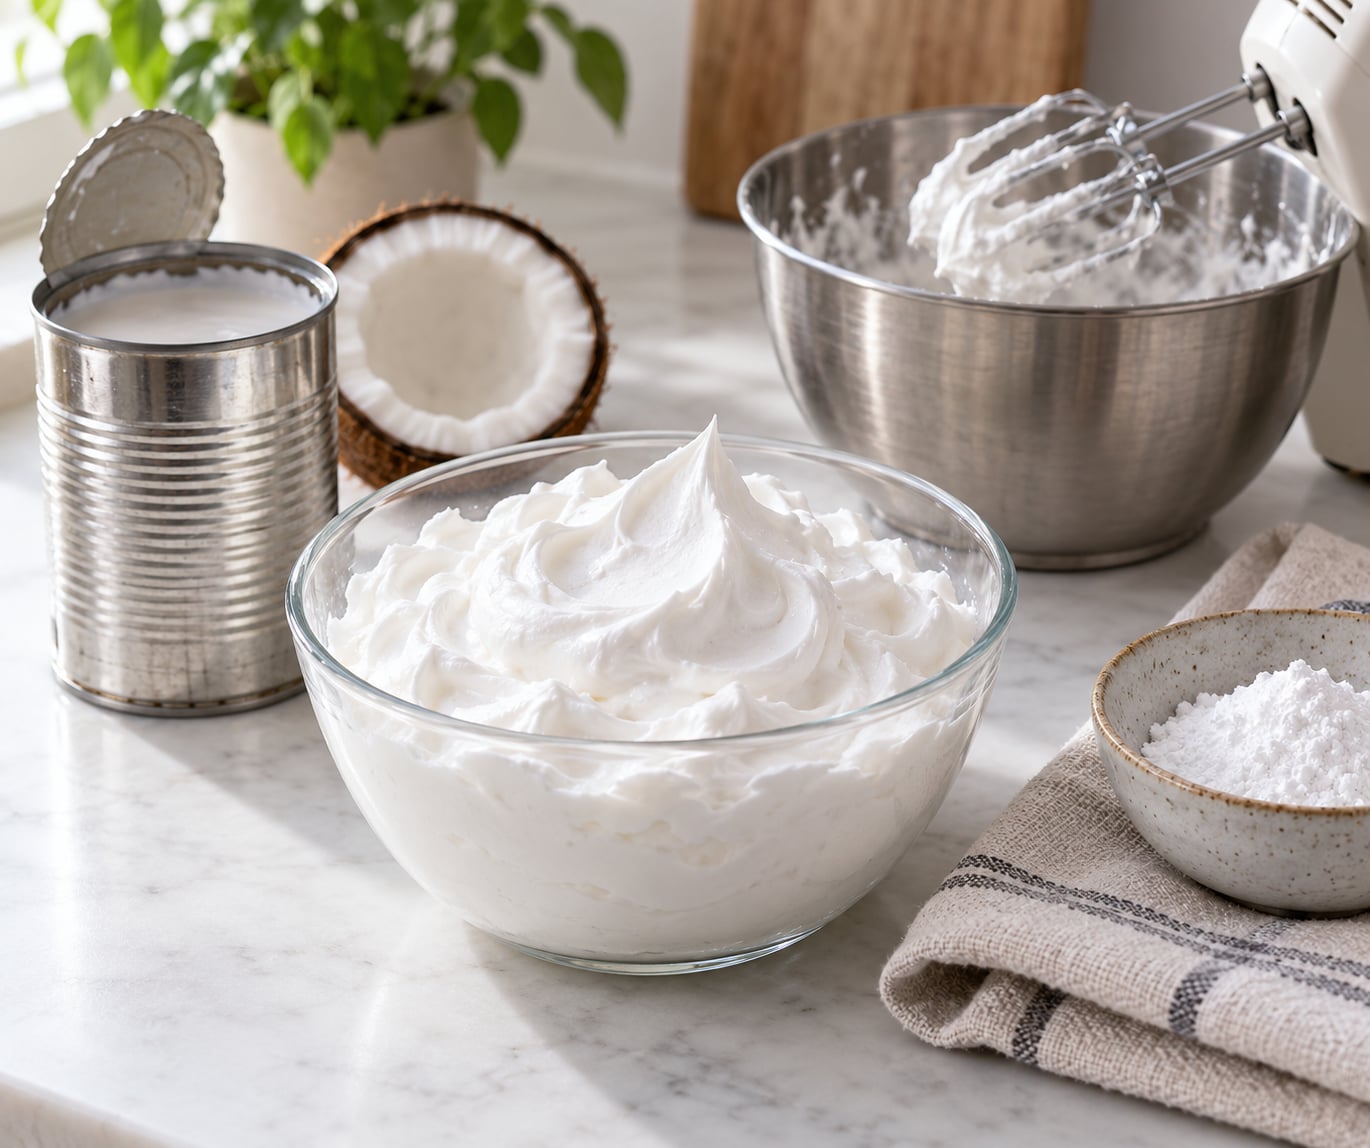
Yes, canned coconut milk whips into vegan whipped cream, and it takes about ten minutes of active work. Chill a can of full-fat coconut milk overnight so the solid cream separates from the water, scoop out only the solids, and whip them for three to five minutes until stiff peaks hold. Sweeten at the end, not the start.
The whole thing rests on three things: full-fat milk, a proper chill, and no loose liquid in the bowl. Miss any one of them and you end up with a soupy bowl that never thickens, and that is the single most common complaint I see about this recipe.
One 13.5 oz can gives you roughly 1.5 to 2 cups of whipped coconut cream. It tastes faintly of coconut, which some people love and others would rather disguise with cocoa or coffee.
Table of Contents
- What You Need
- Ingredients
- Equipment
- Coconut milk, coconut cream, or carton milk?
- Optional stabilizers for frosting and piping
- Sweetener swaps
- Step-by-Step: How to Make Vegan Whipped Cream from Coconut Milk
- Step 1: Chill the Coconut Cream
- Step 2: Scoop Out the Solid Cream
- Step 3: Whip Until Fluffy
- Step 4: Sweeten and Flavor
- Step 5: Adjust the Texture
- Common Mistakes and Tips
- Cream stays liquid and never thickens
- Cream turns grainy or curdled
- Cream splits and goes greasy
- Too loose to pipe or frost
- Turns weepy after refrigerating
- Storage and food safety
- Serving ideas beyond dessert
- Frequently Asked Questions
- Do I need coconut cream or regular canned coconut milk?
- Why is my coconut whipped cream not getting thick?
- How long does vegan whipped cream made with coconut milk last?
- Can I make vegan whipped cream without a mixer?
- How can I make coconut whipped cream hold its shape?
- What to do first
What You Need
You need very little, which is the appeal. Grab one can of coconut milk, a powdered sweetener, and something for flavor. A hand mixer gets you there fastest.
Ingredients
- 1 can (13.5 oz / 400 ml) full-fat coconut milk, chilled overnight
- 1 to 2 tablespoons powdered sugar (icing sugar), divided
- 1 teaspoon vanilla extract
- A pinch of fine salt, optional, it sharpens the sweetness
Equipment
- A hand mixer with beaters, or a stand mixer with the whisk attachment
- A metal mixing bowl that fits under your beaters
- A rubber spatula for scraping
- A fine sieve or strainer, only if you want to sift out any lumps
Coconut milk, coconut cream, or carton milk?
Use canned full-fat coconut milk, and read the label for fat content. You want 20 to 22 percent fat. Brands that list their fat percentage clearly are usually the ones that separate cleanly, since separation depends entirely on how much fat is in there to begin with.
Canned coconut cream is the same product with less water, so you can use it straight from the can with no overnight chill. It costs more and gives you slightly less volume, but it saves you a step when you are in a hurry.
Light coconut milk, fat-free coconut milk, and carton coconut milk will not whip. Their fat content is too low to trap air, and cartons are designed to stay smooth and pourable rather than separate. No amount of chilling changes that.
Optional stabilizers for frosting and piping
Plain whipped coconut cream softens and deflates faster than dairy cream, which matters if you are frosting a cake rather than spooning it onto pie. Add these if you need it to hold:
- Aquafaba, the liquid from a can of chickpeas, 1 to 2 tablespoons whipped in first. This is the strongest option for piping.
- Xanthan gum, a pinch (about 1/8 teaspoon) mixed in with the sugar.
- Agar powder, 1/2 teaspoon bloomed in the reserved coconut water, for a sliceable, hold-up texture.
- Vegan cream cheese, 2 tablespoons folded in at the end for a tangy, pipeable frosting.
Sweetener swaps
Maple syrup or agave work fine but add liquid, so add them a teaspoon at a time. For sugar-free, use a powdered monk fruit or allulose sweetener, or blend one soaked Medjool date into the solids before whipping. Rice syrup solids behave closest to powdered sugar for holding peaks.
Step-by-Step: How to Make Vegan Whipped Cream from Coconut Milk
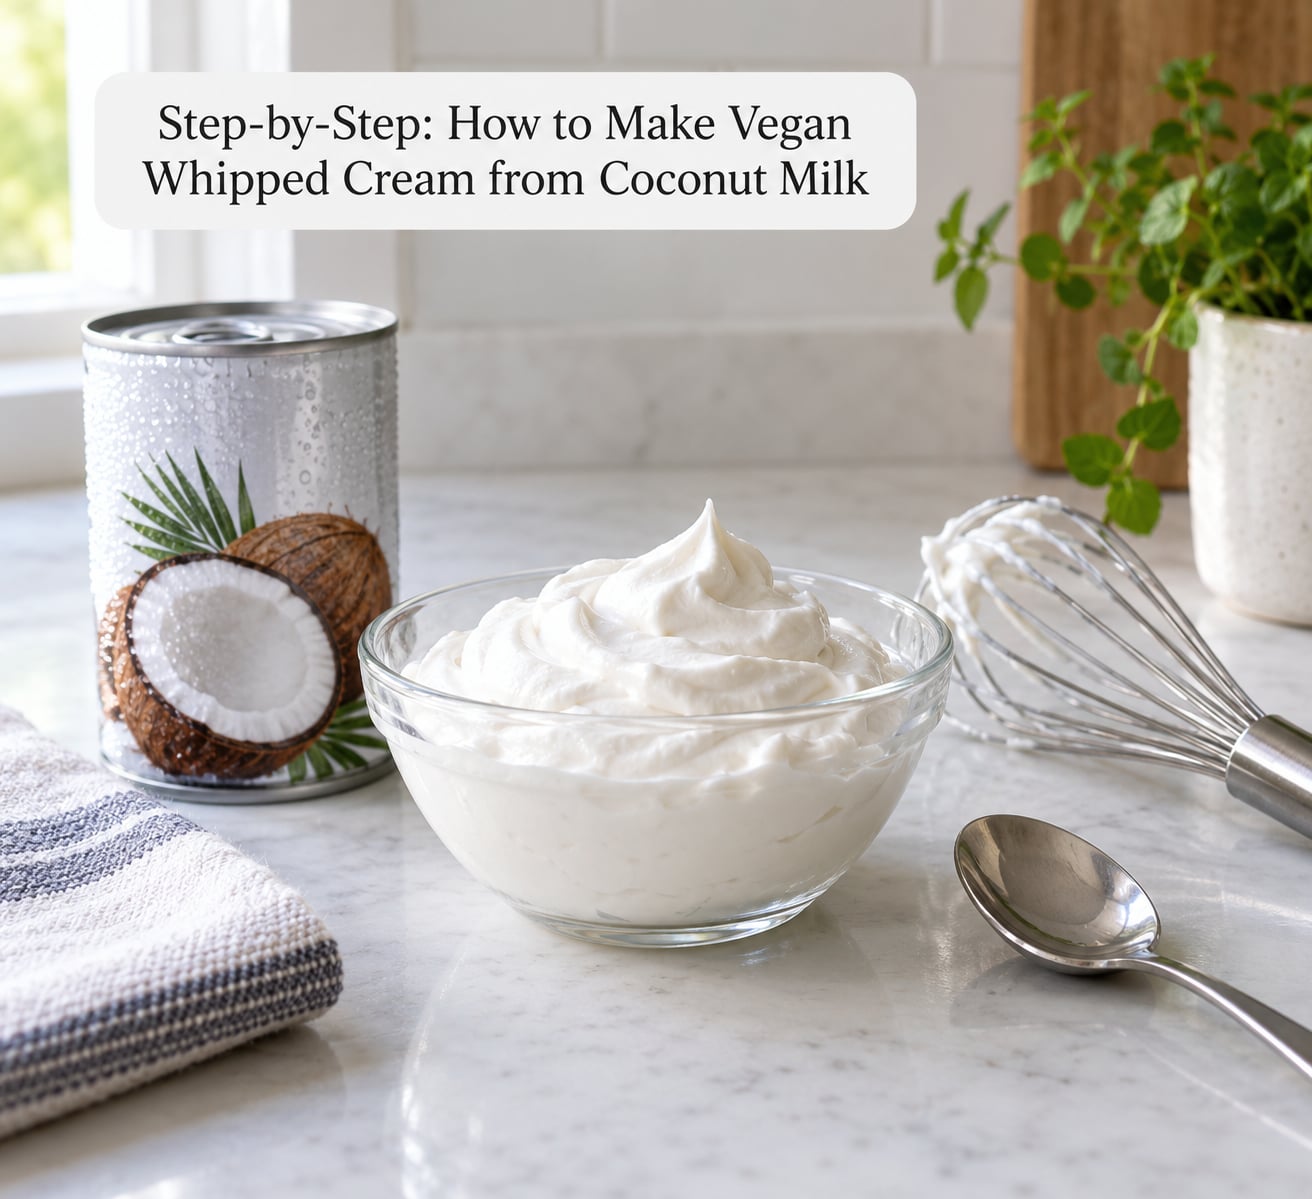
Step 1: Chill the Coconut Cream
Refrigerate the can upright for 8 to 12 hours, ideally overnight. If you have room in the freezer, chill it upside down for 2 to 3 hours, which many cooks find separates the solids more completely and packs them lower in the can.
You are looking for a firm white solid that holds its shape when you tip the can. If the fat still sloshes, give it more time. Also pop your metal bowl and the beaters into the freezer for 5 to 10 minutes while you wait.
Step 2: Scoop Out the Solid Cream
Open the can and pour off the clear coconut water into a jar or glass. Don’t tip the solids into the sieve, or you’ll lose them.
Scoop the white coconut cream from the top into your chilled bowl, leaving behind any loose, watery liquid at the bottom of the can. If you find water mixed into your solids, that batch will not thicken. Start a new can.
Step 3: Whip Until Fluffy
Start on low speed so nothing flies out, then move to medium-high. After two or three minutes the cream will look loose and slightly curdled, which is normal and still means you are on track.
Keep going until you see firm ridges, then lift the beaters. You want stiff peaks that hold their shape for a few seconds when you turn the mixer upside down. If you are learning how to make vegan whipped cream from coconut milk, this test matters more than any timer. A full can of solids usually takes three to five minutes.
A stand mixer with a whisk attachment gives you more volume with less effort, and a hand mixer takes a minute or two longer. A balloon whisk works too, just expect five to seven minutes of arm work. Do not use a wooden spoon or a hand whisk for the whole job; you will quit before the peaks come.
Step 4: Sweeten and Flavor
Add the powdered sugar in two rounds, a tablespoon first, whipping for 20 seconds before tasting. Sweetening at the end keeps the texture, while adding sugar at the start makes the solids grainy and slow.
Then add the vanilla and salt. For other directions, here are swaps I actually use:
- Cocoa: 1 tablespoon unsweetened cocoa mixed with the powdered sugar, for a chocolate frosting.
- Coffee: 1 teaspoon instant coffee dissolved in a teaspoon of hot water. This is the one people like on sweet potato casserole, the way dairy whipped cream gets spooned over it in the mountains.
- Cinnamon: 1/2 teaspoon cinnamon plus a tablespoon of brown-sugar-style sweetener for a warm apple topping.
- Almond: swap the vanilla for 1/2 teaspoon almond extract and add a pinch of salt.
- Lemon: 1 teaspoon lemon zest and a squeeze of juice, which reads bright on berry cobbler.
Step 5: Adjust the Texture
Whisk in a spoonful of the reserved coconut water to soften cream that is stiffer than you want, a teaspoon at a time. Save the rest in the fridge for smoothies, overnight oats, or bread; one can gives you a good half cup of it.
If the cream is looser than you want, chill the bowl for 15 minutes and whip again. Cold stiffens it faster than more sugar does. For frosting, fold in a stabilizer from the list above before you judge the consistency.
Common Mistakes and Tips
Almost every failed coconut whip traces back to one of four things. Find the symptom below and the fix goes with it.
Cream stays liquid and never thickens
Usually the can was light or fat-free, was not chilled long enough, or the coconut water got mixed into the solids. Chill a new can for a full 24 hours, check for 20 to 22 percent fat on the label, and scoop out only the firm white layer.
Cream turns grainy or curdled
The sugar went in too early, or the bowl and beaters were warm. Chill the bowl and beaters for 10 minutes, start sweetening only after the peaks form, and give it another 30 seconds of whipping.
Cream splits and goes greasy
That is overwhipping past stiff peaks, which breaks the fat structure. Fold in the reserved coconut water a tablespoon at a time to bring it back together.
Too loose to pipe or frost
Two causes, usually both: no stabilizer, and it sat out too long. Add aquafaba, xanthan gum, or vegan cream cheese, and frost within a couple of hours.
Turns weepy after refrigerating
It was stored sealed airtight, which traps condensation, or on its side in the fridge. Store it upright in a loosely covered container for up to 4 days.
Storage and food safety
Refrigerate whipped coconut cream in a covered container for up to 4 days, though it is usually at its best in the first two. Freeze it in a container without a lid for up to two months; it goes slightly grainy straight from the freezer but folds back to smooth after a minute on the counter.
Whipped coconut cream is a perishable dairy-free food, not a shelf-stable one. Keep it cold when serving, especially outdoors, and use common sense: if it has sat on a table in the sun for hours, toss it.
Serving ideas beyond dessert
Dollop it on apple stack cake, blackberry cobbler, or peach cobbler when the fruit is in season. Stir a spoonful into hot chocolate so it melts instead of sinking, or fold it into a breakfast bowl with berries and granola.
Some cooks use it as a fat in savory dishes, dolloping it onto black bean soup or lentil chili. Others whisk it into pasta sauce for richness without dairy.
Frequently Asked Questions
Do I need coconut cream or regular canned coconut milk?
Either works. Canned full-fat coconut milk is the standard choice: chill it overnight, pour off the water, and whip the solid layer. Canned coconut cream is the same product with less water, so you can whip it straight from the can with no chilling. Avoid light coconut milk, fat-free coconut milk, and carton coconut milk, because the fat content is too low to trap air.
Why is my coconut whipped cream not getting thick?
Almost always one of three things. The milk was not full-fat, the can was not chilled long enough for the solids to firm up, or some coconut water got mixed into the bowl. Any loose liquid prevents the fat from holding air. Chill a fresh can for a full 24 hours, use 20 to 22 percent fat milk, and scoop out only the firm white layer.
How long does vegan whipped cream made with coconut milk last?
Refrigerated in a covered container it stays usable for about 4 days, with the best texture in the first two. Frozen in an open container it keeps for up to 2 months and is slightly grainy straight from the freezer, then smooths out after a minute at room temperature. Because it is perishable, keep it chilled when serving and discard it after extended time at room temperature.
Can I make vegan whipped cream without a mixer?
Yes, but expect five to seven minutes of steady work with a balloon whisk. Speed matters more than the tool: whip briskly in small circles at the bottom of the bowl, then work up the sides as the cream thickens. A stand mixer gives you more volume with less effort, and a hand mixer falls between the two. Avoid a wooden spoon, which will not add enough air.
How can I make coconut whipped cream hold its shape?
For pie and cake work, stabilize it. Beat 1 to 2 tablespoons of aquafaba, the liquid from a can of chickpeas, into the solids before whipping for the strongest hold. A pinch of xanthan gum mixed with the sugar also works, and 2 tablespoons of vegan cream cheese folded in at the end gives a tangy, pipeable frosting. Chill the bowl for 15 minutes if it feels loose.
What to do first
Put a can of full-fat coconut milk in the fridge tonight, and make that the whole job for the day. When it is properly chilled, scoop only the solid white layer into a cold bowl and whip until the beaters lift clean stiff peaks. Sweeten at the end, adjust with a spoon of the reserved coconut water, and you have a vegan whipped cream that beats anything out of a can.