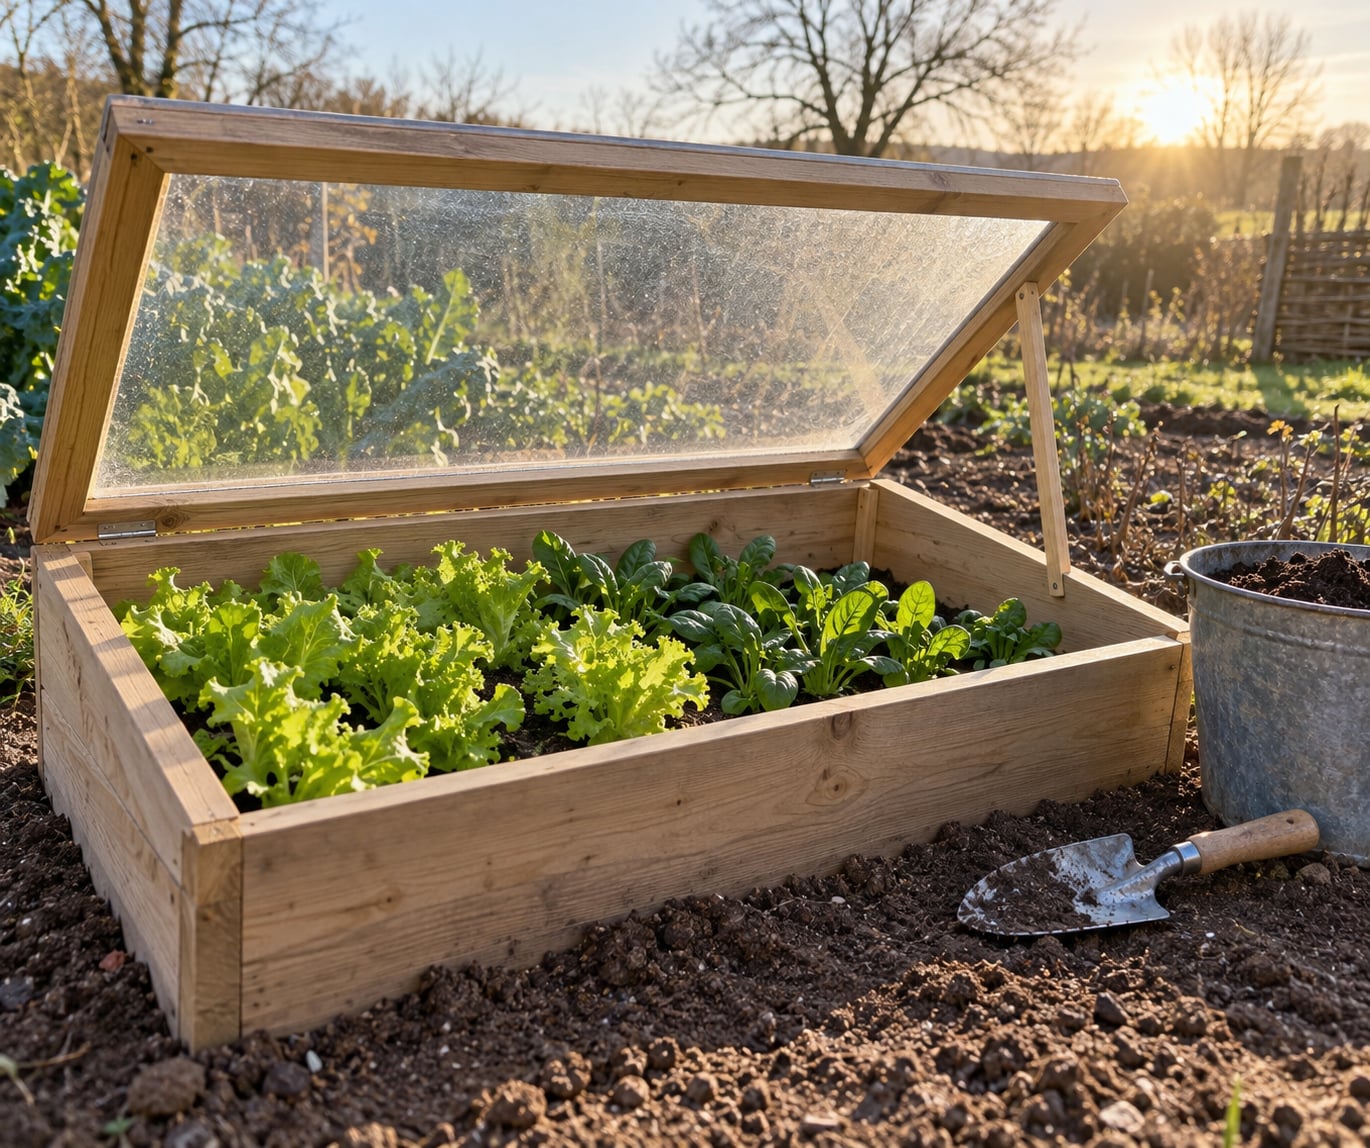
If you want to know how to extend the garden season with a cold frame, the short version is this: set a bottomless box with a clear hinged lid over your bed, angle it toward the winter sun, and vent it whenever the inside temperature climbs. That is the whole idea, and it costs a few boards and a salvaged window. A frame in full sun runs roughly 5 to 15 degrees warmer than the open garden, depending on how deep it is, how much insulation sits under it, and how much sun it catches.
The trick is not the box itself. It is the daily ten-second habit of opening the lid when the sun is out and closing it as the air cools. Get that wrong for one warm afternoon and you will cook a bed of lettuce.
I have built frames from old storm windows and from two cinder blocks with a sheet of corrugated polycarbonate, and the salvage version works just as well as anything you can buy, provided you can reach into it and drain the soil. In 2026 our own beds in the southern Appalachian foothills sit in zone 7, so the frame mostly buys us shoulder seasons: six extra weeks at each end instead of all-winter production.
Here is the full process, from choosing a site to harvesting greens in late November.
Table of Contents
- What You Need
- Step-by-Step
- Step 1: Choose a Sunny, Well-Drained Site
- Step 2: Choose a Cold-Frame Design
- Step 3: Build or Set Up the Frame
- Step 4: Prepare the Soil and Plant Cool-Season Crops
- Step 5: Vent, Water and Close the Frame
- Step 6: Use the Cold Frame Through the Season
- Common Mistakes
- Frequently Asked Questions
- How much warmer is a cold frame than the surrounding garden?
- What vegetables grow best in a cold frame?
- Should a cold frame be open during the day?
- Can a cold frame protect plants through a hard freeze?
- How often should I water plants in a cold frame?
- Where should I place a cold frame in my garden?
- Start With a Small Cold Frame for Fall Greens
What You Need
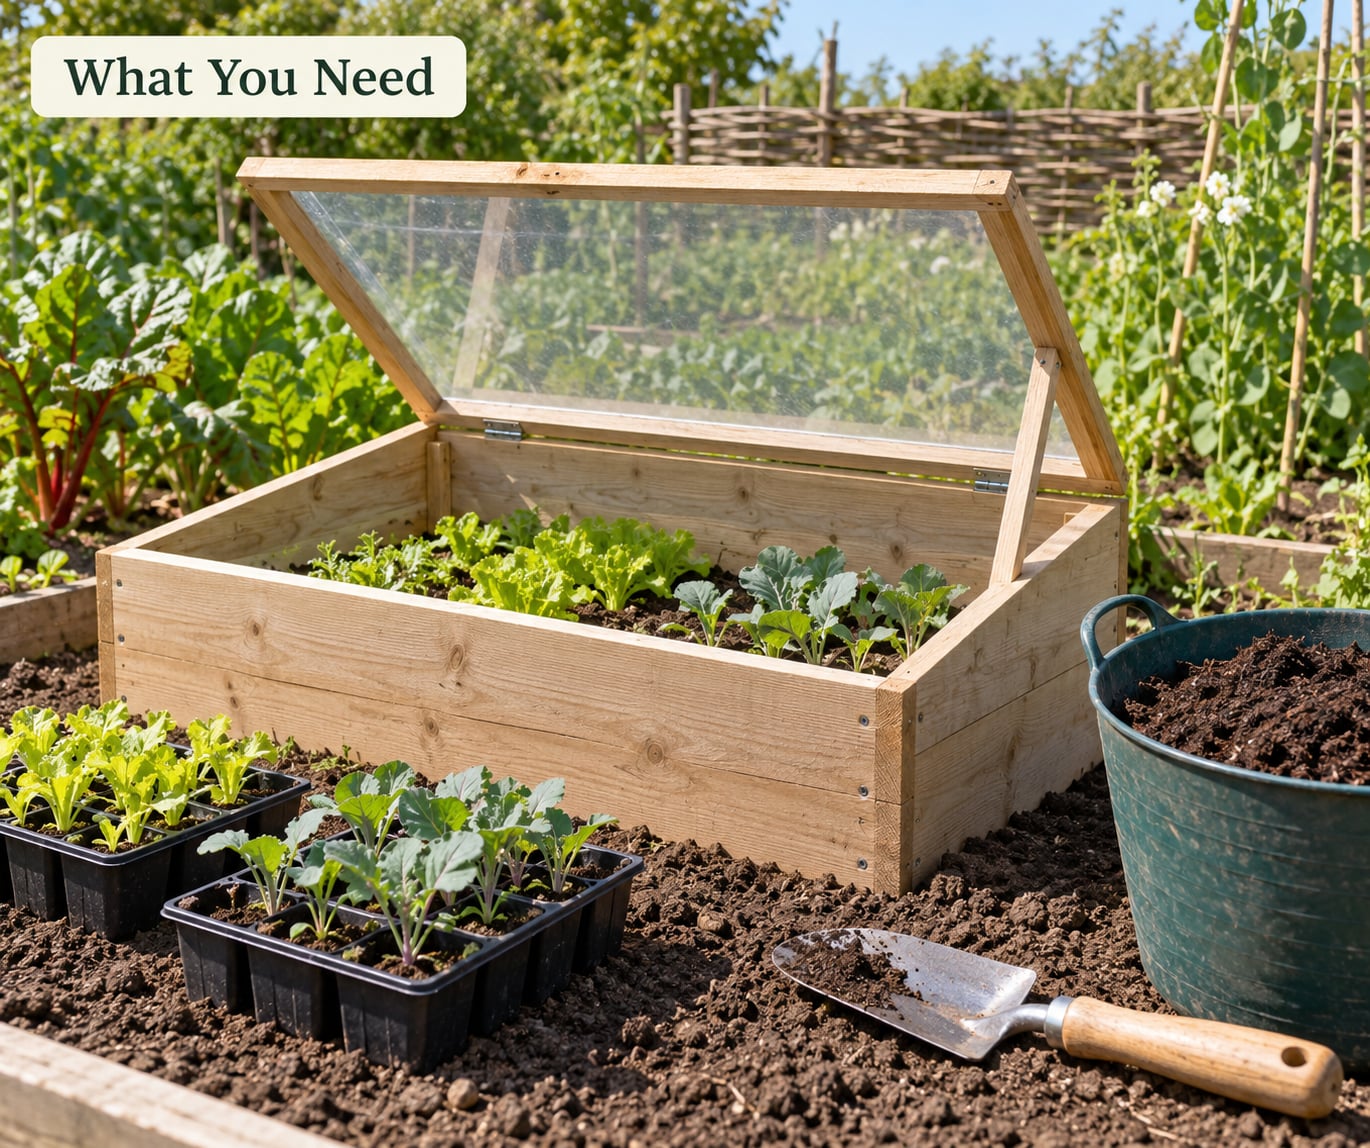
Start with the lid, because it decides everything else. An old window sash is the cheapest and works well. A sheet of corrugated polycarbonate is lighter, will not shatter, and shrugs off snow load better than single-pane glass. Polyethylene sheeting stretched over a frame is the cheapest option of all, and the least durable.
For the sides, your choices are untreated rot-resistant lumber, cinder blocks, straw bales, or PVC pipe. Untreated cedar and locust last longest near damp ground. Avoid pressure-treated pine where you plan to grow salad greens, and avoid any container that will tip when you reach in or hold water you cannot reach to drain.
The rest of the list is short: a sunny level site, compost, a hand trowel, a thermometer that sits inside the frame, and a prop for the lid. Seeds and young plants are optional in the sense that you can buy them, but they are the reason the frame exists.
Size matters more than most people expect. A frame you can reach from every side without stepping into the bed is one you will actually use. Two by four feet is a solid first build for one person. Anything deeper than about two feet in height traps enough heat to cook tender seedlings on a mild spring day, and anything taller than your plants lets them bolt.
Step-by-Step
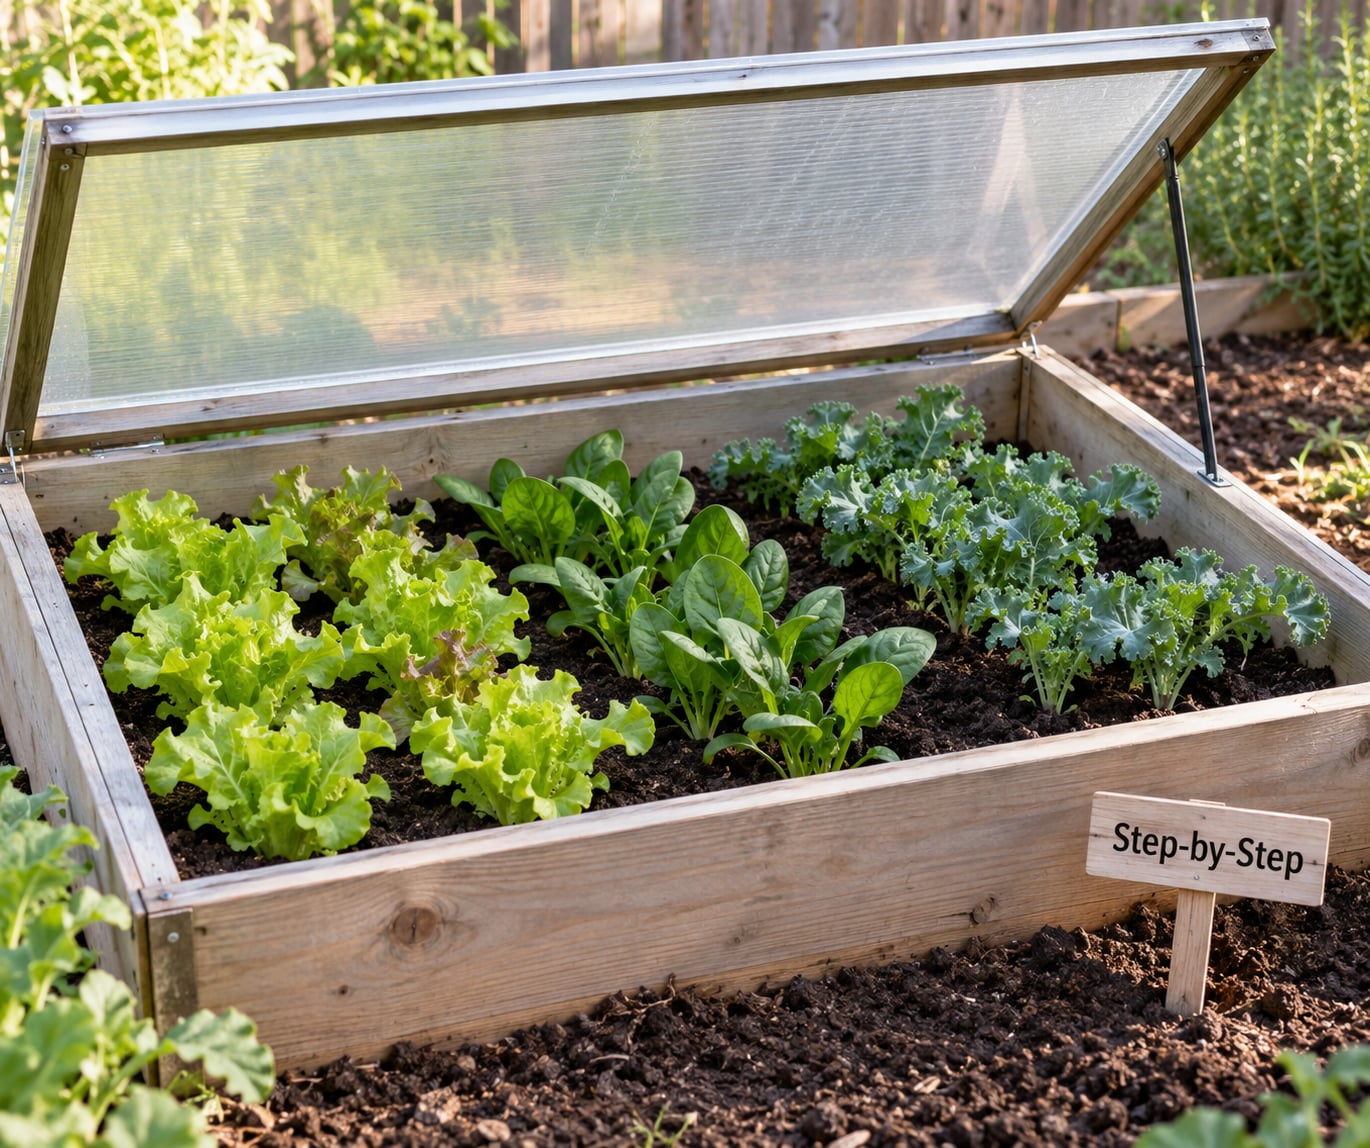
Step 1: Choose a Sunny, Well-Drained Site
Aim for a south or southeast facing spot that gets winter sun from mid-morning to mid-afternoon. Winter sun sits low, so a spot shaded by a house or a fence at noon may get almost nothing in December. Shelter from the prevailing north wind matters just as much, since a lid that rattles all night loses heat faster than it collects it.
Check drainage before anything else. Walk the site after a heavy rain and see where water sits. Fill low spots with compost and soil rather than setting the frame in them. On a slope, put the frame at the upper end so water runs away from it instead of pooling along the downhill wall.
How do you know the site is right? Put your hand on the bare soil at noon on a clear winter day. If it is noticeably warmer than the bed twenty feet away, you have found the spot a frame wants.
Step 2: Choose a Cold-Frame Design
The three designs worth knowing are a hinged box with a clear lid, an open-sided frame with a roof panel you prop up by hand, and a deeper mini-greenhouse tall enough to walk into. For most home beds the first is right. It is simple, it ventilates well, and it costs the least.
Pick a size you can reach from every side without standing in the soil, and pick a lid you can lift with one hand. If you cannot remove the lid, you will vent it badly, and badly vented frames kill more plants than cold ones do. Leave a gap of about half an inch under the low edge of the frame so air can move even when the lid is closed.
Depth is the other decision. A shallow frame barely warms the soil. Eighteen to twenty-four inches gives the soil room to hold heat and gives low crops headroom before they touch the lid.
Step 3: Build or Set Up the Frame
Measure the window first, then cut the lumber to fit around it rather than the other way around. Build two side panels and two ends from 1×4 or 2×4 boards, join them at the corners with exterior-grade screws, and fasten the sash to the frame with two hinges along one long edge. Predrill every hole; split boards waste an afternoon.
Set the frame so its base sits a few inches below soil level. Gardeners who set one directly on top of a raised bed report weaker results, and the reason is straightforward: the airspace below the frame is part of the insulation. A frame sitting flush loses heat fast overnight, especially on heavy clay.
Seal the gaps where the boards meet the ground or the sash meets the frame. Small gaps at the corners let the wind whistle through and undo everything the sun gained. Use untreated, rot-resistant materials, and if you salvage an old window, assume the paint on it is lead unless you know otherwise. Wear a dust mask when you scrape or sand it, and do it outdoors.
Step 4: Prepare the Soil and Plant Cool-Season Crops
Fill the frame with loose soil mixed with compost. Cold frames do not work well over dense clay, so if drainage is poor, lift out the top layer, add compost and some leaf mold, and loosen the soil to a spade depth. Lettuce, in particular, germinates and roots better in cool loose soil than in warm compact ground.
Plant low and fast. Lettuce, spinach, arugula, mizuna, claytonia, mâche, radishes, scallions, baby carrots, beets and parsley all fit under a low lid with room to spare. Kale and Swiss chard tolerate cold but grow upright, so keep them at the back or corner where they will not press against the glass.
How do you know the planting worked? New growth within a week to ten days, and leaves that stay firm rather than limp at midday. Limp midday leaves usually mean heat, not thirst, so vent before you water.
Step 5: Vent, Water and Close the Frame
Here is the daily routine. Morning: open the lid if the sun is on it and the inside thermometer reads above about 50 degrees. Check the soil with a finger an inch down. Water only if it is dry, and water the soil, not the leaves.
Evening: close the lid before the air cools. That is what traps the day’s solar gain and carries your plants through the frost hours. On a mild day above 60 degrees, prop the lid wide and consider removing it entirely. Gardeners who vent above 50 degrees keep seedlings alive through a warm spring spell; gardeners who leave the lid shut find scorched leaves by the second afternoon.
This is also where you extend the garden season with a cold frame most reliably: the frost protection only matters if the plant survived to enjoy it. Watch for condensation dripping down the inside of the lid, which means humidity is too high and ventilation is too brief. Watch for mold at the soil line, which means the same thing. Lift the lid for a longer airing and water less often.
Step 6: Use the Cold Frame Through the Season
A frame does three jobs across a year. In late winter it starts tomato and pepper seeds four to six weeks before your last frost date. In spring it hardens off those seedlings over seven to fourteen days, opening the lid a little further each day until they can stand a full day outdoors. In late summer you sow a fall crop six to eight weeks before your average first frost, and that is the harvest that runs into November and beyond.
Realistic expectations matter here. A frame is not a greenhouse and it holds no heat of its own. It buffers temperature swings and adds roughly 5 to 15 degrees on a clear day, which is about a zone and a half of extra effective growing time. In zones 6 and 7 that is a few extra weeks at each end. In zone 3 it will not turn winter into spring, no matter how well you build it.
Between crops, pull exhausted plants, add a couple of inches of compost, and let the soil rest for a week. Rotate what goes in next so the same family is not sitting in the same square twice in one year.
Common Mistakes
Placing the frame in shade. No sun means no gain, and a shaded frame is a box of wet soil. Fix: move it toward the sunniest corner you have, and accept a slightly less convenient spot for it.
Leaving the lid closed on a sunny day. Interior temperatures climb fast under glass. Fix: open the lid at 50 degrees or above, and prop it wide on mild days.
Letting the soil dry out. Plants under a lid get no rain and lose water to warm air. Fix: check daily with a finger, water the soil in the morning, and skip watering when it is cool and damp.
Using a container with no drainage. Waterlogged roots turn brown and sour. Fix: drill drainage holes or build the frame with a bottomless design sunk into the bed.
Setting the frame where water collects. Fix: correct the grade before you build, not after.
Overcrowding. Crowded plants stretch toward light and come up leggy. Fix: leave finger-width gaps, and pull the thinnings you eat.
Failing to anchor the lid. A gust can lift a sash and crack it or scatter plants. Fix: screw a small hook-and-eye or a clip to the frame so the lid cannot fly.
Ignoring snow. Wet snow is far heavier than dry snow, and one panel can carry a lot of weight. Fix: brush the lid off after a storm, or build a frame rated for the load by propping the center.
Frequently Asked Questions
How much warmer is a cold frame than the surrounding garden?
Sources put the gain at roughly 5 to 15 degrees Fahrenheit above the open garden on a clear day. Lower figures come from shallow frames sitting on top of soil; higher ones come from deeper frames sunk below ground level in full sun with insulated sides. Plan on a degree and a half of extra warmth, not a heated greenhouse.
What vegetables grow best in a cold frame?
Leafy greens and quick roots do best: lettuce, spinach, arugula, mizuna, claytonia, mâche, radishes, scallions, baby carrots, beets and parsley. Kale and Swiss chard handle cold but grow tall, so put them at the back. Favor crops that finish under the lid, since anything that grows into the glass panel gets scorched.
Should a cold frame be open during the day?
Yes on any sunny or mild day once the inside temperature passes about 50 degrees. Open it wide, and remove the lid entirely if it climbs above 60. Close it again before the air cools in the evening, because closing at dusk is what traps the day’s solar gain and carries plants through the frost hours.
Can a cold frame protect plants through a hard freeze?
It protects against light frosts, not deep winter cold. A closed frame typically holds a few degrees above the surrounding air and sometimes five or more in sunny weather. In zones 6 and 7 it usually carries fall crops into late November. In very short-season climates it buys weeks at each end, not a winter harvest.
How often should I water plants in a cold frame?
Check daily with a finger an inch into the soil, and water only when it is dry. Water in the morning, at the soil line, so leaves stay dry and damp off does not start. Water less often than you think you need to. Overwatering inside a closed frame causes root rot and mold faster than drought does.
Where should I place a cold frame in my garden?
Choose a south or southeast facing spot that gets winter sun from mid-morning to mid-afternoon, with shelter from the prevailing north wind. Avoid low spots where water collects and shadows cast by buildings or trees. Sinking the frame a few inches below soil level keeps more heat overnight than setting it on top of a raised bed.
Start With a Small Cold Frame for Fall Greens
If you only do one thing this autumn, put a small frame on the sunniest spot you have, sink it a few inches into the bed, and sow lettuce, spinach and radishes six to eight weeks before your average first frost. Ventilation and drainage come first, then everything else follows. Write down your first and last harvest dates, and only build a bigger setup once the small one is working the way you want.