Learning how to make yeast doughnuts at home is mostly about two things: a warm dough that actually doubles in size, and oil held steady at 350°F. Get those two right and the rest is just shaping and glazing. The whole job takes about three hours, most of it spent waiting on the dough, and the batch yields 12 to 14 doughnuts.
The dough is a sweet enriched bread dough. Yeast makes it rise, eggs and butter make it tender, and the hot oil sets a thin crust around a fluffy crumb. Compare that with a cake doughnut, which uses baking powder and fries denser with a crumblier texture.
I’ve made this dough enough times that the failures are predictable now: dough that sits flat because the milk was too hot, doughnuts that drink oil because I crowded the pot. Those two things account for most bad home batches, and both are avoidable with a thermometer and a little patience.
Table of Contents
- What You Need
- For the dough
- For frying and glazing
- Equipment
- Choosing your flour
- Step-by-Step
- How to Make Yeast Doughnuts at Home: Activate the Yeast
- Mix and Knead the Dough
- Let the Dough Rise
- Shape the Doughnuts
- Proof the Shaped Doughnuts
- Heat the Oil and Fry the Doughnuts
- Drain, Cool, and Finish
- Common Mistakes
- Doughnuts that are dense and heavy
- Doughnuts that will not rise at all
- Exterior too dark, center still raw
- Doughnuts greasy or oily
- Doughnuts misshapen or missized
- Dough that puffs up then collapses
- Frequently Asked Questions
- Do yeast doughnuts need to rise twice?
- What temperature should I fry yeast doughnuts at?
- Why are my yeast doughnuts dense?
- Can I make yeast doughnuts without eggs or butter?
- How long do yeast doughnuts stay fresh?
- Can I freeze uncooked or cooked yeast doughnuts?
- Conclusion
What You Need
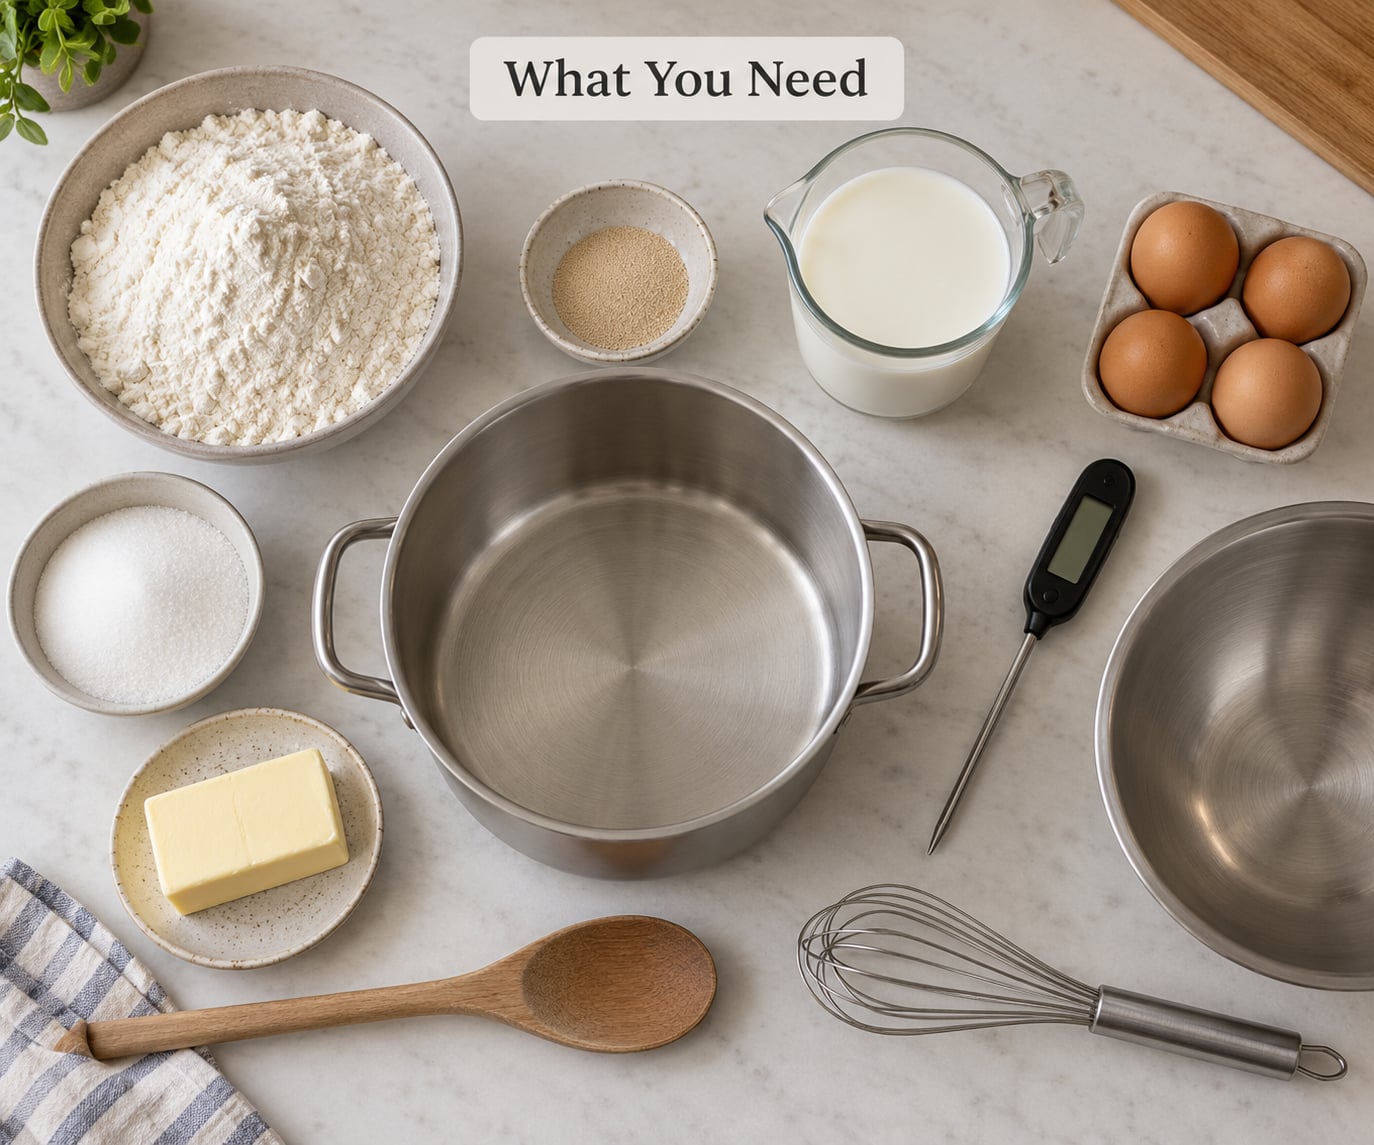
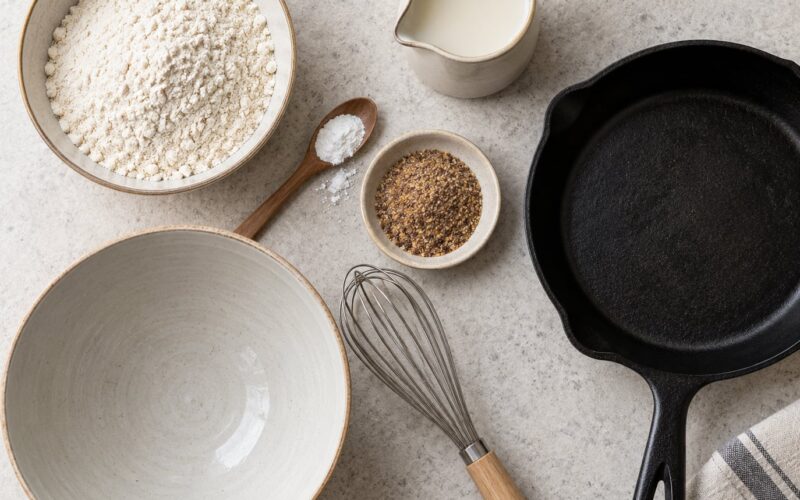
Nothing here is specialized. A sturdy bowl and a wooden spoon work as well as a stand mixer, and a heavy pot with 3 inches of oil beats a shallow skillet every time.
For the dough
- 2 teaspoons active dry yeast (about 7 g), or 2 1/4 teaspoons instant yeast
- 3/4 cup (180 ml) milk, warmed to 105°F to 115°F
- 1/2 cup (100 g) granulated sugar, divided
- 2 large eggs, room temperature
- 6 tablespoons (85 g) unsalted butter, melted and cooled slightly
- 1 teaspoon pure vanilla extract
- 1 teaspoon fine salt
- 3 1/2 to 4 cups (440 to 500 g) bread flour, sifted
- 2 tablespoons unsalted butter or neutral oil, for the pan
For frying and glazing
- 2 to 3 quarts neutral oil with a high smoke point, such as canola, peanut, or sunflower, plus more as needed
- 2 cups (240 g) confectioners’ sugar
- 1/3 cup (80 ml) milk, plus a splash more to thin
- 1 teaspoon vanilla extract and a pinch of salt, for the glaze
Equipment
- A deep heavy pot, 4 inches deep or more, for frying
- A clip-on or instant-read thermometer for the oil
- A doughnut cutter, or two round cookie cutters in two sizes with a difference of roughly 1 inch between them
- A wire cooling rack and a slotted spoon or spider
- Parchment paper for the shaped doughnuts
- Mixing bowl, whisk, and rolling pin
Choosing your flour
Protein content is what decides the texture. Bread flour runs about 12 percent protein and gives yeast doughnuts the chewiest, strongest crumb that holds up in hot oil. All-purpose flour, usually 10 to 11 percent, still works well and is what most home bakers have on hand. Cake flour sits near 9 percent and produces a tighter, more tender crumb that many people actually prefer in a doughnut.
A useful rule: stay above 12 percent for a classic airy doughnut, and go under 11 percent for a tender, almost custardy crumb. A quarter cup of potato starch mixed into all-purpose flour softens the crumb a little if you want to move in that direction.
For oil, pick something neutral and high-smoke-point so it does not flavor the dough. Canola, peanut, sunflower, corn, and avocado all work. Avoid olive oil for a plain glazed batch; its flavor comes through once the dough is hot, and not everybody wants it there.
Once you have the list, decide your method. If you like planning ahead, mixing the dough tonight and frying it in the morning suits cold-ferment dough better. If you want doughnuts tonight, start now.
Step-by-Step
How to Make Yeast Doughnuts at Home: Activate the Yeast
Warm the milk first. Microwave a cup of milk for 30 seconds, stir, and check with the thermometer; you want 105°F to 115°F. Too cool and the yeast wakes up slowly. Too hot and you kill it before it starts.
Stir 2 teaspoons of active dry yeast and 1 tablespoon of the sugar into the warm milk. Wait 5 to 10 minutes without stirring it. Active yeast should bloom into a foamy, domed layer on the surface, like the foam on beer.
If it doesn’t foam, start over with fresh yeast. This is the one failure point worth checking rather than skipping, because yeast that never activated means dense, chewy, disappointing doughnuts three hours from now. Instant yeast does not need this step since you mix it straight into the flour, and you skip the foam test entirely.
Mix and Knead the Dough
Whisk 2 eggs, the melted butter, the vanilla, the remaining sugar, and the salt into the activated milk. Add 3 cups of the sifted flour and stir until no dry patches remain. The dough will be shaggy and sticky at this point, which is normal.
Knead on a lightly floured surface for 8 to 10 minutes. Add the last half cup of flour in small handfuls as you go, only as much as the dough actually takes. You are looking for a smooth, slightly tacky ball that springs back slowly when you poke it, not a firm or dry one.
A stand mixer with a dough hook does this in 5 to 7 minutes on medium. A bread machine running its dough cycle handles mixing and the first rise without attention, which is handy when you want the overnight workflow. With no machine at all, a bowl and a spoon genuinely work for a no-knead version; give it a long stir, cover it, and let time and yeast do the kneading for you.
Let the Dough Rise
Put the dough in a lightly buttered bowl, cover it tightly with plastic wrap or a damp towel, and set it somewhere warm. A switched-on oven light with the oven off makes a reliable proofing box, and 75°F to 80°F is the sweet spot. Leave it for 1 to 1 1/2 hours.
Do not watch the clock. Check for three cues together: the dough has roughly doubled in volume, the surface looks puffy and slightly domed rather than taut, and a finger pressed halfway in leaves a dent that fills back in slowly. If the dent fills instantly, give it 20 more minutes. If the dough has collapsed and looks deflated, you have gone past the peak.
Cold kitchens are the most common culprit behind a slow rise. If your dough has barely moved after 45 minutes, move the bowl to a warmer spot or wrap it in a towel, rather than reaching for more yeast.
Shape the Doughnuts
Turn the dough onto a lightly floured surface and push it down gently to knock out the big air bubbles without tearing the surface. Do not knead it again at this stage; overworking is what makes doughnuts tough.
Roll it out to about 1/2 inch thick. Thinner than that and the rings crisp too quickly and dry out; much thicker and the center stays raw. Lift the dough onto parchment, cut 12 to 14 rings, and separate the centers into doughnut holes to fry last.
If you have no cutter, a small jar lid and a metal bottle cap spaced 1 inch apart works fine. Just press straight down without twisting, or the rings come out oval.
The cut rings may shrink and spring back as the gluten relaxes. That is normal. Cover them loosely and let them relax for about 15 minutes so they hold their shape better after the second rise. Brush or spray the pan with butter or oil so nothing sticks.
Proof the Shaped Doughnuts
Arrange the rings and holes on the prepared pan, cover with a towel or plastic wrap, and let them rise a second time for 45 to 60 minutes, until they look noticeably puffy and springy.
They should feel full of air and about doubled in thickness, not doubled in footprint. This rise matters most of all for texture: doughnuts that skip it fry into dense little tires no matter how good the oil is.
In a cool kitchen, add 15 to 20 minutes. Gluten-free doughnuts need the same cues but a longer, gentler proof, since there is no gluten network holding the shape together. If the doughnuts are sliding around or spreading on the pan, they have gone too far; fry them sooner than you planned, greasy or not, because collapsed doughnuts will not recover.
Heat the Oil and Fry the Doughnuts
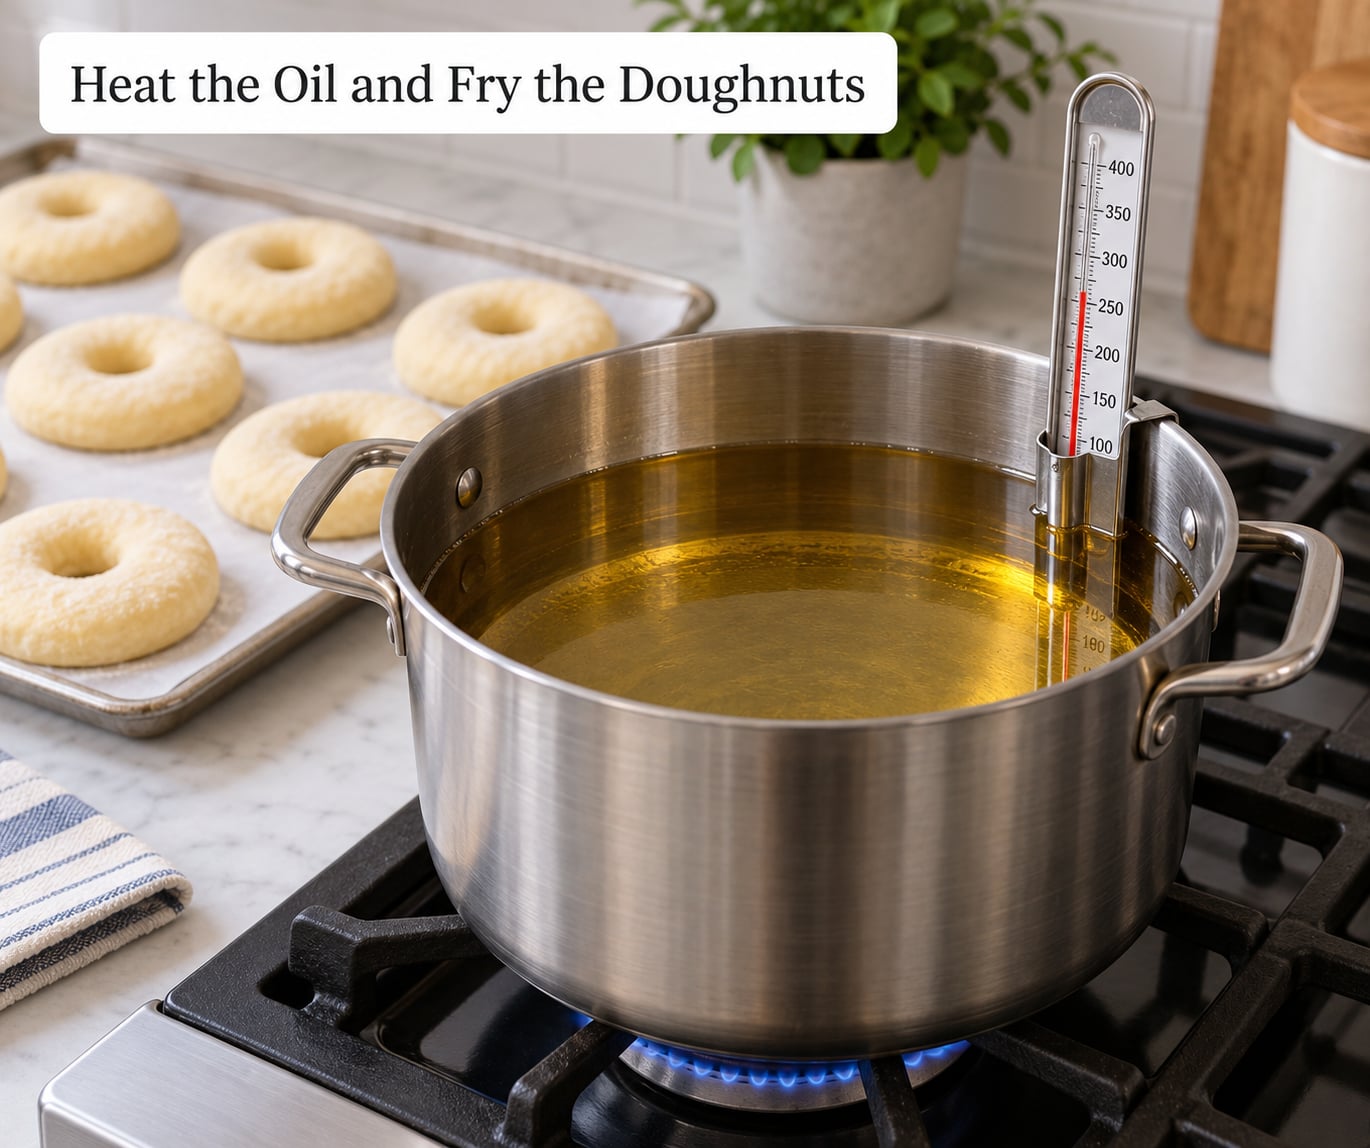
Fill the pot about 3 inches deep with oil and bring it to 350°F (175°C). Heat it to 340°F before the doughnuts go in, because adding cold dough will pull the temperature down on its own.
Lower the rings gently with a slotted spoon or a strip of parchment paper. Never drop them from height; the splatter is a real burn risk and the impact can break a fragile doughnut apart.
Fry 3 to 4 at a time so the temperature stays steady. Cook each side for 60 to 90 seconds, until the bottom is deep golden and it floats and bobs lazily in the oil. Turn with the slotted spoon and drain each batch on the rack.
Watch the thermometer between batches and give the oil a minute to come back to 350°F before adding more. Oil that drops to 325°F soaks the doughnuts; oil above 360°F browns the outside before the center cooks through. That temperature drift is the main reason home doughnuts turn out greasy, and it happens silently.
Lower the doughnut holes into the same oil for 35 to 45 seconds and drain them right away, since they darken faster than the rings.
Drain, Cool, and Finish
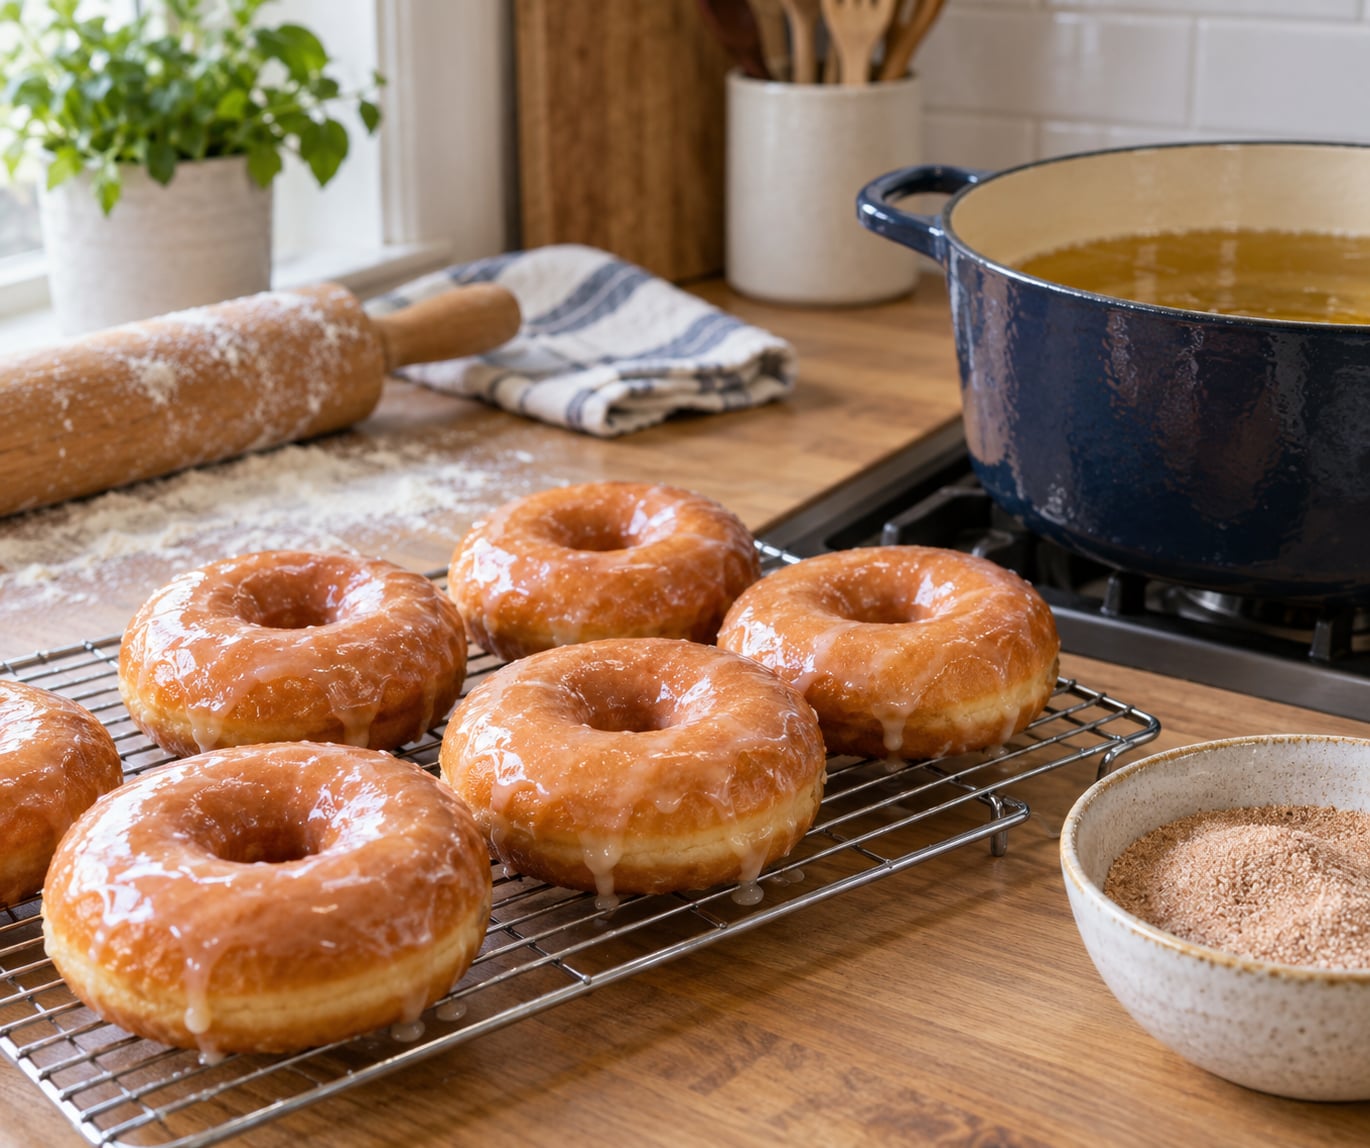
Drain on the wire rack, not on paper towels on the counter. A rack lets steam escape from underneath, and doughnuts left on a flat plate steam themselves soggy.
Glaze while they are still warm, about 5 minutes after draining. Warm dough melts the glaze into a thin, shiny shell; cold dough just wears it like a coat.
Whisk 2 cups of confectioners’ sugar with 1/3 cup of milk and 1 teaspoon of vanilla until smooth. Add milk a teaspoon at a time until it runs off the spoon in a slow ribbon.
For a different finish, toss the warm doughnuts in a mix of 1/2 cup sugar and 2 teaspoons cinnamon, or dust them straight with confectioners’ sugar. A thin layer of warm strawberry or raspberry jam under the glaze turns them into a filled doughnut without the pastry cream.
Common Mistakes
Most bad batches trace back to one of five problems, and each one has a clear fix.
Doughnuts that are dense and heavy
Almost always underproofed, either in the first rise, the second rise, or both. It can also mean too much flour, or a first rise in a cold kitchen that never got warm enough to activate the yeast. Test the dough instead of trusting the clock, and stop adding flour once the dough is smooth and slightly tacky rather than clean and dry.
Doughnuts that will not rise at all
Run the four checks in order. The milk may have been over 120°F and killed the yeast, the yeast may be expired, the kitchen may be too cold, or you may have skipped the foam test and mixed in dead yeast anyway. If the foam test failed, discard the dough and start fresh rather than adding more yeast; the flavor will taste yeasty and the crumb will never recover.
Exterior too dark, center still raw
The oil is too hot. Drop it to 340°F, add only one or two doughnuts per batch so the temperature does not swing, and give the center a full 90 seconds on each side. A knife tip inserted into the thickest part should come out with no wet dough clinging to it.
Doughnuts greasy or oily
The oil was below 325°F, or too many doughnuts went in at once and dropped it there. Keep a thermometer clipped to the pot, wait for the oil to come back up between batches, and fry in smaller groups. Drain on a rack rather than a paper towel, and glaze only after they have cooled five minutes so surface moisture has evaporated.
Doughnuts misshapen or missized
Rings shrink during the second rise when the gluten relaxes and nothing is holding the cut edges. Rest the cut rings for 15 minutes before the final proof, avoid over-rerolling the scraps, and press the cutter straight down. If your cutter is dull, use a sharp knife and a small circle traced from the lid of a jar.
Dough that puffs up then collapses
The second rise ran long, usually because the kitchen was warmer than you assumed. Fry them a little under-proofed and accept a denser crumb rather than a collapsed one, since the same dough cannot be re-proofed after it goes over.
One habit that fixes most of the above: make a small test batch of four doughnuts first, on a first-time recipe or a first-time bag of yeast. It costs a few extra minutes and one round of oil, and it tells you your kitchen’s temperature behavior far better than any timer can.
Frequently Asked Questions
Do yeast doughnuts need to rise twice?
Yes. The first rise builds the gluten structure and the gas that makes the doughnuts airy, and the second rise happens after cutting so the shaped rings puff up before they hit the oil. Skipping the second proof is the single most common reason doughnuts come out dense. If you are short on time, let the shaped rings rise until they look visibly puffy and about twice as thick, which usually takes 45 to 60 minutes.
What temperature should I fry yeast doughnuts at?
350°F (175°C) is the target. Heat the oil to about 340°F before adding the dough, then fry three or four doughnuts at a time for 60 to 90 seconds per side. Check the thermometer between every batch and wait for the oil to climb back to 350°F. Oil below 325°F soaks the doughnuts and oil above 360°F browns them outside before the center cooks through.
Why are my yeast doughnuts dense?
Underproofing is the usual reason, followed by too much flour. Test the dough with a finger instead of trusting the timer: the dent should fill back in slowly when it has risen enough. Use only the flour the dough actually takes, stop kneading once it feels smooth and slightly tacky, and let the shaped rings reach the second rise before frying.
Can I make yeast doughnuts without eggs or butter?
You can, and the doughnuts will still rise well. Replace the eggs with an extra quarter cup of warm milk and leave out the butter, adding a tablespoon of neutral oil for a little richness. For a fully vegan batch, use unsweetened plant milk warmed to 105°F and vegan butter or oil. The dough handles a little more slowly without the butter, so give it a full 10 minutes of kneading.
How long do yeast doughnuts stay fresh?
Plain glazed doughnuts keep their best texture for about a day at room temperature, stored in an airtight container so they do not dry out. The second day they are still good but softer. Skip the airtight container if you want a crisp crust, since trapped steam softens it. Doughnuts with a heavy glaze or filling need refrigeration beyond a day.
Can I freeze uncooked or cooked yeast doughnuts?
Yes, and freezing raw is the better option. After the second rise, freeze the shaped rings in a single layer on a tray, then bag them once solid; they fry straight from frozen with about 30 extra seconds. Cooked doughnuts can also be frozen unglazed and reheated in a 350°F oven for 5 to 8 minutes. Glaze only after thawing, or it absorbs into the crumb.
Conclusion
Start by checking the yeast. Warm the milk to 105°F, stir in the yeast and a spoon of sugar, and wait for the foam. That five-minute test decides whether the next three hours are worth it.
From there, watch two things and ignore the rest. The dough is ready when it has doubled and a finger dent fills back in slowly, and the oil is right when the thermometer says 350°F before every batch. Between those two checkpoints, this is how to make yeast doughnuts at home reliably enough that you stop thinking about it and start just enjoying the warm ones.
Make a small batch of four the first time. It uses less oil, tells you how your kitchen behaves, and gets you to the real batch with a plan instead of a guess. No reason to update anything for 2026: the method has not changed in decades, and it will not next year either.