You can absolutely make collard greens without a ham hock. The bone is not the flavor; it is a delivery system. Take a hock out of the pot and replace what it contributed — smoke, rendered fat, and the gelatin body that makes a good potlikker — and you get greens that taste deliberate rather than like a substitute. The whole thing takes about an hour of hands-on work and 45 to 90 minutes of slow simmering, and it works on a weeknight as well as on a Sunday.
Before we get to the stove, it helps to know what the hock was actually doing. A long simmer of pork dissolves collagen into gelatin, which is what gives the pot its weight and lets a spoon drag a trail across the bottom of the pot. The smoke comes from the curing, and the richness comes from fat rendering out of the bone. A plant-based version has to build those three things on purpose, and once you know that, the recipe stops being a list of workarounds.
One note on sourcing. I find collards best in the cool months, when the leaves are small and sweet rather than tall and tough. If you can get them from a farm stand or a market that keeps them cold and fresh, do that. Supermarket bunches work, but expect bigger stems and a tougher leaf, so buy a little extra and give the prep an extra ten minutes.
Table of Contents
- What You Need
- Step-by-Step
- How to Wash and Prep the Collard Greens
- How to Build Flavor Without a Ham Hock
- How to Simmer Collards Until Tender
- How to Season and Serve Collard Greens
- Common Mistakes
- Frequently Asked Questions
- How long do collard greens take to cook without a ham hock?
- What can I use instead of a ham hock to make collard greens flavorful?
- Should I remove the stems from collard greens before cooking?
- How do I keep collard greens from becoming watery?
- Can I cook collard greens in a slow cooker without meat?
- Conclusion
What You Need
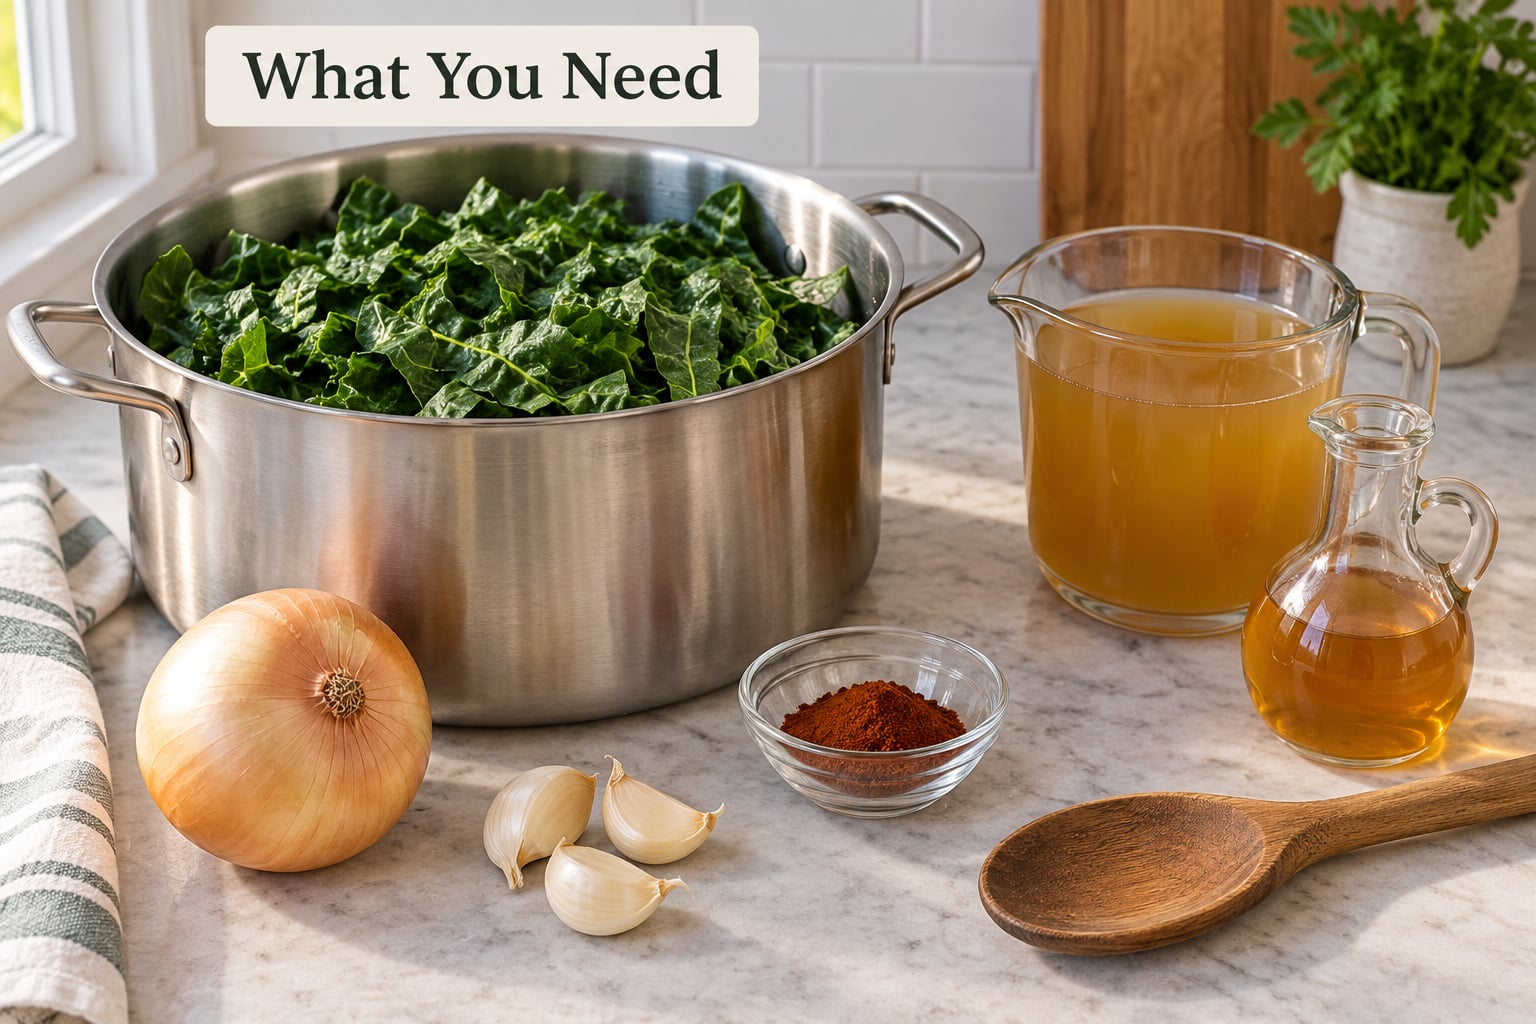
This base recipe serves six to eight as a side. It also scales cleanly, because everything here is seasoning rather than structure.
- 2 pounds fresh collard greens, about two large bunches, stems trimmed
- 1 large yellow onion, halved and sliced or chopped
- 3 to 4 garlic cloves, smashed or minced
- 2 tablespoons olive oil, or 1 tablespoon for an oil-free version using broth in the pan
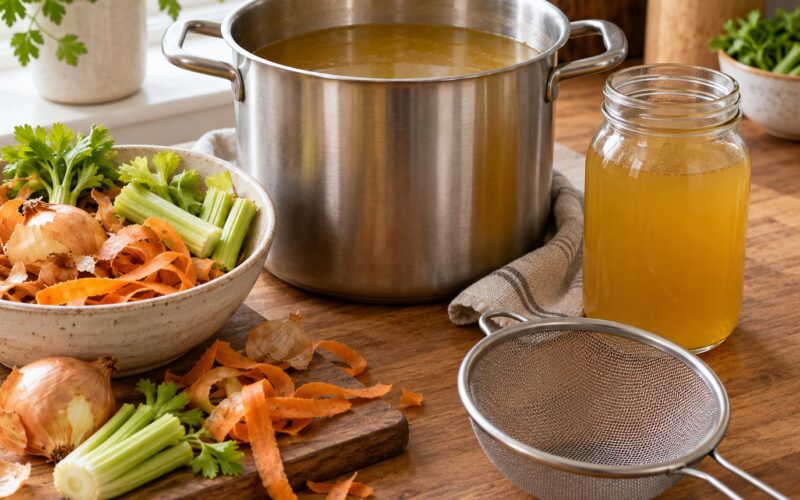
- 3 to 4 cups low-sodium vegetable broth, warm, plus more as needed
- 1 teaspoon smoked paprika
- 1/2 teaspoon liquid smoke, optional and strictly a start
- 1 tablespoon apple cider vinegar, plus more to taste
- 1/2 teaspoon red pepper flakes, or a few dashes of hot sauce
- 1 small tomato, chopped, or 2 tablespoons tomato paste — optional but helpful
- Salt and black pepper, to taste at the end
Two optional levers are worth knowing. A tablespoon of white miso stirred in with the broth adds the savory depth that gelatin would normally supply, and a spoonful of nutritional yeast in the potlikker adds a faint nutty note for very little effort. Mushrooms are another route: a handful of cremini browned in the pan before the greens go in contributes umami and a meaty chew.
For equipment, all you need is a heavy pot with a lid, a knife, and something to hold the washed greens. A 6-quart Dutch oven works; a straight-sided 8-quart pot gives you more room and makes stirring easier. Most people buy too few greens because they underestimate the cook-down. Two pounds raw yields roughly one quart cooked, and a packed half cup per person is a normal serving alongside rice, beans, or cornbread.
Step-by-Step
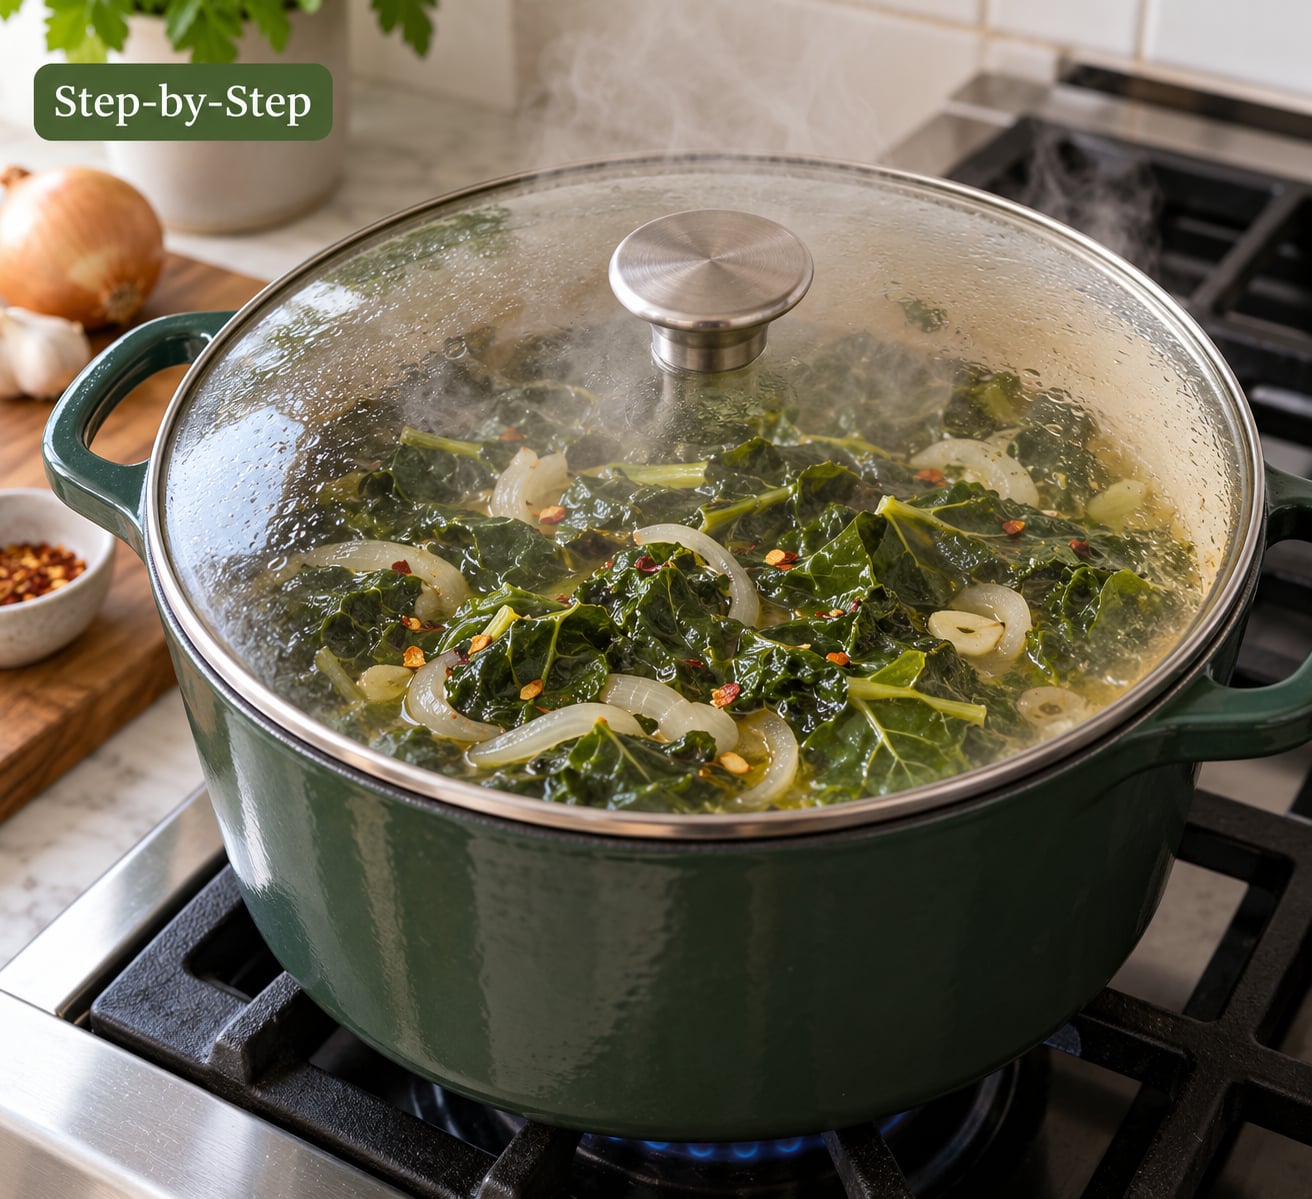
Read this as four movements: prep the greens, build the base, simmer gently, then season. The order matters more than any single ingredient, because collards will not forgive a pot that was salted at the start or a heat setting left on high.
How to Wash and Prep the Collard Greens
Collards grow close to the ground, so grit is the single most common complaint in the prep. Hold a bunch under cold running water and separate the leaves one at a time, working from the outer leaves inward. Give each leaf a rinse on both sides, then a second full pass through the sink. Two or three washes are normal, not a sign you are doing it wrong.
To trim, fold a leaf in half and slice straight down the center to remove the rib. Then take the rib out of the remaining half, and you are left with two flat leaf halves. Do not throw the ribs away. Sliced thin and started early in the pot, they soften and add body, which is exactly the role collagen plays in a meaty pot.
Stack the leaves and roll them into a loose cylinder, then cut across into ribbons roughly a half-inch wide. This chiffonade cut is the standard Southern preparation and it matters for timing: ribbons of consistent size cook evenly, while a mix of shredded leaves and stubborn chunks leaves you pulling out the done pieces early. Dry the greens in a salad spinner or between towels, and add them to the pot dry so they sear slightly instead of steaming.
How to Build Flavor Without a Ham Hock
This is where the substitution work happens. Think of a ham hock as three separate contributions, and replace each one deliberately.
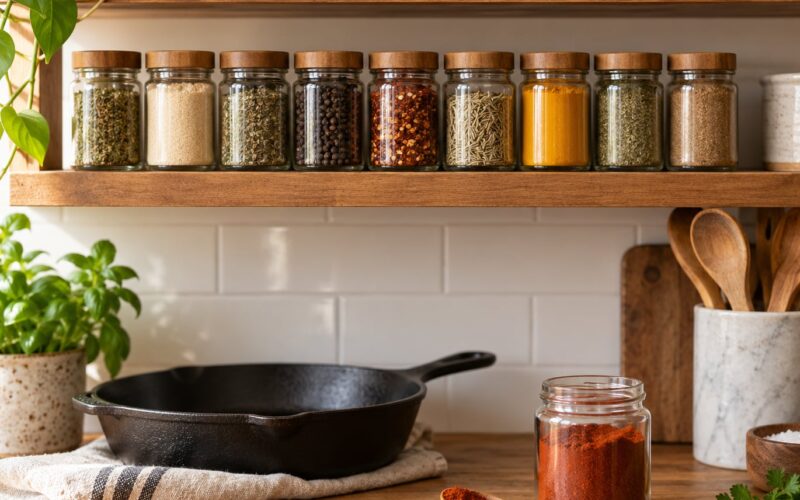
Smoke comes from the curing on the meat, so it comes from cured or smoked ingredients: paprika, liquid smoke, smoked salt, or a chipotle powder with a bit of extra sweetness. Richness comes from rendered fat, and oil or the greens’ own released moisture covers that. Body comes from collagen melting into gelatin, and that is the hardest to fake — a charred onion browned properly, a little tomato, a spoon of miso, or browned mushrooms will get you most of the way.
Here are your smoke agents, measured for 2 pounds of greens. Pick one, not all of them, and start low; you can always add more, but you cannot take it out.
- Smoked paprika — 1 to 2 teaspoons. Warm, sweet, mild, and the safest starting point.
- Liquid smoke — 1/2 to 1 teaspoon. Pork-adjacent and sharp; anything over 1 teaspoon tastes chemical.
- Smoked sea salt — 1 teaspoon, then taste before adding plain salt. The smoke and the salt arrive together, so use about half what you normally would.
- Chipotle powder — 1/4 teaspoon. Smoky heat with a faint sweetness, and a good match for hot sauce.
- Miso paste — 1 tablespoon, whisked into the broth. No smoke, but the closest thing to gelatin body.
- Fire-roasted tomatoes — 1/2 cup, or 2 tablespoons of tomato paste. Savory depth and slight sweetness with no smoke at all.
Smoked paprika and liquid smoke are not interchangeable, which is a point that comes up constantly. Paprika is a dried spice, so it blooms in fat and tastes rounded. Liquid smoke is a concentrated distillate, so it hits the back of the throat and does not mellow much. Half a teaspoon of liquid smoke with a full teaspoon of paprika is a good balance; a tablespoon of either is a mistake in a pot this size.
Now build the base. Heat the oil in the pot over medium-high and lay the onion slices in cut-side down. Do not stir them for the first three or four minutes. You want dark, almost black patches on the flat side — that char is a real, honest substitute for smoke, and it takes longer than most cooks allow. Once you see it, toss in the garlic and the ribs you saved, stir for about 30 seconds, and deglaze with a cup of the warm broth, scraping the brown bits loose.
Add the remaining broth, the paprika, the tomato or tomato paste, the red pepper flakes, and your chosen smoke agent. Bring it to a boil, then lower the heat.
How to Simmer Collards Until Tender
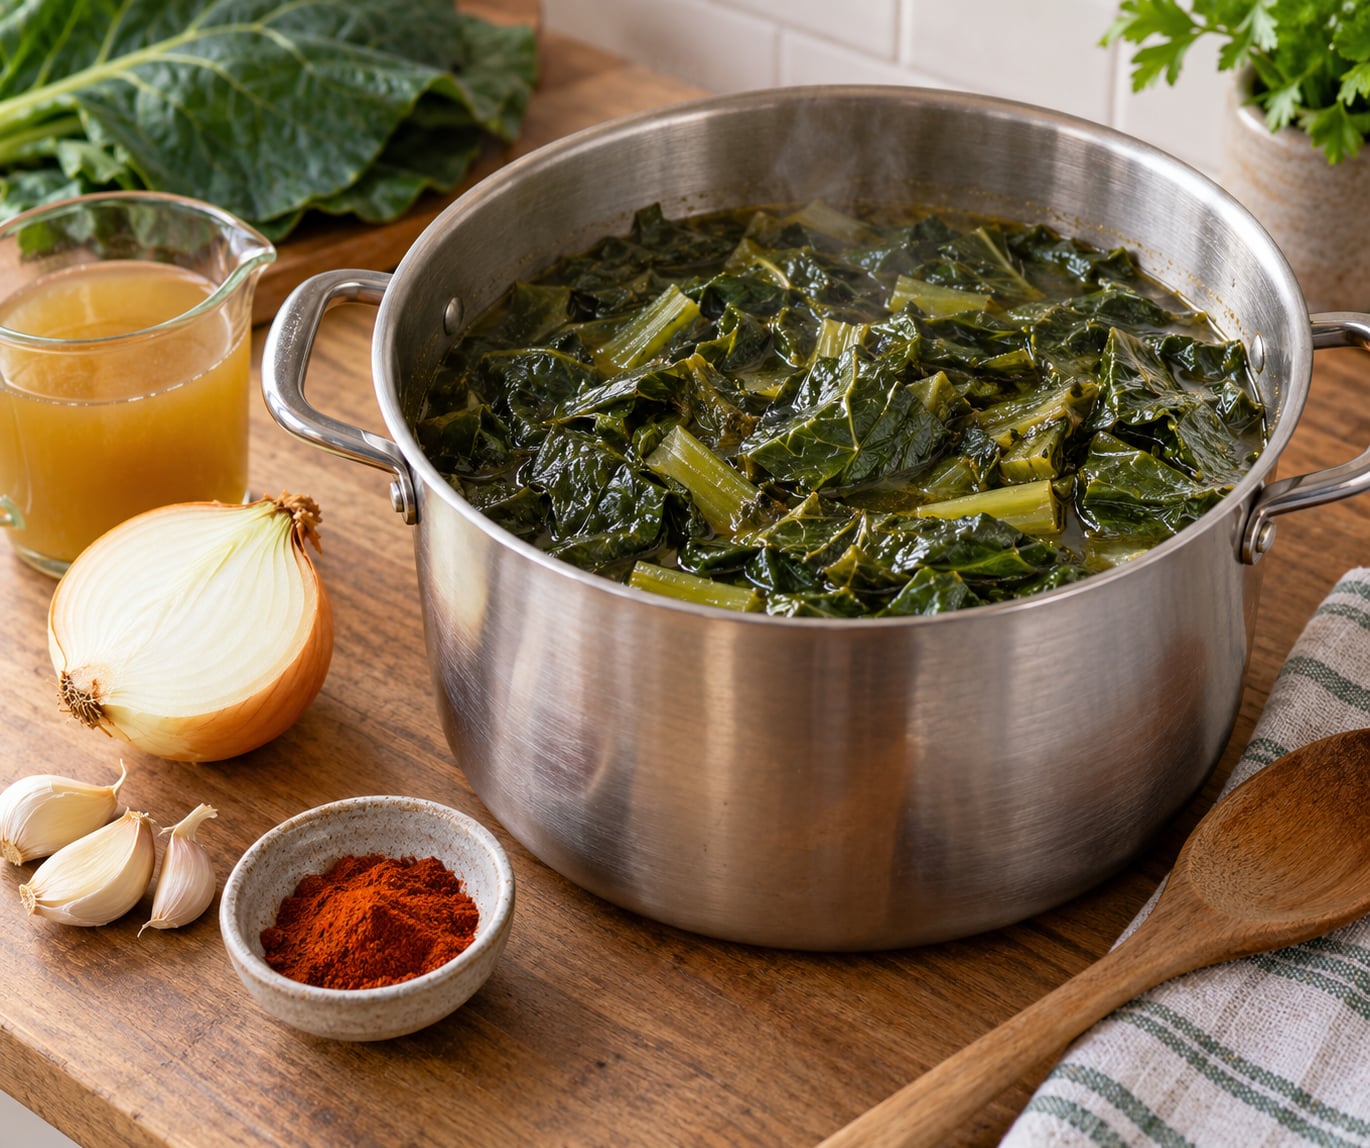
Add the greens in two or three batches so the pot does not overflow, pressing each batch down with the back of a spoon. The liquid should come up about halfway up the packed greens, no higher. If you cannot see liquid at all, add broth; if the greens float freely in broth, you have too much and the potlikker will taste thin. Too little liquid scorches the bottom before the stems soften.
Bring back to a bare simmer, where you see a bubble every second or two, not a rolling boil. A hard boil keeps the greens bouncing and is the fastest route to a watery, tired potlikker. Cover, drop the heat to its lowest setting, and give it 45 minutes as a starting check.
How do you know they are done? Slide a fork into the thickest part of a stem with no resistance at all. That is the Southern standard, and it takes 45 to 90 minutes depending on leaf size, how much you packed the pot, and how much liquid you used. If you like greens with some bite, 30 to 40 minutes is plenty and is closer to what an old-timer would have served on a fish night.
If you prefer not to stand over a stove, the same quantities convert easily. Stovetop simmer takes 3 to 4 cups of broth and 45 to 90 minutes covered over low heat, and gives you the deepest potlikker and the best texture control. An oven braise wants 3 cups of broth plus a splash of water at 325°F for 75 to 90 minutes in a covered Dutch oven, then a quick reduction on the stove afterward. A slow cooker needs only 2.5 to 3 cups of broth for 4 to 5 hours on low, but it can dry out, so check the liquid twice. A pressure cooker is the fastest at 2 cups of broth and 15 to 20 minutes at high pressure, and it is also the best option if you want greens that keep a bite. For a weeknight version that is not potlikker at all, a quick saute over high heat takes 12 to 15 minutes with 1/2 cup of broth and a splash of vinegar.
How to Season and Serve Collard Greens
Season at the end. Salt added early pulls water out of the greens, toughens them, and shrinks the yield; salt added after the simmer seasons the finished dish and keeps the leaves tender. Taste the greens plain first, then add salt a pinch at a time.
Next, the vinegar. One tablespoon of apple cider vinegar per two pounds of greens is the working range, and it does three things at once: it seasons, it cuts the smoke, and it helps tenderize the fibers. Add it off the heat so the acidity stays bright. Pour a little extra in a small bowl for the table if you serve people who like sharp greens — nobody wants to fish a stray teaspoon of vinegar out of a hot pot.
Black pepper goes in generously at this stage, along with the red pepper flakes if you kept heat out of the pot. Taste again. A well-made pot has four distinct things going on: sweet from the onion, savory from the tomato or miso, smoke from your chosen agent, and acid from the vinegar. If you can only taste two, the acid is usually the missing one.
Serve the greens straight from the pot with the potlikker spooned over the top, rather than drained. That liquid is the point of a long cook, and cornbread for dunking is not optional in my kitchen. Other pairings: black-eyed peas and hoppin’ john on New Year’s Day, white beans and cornbread, sweet potatoes, catfish or other fried fish, and a plate of smothered chicken for the mixed-diet table.
For the potlikker you have extra, keep it in a jar in the fridge and use it as a braising liquid for beans, a base for soup, or the reason to dip that second piece of cornbread.
Storage is straightforward. Cool the pan on the counter for no more than two hours, then move the greens and their liquid into a covered container. They keep about three to four days refrigerated and improve overnight as the seasonings marry in the broth. Freeze in a flat bag with the liquid for up to two to three months, then thaw in the pan over low heat. If you want greens that hold up past a season, blanch them, portion them without the broth, and freeze them separately.
On nutrition: collards are a cruciferous green rich in vitamins A, C, and K, plus calcium and folate. Cooking reduces vitamin C somewhat, while fat in the pot improves your absorption of the fat-soluble vitamins A and K. If you take warfarin or another vitamin K antagonist, keep your intake steady from week to week and ask your doctor or pharmacist about your greens rather than changing the amount on your own.
Common Mistakes
Most disappointing collard greens fail on one of six things, and each has a fix you can apply mid-cook.
The greens are still tough. Usually the stems went in too late or the pot was too full to move the liquid. Cut the ribs smaller, add them at the same time as the aromatics, and give the pot more room. Re-cover and simmer another 30 minutes. A spoonful of vinegar added at the start will soften stubborn fibers too.
The potlikker is watery. You added too much liquid, or the pot boiled hard. Lift the greens out, reduce the liquid over medium heat until it coats a spoon, and fold the greens back in. A splash of broth is the only way to loosen it afterward.
The greens turned to mush. They cooked past the fork-tender stage. There is no fixing this after the fact, so the prevention is timing: check at 45 minutes rather than assuming an hour. For the next batch, pull them while there is still a slight bite, and remember they keep softening in the pot off the heat.
They taste bitter. Bitterness comes from undercooking, from an old bunch, or from too much cooking liquid forcing out the sulfur compounds. Peel only the outer leaves, keep the pot full rather than half full so the greens are submerged, and blanch for one minute in salted boiling water before braising if your bunches are mature.
The broth is too salty. Store-bought broth varies a lot. Use a low-sodium variety, hold back the salt, and skip the smoked salt if you already seasoned with plain salt. If you have oversalted, dilute with unsalted broth and add a peeled potato, simmer 15 minutes, and fish it out — it pulls some of the salt with it.
It tastes like a vegetarian dish rather than Southern. The fix is browning, not more smoke. Give the onion real char, brown the garlic until it is nut-brown, toast the paprika in the fat for 30 seconds, and finish with the vinegar. A pot with no browning step reads flat no matter how much liquid smoke you add.
Two smaller notes. Crowd the pot and the greens steam instead of braising, so work in batches even though it is inconvenient. And skipping the vinegar by accident is a common error — the greens taste unfinished without it, and one tablespoon fixes that in seconds.
Frequently Asked Questions
How long do collard greens take to cook without a ham hock?
Plan on 45 to 90 minutes of covered simmering, then check with a fork every 10 minutes after the 45-minute mark. The range depends on leaf size and how tightly you packed the pot, not on the absence of meat. A meatless pot actually needs the full time, because there is no collagen adding body while the greens soften.
What can I use instead of a ham hock to make collard greens flavorful?
Use vegetable broth for the liquid, olive oil for the rendered fat, and a measured smoke agent for the smoke: 1 to 2 teaspoons smoked paprika, half a teaspoon of liquid smoke, or a teaspoon of smoked salt. For the body that gelatin normally provides, add chopped tomato, tomato paste, a tablespoon of miso, or browned mushrooms. Pick one smoke agent and start low.
Should I remove the stems from collard greens before cooking?
Remove the thick central rib from each leaf and cut it into thin slices rather than discarding it. Stems left whole stay fibrous and unpleasant, but sliced thin and added at the start they soften in the simmering broth and add body. If you are short on time, you can skip the stems entirely and cook only the leaves for a faster dish.
How do I keep collard greens from becoming watery?
Use just enough broth to come halfway up the packed greens, keep the heat at a bare simmer instead of a rolling boil, and resist crowding the pot. Work the greens down in two or three batches so they sear rather than steam. If the potlikker is already thin, lift the greens out and reduce the liquid until it coats a spoon, then fold them back in.
Can I cook collard greens in a slow cooker without meat?
Yes, and it suits the method well. Use 2.5 to 3 cups of low-sodium vegetable broth with the same aromatics and seasoning, and cook on low for 4 to 5 hours. Check the liquid level halfway through and add hot water or broth if the greens have absorbed it all, since a slow cooker has no stovetop reduction step and can scorch the bottom.
Conclusion
Start by washing the collards in three rinses and stripping the ribs, then rolling the leaves into ribbons. Char a sliced onion in olive oil until it has real dark patches, deglaze with warm vegetable broth, and season with smoked paprika, tomato, and red pepper flakes. Add the greens in batches, cover, and hold at a bare simmer for 45 to 90 minutes until a fork slides through a stem with no resistance.
Only then reach for the salt and the apple cider vinegar, and serve everything in the potlikker with cornbread. That is the full method for how to cook collard greens without ham hock, and once you stop treating the meat as the dish and start treating it as one of three flavor levers, you will keep cooking it this way long after the hocks are gone.