You make vegetable broth from kitchen scraps by simmering clean peels, stems and ends in water for 30 to 60 minutes, then straining out the solids. No fresh vegetables, no bones, no bouillon cubes. It takes about 10 minutes of prep and the rest is the stove doing its job.
The whole thing works because heat pulls sugars and aromatics out of the trimmings you would normally compost. I keep a freezer bag by the sink and empty it whenever it gets full, which is usually every few weeks. One big bag of scraps gives you roughly two gallons of finished broth, and the strained solids still go in the compost pile.
There is one catch worth knowing up front. Simmer times and scrap choices decide whether the result tastes like something or like warm water, and both are easy to get wrong. Everything below is what I do after a lot of batches, most of them improved by trial and error.
Table of Contents
- What You Need
- Step-by-Step: How to Make Vegetable Broth from Kitchen Scraps
- Choose the Best Scraps for Vegetable Broth from Kitchen Scraps
- Rinse and Prep the Scraps
- Simmer the Broth
- Strain and Store the Broth
- Common Mistakes
- Frequently Asked Questions
- What vegetables should I avoid putting in vegetable broth made from kitchen scraps?
- How long does homemade vegetable broth made from scraps last?
- Can I freeze vegetable broth made from kitchen scraps?
- Why does my vegetable broth taste bitter or muddy?
- Can I use frozen or wilted vegetables for kitchen-scraps broth?
- How can I make a small batch of vegetable broth taste more flavorful?
What You Need
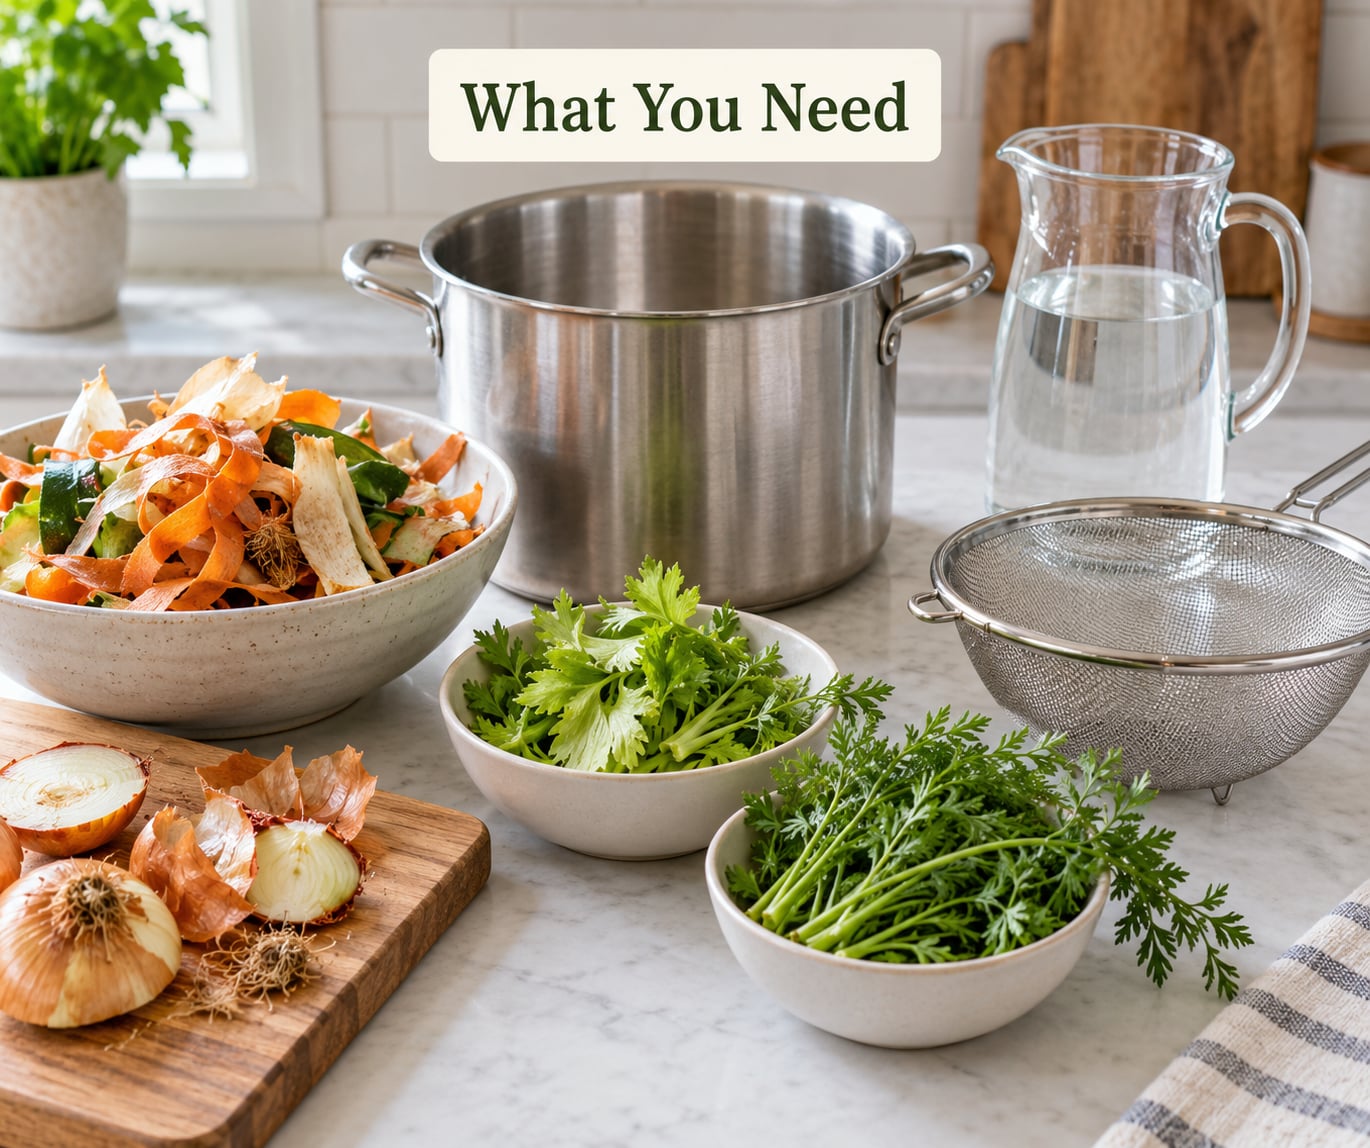
You need very little. A pot with a lid, water, and a freezer bag of scraps covers it. Everything else is a flavor upgrade rather than a requirement.
From the pantry: water, olive oil or butter, salt and black pepper. Optional extras include a couple of bay leaves, a garlic head, a few sprigs of thyme or rosemary, a slice of ginger, and a spoon of miso or soy sauce for umami near the end.
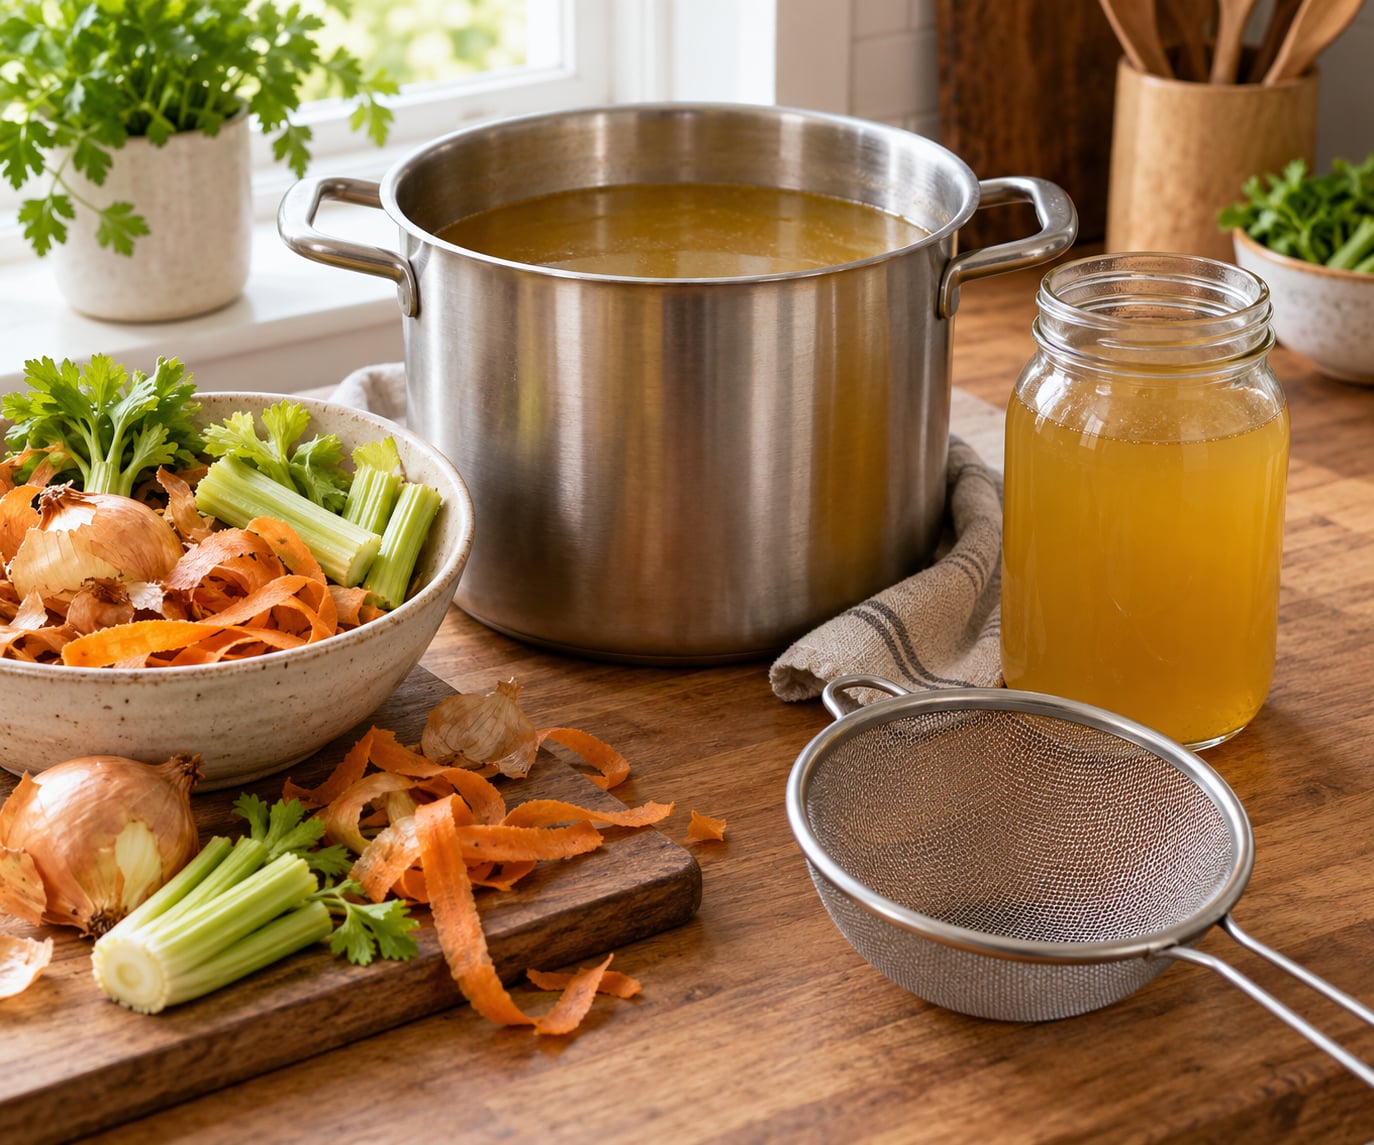
Equipment: a stockpot, Dutch oven, or any pot with a lid and a heat-safe handle. A fine-mesh strainer for clarity, or a slotted spoon plus a colander if you do not mind a slightly cloudy result. Freezer bags or a silicone scrap bin for collecting, ice cube trays for small portions, and glass jars with lids for storing.
The scraps that earn their place: onion skins and ends, carrot peels and tops, celery stalks and leaves, leek greens, garlic cloves and papery skins, mushroom stems, parsley and cilantro stems, fennel, squash and pumpkin skins, corn cobs, shallot skins, tomato ends, green onion tops, and bell pepper cores. Carrot and onion give sweetness, celery and leek give a savory base, mushroom stems and tomato ends add umami, and herbs add depth without needing much volume.
Skip the cruciferous scraps, and I mean all of them: broccoli, cauliflower, cabbage, Brussels sprouts, and radish. They carry sulfur compounds that turn bitter in a long simmer. Potato peels are worth skipping too, because the starch makes the liquid slimy and cloudy. Beets will tint everything pink, which is safe but hard to hide in a pale soup.
- Onion skins and ends — deep savory base. Save them and use generously.
- Carrot peels and tops — sweetness and color. Save.
- Celery stalks and leaves — the savory backbone. Save.
- Leek greens — soft onion depth. Save the darker tops.
- Mushroom stems — umami. Save.
- Herb stems and wilty herbs — aromatics. Save.
- Fennel, squash and pumpkin skins, corn cobs, shallot skins, tomato ends, green onion tops, bell pepper cores — sweet and rounded notes. Save.
- Broccoli, cauliflower, cabbage, Brussels sprouts, radish — bitter and sulfurous. Skip.
- Potato peels — slimy and cloudy. Skip.
- Large amounts of leafy greens — flat and sulfurous. Use sparingly.
- Anything slimy or moldy — off flavors and a safety risk. Compost it.
Step-by-Step: How to Make Vegetable Broth from Kitchen Scraps
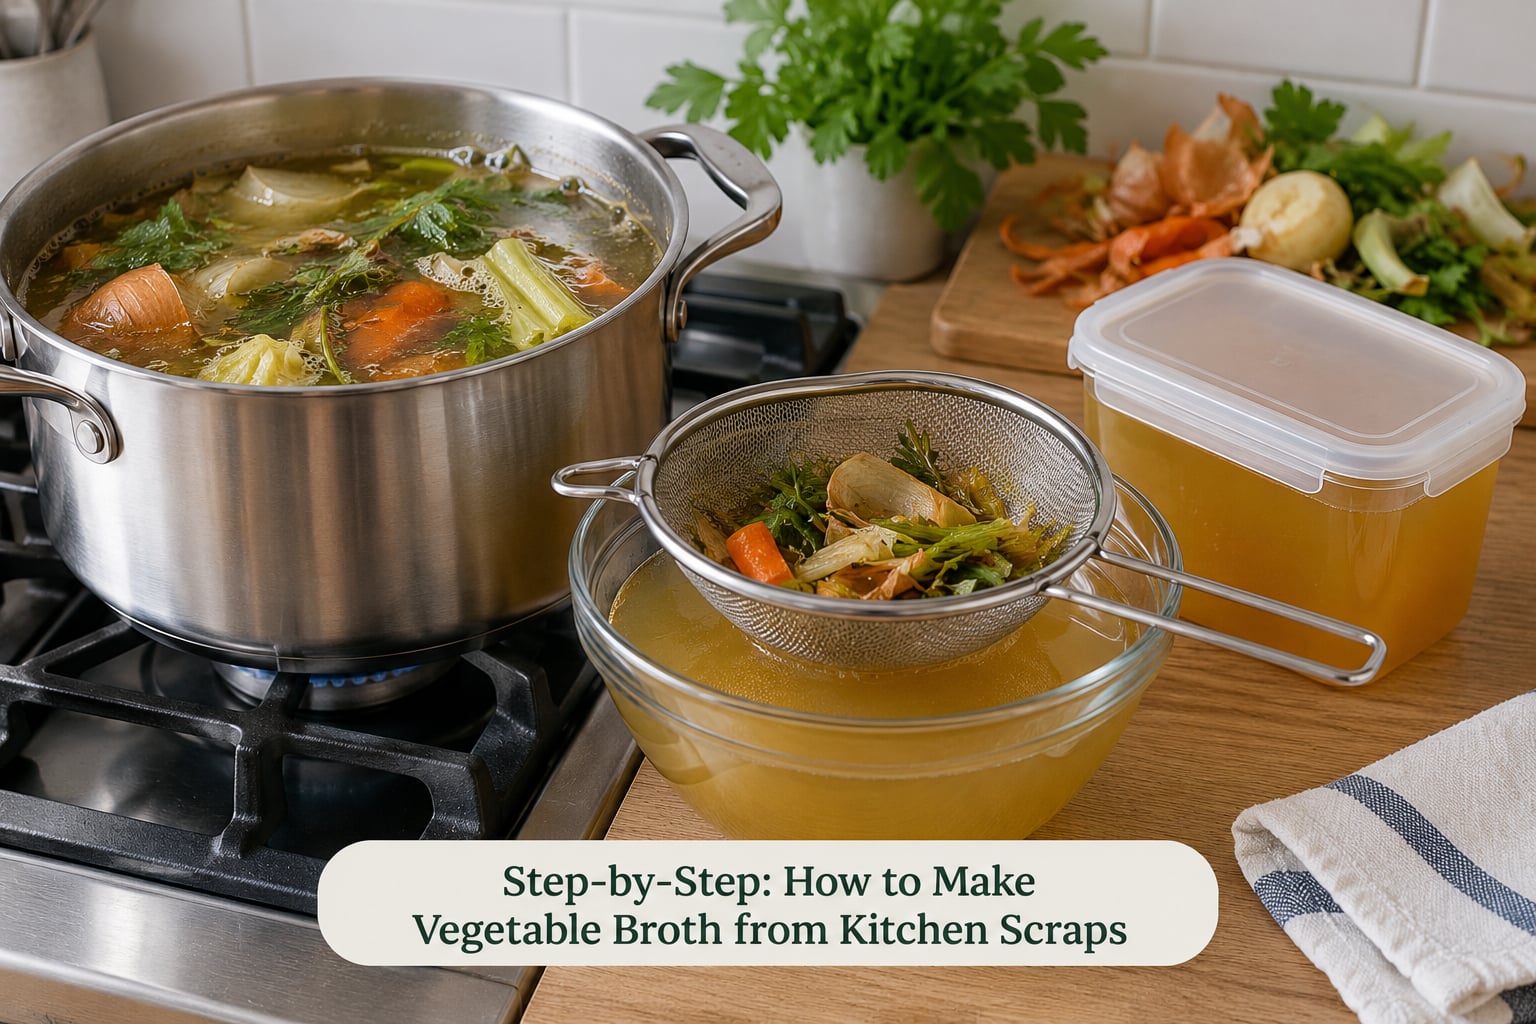
A good starting ratio is 1 to 2. That means 6 cups of vegetable scraps to 12 cups of water, which yields roughly 6 to 8 cups of strained broth. Going heavier on water gets you a thinner result, so resist topping the pot up mid-cook.
Choose the Best Scraps for Vegetable Broth from Kitchen Scraps
Fresh, frozen and slightly wilted scraps all work. Freezing actually breaks down the cell walls a little, which is why a bag of scraps collected over a month often gives a rounder broth than scraps chopped the same hour.
Wilty herbs and greens that are past their best are fine as long as they are not slimy or blackened. What you cannot use is anything that has turned, fermented, or grown mold, and any garden material that still has soil clinging to it.
If you are starting a bag from scratch, aim for a mix that leans sweet and aromatic. Roughly a third onion material, a third carrot and celery, and the rest whatever is on hand works well. That balance is what stops the finished broth from tasting flat or overly vegetal.
Rinse and Prep the Scraps
Rinse everything under cool water and pick out the soft, rotten bits. Scrub anything that was in direct contact with soil, and cut thick pieces like carrot ends and celery stalks into smaller chunks so they soften in the same window as the peels.
Chopping is optional, but it speeds things up. Big pieces take closer to the full 60 minutes, small bits give up their flavor faster.
If you want more depth, heat a tablespoon of olive oil in the pot and toast the scraps for 3 to 5 minutes until a few edges brown, before any water goes in. Skip that step when you are in a hurry. No blanching is ever needed.
Simmer the Broth
Put the scraps in the pot, add cold water until everything is covered by about an inch, and bring it to a boil. Then drop the heat so it barely bubbles. You want steam and occasional lazy movement, not a rolling boil.
Simmer partially covered for 30 minutes, then decide whether to keep going. Most home cooks land somewhere between 30 and 60 minutes total. A hard boil churns the solids, pulls bitterness out of the vegetables and clouds the liquid, so keep the simmer gentle and skim any foam that builds in the first few minutes.
You will know it is ready by smell rather than the clock. The kitchen should smell like a clean, savory vegetable base, and a spoonful should taste rounded rather than like plain salted water. Tasting early and often is the only reliable test.
A slow cooker works just as well: same ratio, high heat for 2 hours. A pressure cooker gets there faster, roughly 30 minutes at high pressure, with the lid off so it can vent.
Strain and Store the Broth
Lift out the larger pieces with a slotted spoon, then pour the liquid through a fine-mesh strainer. For the clearest result, line the strainer with cheesecloth and let it drip for 15 minutes instead of pressing, since pushing on the solids forces cloudiness through.
Season only after it is strained and tasted. Salt early and it becomes harder to adjust, and reducing a salty broth only concentrates the problem. If it tastes thin, simmer it with the lid off for 10 to 15 minutes to reduce by about a third.
Let the broth cool quickly, then refrigerate it in sealed containers at or below 40 F and use it within 3 to 4 days, which is the USDA guidance for homemade stocks. For longer storage, freeze it in jars or containers with 1 to 2 inches of headspace for up to 3 months, or pour it into ice cube trays and transfer the frozen cubes to a bag once solid.
One caution on canning. Home water-bath canning of vegetable broth is only safe when you follow a tested recipe from the USDA or the National Center for Home Food Preservation. An improvised scraps broth is not a canning recipe, so refrigerate or freeze it instead.
Common Mistakes
Broth that tastes bitter. Almost always one of three things: cruciferous scraps, too many potato peels, or a cook time that ran long. Cut the simmer at 30 minutes next time, and drop the broccoli, cabbage and cauliflower from the bag.
Broth that tastes weak. Too much water, or not enough aromatics. Keep the ratio at 1 to 2, and add onion, carrot and celery even when you think you have enough. Mushroom stems, tomato ends, a spoonful of miso or a splash of soy sauce at the end fix a thin batch without more cooking time.
Cloudy broth. A rolling boil did it. Next time keep the heat low enough that the surface barely shivers, and skim early. You can also run the finished broth through a fine sieve twice to clear it up.
Slimy broth. Potato peels are the usual cause, and no amount of straining removes the mucilage. Scrape the skins off and save the flesh for another meal.
Salty broth. You salted before tasting, or you reduced it from already-salted liquid. Dilute with unsalted water and let it simmer for a few minutes, and put the salt in at the end next time.
Broth that is too thin. Reduce with the lid off and heat low until the volume drops by a third, which usually takes 10 to 15 minutes.
A few habits keep the leftovers useful. Scrape the solids into a blender with a splash of broth and stir them into soups in place of cream, since the starch and fiber thicken it nicely. Compost whatever is left over, and rinse the pot the same night so it does not smell like onion skins for a week.
Store what you make the way you would any leftover. Small amounts go in ice cube trays, larger ones in jars in the fridge for the week ahead, and anything beyond that in the freezer where it will keep for a few months without fuss.
Frequently Asked Questions
What vegetables should I avoid putting in vegetable broth made from kitchen scraps?
Skip cruciferous scraps such as broccoli, cauliflower, cabbage, Brussels sprouts and radish, because they turn bitter over a long simmer. Potato peels make broth slimy and cloudy, and beets turn it pink. Large amounts of leafy greens taste flat and sulfurous. Anything slimy, moldy or rotten should go straight to the compost.
How long does homemade vegetable broth made from scraps last?
Refrigerated homemade broth keeps for 3 to 4 days when stored in a sealed container at or below 40 F, which matches USDA guidance for homemade stocks. In the freezer it holds its quality for about 3 months. Leave 1 to 2 inches of headspace in the container so the liquid has room to expand as it freezes.
Can I freeze vegetable broth made from kitchen scraps?
Yes, and it freezes well. Freeze it in jars or freezer-safe containers with 1 to 2 inches of headspace, or pour it into ice cube trays and move the frozen cubes to a bag. Small cubes are handy for soups and sautés, while full containers cover a pot of beans or a round of risotto. Thaw overnight in the refrigerator.
Why does my vegetable broth taste bitter or muddy?
Bitterness comes from cruciferous vegetables, from potato peels, or from simmering too long at a high boil. Muddiness is nearly always a hard boil that churned the solids through the liquid. Keep the simmer gentle, skim the foam early, and strain the finished broth through a fine-mesh sieve twice. Most bitter batches are past saving.
Can I use frozen or wilted vegetables for kitchen-scraps broth?
Yes. Frozen and slightly wilted scraps are fine and often give better broth than fresh, since freezing breaks down cell walls and lets flavor out faster. Discard anything slimy, moldy, blackened or freezer-burned, and scrub off any soil from garden trimmings before the scraps go in the bag.
How can I make a small batch of vegetable broth taste more flavorful?
Cut the water rather than the cook time. Use 1 cup of scraps to 1.5 cups of water instead of 1 to 2, add onion, carrot and celery even in small amounts, and toast the scraps in a little olive oil before adding liquid. A spoonful of miso, a splash of soy sauce or a few tomato ends adds umami without extra simmering.
Start tonight, not this weekend. Get a bag of freezer bags, put one on the counter, and on the first night you peel a carrot or cut the ends off celery, throw those bits in and label the bag with the date. When the bag has a couple of quarts of scraps in it, cover with water, simmer 30 minutes and strain. That single habit will cut a surprising amount of food waste, and you will have a free pot of broth waiting the next time you need one.