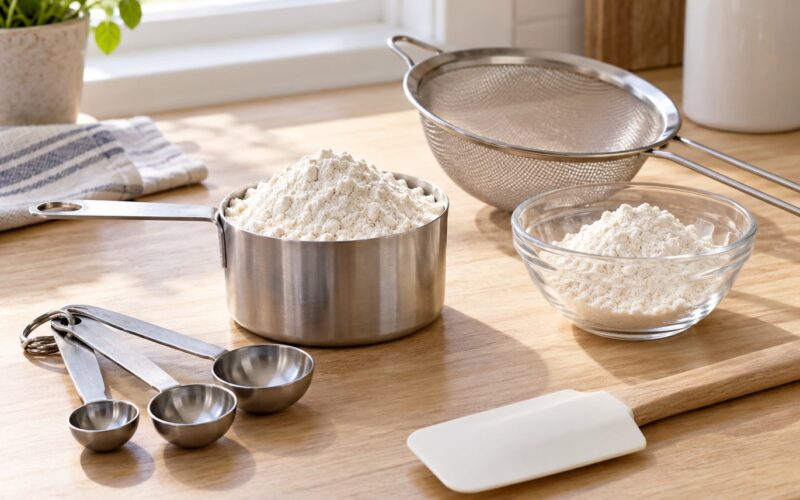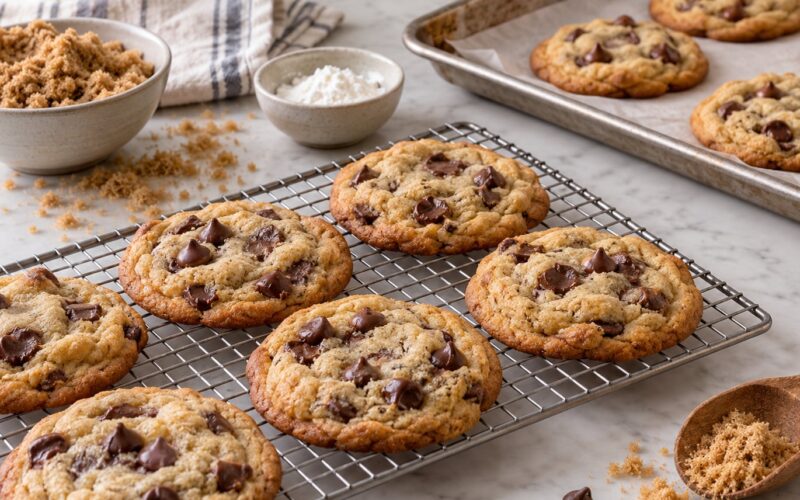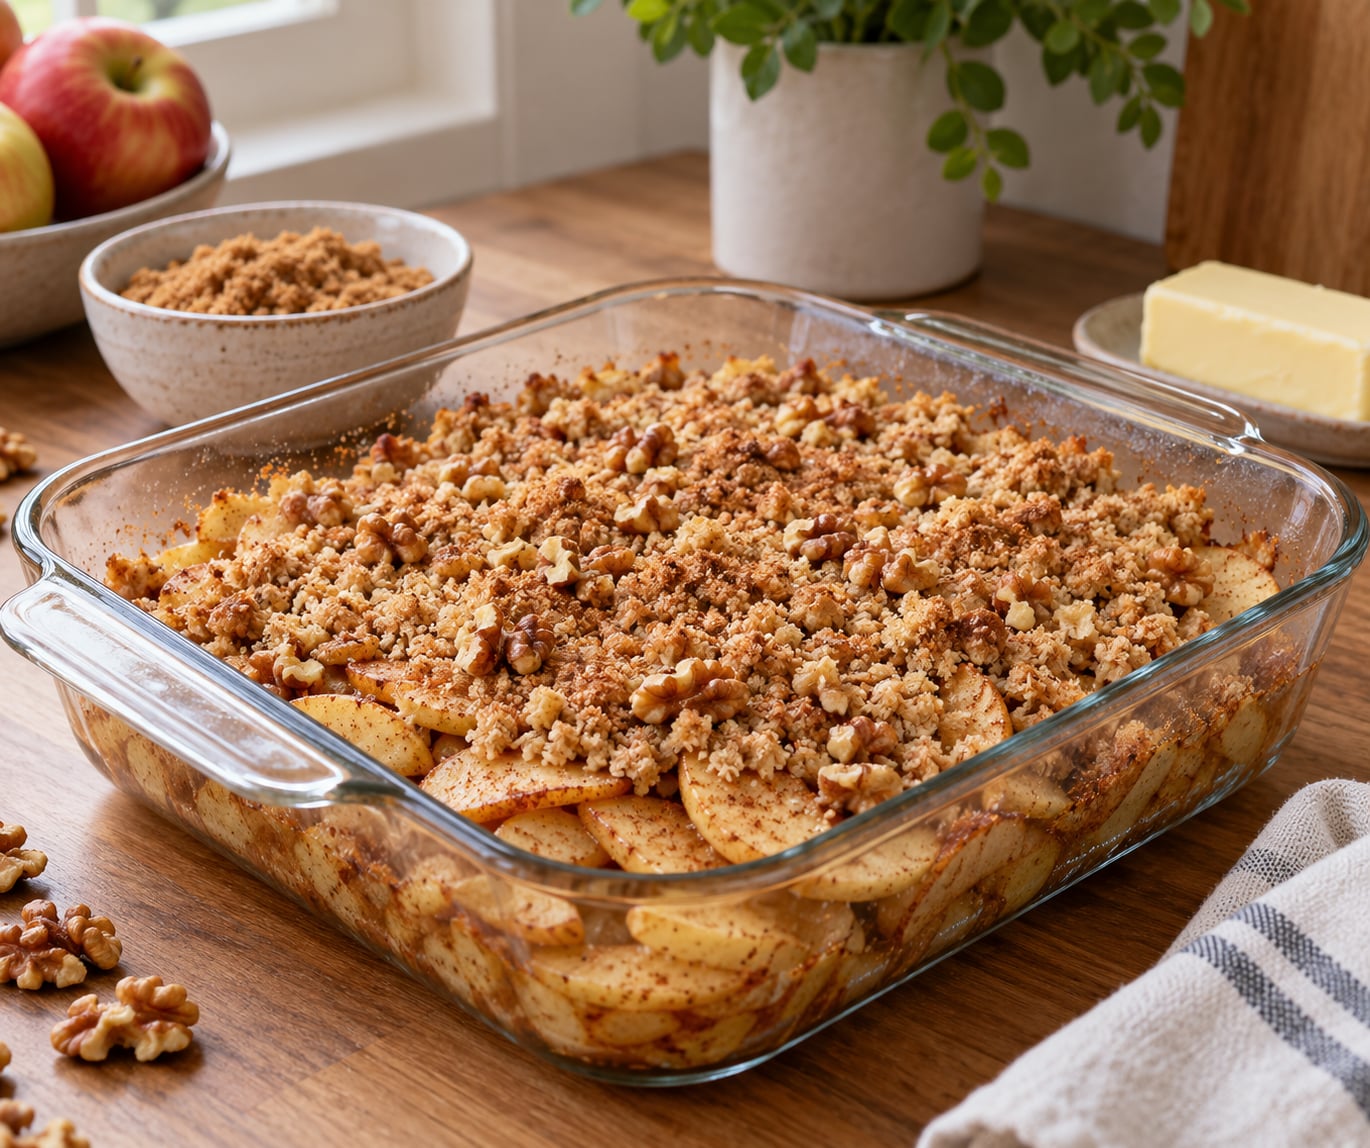
A gluten-free fruit crisp topping is cold butter, packed brown sugar and a gluten-free dry ingredient — a 1-to-1 flour blend, rolled gluten-free oats, almond flour or masa harina — tossed together until it holds pea-sized crumbs. Once you know how to make fruit crisp topping gluten free, the whole job is two things: keep the fat cold and stop mixing before the crumbs turn sandy.
Mixing takes about ten minutes. Baking runs 40 to 50 minutes at 350°F, so the total time is about an hour and it is beginner-friendly work: one bowl, one dish, no rolling pin.
Table of Contents
- What You Need for a Gluten-Free Fruit Crisp Topping
- Step-by-Step
- Step 1: Choose and Prepare the Fruit
- Step 2: Combine the Dry Topping Ingredients
- Step 3: Cut In the Fat
- Step 4: Add Texture and Seasoning
- Step 5: Spread the Topping Over the Fruit
- Step 6: Bake Until Golden and Bubbly
- Step 7: Cool Before Serving
- Common Mistakes
- Frequently Asked Questions
- Can I make fruit crisp topping gluten free without oat flour?
- Do I need to use gluten-free oats for this fruit crisp topping?
- How do I keep a gluten-free fruit crisp topping from getting soggy?
- Can I make the topping ahead of time?
- What fat works best for a crisp vegan fruit crisp?
- How long should a gluten-free fruit crisp bake at 350°F?
- What to Do First
What You Need for a Gluten-Free Fruit Crisp Topping
A crisp topping is a fat-and-sugar crumb, not a dough, and that changes what you measure. Wheat crisp gets its rigidity from gluten proteins that set into a matrix in the oven. Gluten-free flours have no matrix, so the structure comes instead from fat coating every flour particle and from brown sugar that melts, spreads and re-hardens into a glassy crust.
Here is what goes in the bowl, and why each one is there:
- Dry base: a 1-to-1 gluten-free flour blend, gluten-free rolled oats, almond flour, masa harina, or a combination. A 1-to-1 blend already contains the gum that a plain flour would need, so nothing extra is required.
- Fat: cold unsalted butter cubed, a stick of solid plant butter, or solid coconut oil. This is the part that creates crumbs.
- Sweetener: packed brown sugar, or brown sugar blended with granulated or coconut sugar. Brown sugar is the single biggest lever on how crisp the finished top stays.
- Seasoning: cinnamon, a small pinch of nutmeg or cloves, apple pie spice, and a pinch of salt. Salt is not optional — it sharpens the fruit underneath.
- Optional add-ins: chopped walnuts or pecans, sunflower seeds, sliced almonds, shredded coconut, or a little citrus zest.
The one number worth memorising: about 60 g of topping per cup (450 g) of prepared fruit. That works out to roughly three-quarters cup of dry mix for every cup of sliced fruit, and it is the difference between a dish that sets and one that weeps into a syrup pool.
Step-by-Step
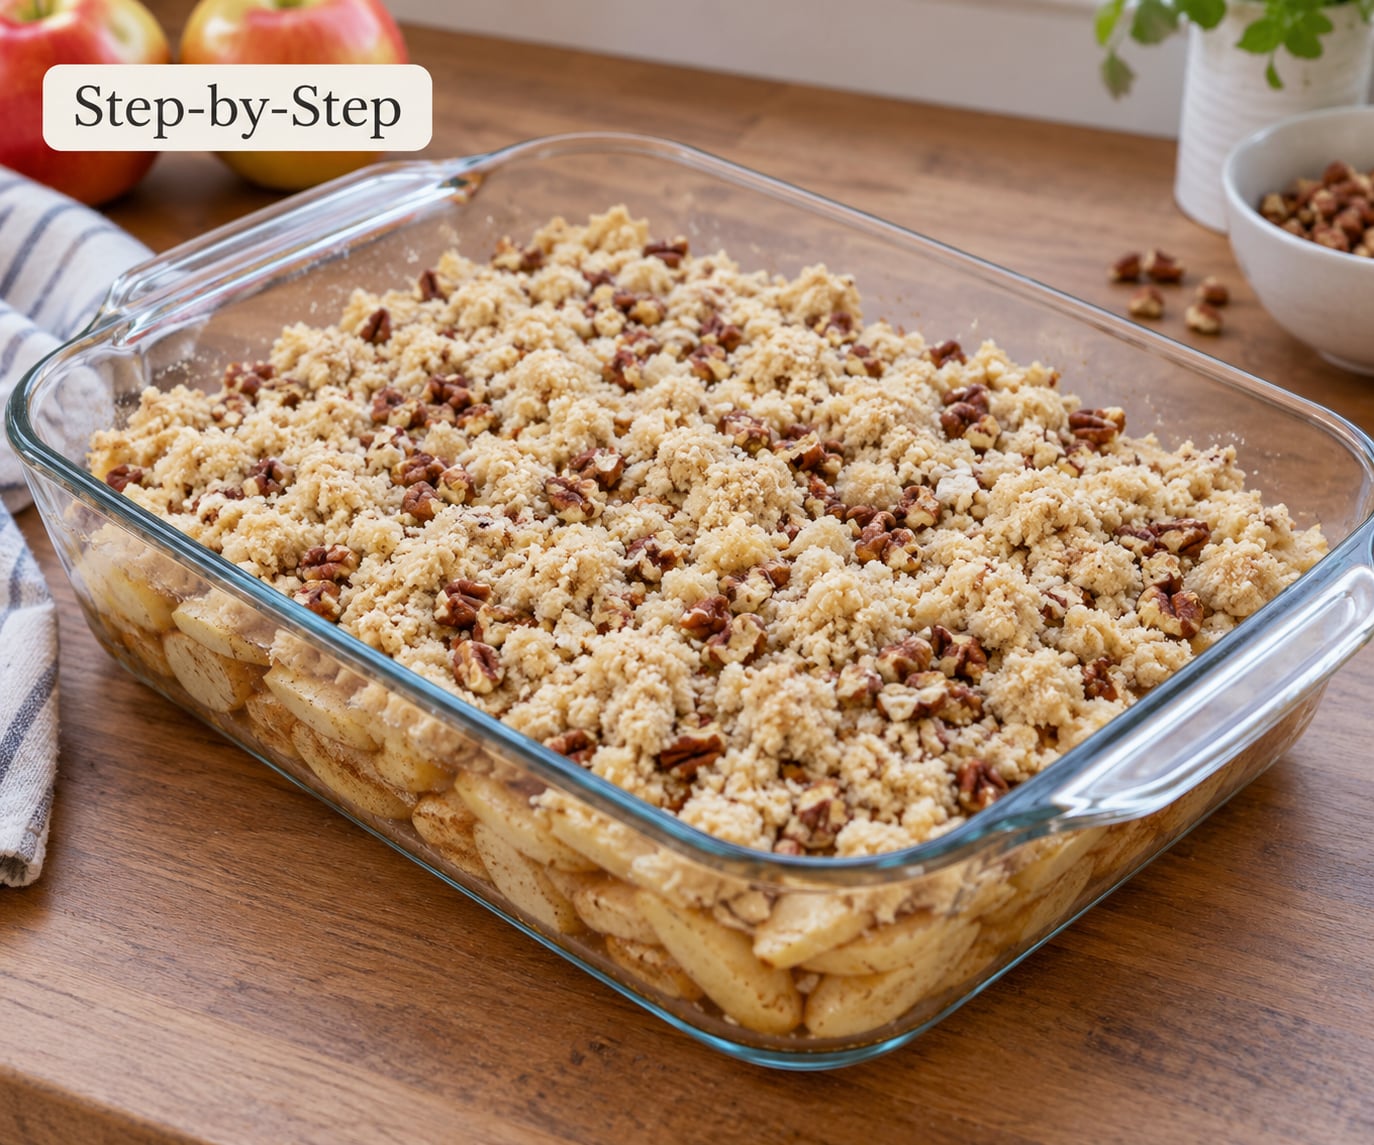
Step 1: Choose and Prepare the Fruit
Firm fruit holds its shape through the bake. Granny Smith and Honeycrisp apples are the reliable ones, along with pears that are still slightly firm at the neck. Skip anything soft or bruised, because it collapses into the juice before the topping can set.
Slice to a consistent thickness, about a quarter inch, so everything finishes cooking at the same moment. Do not rinse the fruit — that water goes straight into the dish. For very juicy berries, stir a tablespoon or two of cornstarch through them so it absorbs juice that would otherwise soak the crumb from below.
Adjust sweetness to the fruit, not to the recipe. Tart fruit such as rhubarb, quince or sour cherry wants more sugar; very sweet fruit wants less. Around here, part of that sugar is often replaced with sorghum or maple syrup, which adds depth without making the crust burn as fast.
Step 2: Combine the Dry Topping Ingredients
Whisk the gluten-free flour, oats or nut flour, both sugars, the cinnamon and the salt together in a dry bowl until the colour is even. Break up any hard lumps of brown sugar with your fingers first — a surviving clump is a gritty spot in the finished crumb.
Make sure the dry mixture reaches the corners of the bowl. Uneven distribution is why some crisps brown in patches while other crumbs stay pale.
Step 3: Cut In the Fat
Work the cold butter cubes into the dry mix with your fingertips, pinching and rubbing until the pieces break down. Stop at crumbs roughly the size of a pea. Then do the squeeze test: grab a handful and squeeze. It should hold together, then fall apart the moment you open your hand.
If it will not hold, add another tablespoon of butter. If it will not fall apart on the second press, you have too much fat and the topping will spread into a flat sugary lid.
Melted butter works, but only in the oat version: drizzle it over the dry mix and toss. In an oat-free blend it pools in the flour and bakes into greasy patches, so keep it cold there.
Step 4: Add Texture and Seasoning
Fold in chopped nuts, seeds or coconut now, once the crumbs are formed, so they stay distinct. Keep add-ins to roughly a quarter of the topping volume. Go heavier than that and the crumb turns dense and heavy rather than light.
A spoonful of orange or lemon zest works with apples and pears; a teaspoon of apple pie spice covers cinnamon, nutmeg and cloves in one go. Taste a pinch of the dry mix before it goes in — raw gluten-free flour tastes flat until the fat and salt arrive.
Step 5: Spread the Topping Over the Fruit
Scatter the topping loosely over the fruit rather than dumping it in one spot. Leave about a half inch of fruit exposed around the edge of the dish so it can caramelise.
Do not press or pack the crumb down. You want an uneven, lumpy surface with air pockets between the crumbs, because that is what turns crisp in the oven. A packed layer bakes into a lid.
Step 6: Bake Until Golden and Bubbly
Bake at 350°F until the top is deep golden brown and the fruit bubbles thickly around the edges, usually 40 to 50 minutes for an 8×8 or 9×9-inch dish. Start checking the fruit at the 30-minute mark by lifting a corner with a spatula.
Adjust for the dish and the fruit. A wider, shallower dish browns faster and needs less time; a deep 9×13 needs closer to 55 minutes and often benefits from a layer of foil over the top for the last ten minutes. Fruit high in sugar darkens early, so tent it if the edges colour before the centre sets.
Step 7: Cool Before Serving
Rest the crisp uncovered on a wire rack for 20 to 30 minutes. Cooling is not optional: the fruit is still giving off steam, and any topping cut while hot has not finished firming up.
To bring an older crisp back, put it in a 350°F oven for about 10 minutes. Loose crumbs can be re-crisped on a parchment-lined sheet pan at the same temperature for roughly 10 minutes.
Common Mistakes
Almost every disappointing gluten-free crisp traces back to one of four things: too wet fruit, too little fat, too little crumb, or heat applied too fast. Work down this table and the problem usually names itself.
| Problem | What caused it | Fix |
|---|---|---|
| Soggy centre | Too little topping for the volume of fruit, or juicy fruit not thickened | Use the 60 g per cup ratio and stir cornstarch into very juicy fruit |
| Greasy, pooled topping | Melted butter that was not distributed, or too much fat | Cold cubes cut into the dry mix, pea-sized crumbs, squeeze test |
| Sandy, flat lid instead of a crumble | Overworked the crumbs until they were fine powder, then pressed them down | Stop at pea size and scatter loosely |
| Uneven browning | Topping spread unevenly, or dish too close to the element | Use the middle rack and distribute crumbs by hand |
| Overflowing juices | Deep fruit in a shallow dish with no thickener | Fill no more than two-thirds of the dish and add cornstarch |
| Topping sinks or is dense | Too much flour for the fat, or the layer was packed down | Add more fat until the crumbs hold on a squeeze |
| Tasting flat | Not enough salt, or too little brown sugar | Add a pinch of salt and swap in more brown sugar |
| Too sweet | Sugar measured for tart fruit, used on ripe sweet fruit | Reduce sugar by a quarter and add lemon juice to the fruit |
| Gluten reaction after eating | Cross-contact from oats, flour or a shared board and oven | Use certified gluten-free products and clean surfaces first |
That last row matters most for celiac disease, gluten intolerance or dermatitis herpetiformis. Ordinary oats are frequently cross-contacted with wheat, barley and rye during milling, so buy oats and flours labelled certified gluten-free, keep them on a separate shelf, and wipe down the board, the knife and the oven rack before you start. In a mixed-gluten kitchen, bake the whole dish gluten-free rather than making a separate portion — the crumbs share the same fruit juices, so a partial approach does not really work.
Frequently Asked Questions
Can I make fruit crisp topping gluten free without oat flour?
Yes, and the oat-free version is often the crisper of the two. Use a 1-to-1 gluten-free flour blend, or a mix of masa harina and almond flour, in the same quantity the oats would have filled. Brown sugar plus cold butter supplies all the structure, so oats are not structurally necessary. Toast the crumbs alone on a lined sheet pan at 350°F for 10 to 12 minutes before scattering them over fruit if you want extra crunch.
Do I need to use gluten-free oats for this fruit crisp topping?
Only if oats are in the formula. If celiac disease or dermatitis herpetiformis is the reason you are cooking gluten-free, use oats labelled certified gluten-free, because standard oats are routinely cross-contacted with wheat during milling. If you simply prefer to avoid oats, use a 1-to-1 flour blend, almond flour or masa harina instead and the topping will still crisp. Many readers who cannot tolerate oats report the flour-based version is their preference.
How do I keep a gluten-free fruit crisp topping from getting soggy?
Five things help. Measure about 60 g of topping per cup of prepared fruit, thicken very juicy fruit with cornstarch, cut cold butter into the dry mix until the crumbs are pea-sized, scatter the topping loosely instead of pressing it down, and let the finished dish cool uncovered for 20 to 30 minutes before cutting. Gluten-free flours have no protein network to trap moisture, so every one of these steps substitutes for the structure gluten would have provided.
Can I make the topping ahead of time?
Yes, and it is the easiest way to get ahead for a holiday. Mix the dry ingredients with the cold fat, then store the crumb in an airtight container in the refrigerator for up to three days, or freeze it flat in a bag for up to three months. Scatter it over the fruit and bake straight from cold, adding two or three minutes to the bake time. Do not prepare the wet fruit mixture ahead, or it will start weeping into the crumb.
What fat works best for a crisp vegan fruit crisp?
A stick of solid plant butter, used cold and cubed, is the closest match to dairy butter. Solid coconut oil works and gives the topping a faint coconut note, though it browns faster, so watch the edges. Avoid poured liquid oils: they coat the flour without the water in butter to help form clumps, and the topping comes out dusty. Same cold-fat, pea-sized-crumb rule applies to every fat you choose.
How long should a gluten-free fruit crisp bake at 350°F?
About 40 to 50 minutes for an 8×8 or 9×9-inch dish, no matter which flour you use. It is done when the top is deep golden brown and the fruit bubbles thickly at the edges, not when the timer ends. A deep 9×13-inch pan usually needs closer to 55 minutes, while a wide shallow dish can finish in 35. Sugar-heavy fruit browns faster, so tent with foil if the edges colour early.
What to Do First
Put a scale on the counter before anything else. Weigh your prepared fruit, work out 60 g of topping for every cup, and cut that fat in while it is still cold from the fridge. Everything else on this page is adjustment; the ratio and the crumb size are what make the topping crisp.
Updated for 2026.