How to cook farro and freekeh comes down to a short simmer and a taste test, but the two grains are not interchangeable: farro is a hulled, nutty emmer wheat, while freekeh is young green wheat that is fire-roasted and rubbed to remove its husk. For the basics, one cup of semi-pearled farro needs about 3 cups of liquid and 20 to 30 minutes of gentle simmering, and one cup of freekeh needs about 2.5 cups of liquid and roughly 20 minutes if it is cracked or 35 to 40 minutes if it is whole. Once you know which form you have in the bag, both grains are straightforward.
Timing is where most people go wrong, because the label on the package tells you almost nothing useful. Whole grains take the longest, cracked grains the shortest, and the difference between them can be twenty minutes. I have ruined more batches of farro by trusting a package timer than I care to admit, and the fix is always the same: taste as you go rather than cooking to the clock.
Both grains also happen to be wheat, so if you are avoiding gluten, neither one works. Rice, quinoa and sorghum all take the same seasoning approach and stay chewy, and you can swap them in using the ratios below without changing anything else in the method.
Table of Contents
- What You Need to Cook Farro and Freekeh
- Farro and Freekeh at a Glance
- How to tell which form you have
- Step-by-Step: How to Cook Farro
- How to Cook Farro in an Instant Pot
- Step-by-Step: How to Cook Freekeh
- How to Cook Freekeh in an Instant Pot
- Can you cook farro and freekeh in the same pot?
- How to Use Cooked Farro and Freekeh
- Common Mistakes
- Frequently Asked Questions
- What is the difference between cooking farro and cooking freekeh?
- How much water or broth should I use for one cup of farro or freekeh?
- How long does it take to cook farro and freekeh on the stovetop?
- Can I cook farro or freekeh in an Instant Pot?
- How do I make farro or freekeh chewy instead of mushy?
- How long can cooked farro and freekeh be stored?
- Conclusion
What You Need to Cook Farro and Freekeh
The ingredient list is short. The one thing worth checking before you start is the form of the grain, because that single detail sets the ratio and the simmer time.
- 1 cup dry farro or freekeh — whole, semi-pearled, pearled, cracked or wholegrain.
- 2.5 to 3 cups liquid — water, vegetable broth, chicken stock or mushroom stock all work.
- Kosher salt — roughly 1 teaspoon for water, 1/2 teaspoon if you are cooking in salted broth.
- A pot with a tight lid — a saucepan is enough for a cup of grain.
- A fine-mesh strainer or a lid that lets you tip off excess liquid.
- Olive oil or butter and aromatics — onion, garlic, thyme or cumin, if you are cooking a pilaf.
Broth instead of water is the easiest upgrade. It seasons the grain from the inside, and if you save the strained cooking liquid you get a ready-made broth for soups the same day.
Farro and Freekeh at a Glance
| Grain and form | Liquid per 1 cup grain | Simmer time | Flavor and texture |
|---|---|---|---|
| Farro, pearled | 3 cups | 15-20 minutes | Quickest farro, softest bite |
| Farro, semi-pearled | 3 cups | 20-30 minutes | Nutty, chewy, holds shape in salads |
| Farro, whole | 3 cups | 30-45 minutes | Most bran, firmest chew, most fiber |
| Freekeh, cracked | 2.5 cups | about 20 minutes | Smoky, tender, good for pilafs |
| Freekeh, wholegrain | 2.5 cups | 35-40 minutes | Smokiest, chewiest, needs more time |
Both grains swell to roughly three times their dry volume, so a cup of dry grain yields about three cups cooked, and a half cup yields around one and a half cups. That is the number I plan meals with.
How to tell which form you have
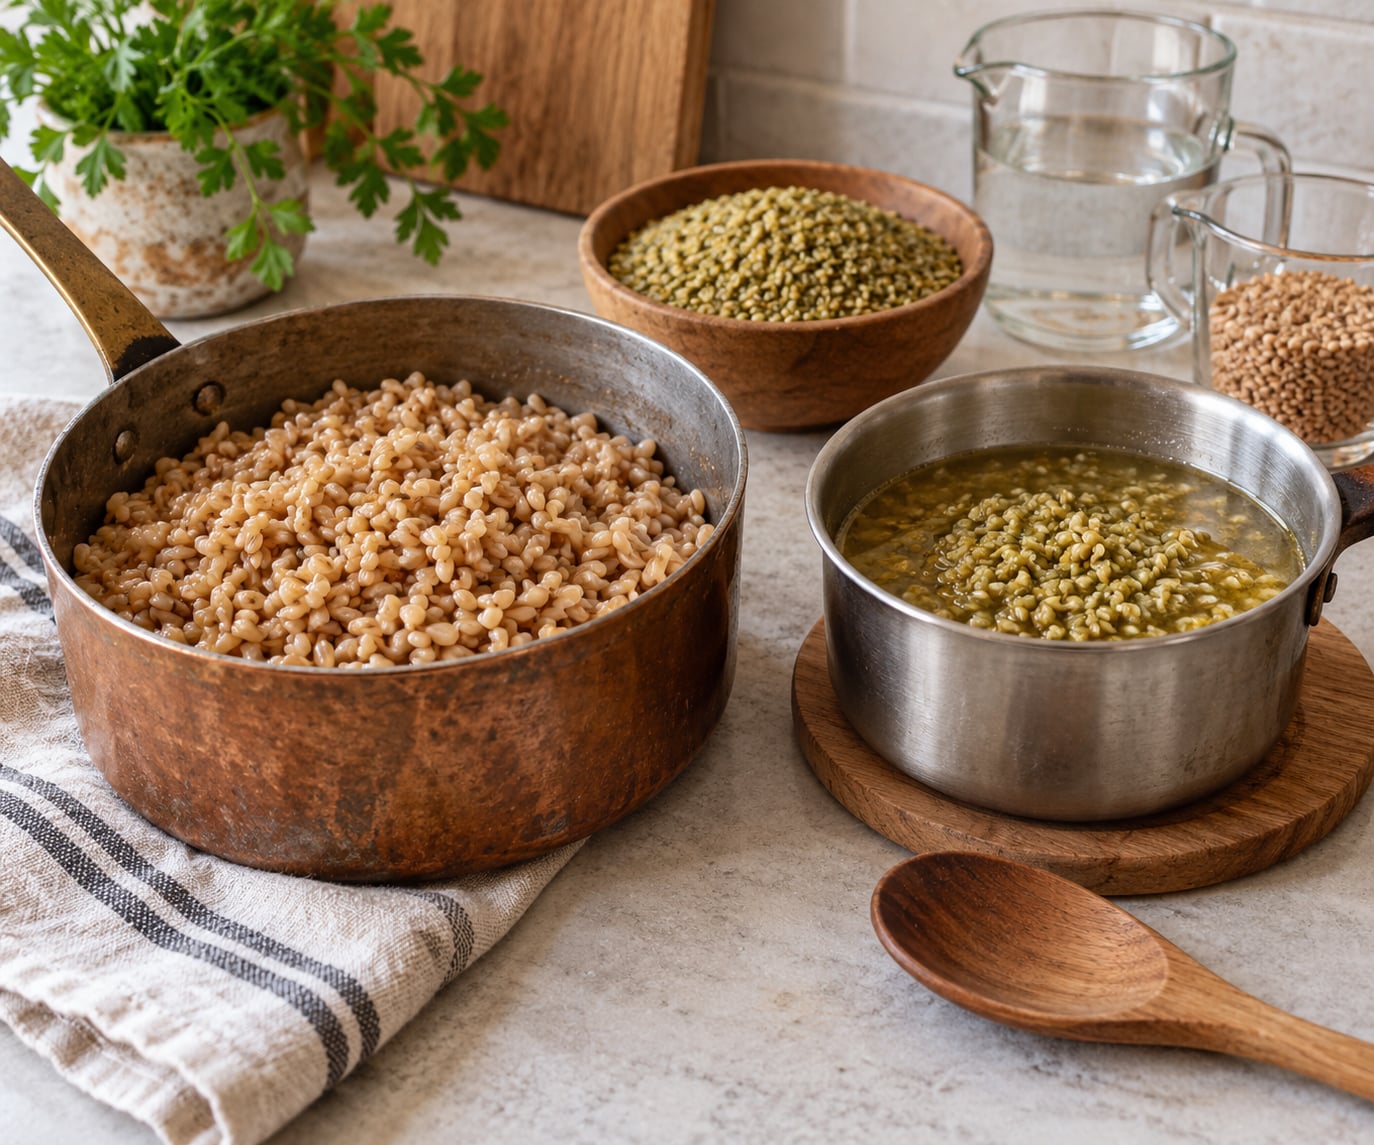
Whole and semi-pearled farro show a visible bran and a slightly dusty surface, and whole freekeh looks like small green-tinted kernels with bits of husk left in. Pearled grains have been polished smooth and look glossy, and cracked grains are visibly broken into two or three rough pieces. If you cannot tell, cook the shortest time on the label and check early. Overcooking cannot be undone, but undercooking just needs another five minutes.
Step-by-Step: How to Cook Farro
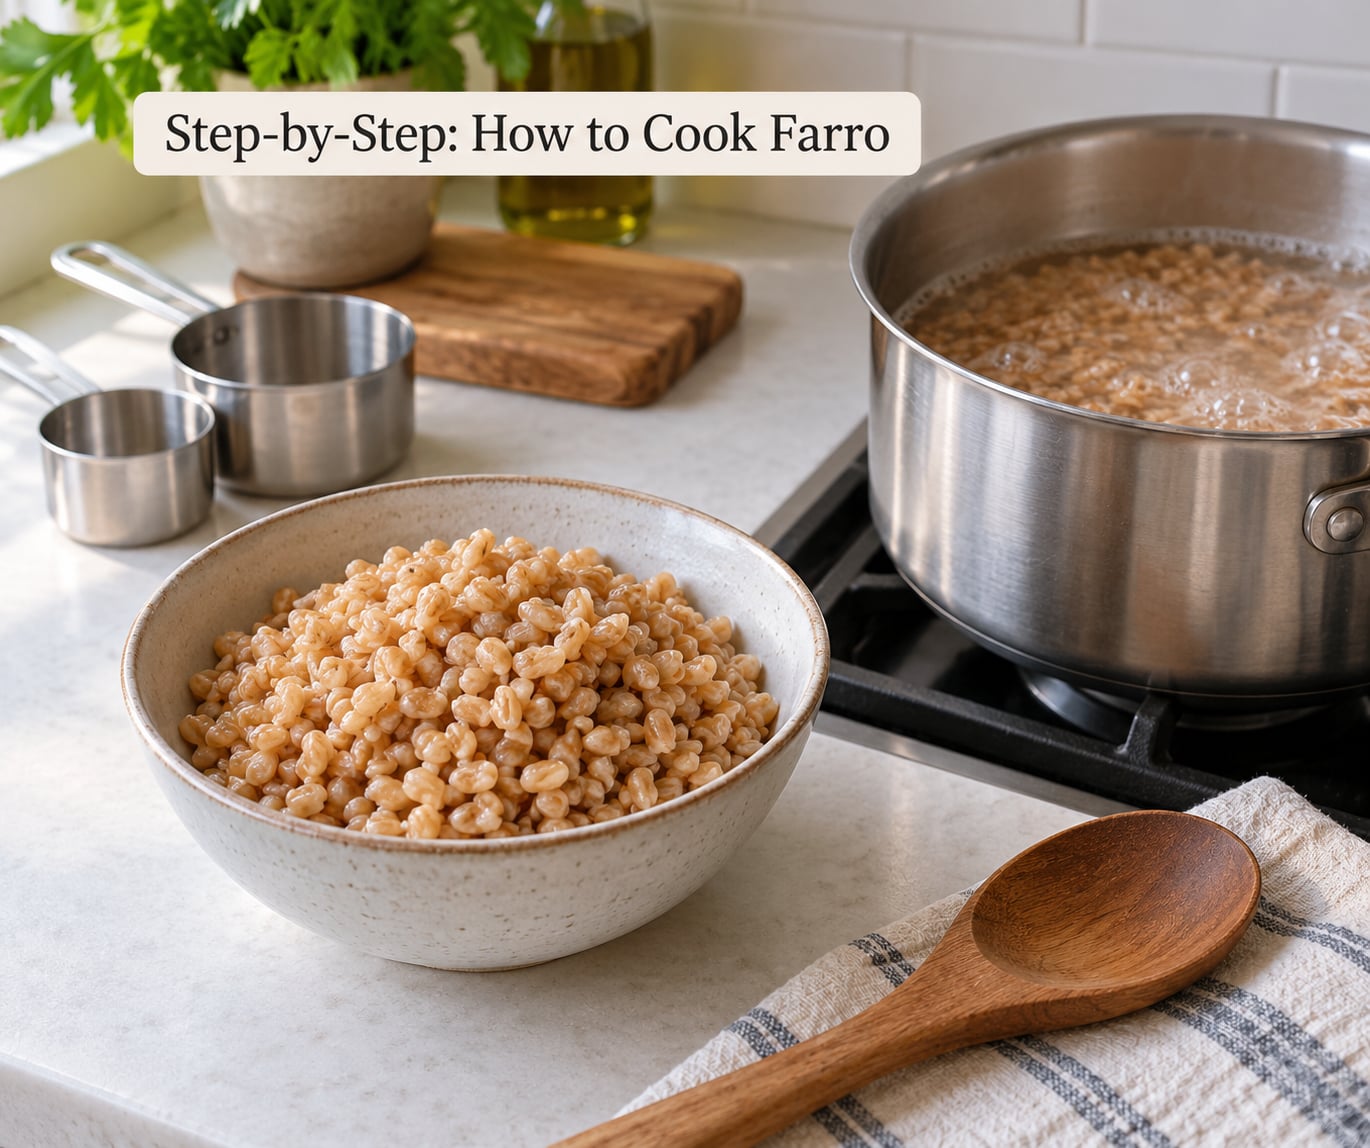
Toast first. It takes two minutes and it is the difference between farro that tastes faintly nutty and farro that tastes genuinely toasted, because dry grain has no moisture to carry aroma until it hits liquid.
- Rinse and pick over farro. Put it in a fine-mesh strainer and rinse under cold water for about a minute, rubbing the grains between your fingers. Expect a little dust and a few dark specks; that is bran and hull, not dirt.
- Toast the grain. Set a dry saucepan over medium heat, add the farro, and stir constantly for 2 to 3 minutes until it smells like popcorn and the grains are a shade darker. Do not walk away, because it scorches in seconds.
- Add liquid and bring to a boil. Pour in 3 cups of water or broth per cup of farro, add 1 teaspoon kosher salt if using water, and stir once to loosen the toasted grain.
- Simmer covered for 20 to 30 minutes. Use the smallest simmer you can hold, keep the lid on, and give it a stir every 8 or 10 minutes. Start tasting at 20 minutes.
- Drain and fluff. When a grain bends with pressure but still snaps at the center, tip the contents into a strainer and let it drain for a minute. Fluff with a fork, season with olive oil, lemon and salt while hot, and serve.
You will know it is done by the bite, not the timer. A cooked farro grain dents under a fingernail and offers a slight resistance, like a good pasta shape. If the center is still chalky-white and hard, give it five more minutes in the pot.
If you are going for a grain salad, cook it a minute or two firmer than you would for a side dish, because the grain keeps softening as it cools and dresses.
How to Cook Farro in an Instant Pot
Rinse and toast the farro as above, then add it to the Instant Pot with 2.5 cups liquid and 1 teaspoon salt. Seal the lid, set the valve to sealing, and pressure cook on high for 18 minutes, with a natural release. Farro softens noticeably in the residual steam, so resist the urge to force-release. A quick release will leave the grains firmer; either way, fluff with a fork once the pin drops.
Step-by-Step: How to Cook Freekeh
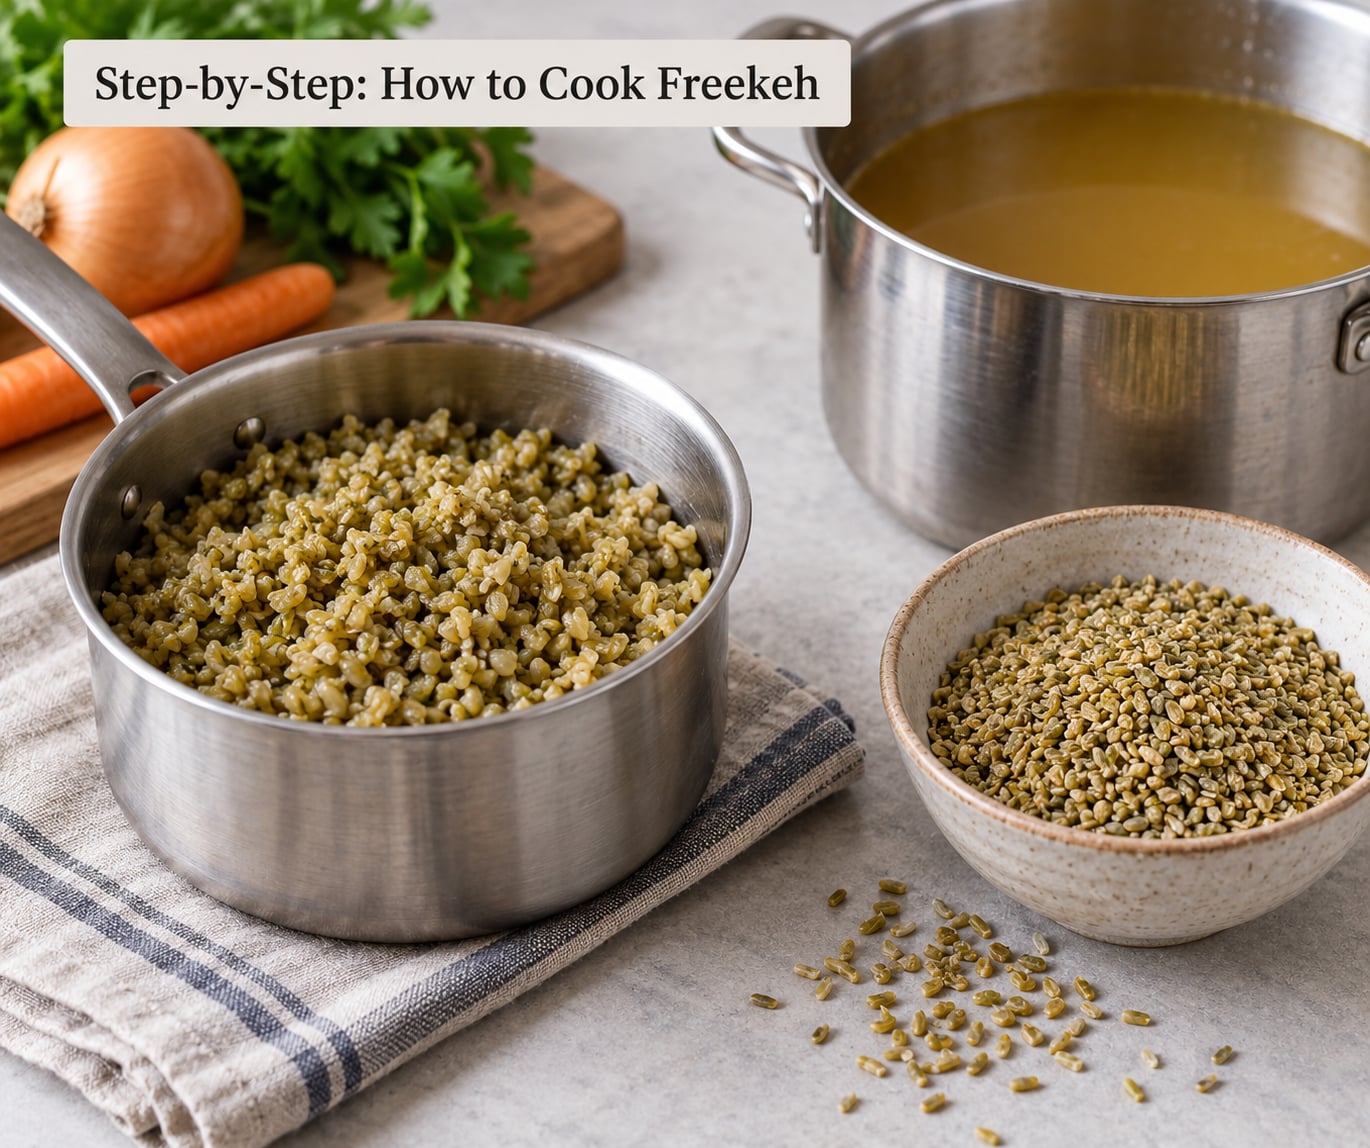
Freekeh needs less liquid than farro and less fuss around it. The fire-roasted husk is already doing flavor work, so you do not need to toast it first, though a quick dry toast does make a smoky pilaf taste deeper.
- Rinse the freekeh. Cracked freekeh is dusty, so rinse it in a strainer for a full minute under cold water until the water runs closer to clear.
- Add 2.5 cups liquid to 1 cup freekeh. Water, vegetable broth or chicken broth all work, with 1 teaspoon kosher salt if you are using plain water.
- Bring to a boil, then cover. Unlike farro, freekeh can hit a full boil without scorching because it is fire-roasted and more fragile-looking, but keep your hand on the pot anyway.
- Simmer on low for 20 minutes for cracked, 35 to 40 minutes for wholegrain. Stir once or twice. Start tasting at 18 minutes for cracked freekeh.
- Drain if needed and fluff. Cracked freekeh often absorbs all its liquid; wholegrain usually leaves some behind. Season with olive oil, lemon juice, salt and a spoon of tahini or chopped parsley.
Seasoning at the end matters here. Salt added at the start pulls more starch into the water, which turns freekeh pasty, so keep the pot unsalted until the grain is tender and then dress it in the bowl.
Soaking is optional. An eight-hour soak with a teaspoon of vinegar in the water softens the outer bran of wholegrain freekeh and shortens cooking time by about 10 minutes, but it is not needed for cracked freekeh or semi-pearled farro.
How to Cook Freekeh in an Instant Pot
Toast the dry grain for two minutes in the pot first, then add 2 cups broth or water, which is a touch less than the stovetop ratio because there is no evaporation. Pressure cook on high for 8 minutes for cracked freekeh or 20 minutes for wholegrain, followed by a full natural release of at least 15 minutes. That release is part of the cooking, not a delay before it.
Can you cook farro and freekeh in the same pot?
You can, and the trick is staggered timing. Add the whole or semi-pearled farro first, since it needs the longest, then add cracked freekeh about 12 minutes later. Both are drained together at the end, and they mix fine in pilafs and grain bowls, where the smoky freekeh reads as an accent rather than a different grain.
Cooking them together matters if you are doubling a recipe and short on burners. Just do not try to keep the two grains at identical textures in a salad. They finish at different times, and forcing that never works out.
How to Use Cooked Farro and Freekeh
Once you know how to cook farro and freekeh, the easy part starts. Neither grain is a plain side dish on its own; they want a dressing or a broth pulled through them.
- Salads. Room-temperature grain, chopped parsley, cucumber, tomato, mint and a lemon-olive oil dressing. Freekeh holds up especially well here because its smoke stands up to raw vinegar.
- Soups and stews. Add farro in the last 20 minutes of a soup so it does not collapse. Reserve some cooking liquid and stir it in for body.
- Pilafs. Toast the grain, sauté onion and garlic in olive oil, add broth, and finish with toasted nuts and herbs. Freekeh pilaf with almonds and currants is the version I make most.
- Grain bowls. One grain, one roasted vegetable, one legume, one crunchy topping, one sauce. Meal prep four at a time and refrigerate them separately.
- Stuffed vegetables. Farro, chopped kale, onion, garlic, lemon and grated cheese, baked into acorn or bell squash halves.
- Breakfast porridge. Cracked freekeh cooks in three parts liquid to one part grain in about 15 minutes and thickens into a savory porridge with yogurt and honey.
One more use worth knowing: both grains bind a meatless loaf or patty. Cook the grain firm, chill it, and mix it with beans, chopped vegetables and binders; it holds shape where plain rice would fall apart.
Common Mistakes
Too much liquid is the number one cause of mush. Measure it, do not eyeball it. If you are unsure, use the lower number in the table and add hot liquid a quarter cup at a time.
Skipping the rinse. Bran and hull fragments make cooked grain taste dusty. One minute under cold water fixes it.
Cooking to the clock. Package directions assume a different pot, a different burner and a different altitude. Taste three minutes before the stated time.
Seasoning too early. Salt and acidic ingredients at the beginning pull starch out of the grain. Season at the end, and use lemon juice off the heat so it stays bright.
A scorched bottom. Long grain cooking traps heat underneath. Put a diffuser under the burner, stir more often than feels necessary, and move the pot to the back of the stove if you are using broth.
A loose lid or a messy boil. Freekeh in a half-covered pot will boil hard, throw starch into the air, and take the smoke of toasting with it. Cover properly, then drop the heat.
Storing grain warm. Cool it uncovered on a baking sheet first, then move it to an airtight container. Warm grain sweats, condenses water, and goes sour fast.
Cooked farro and freekeh keep about three to four days in the refrigerator and up to three months in the freezer. Dry grain in an airtight jar keeps for months in a cool pantry, and the smell test is reliable: stale grain has no aroma at all.
Frequently Asked Questions
What is the difference between cooking farro and cooking freekeh?
Farro uses more liquid and takes slightly longer; freekeh needs less liquid and cooks faster because its husk has already been removed by rubbing. The real difference is the grain form you hold. Whole and semi-pearled farro need 3 cups of liquid per cup and 20 to 45 minutes of simmering. Cracked freekeh needs 2.5 cups and about 20 minutes, wholegrain about 35 to 40. Both are finished by taste, not by the clock.
How much water or broth should I use for one cup of farro or freekeh?
Use 3 cups of liquid per cup of farro and 2.5 cups per cup of freekeh. Broth works in place of water and seasons the grain as it cooks, but season with salt only if you are using plain water, since broth already carries salt. Measure rather than eyeball, and if you are nervous about sogginess, start with the lower figure and add hot liquid a quarter cup at a time.
How long does it take to cook farro and freekeh on the stovetop?
Pearled farro takes 15 to 20 minutes, semi-pearled farro 20 to 30 minutes, and whole farro 30 to 45 minutes. Cracked freekeh takes about 20 minutes and wholegrain freekeh 35 to 40 minutes. All of those times assume a gentle simmer with a lid on. Start tasting a few minutes early, because a hard center needs water and time, while an overcooked grain cannot be brought back.
Can I cook farro or freekeh in an Instant Pot?
Yes, and the method is a little different each way. For farro, use 2.5 cups of liquid, pressure cook on high for 18 minutes, then release naturally. For freekeh, toast the dry grain first, use 2 cups of liquid, cook 8 minutes for cracked or 20 minutes for wholegrain, and let the pressure come down naturally for at least 15 minutes. A quick release leaves the grain firmer and drier.
How do I make farro or freekeh chewy instead of mushy?
Toast the dry grain, use the exact liquid ratio, keep the simmer low, and stop cooking the moment the grain dents but still resists a bite. Salt and lemon added early pull starch from the grain and make it pasty, so season at the end. For a grain salad specifically, cook the grain one to two minutes firmer than usual, since it keeps softening as it cools and dresses.
How long can cooked farro and freekeh be stored?
Cooked farro and freekeh keep about three to four days in the refrigerator and up to three months in the freezer. Cool them uncovered on a baking sheet before sealing, because warm grain traps condensation and turns sour within a day. For longer storage, freeze flat in a single layer first, then bag it. Dry grain in an airtight container keeps for months in a cool pantry.
Conclusion
Pick your method first: stovetop for control, Instant Pot for speed. Measure the liquid accurately for whichever grain you have, start at the ratio in the table rather than the top of a range, and taste a few minutes before the stated time. Season at the end, and cook one minute firmer than feels right if it is going into a salad. That is the whole method. Everything after that is what you do with the bowl.