Saving seeds from your own garden is simpler than most people expect: let the fruit or pod ripen fully, collect the seed, clean it, dry it completely, then store it airtight in a cool, dark place. Dry seeds usually need one to three weeks of drying before they go into a jar. The whole job is beginner-friendly as long as you start with beans, peas, lettuce, tomatoes, or peppers.
One thing changes the process for certain crops. Seeds pulled out of soft, wet fruit — tomatoes, cucumbers, squash, melons — carry pulp that traps moisture, so those go through a rinse or a short fermentation before drying. Seeds from dry pods and seed heads need no wetting at all.
If you grow an open-pollinated or heirloom variety, the seed you save usually comes back true to type, meaning the next season’s seedlings look and taste like the parent plant. Seed saved from an F1 hybrid will not, and that is the single most common disappointment for first-time seed savers.
Table of Contents
- What You Need
- How to Save Seeds from Garden Vegetables: Step-by-Step
- How to Save Seeds from Garden Vegetables Successfully
- Check for Cross-Pollination Before Flowers Bloom
- Harvest Seeds at the Right Time
- Remove and Clean the Seeds
- Dry Seeds Until They Are Completely Dry
- Label, Store, and Test the Seeds
- Common Mistakes
- Storage and Germination-Testing Tips
- Frequently Asked Questions
- Can I save seeds from hybrid vegetables?
- How long do saved vegetable seeds stay viable?
- Do I need to ferment tomato and squash seeds?
- How do I keep saved seeds from crossing with other varieties?
- How can I tell that seeds are dry enough to store?
- Conclusion: Start with One Easy Crop
What You Need
Gather your materials before you start harvesting. The list is short, and most of it costs nothing.
- Open-pollinated or heirloom plants in the garden, with the variety name still known to you. If you bought starts without a label, skip that plant this year.
- Mature produce — fully colored, ripe fruit, or dry and brittle pods and seed heads.
- Collection bags: paper bags, glassine envelopes, or fine mesh bags that let air move but keep birds out.
- A fine-mesh sieve or tea strainer for separating seed from chaff.
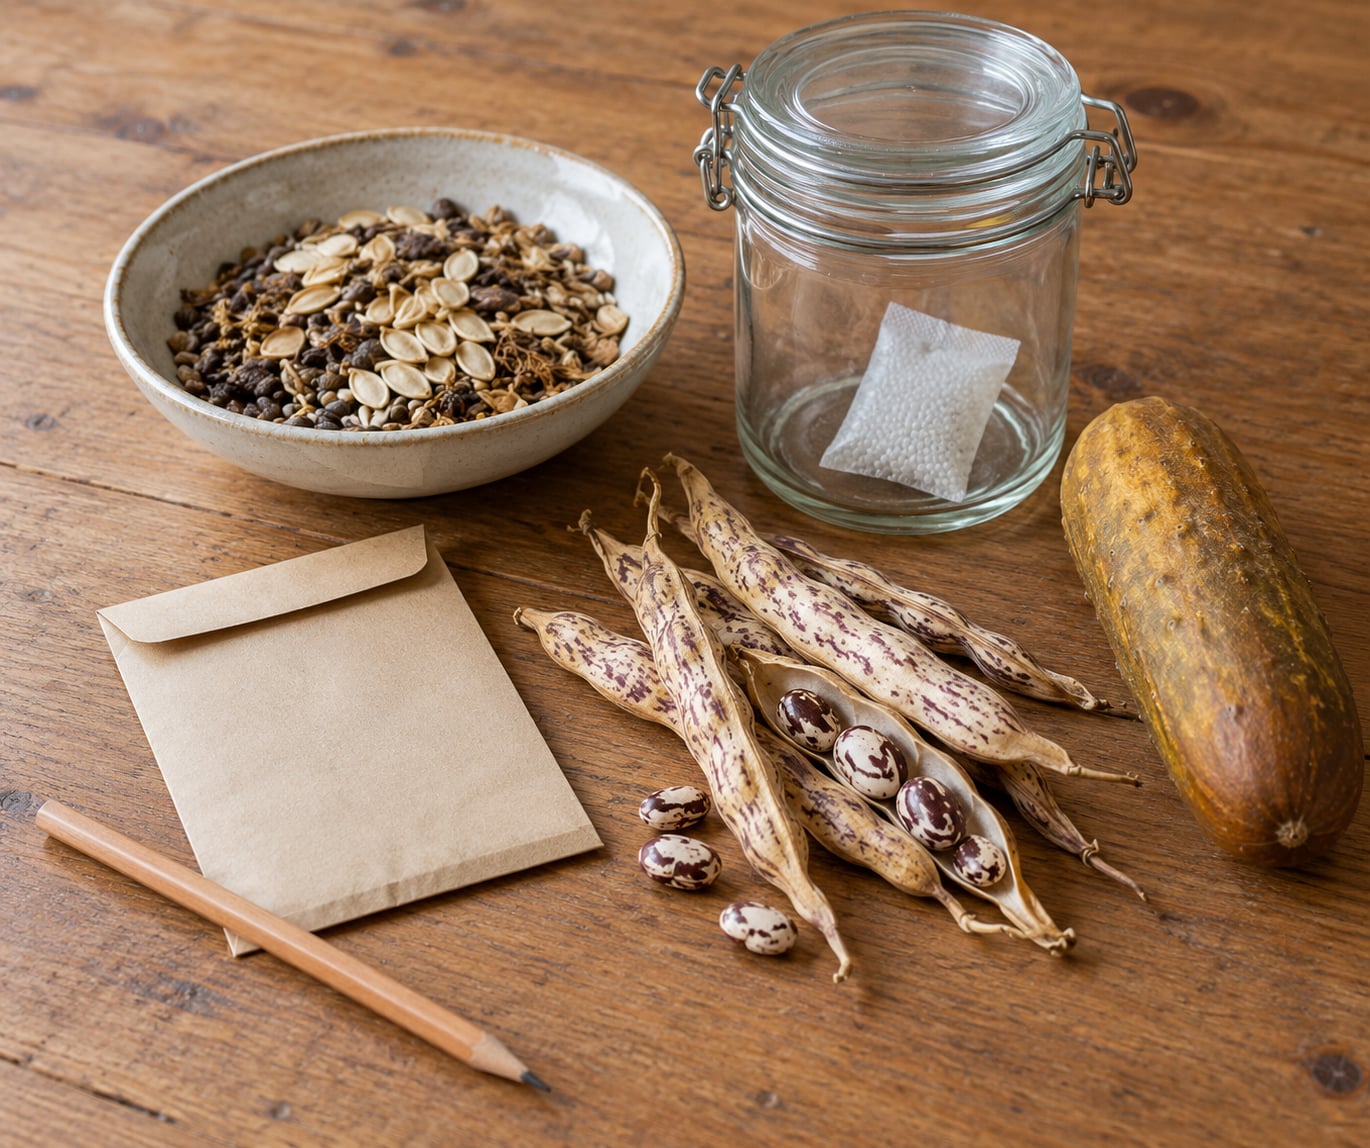
- Labels plus a pencil or waterproof pen. Pencil does not fade in humidity the way some inks do.
- Clean paper envelopes or airtight glass jars for the finished batches.
- A dry indoor space with shade and airflow — a spare room, a screened porch, or a basement shelf.
How to Save Seeds from Garden Vegetables: Step-by-Step
There are seven stages, and the order matters more than the technique. Dry-seeded crops such as beans and lettuce go from pod to packet without wetting anything. Wet-fruited crops add a rinse or a short fermentation first. Set aside an afternoon to gather and clean, then give the seed a week or two to finish drying on a rack before it goes near a jar.
How to Save Seeds from Garden Vegetables Successfully
Start with a plant you know the full name of, and check whether it is open-pollinated or a hybrid. Open-pollinated plants pollinate with their own pollen and reproduce fairly true to type. Heirlooms are simply open-pollinated varieties with a documented history. F1 hybrids are a cross between two inbred lines, and seed from them tends to split into a range of offspring rather than repeating the parent.
Choose the healthiest plants in the row, not the most convenient ones. A plant that fought off disease without help often carries that resistance forward, and saving from a sick or virus-infected plant — common in brassicas — passes the problem on with the seed.
Look for fruit that is fully mature rather than merely ripe for eating. A tomato turns deep red and soft, a squash rind hardens to a dull, unyielding shell, and a bean pod goes tan and dry enough to rattle. Seed taken from fruit picked a little early is often pale, shriveled, and short on viability.
Check for Cross-Pollination Before Flowers Bloom
Some crops mostly self-pollinate and pose no real risk. Beans, peas, lettuce, tomatoes, and peppers are the classic five, and most gardeners can save them without planning anything.
Others cross readily through wind or insects, which means two varieties of the same species blooming nearby can trade pollen. Squash and pumpkins cross with each other, cucumbers with cucumbers, melons with melons, corn with corn, and brassicas — cabbage, kale, broccoli, brussels sprouts — with every other brassica in the patch.
You have four options for those crops. Stagger your plantings so the two varieties do not bloom at the same time. Cover blooms with bags where practical. Hand-pollinate the flower and bag it. Or grow just one variety of that species and accept that a neighbor’s plot or a nearby farmer’s field may still supply pollen.
For corn, an isolation distance of roughly 160 to 200 feet keeps varieties reasonably pure, and 1,000 feet or a staggered flowering time makes it close to certain. Squash and melons need 500 to 1,000 feet, or hand pollination with a blossom bag. Those distances are not negotiable by wishful thinking — bees travel.
Harvest Seeds at the Right Time
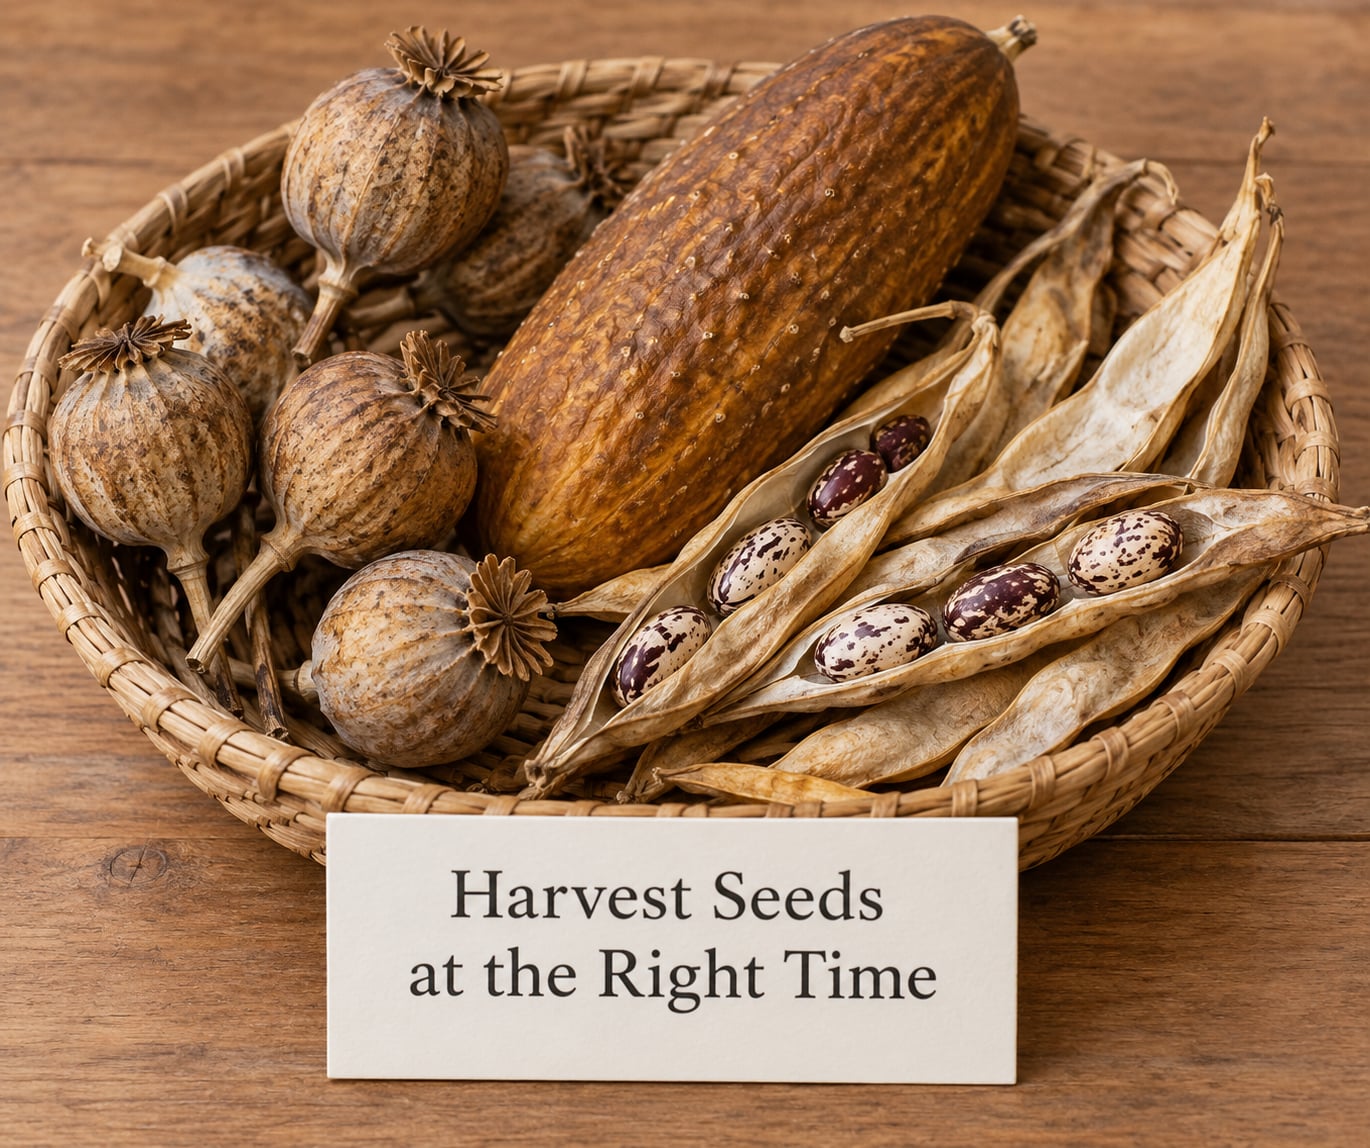
Dry-seeded crops signal readiness clearly. Bean, pea, and squash pods go from green to tan and become brittle; lettuce, carrot, and brassica plants bolt and send up a seed head that turns brown and shatters easily; okra pods dry to a hard, pointed pod on the stalk.
Pick or cut just before the pod cracks open on its own. Seed that has already dropped has usually landed on damp soil, and that moisture costs you viability. Collect on a dry day, and bring the whole pod or seed head indoors if rain or a hard frost is a day away.
Wet-fruited crops wait for the fruit itself. Harvest a tomato at deep color and soft, or a cucumber and squash past eating size, when the rind is dull and the stem dries.
Hang dry seed heads upside down in a paper bag indoors for a week or two if the weather is humid. This is the method most home gardeners land on, and it works well.
Remove and Clean the Seeds
For dry crops, let the pods open on a flat surface, then rub the seed loose between your fingers or against a screen. A fine sieve separates plump seed from light chaff, and winnowing in a light breeze — outdoors or over a fan — lifts off the last bits of pod.
For wet crops, scoop the seed and pulp into a cup and add a little water. Swish it, let it sit for a day or two, and the pulp floats while heavier seed sinks to the bottom. Decant the pulp, rinse the seed, and spread it to dry. Tomato seed benefits most from a two- to five-day fermentation, which helps kill seedborne pathogens that ride along in the pulp.
For peppers, simply cut the fruit in half, pull the seeds off the membrane, and rinse them. Scooping seeds straight out of a supermarket tomato works fine, though the plant may not match the variety on the label.
Dry Seeds Until They Are Completely Dry
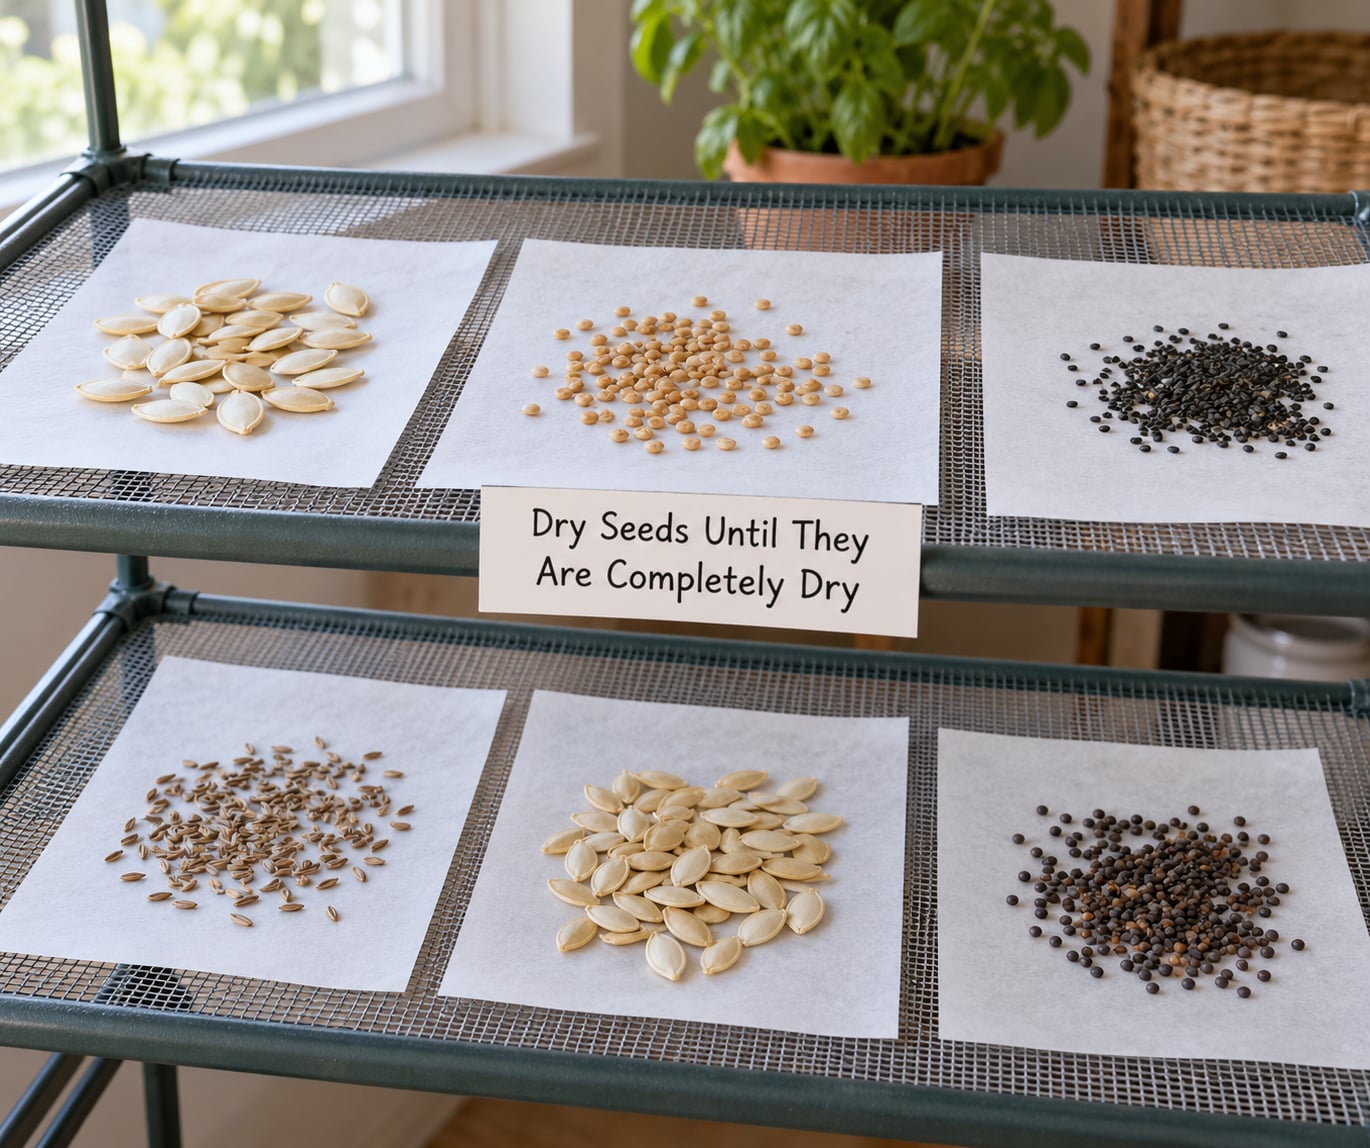
Spread the cleaned seed in a single thin layer on paper, a screen, or a shallow dish, somewhere shaded with airflow and no direct sun or heat. Stir or turn it every day or two so it dries evenly.
Seed drying is not a race, but it is not a formality either. Storing a seed that still holds moisture gives mold a head start, and mold in a jar ruins the whole batch.
Test for dryness by pressing a seed hard between your fingernails or against your teeth. If it bends or dents easily, keep drying. If it is hard and slides off, it is ready. Beans usually take a week to ten days on the rack; small seeds such as lettuce and pepper dry in a few days; tomato seed takes the longest, since it starts out wet.
Label, Store, and Test the Seeds
Label before you store, not after. Record the crop, the variety name, the harvest year, and the bed or location it came from. Write it on the envelope and again on the container, because loose envelopes migrate.
How long saved seeds stay viable depends on the crop and the storage conditions. Under dry, cool, dark conditions these are realistic ranges:
| Vegetable | Expected viability when stored well |
|---|---|
| Tomato, pepper, cucumber, squash | About 4 to 6 years |
| Beans, peas, corn | About 3 years |
| Onion, leek, chives | About 2 to 3 years |
| Lettuce, carrot, parsnip | About 3 to 5 years |
| Cabbage, kale, broccoli, radish | About 4 to 5 years |
Pack seed in a labeled paper envelope, then place the envelope inside an airtight glass jar with a silica gel packet if you can get one. A small cloth bag of powdered milk works as a desiccant too. Store the jar in a cool closet, a refrigerator, or a freezer.
Between those three, a cool closet is fine for most home gardens. The refrigerator extends life in hot, humid summers, and the freezer beats both if the seeds are bone dry at the moment they go in, since any trapped ice crystal is what kills them. In a climate like ours, where August humidity is often the deciding factor, a freezer with a vacuum-sealed or well-sealed jar is the reliable answer.
Before you count on a batch, run a quick germination test. Lay ten damp seeds on a paper towel, cover loosely with plastic, and leave it in a warm spot for a few days to a week. Count the sprouts, and that percentage predicts what your whole batch will do in soil. Small seeds like lettuce can also be sown directly in a pot of damp mix for a more honest read.
Common Mistakes
- Drying seeds on an open kitchen counter. Kitchen air carries grease and moisture. Use a shaded, ventilated room or a screened porch instead.
- Harvesting fruit too early. Seed from under-ripe fruit is pale and thin. Wait for full color and a dull, hardened squash rind.
- Saving seed from hybrid plants. F1 offspring split and disappoint. Buy a fresh packet or choose open-pollinated plants for seed.
- Mixing two varieties of the same cross-pollinating crop. Label before bloom, not after harvest, and isolate or bag.
- Leaving pulp on wet-processed seed. Rinse or ferment until the pulp is gone and the seed rinses clean.
- Storing damp seed in a plastic bag. Ziploc-style bags trap whatever moisture is present. Air out the seed fully first, then seal it, or mold takes the batch.
- Forgetting the variety or the year. Unlabeled seed tells you nothing when germination fails.
Storage and Germination-Testing Tips
Order your containers by seed size, not by habit. Small seed such as lettuce and carrot deserves its own envelope so a single careless pour cannot mix it with bean-sized seed. Keep the freezer stock in labeled jars grouped by crop, and take a jar out, use what you need, and return it without bringing condensation back with it.
For seeds you doubt, a damp paper towel test beats the float test. Floaters are usually empty seed, but sinkers are not guaranteed viable, so a count of actual sprouts is the number worth writing on your packet.
Record the germination percentage and the year, then refresh any batch older than three years unless it came from a crop with a longer life. A freezer jar and a fresh packet of the same variety, kept side by side, tell you in one season whether your storage method is working.
Frequently Asked Questions
Can I save seeds from hybrid vegetables?
You can save them, but they rarely grow true to type. An F1 hybrid is a cross between two inbred lines, so seed from it splits into a range of offspring with different traits instead of repeating the parent plant. The plants are still perfectly healthy and worth eating, just not worth replanting. Many gardeners eat every hybrid fruit and save seed only from their open-pollinated or heirloom plants, which is the simplest habit that keeps varieties stable.
How long do saved vegetable seeds stay viable?
It depends on the crop and the storage. Fully dried seed in an airtight jar, kept cool and dark, usually stays good three to six years. Beans, peas, and corn fade fastest, around three years. Lettuce, carrot, and tomato hold longer, often four to six. Storage is the bigger factor than the crop: heat and humidity age seed fast, and freezing bone-dry seed extends life further. Write the harvest year on every packet so you can judge freshness later.
Do I need to ferment tomato and squash seeds?
Tomato seed benefits from it, and squash seed works well without. Soaking tomato seed and pulp in water for two to five days lets pulp rise and heavier seed sink, which loosens the gel coating and reduces disease risk. For squash, cucumber, and melon, rinsing the seed in a strainer and scraping off the pulp is usually enough, since those seeds are large and not as prone to seedborne problems. Either way, dry the cleaned seed fully before it goes near a container.
How do I keep saved seeds from crossing with other varieties?
First know whether the crop crosses. Beans, peas, lettuce, tomatoes, and peppers self-pollinate and need no planning. Corn, squash, cucumbers, melons, and brassicas cross through wind or insects. Separate them by timing, by distance, or by bagging and hand-pollinating. Corn needs roughly 160 to 200 feet between varieties, and squash and melons need 500 feet or hand pollination. Staggered planting so one variety finishes flowering before the other starts is the easiest trick for a small garden.
How can I tell that seeds are dry enough to store?
Press one hard between your fingernail or against your teeth, or rub it between your fingers. If it dents, bends, or feels soft, it needs more drying time. If it is hard, crisp, and slips away without smearing, it is ready. Beans take the longest, often a week to ten days spread on paper in a shaded, airy room. Tomato and pepper seed dries faster once the pulp is rinsed off. Any doubt, give it a few more days, since damp seed in a sealed jar is the most common way a whole batch is lost.
Conclusion: Start with One Easy Crop
Pick one open-pollinated crop this season — a bean, a lettuce, a pepper — and let it go all the way to seed. Collect the pod or the fruit when it looks fully mature, clean and dry the seed, and label the batch while it is still in your hand.
How to save seeds from garden vegetables comes down to three habits: seed must be fully dry, stored airtight, and kept in a cool dark place. Follow those, and a single healthy plant can feed you a row next year and every year after.