Granola clumps when three things happen together: a sticky binder coats every oat, you press the mixture down firmly enough that neighbouring oats actually touch, and the pan cools completely without anyone stirring it. Miss any one of those three and you end up with sweetened toasted oats instead of clusters. The method below takes about 15 minutes of hands-on time plus 30 to 35 minutes of baking.
If your last batch came out of the oven looking fine and then crumbled into dust the next morning, the problem usually isn’t the recipe. It is that the mixture was spread too thin, pressed too lightly, or handled while it was still warm. All three of those mistakes are easy to fix once you know what to look for.
Table of Contents
- What You Need
- The Base Recipe
- Tools
- Optional Add-Ins
- Swaps That Keep It Vegan and Gluten-Free
- Step-by-Step
- How to Make Granola That Clumps: Mix the Dry Ingredients
- Add the Binder Without Creating a Muddy Mixture
- Press and Bake the Granola
- Cool Completely for the Best Clumps
- Common Mistakes and Why Your Granola Still Won’t Clump
- Tips for Consistent Clumps Every Time
- Frequently Asked Questions
- Can I make clumpy granola without oil?
- What binder works best for big granola clusters?
- How do I keep gluten-free granola from becoming one solid sheet?
- How long does clumpy granola stay crunchy?
- Why does my granola clump while baking but fall apart when cool?
- Can I use this method for a double batch?
- Conclusion
What You Need
Everything here comes from a standard pantry. Nothing in the base recipe is unusual, which is why the difference between a crumbly batch and a clumpy one comes down to technique rather than shopping.
The Base Recipe
- 4 cups old-fashioned rolled oats, not quick or instant
- 1 cup raw nuts, chopped (almonds, walnuts, pecans, or black walnuts)
- 1/2 cup seeds (pumpkin seeds, sunflower seeds, or a mix)
- 3/4 cup maple syrup or honey
- 1/2 cup brown sugar, packed
- 1/2 cup fat: melted coconut oil, neutral vegetable oil, or a mix
- 1 teaspoon cinnamon, plus 1/2 teaspoon vanilla extract
- 1/2 teaspoon fine salt
The ratio that matters is simple: for every 1 cup of dry oats, use about 1/4 cup of liquid sweetener and 2 tablespoons of fat. Brown sugar adds to the bind, so a recipe that uses 3/4 cup syrup and 1/2 cup brown sugar per 4 cups of oats already sits in a good range.
Tools
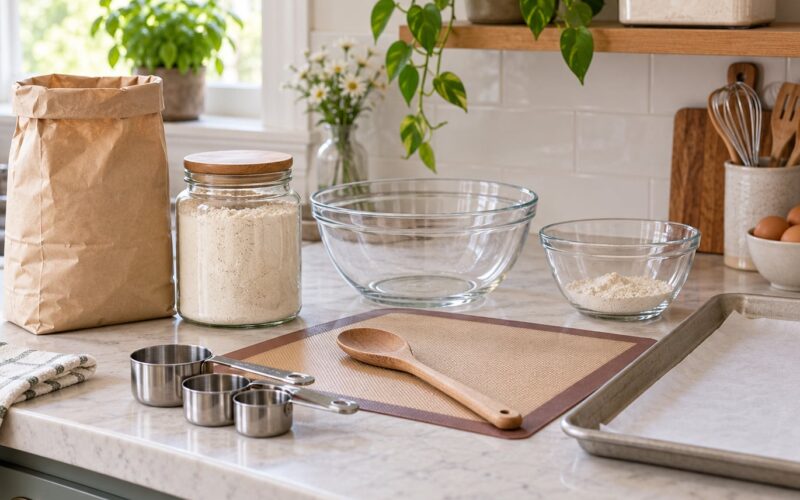
- Two rimmed baking sheets, half-sheet size
- Parchment paper or a silicone baking mat
- A second sheet pan to press down on top of the mixture, or the underside of another pan
- A wide spatula or bench scraper
- An oven thermometer, if you have one
Two pans matter more than most recipes admit. One pan of granola should never be thicker than about a quarter inch, and crowding the oats into a deeper layer is the single fastest way to lose your clusters. If you are doubling the recipe, use four pans rather than two.
Optional Add-Ins
Dried fruit goes in after baking, never before. It rehydrates in the oven and leaves soft patches that never crisp, and the sugar on the surface melts onto the pan. Fold dried cranberries, cherries, apricots, or chopped dates into the cooled granola instead. Large-flake coconut works well in the base mix, and it is the fastest way to get bigger clusters because the flakes bridge gaps between oats.
Swaps That Keep It Vegan and Gluten-Free
- Maple syrup for honey holds clumps well and gives a darker, woodier crust. Sorghum, common in parts of Appalachia, behaves the same way and tastes closer to a deep caramel.
- Ground flaxseed meal for egg white adds absorbable moisture and a mild set. Stir 2 tablespoons into the dry mix before the wet ingredients go in.
- Oat flour for the binding starch comes free: reserve a quarter cup of the oats, grind them, and fold the powder back into the mix.
- Coconut oil or neutral oil for butter keeps the batch dairy-free. Coconut oil gives a more tender crunch; neutral oil crisps harder.
Step-by-Step
Read the whole sequence once before you start. The order matters more than any single step, because each stage depends on the moisture level left by the one before it.
How to Make Granola That Clumps: Mix the Dry Ingredients
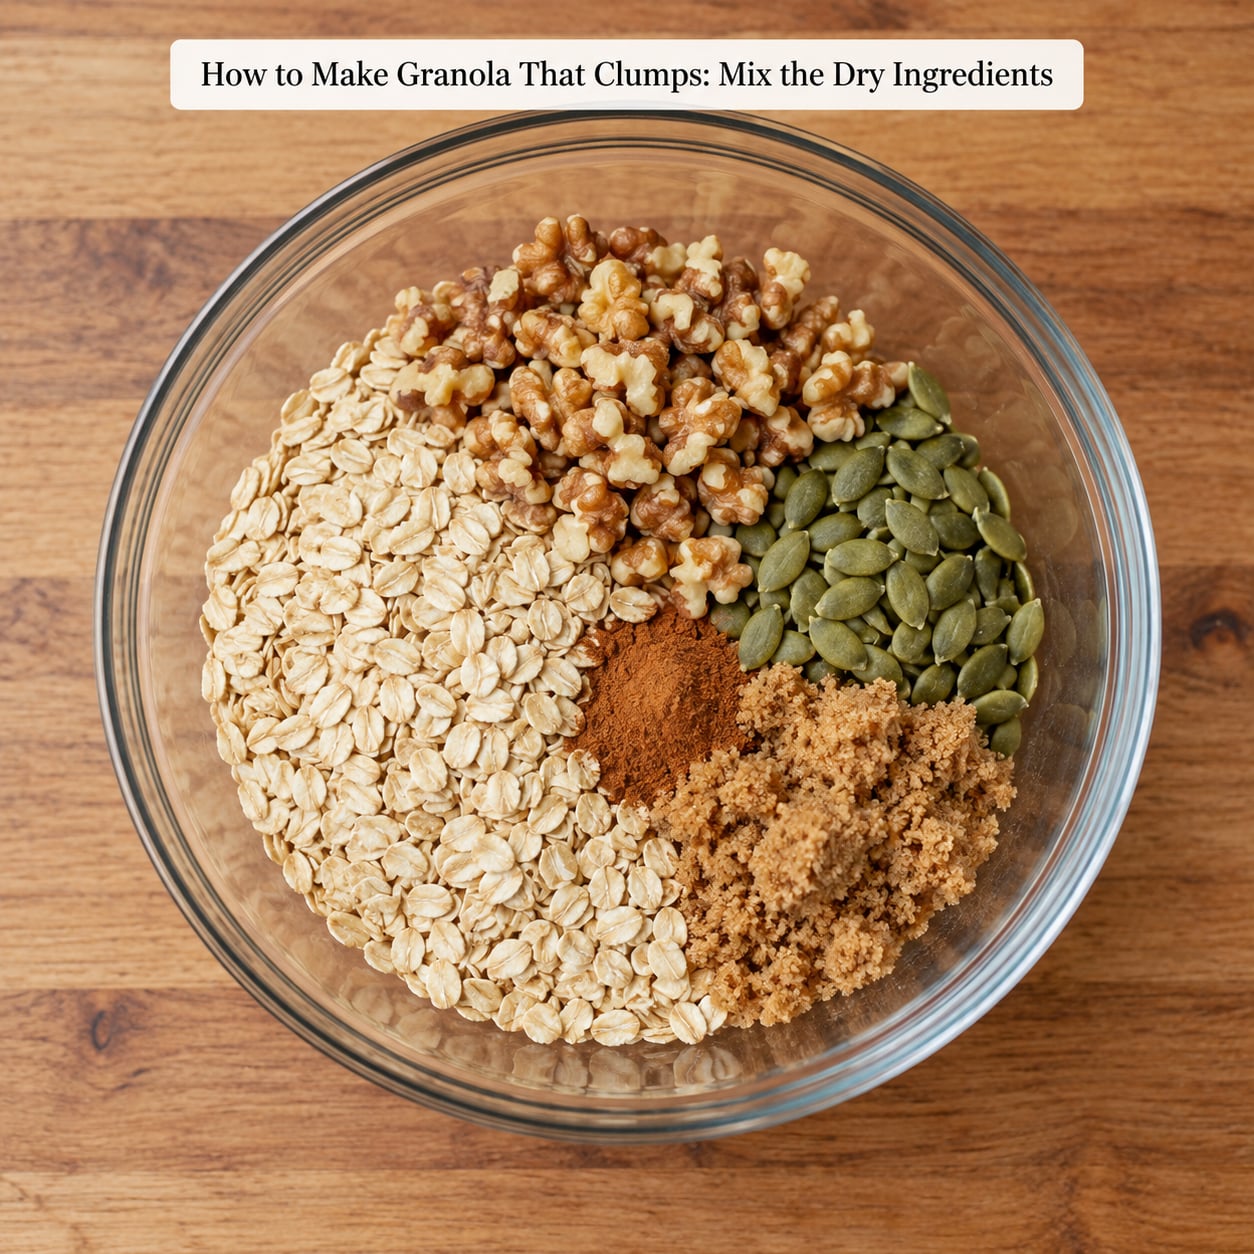
Warm two cups of the rolled oats in a dry skillet over medium heat for three to four minutes, shaking the pan often, until they smell toasty and a few flake edges start to turn golden. This toasting step is optional but it deepens the flavor and dries the surface moisture that would otherwise compete with your binder.
While the oats cool, stir together the remaining two cups of oats, the nuts, the seeds, the brown sugar, the cinnamon, and the salt in your largest bowl. Add the toasted oats last and mix with your hands so nothing stays settled at the bottom.
The mix should look dry and loose, like sandy crumbs rather than damp sand. If you see sugar crystals sitting in white streaks against the oats, break them up with a fork before you add anything wet. Those streaks are undissolved binder, and they are exactly where clumps fail to form.
Add the Binder Without Creating a Muddy Mixture
Warm the maple syrup or honey in a small saucepan with the brown sugar if you have not already, stirring until it runs off the spoon in a slow ribbon. Take it off the heat and let it stop steaming, then whisk in the melted coconut oil or vegetable oil, the vanilla, and the salt.
Pour the binder over the dry mix and fold it through with a wide spatula, working from the bottom of the bowl upward. Scrape, turn, scrape. Stop the moment every oat looks damp and glossy, and resist the urge to keep stirring past that point.
Here is the test. Scoop some mixture into your palm and squeeze it. It should hold its shape as a loose clump when you open your hand, then break apart with a gentle nudge. If it stays as a dense ball, you have gone too wet, and the extra moisture will steam off into loose crumbs. If it crumbles to dust in your palm, add another tablespoon of oil and mix again.
This is also the moment to add any of the sticky binders that need cooking: two lightly beaten egg whites for an eggy set, or a tablespoon of cornstarch whisked into the liquid for a glassier, crunchier cluster. Neither is required, and people who add egg white alone often report no real change. The binder helps, but pressing and undisturbed cooling do more of the work.
Press and Bake the Granola
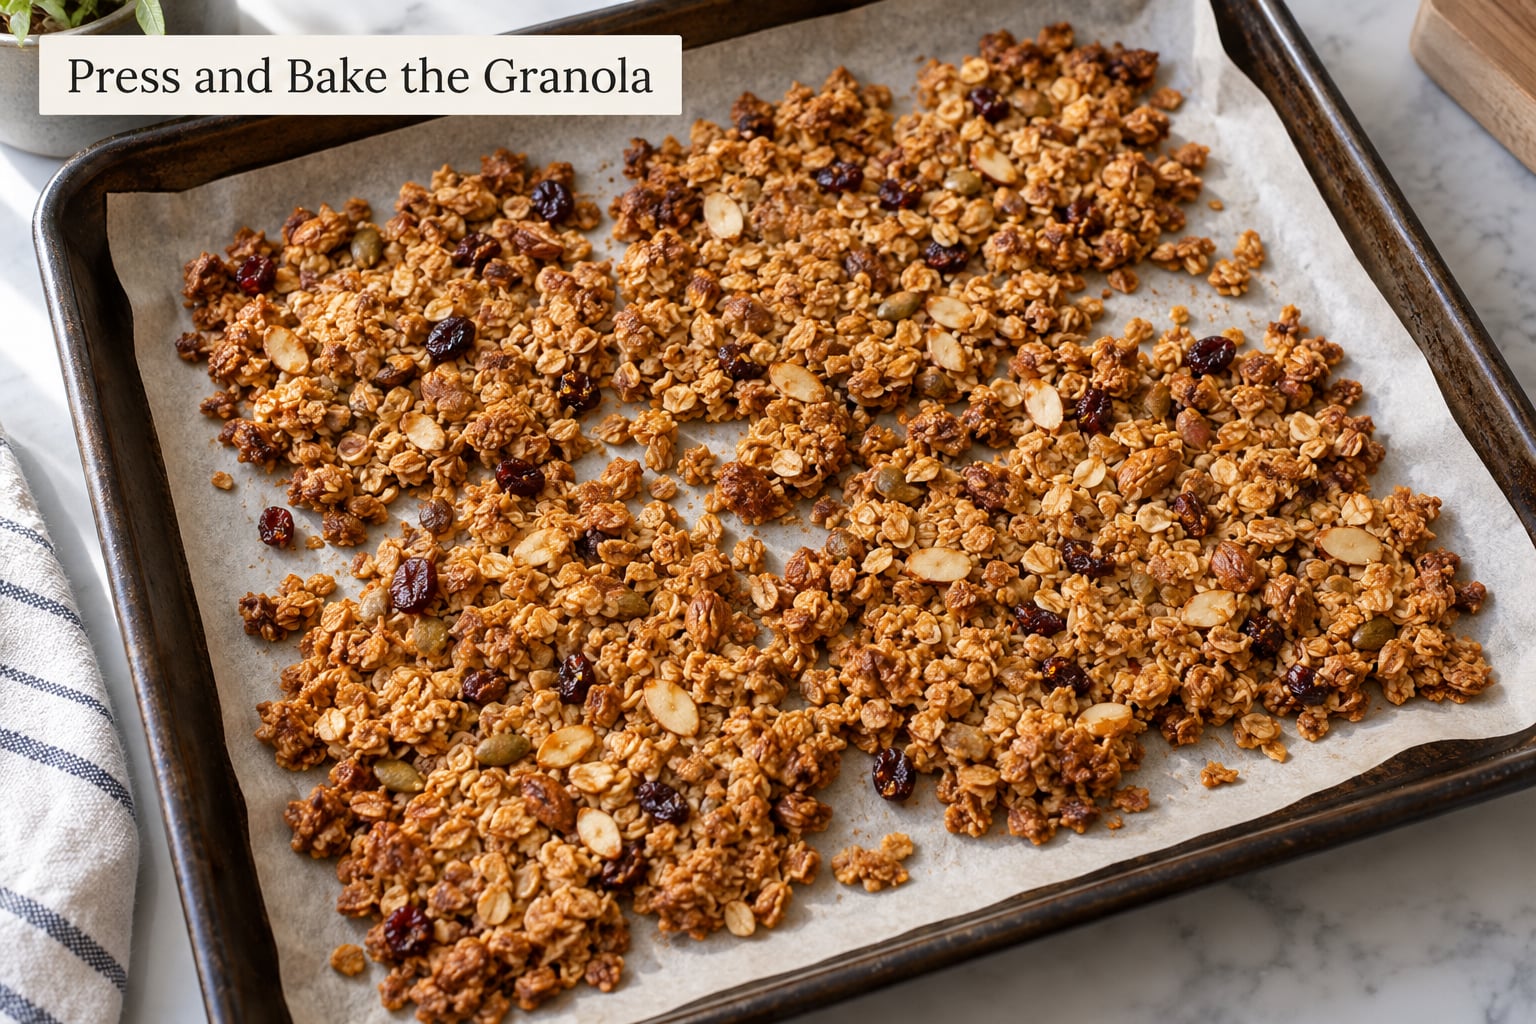
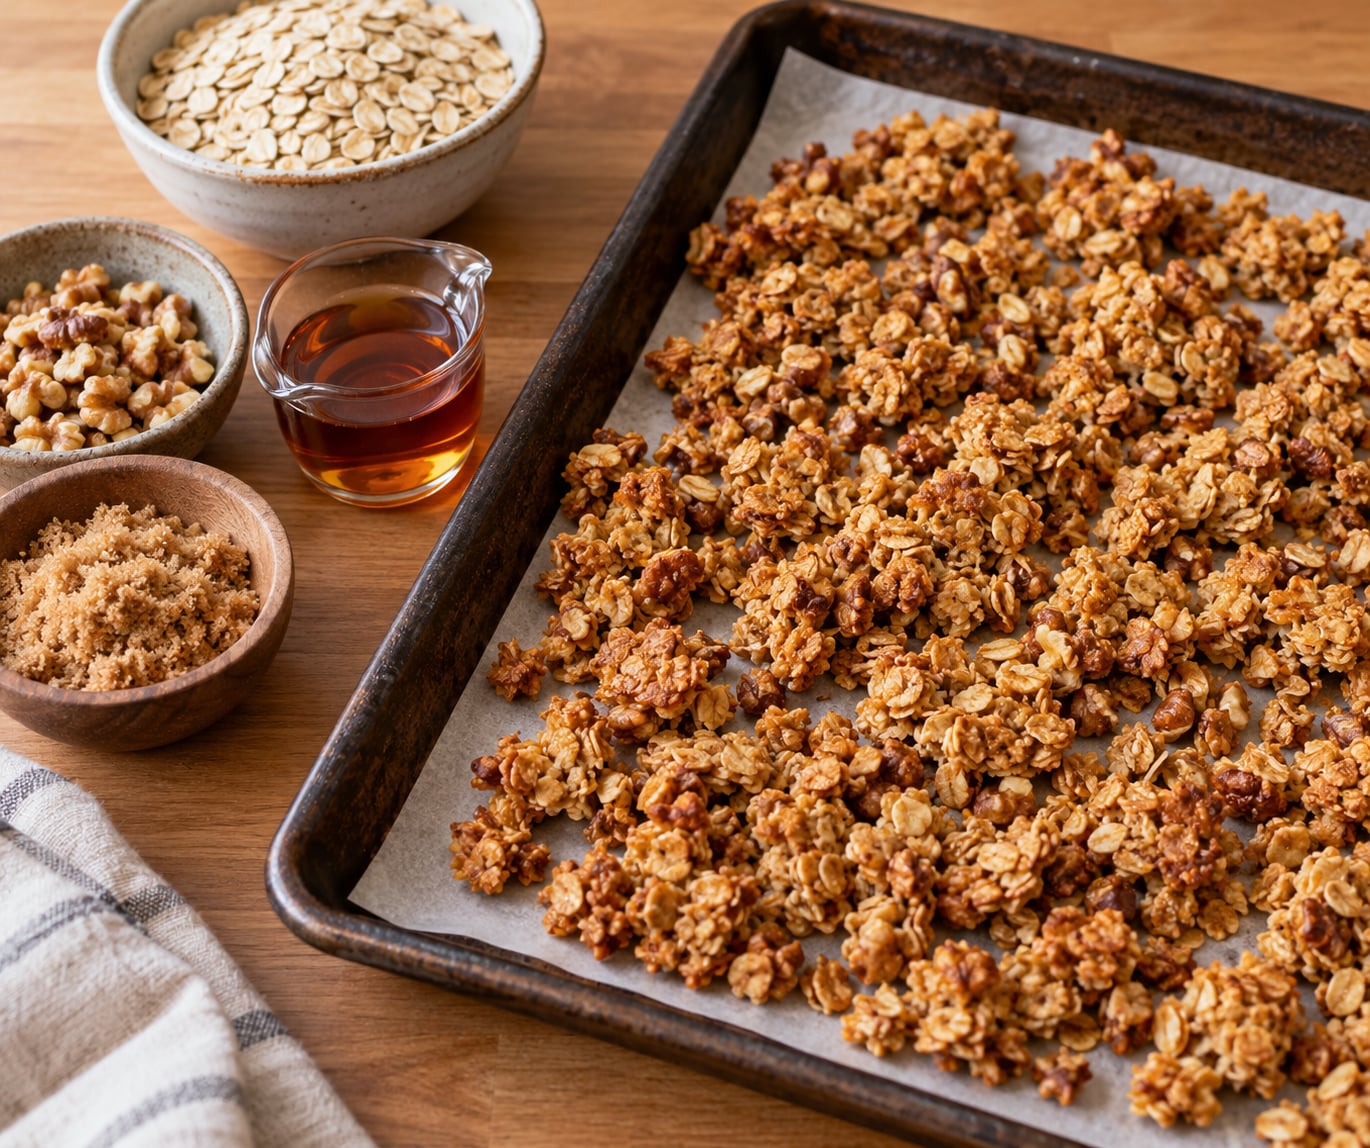
Line your baking sheet with parchment and scrape the mixture onto it. Use damp hands or the back of a spatula to spread it into an even layer no deeper than a quarter inch. Then press down hard with the second pan and keep pressing for a full 30 seconds. You want the oats in dense contact, not a loose mound.
Bake at 300°F for 30 to 35 minutes, rotating the pan once at the halfway mark. Lift an edge of the parchment and look underneath: the granola should be dry to the touch and evenly golden, with no pale, damp patches left in the center. Color alone is a poor test, particularly with cocoa in the mix, so check the underside and listen for a dry, papery rustle when you shake the pan.
If you want to flip the batch mid-bake, flip it in one piece and press it flat again with the spatula. Breaking it apart and stirring it is what separates crumbs from clusters, and you only get one chance per batch.
Cool Completely for the Best Clumps
This is where most home bakers lose their clusters. The binder is still soft when the pan comes out of the oven, and it finishes setting as the granola cools. Break it apart warm and the clusters shatter into dust.
Leave the pan on a wire rack, untouched, for at least an hour. If you are impatient, prop the oven door open after the bake and let the pan cool inside, where the residual heat dries the granola a little further and firms the set. When the pan is completely cool to the touch, break it into pieces along the lines you pressed with the back of your spatula.
Store the finished granola in an airtight container at room temperature for up to three weeks, keeping the pieces as large as you can. Do not shake the container to serve it. For longer storage, freeze the clusters in a single layer until solid, then move them to a freezer bag and take out a handful at a time. Let them sit uncovered for 15 minutes before eating so the surface dries instead of going soft.
Common Mistakes and Why Your Granola Still Won’t Clump
Almost every failed batch traces back to one of six causes. Work down the table and check the symptom against what you actually did.
| Symptom | Likely cause | Fix |
|---|---|---|
| Comes out of the oven loose, no clusters | Layer too thin, or too little binder for the volume of oats | Press harder and longer, or add a tablespoon of oil and a spoonful of syrup |
| Clusters form during baking then shatter when cool | Handled while warm | Cool the pan undisturbed for a full hour before breaking anything |
| One hard, glassy sheet | Stirred repeatedly during the bake, or pressed too densely in a thick layer | Do not stir at all. Spread to a quarter inch and use more pans for a double batch |
| Bottoms burn before the tops crisp | Oven running hot, or the pan sits directly on the rack | Use an oven thermometer, drop to 300°F, and move the rack to the middle |
| Soft or chewy after a day | Underbaked, stored warm, or container not airtight | Spread on a sheet and re-crisp at 300°F for 10 minutes; store sealed at room temp |
| Tastes good but nothing sticks | Binder never made full contact, often from dumping syrup on one spot | Fold rather than pour, and finish with damp-hand pressing on the pan |
A batch that is already baked and crumbly is not lost. Put the loose granola in a pan, drizzle with one to two tablespoons of maple syrup, toss until evenly damp, press flat again, and bake 15 minutes at 300°F. You will not get bakery-sized pieces, but you will get usable clusters for granola bars or yogurt toppings.
Tips for Consistent Clumps Every Time
Use old-fashioned rolled oats. Thick, whole flakes have edges that lock together. Quick oats are already fragments and turn to dust before they can bond; instant oats dissolve into the binder and go flat. Steel-cut oats are too hard and too small to form satisfying pieces.
Grind some of the oats. Reserving a quarter cup to powder into oat flour gives you a natural starch binder without buying anything. Blend it back in with the dry mix.
Control cluster size with the pan, not the press. A larger pan with a thin layer makes more, smaller pieces. A smaller pan pressed firmly makes fewer, bigger ones. To get both from a single batch, press one half of each pan flat and leave the other half loose.
Save the crumbs. Fine crumbs are not a failure. They are what you want for granola everything, yogurt topping, or the bottom of a crumb bar, and the same pan gives you both if you don’t stir.
Adjust for your oven. Some run hot, and 350°F works if you cut the time by a third, but 300°F is safer because clusters need slow, even drying rather than fast surface browning.
Work in grams if you can. Volume measurements for nuts and seeds vary enough to change the ratio. A scale makes the second batch match the first, which is how you learn what your own oven and pan actually want.
Try a regional twist. Sorghum, dark maple, buckwheat flakes, and black walnuts all bind well and lean the flavor toward a toasty, caramelized profile that survives the oven. Add buckwheat flakes at no more than a quarter of the total volume, since they toast faster than oats.
Frequently Asked Questions
Can I make clumpy granola without oil?
Yes, and it will still cluster, but expect a drier, more crumbly crunch. Fat carries flavor, loosens the binder, and tenderizes the finished texture, so skipping it means leaning on syrup, brown sugar, and an oat flour or flaxseed meal starch instead. If you want large pieces without oil, raise the brown sugar by a couple of tablespoons and add a tablespoon of oat flour. The clusters will be crisp and brittle rather than tender, and they will stale a little faster.
What binder works best for big granola clusters?
For the biggest clusters, use a thick, sticky sweetener rather than a thin one, and combine it with a starch. Brown sugar plus maple syrup gives a heavy, glossy set, and adding oat flour or cornstarch thickens the coating so neighbouring oats grip. Egg whites frothed to soft peaks with a teaspoon of cornstarch give the firmest clusters and the crunchiest result. Whichever binder you choose, the cluster still depends on pressing firmly and cooling the pan undisturbed.
How do I keep gluten-free granola from becoming one solid sheet?
Control thickness, pressure, and pan size together. Spread the mixture no deeper than a quarter inch across a full half-sheet pan, press for a steady 30 seconds rather than leaning your weight into it, and use more pans for a double batch. Gluten-free oats lack gluten’s binding proteins, so they need oat flour or ground flaxseed meal for structure, and they benefit from a slightly drier mix. Breaking the sheet apart while it is warm turns it into dust, so let it cool an hour.
How long does clumpy granola stay crunchy?
Stored airtight at room temperature, clusters stay crunchy for roughly three weeks, provided they cool completely before being jarred. Any residual warmth traps condensation and softens the surface. For longer storage, freeze clusters in a single layer until solid, transfer to a freezer bag, and thaw a portion at a time on a plate. Fully thawed granola can be refreshed in a 300°F oven for about 10 minutes.
Why does my granola clump while baking but fall apart when cool?
Almost always because it was disturbed before it fully set. The binder stays soft for the first part of the cooling process and hardens only when the pan is completely cool, so breaking it up, stirring it, or pouring it into a bowl too early leaves you with crumbs. Leave the pan on the rack for a full hour, then break it along the lines you pressed into it. If it shatters even after that, the mix was probably too dry or you pressed too lightly.
Can I use this method for a double batch?
Yes, but never in one deep pan. A double batch needs four half-sheet pans, and each should get the same thin layer and the same 30 seconds of firm pressing. Crowding oats into two pans raises the layer past a quarter inch, which steams the middle instead of drying it, and the bake time goes up. Baking two pans at once is fine if your oven has room and air circulates; bake the second pair after the first, and cool each set of pans undisturbed.
Conclusion
Clumpy granola is not a different recipe from ordinary granola. It is the same mixture handled with more care at three points: measure the binder accurately so every oat is coated, press the warm mixture firmly into a thin layer so oats touch, and leave the pan alone until it is completely cool. Get those right and the clusters set on their own.
If your first attempt fails, do not change the whole recipe. Check the troubleshooting table, fix the one step you skipped, and run it again. After two or three batches on the same pan and in the same oven, you will know your own numbers well enough to make it without the recipe.