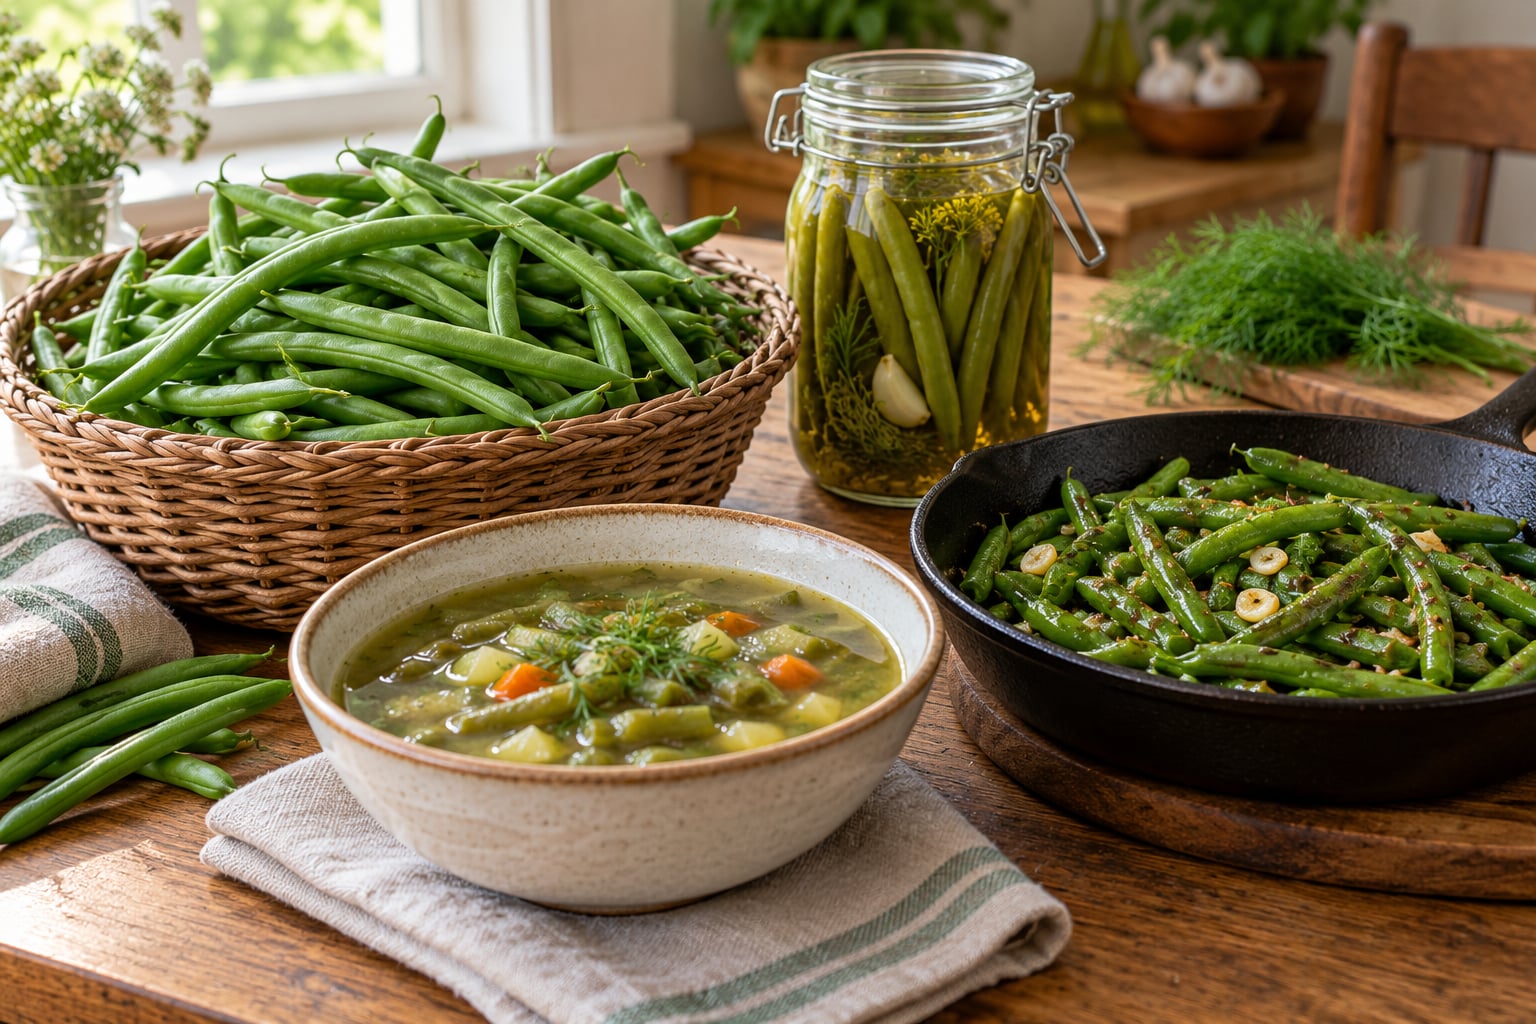
What to do with a glut of green beans? You have three good options: cook them now, preserve them for later, or hand them off before they soften. Blanch and freeze is the safest bet if you have no canning gear, refrigerator pickles take about fifteen minutes of work, and a low-acid vegetable like green beans deserves a tested recipe before it ever goes near a water bath canner.
I grew up in a house where the bean patch was bigger than anyone had planned for. The vines went from barely-podded to overloaded inside a week, and we ate green beans three nights running until somebody rebelled.
So this guide covers ten ways to use a surplus, from quick skillet dinners to pantry jars and dried bean leather, plus the safety details most lists skip.
Table of Contents
- What to Do With a Glut of Green Beans at a Glance
- 1. Blanch and Freeze Green Beans for Future Meals
- How to Do With a Glut of Green Beans Before Freezing
- 2. Make Crunchy Refrigerator Pickles
- 3. Water-Bath Can Pickled Green Beans
- 4. Dehydrate Green Beans Into Crunchy Snacks
- 5. Blanch Green Beans for Fresh Salads and Snacking
- 6. Simmer a Freezer-Friendly Green Bean Soup
- 7. Sauté Green Beans with Garlic and Lemon
- 8. Bake a Green Bean Casserole or Gratin
- 9. Blend Green Beans into Pesto, Salsa, or Sauce
- 10. Cook Green Beans and Beans Into a Hearty Skillet Meal
- Frequently Asked Questions
- How do you keep green beans crisp when freezing them?
- How long do fresh green beans keep in the refrigerator?
- Are fresh green beans safe to water-bath can without vinegar?
- What is the difference between refrigerator pickles and canned green bean pickles?
- How can you tell when green beans have gone bad?
- Can you use stringy green beans for soup or stock?
- Where to Start With Your Green Bean Glut
What to Do With a Glut of Green Beans at a Glance
Here is how the ten methods compare on effort, equipment, how long they keep, and who will like them best.
| Method | Effort | Equipment | Keeps | Best for |
|---|---|---|---|---|
| Blanch and freeze | 30 min per batch | Pot, colander, ice, freezer bags | 10-12 months | Cooks who want year-round supply |
| Refrigerator pickles | 15 min, then a week rest | Jars, vinegar, salt | 3-4 weeks refrigerated | Beginners and small batches |
| Water-bath canned pickles | Half a day | Water bath canner, jars, testing supplies | 10-12 months pantry | Pantry-minded canners |
| Dehydrate | 6-10 hours drying | Dehydrator or oven | 6-12 months airtight | Snackers and travel food |
| Blanch for salads | 10 min | Pot, ice, colander | 3-4 days refrigerated | Crunchy summer sides |
| Soup and broth | 45 min active | Big pot, freezer containers | 2-3 months frozen | Big families and batch cooks |
| Sauté with garlic and lemon | 15 min | Skillet | Cook and eat now | Weeknight sides |
| Casserole or gratin | 45 min | Oven, baking dish | 3-4 days refrigerated | Potlucks and holidays |
| Pesto, salsa, sauce | 20 min | Blender or food processor | 3 months frozen | Saucy weeknight cooking |
| Skillet bean and green bean hash | 30 min | Skillet | Cook and eat now | One-pan dinners |
1. Blanch and Freeze Green Beans for Future Meals
Freezing keeps the color, the nutrients, and the flavor of fresh-picked beans better than almost any other home method, and it is the lowest-risk option when you do not own canning equipment. This is the same route that dominates the cooking forums when people post a photo of ten pounds of beans and ask for help.
Expect about 30 minutes of work per large batch: wash, trim, blanch, shock, dry, and pack. The freezer bags do the rest of the work for months.
How to Do With a Glut of Green Beans Before Freezing
Wash the beans under cool running water and pat them dry. Trim the ends, and pull the strings from common string beans; French and haricot verts are stringless and need nothing pulled.
Bring a large pot of water to a rolling boil and blanch the beans for two to three minutes, working in batches so the water stays hot. Beans are done when they turn bright green and bend easily but still have a little resistance.
Move them straight into an ice bath for a full minute. That shock stops the cooking, which is what keeps your frozen beans from turning olive and mushy later.
Drain the beans thoroughly and spread them on a towel for 10 to 15 minutes. Residual moisture is the number one cause of freezer burn and soggy beans, so give them a real shake and a real pat-down.
Pack them in freezer bags or rigid containers in the portions you actually cook from, about 12 to 16 ounces per bag for a side dish. Press the air out, seal, label with the date, and lay the bags flat in the freezer until they are solid.
Blanching locks in color and texture, but freezing still softens texture a little. Cook them from frozen, in a dry skillet for the crispiest result, and skip the thaw entirely.
2. Make Crunchy Refrigerator Pickles
Refrigerator pickles are the fastest answer to an oversized pile, and the most voted tip in the biggest green bean thread online. No canning equipment, no tested recipe, and no real risk if you keep them cold.
Trim 2 pounds of beans and cut them into 3 to 4 inch lengths. Blanch them for two minutes, chill in ice water, and drain well.
Pack the beans loosely into clean jars with a couple of garlic cloves, a few peppercorns, and dill or mustard seed if you have them. Crowd the jars a little less than you think you should.
For the brine, bring 2 cups of 5 percent acidity white vinegar, 2 cups of water, and 1 tablespoon of pickling or plain salt to a boil. Pour it hot over the beans and leave a full inch of headspace.
Cool, seal, and refrigerate for at least a week before eating. They keep three to four weeks in the fridge, with the best crunch in the first ten days. Refrigerator pickles are not shelf stable and will not survive a power outage, so plan to make a fresh batch rather than banking on the extras for winter.
3. Water-Bath Can Pickled Green Beans
This is where a glut turns into real pantry food, and it is also where a lot of home canners go wrong. Green beans are a low-acid vegetable, and that single fact changes everything about how they get preserved.
Plain green beans must never be water-bath canned. The water bath reaches about 212°F, which is not hot enough to destroy the spores of Clostridium botulinum in a low-acid food. That is why plain or plain-salted beans go into a pressure canner at 10 psi, using a current tested method for your jar size and altitude.
Pickled beans are a different case, because the added vinegar raises the acidity enough for a water bath to be safe. Even then, use a tested recipe from a current extension service or the National Center for Home Food Preservation rather than a method you remember from a relative, a church basement, or an old social media post.
Use the exact jar size, acid type, processing time, and altitude adjustment the tested method specifies. Common canning mistakes include using waxed paper instead of two-piece lids, filling jars too full, wiping rims with a cloth that leaves lint, reusing lids from a previous batch, and forcing a seal by running the hot jar under water.
A practical rule: if you cannot name the source of your recipe and the year you last checked it against current guidance, it is not tested enough to put low-acid produce in a pantry jar.
4. Dehydrate Green Beans Into Crunchy Snacks
Yes, green beans dehydrate well, and this is the one method on the list that gets almost no coverage on recipe sites even though people search for it constantly.
Snap or trim the beans to the length you want to eat them from. Blanch them for two minutes, cool them in ice water, and pat them completely dry. Drying damp beans is why so many attempts come out chewy and bendy instead of crisp.
Arrange them in a single layer with no overlapping, or use a drying screen if your unit is small. A food dehydrator at 135°F for 6 to 10 hours is the reliable route.
Without a dehydrator, use the lowest oven setting you have, around 170°F or lower, on a rack with the door cracked, flipping the beans every hour. Take them out when they are dry and brittle, snapping cleanly rather than bending.
Condition the dried beans in a clean jar for a few days and shake it daily. Any condensation or pliability means more drying time.
Store airtight, away from light and heat. Properly dried beans hold six to twelve months. Eat them as a snack straight from the bag, or grind them into a green bean powder for soups and seasonings. A food processor turns dried slices into sheet-like bean leather, which works as a substitute for meat in stews and wraps.
5. Blanch Green Beans for Fresh Salads and Snacking
Blanching for two minutes and shocking in ice water gives you a batch of crisp-tender beans you can eat cold for three to four days. That is the fastest payoff on this entire list. Most people searching what to do with a glut of green beans land here first, because it costs ten minutes and nothing but a pot.
Blanch until vivid green and still snappy, then drain and dry well. Serve them straight up with a mustard vinaigrette, a lemon wedge, and flaky salt, which is the most useful dressing for plain green beans because it cuts through the grassiness of a just-picked pod.
Fold them into a Niçoise-style salad with potatoes, olives, and hard-boiled egg, or chill them for a slaw with cabbage, carrot, and a rice-wine vinaigrette.
Grain bowls take them well too: warm beans, farro or brown rice, cucumber, feta, and a lemon-olive oil dressing. A tuna or white bean salad built on chilled blanched beans travels to a picnic without going soft, which raw beans will not do.
Go easy on delicate dressings like mayonnaise or ranch if you are serving them later. Thick creamy coatings trap moisture and turn the beans limp by lunchtime.
6. Simmer a Freezer-Friendly Green Bean Soup
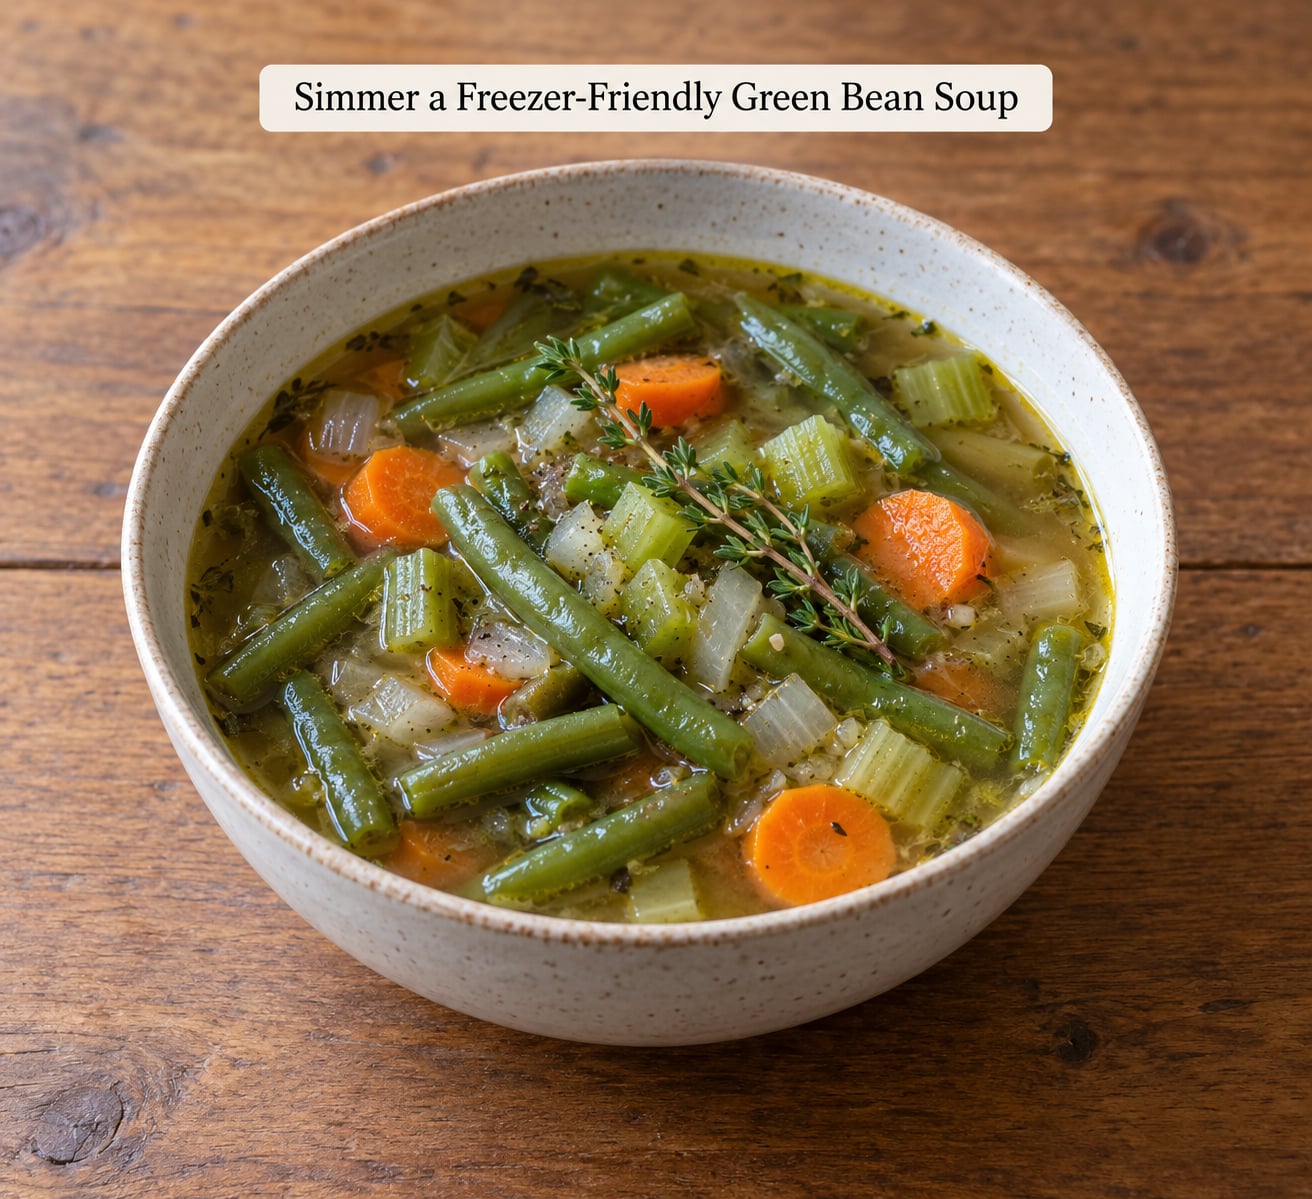
If you are working out what to do with a glut of green beans, a pot of soup is the answer when there are more pods than any single meal can absorb. It scales from two servings to twenty and freezes well, which makes it a meal plan for the next three weeks.
Start with onion, carrot, and celery in a heavy pot with a little oil, cooking 8 to 10 minutes until they soften. Add trimmed green beans and enough broth to cover by an inch, about 8 cups for 2 pounds of beans.
Simmer partially covered for 25 to 30 minutes until the beans are tender. Add diced potato in the last 15 minutes if you want the soup to thicken, plus a bay leaf, thyme, and black pepper.
Taste for salt near the end, since broth carries plenty. Add cream, butter, or a squeeze of lemon at the table, not in the pot, so the pot freezes cleanly.
Cool it fast. Divide into shallow containers or set the pot in an ice bath, get it into the refrigerator within two hours, and use it within three to four days or freeze it for two to three months.
Freezing slightly softens the beans, which is fine in soup. Reheat gently from frozen with a splash of water rather than a rolling boil, and keep the heat low so the beans do not break down further.
7. Sauté Green Beans with Garlic and Lemon
A hot skillet is the 15-minute dinner that rescues a pile of beans. Sautéing browns the beans, and that browned flavor is missing from every boiled version.
Pat the beans dry and heat a wide skillet until very hot. Add a thin layer of high-heat oil, about a tablespoon, then the beans in a single layer. Crowding the pan drops the temperature and steams them instead, which is the most common skillet mistake.
Leave them alone for 2 to 3 minutes until blistered and charred in spots, then toss and repeat. Season with salt, sliced garlic, and red pepper flakes during the last minute, then squeeze half a lemon over off the heat.
Finish with toasted almonds, sesame seeds, or a spoonful of tahini for crunch and a mild vinegar for brightness.
The whole method is naturally vegan and gluten-free as written. Skip the butter and use olive oil if you want the garlic to taste sweeter rather than browned.
8. Bake a Green Bean Casserole or Gratin
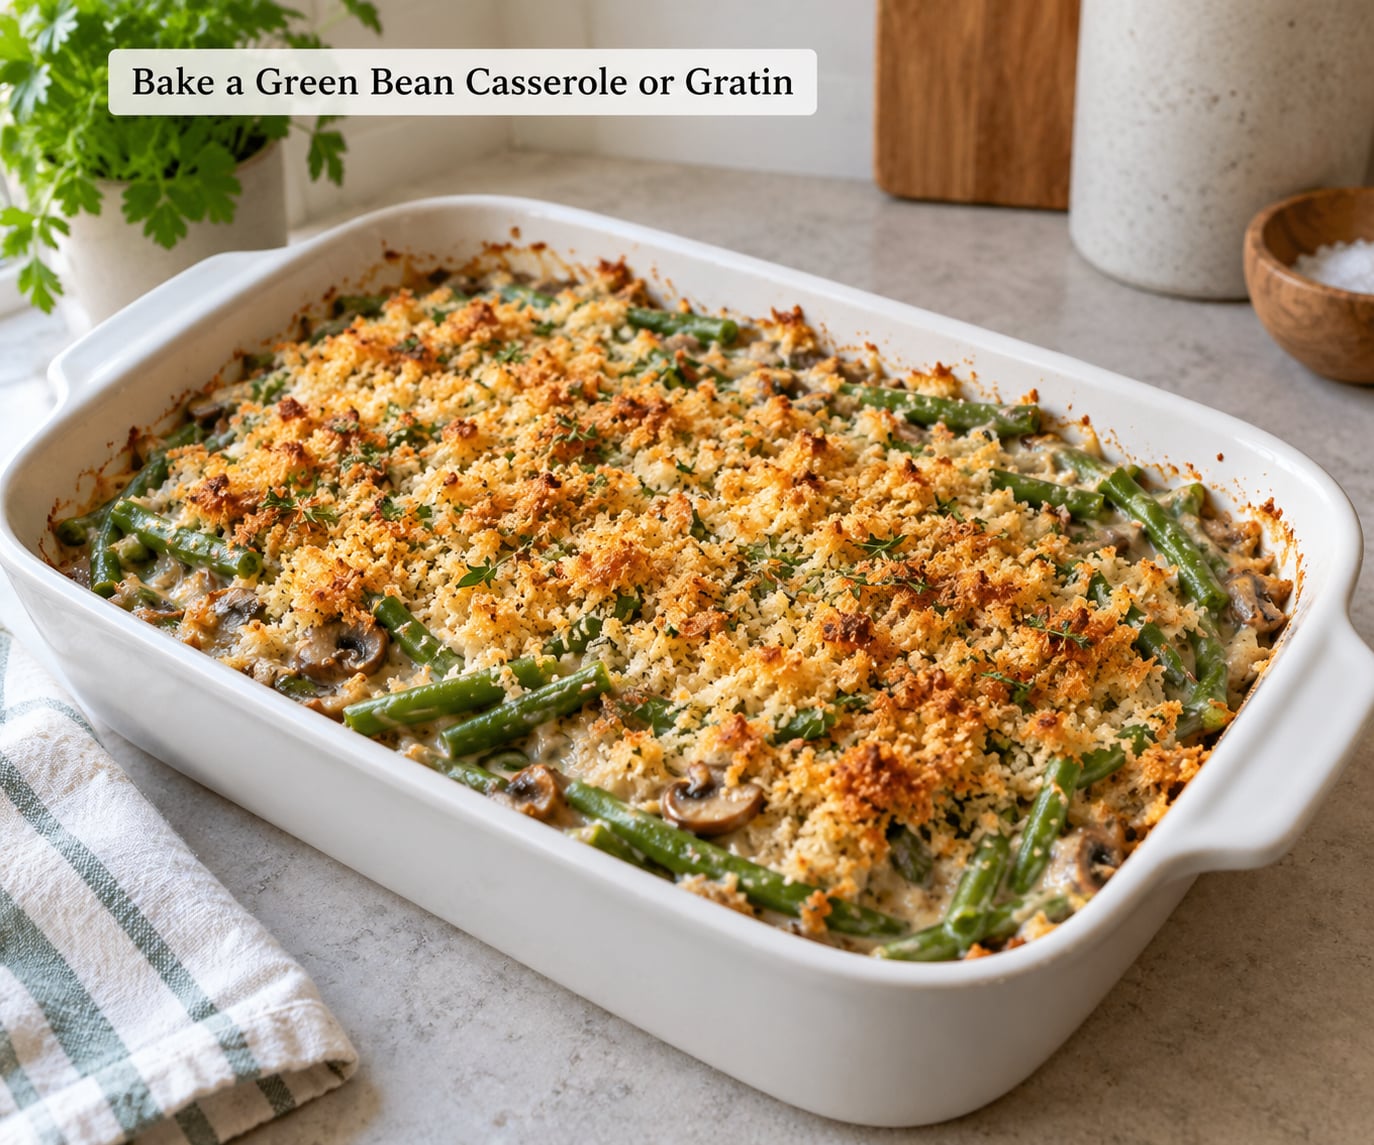
Green bean casserole is the dish every glut-maker ends up making, and the version that waters down in the middle comes down to two mistakes: underseasoned beans and a wet sauce.
Use about 2 pounds of trimmed beans, blanch them for 4 minutes, and drain very well. Watery beans are the number one cause of a soupy casserole.
Warm 2 tablespoons of butter or oil with a chopped shallot, 2 tablespoons of flour, 1 cup of milk or oat milk, and a cup of stock. Cook it two minutes, then stir in the beans and season generously with salt, pepper, and nutmeg.
Pour into a buttered baking dish and top with breadcrumbs, crushed crackers, or a gluten-free crumb made from corn tortilla chips and nutritional yeast.
Bake at 375°F for 30 to 35 minutes until the top is browned and the sauce bubbles at the edges.
A vegan béchamel made with olive oil, flour, and unsweetened plant milk browns and thickens the same way. If you want a lighter gratin, skip the sauce entirely and use roasted garlic, lemon zest, and olive oil over the beans, then bake 20 minutes at 400°F.
9. Blend Green Beans into Pesto, Salsa, or Sauce
Green beans have an earthy flavor that behaves differently in three blended preparations. Each one freezes for about three months and thaws without losing much.
For a bright green bean pesto, blanch 4 cups of beans for two minutes, chill, squeeze out the water, and blend with basil, garlic, lemon juice, olive oil, and a handful of nuts or seeds. The beans are the bulk and the basil is the accent, so go easy on the oil.
For salsa verde, blend raw blanched beans with tomatillos or green tomatoes, cilantro, jalapeño, lime, and salt. Squeeze out extra water first or the salsa turns watery.
For a cooked sauce, simmer beans in broth until fully tender, then blend with garlic and cream, or press through a sieve for a smooth soup base. Add cheese or nutritional yeast after blending for a thicker texture.
Chunky versus smooth is a choice, not a failure. Leaving a third of the beans whole and folding them back in at the end gives you texture in a sauce that still freezes.
10. Cook Green Beans and Beans Into a Hearty Skillet Meal
Adding dried beans to a pile of green beans is the fastest way to turn a vegetable side into a one-pan dinner that actually fills people up.
Soak 1 cup of dried beans overnight, then simmer them in fresh water for 60 to 90 minutes until tender, skimming the foam. Or skip all of that with a can of cannellini or pinto, drained.
Heat olive oil in a large skillet, soften a chopped onion and two garlic cloves, then add a teaspoon of smoked paprika, a pinch of cayenne, and oregano.
Add the cooked beans and the fresh green beans together with a crushed tomato or two, and let everything simmer 12 to 15 minutes.
The secret to beans that stay firm instead of turning to mush is adding the green beans late and keeping the simmer gentle. A hard boil for twenty minutes will cook them into the sauce whether you meant to or not.
Serve with rice, crusty bread, or spooned over a baked potato, with parsley, a wedge of lime, or crumbled feta on top.
Frequently Asked Questions
How do you keep green beans crisp when freezing them?
Blanch them for two to three minutes, then plunge them straight into ice water for a full minute to stop the cooking. Dry them thoroughly before packing, because trapped moisture causes mushy beans and freezer burn. Pack flat in freezer bags in the portions you cook from, press out the air, and seal. Cook from frozen in a dry skillet for the crispiest result.
How long do fresh green beans keep in the refrigerator?
Fresh unwashed green beans keep about five to seven days in the crisper drawer, and a week is the practical limit for quality. Wash them only right before you cook or preserve them, since moisture on the pods speeds decay. Beans that have gone rubbery or dull are not a safety problem yet, but past that point the texture is usually not worth eating.
Are fresh green beans safe to water-bath can without vinegar?
No. Green beans are a low-acid vegetable, and a water bath reaches about 212 degrees F, which is not hot enough to destroy botulism spores. Plain green beans must be pressure canned at 10 psi using a current tested method for your jar size and altitude. Pickled beans are different because added vinegar raises the acidity, and even then they need a tested recipe.
What is the difference between refrigerator pickles and canned green bean pickles?
Refrigerator pickles use fresh beans and a hot vinegar brine, then stay in the refrigerator for the whole of their life, roughly three to four weeks. Canned pickles go into jars processed in a boiling water bath for a tested time so that the vinegar-acidified beans become shelf stable for a year or more. One needs cold storage and a short rest, the other needs tested processing and pantry conditions.
How can you tell when green beans have gone bad?
Throw them away if they are slimy, fuzzy, or covered in white or blue-green mold, or if the pods have turned black and collapsed. A sour or ammonia smell shows up before the eye does, so smell the bag before you cook from it. Browning or pitting on the surface is quality damage and can be trimmed away, but mold anywhere on the batch means the whole batch goes.
Can you use stringy green beans for soup or stock?
Yes, and stringy beans are actually good for soup, broth, and long simmering because the longer cook time breaks down the fibers that make them unpleasant as a side dish. Beans that have gone seedy and fibrous on the vine also work fine in a pot of soup, where an hour of gentle simmering softens them. Save the crisp young pods for pickling and freezing, and send the tough ones into the broth pot along with the stems and strings, which build more flavor than the pods do.
Where to Start With Your Green Bean Glut
Sort the pile into three piles before you do anything else. The crispest, youngest pods go to refrigerator pickles or the freezer, because both methods depend on snap that only the best beans have.
The tough, seedy, or overgrown pods go to the soup pot, the broth pot, or the sauce blender, where a long gentle simmer turns them into something good instead of something chewy. Bean stems and strings are worth saving for that pot too.
Anything slimy, fuzzy, moldy, or blackened goes in the compost, not in the crockpot. Preserving a bad batch costs you the jar, the lid, and the whole afternoon.
Then pick two methods rather than five. If you are still puzzling over what to do with a glut of green beans next season, sort first and commit to two methods, not five. Freeze a large batch, make one pot of pickles, and roast a tray for dinner tonight. The rest will still be there in the morning, and a glut is easier to manage than a panic.