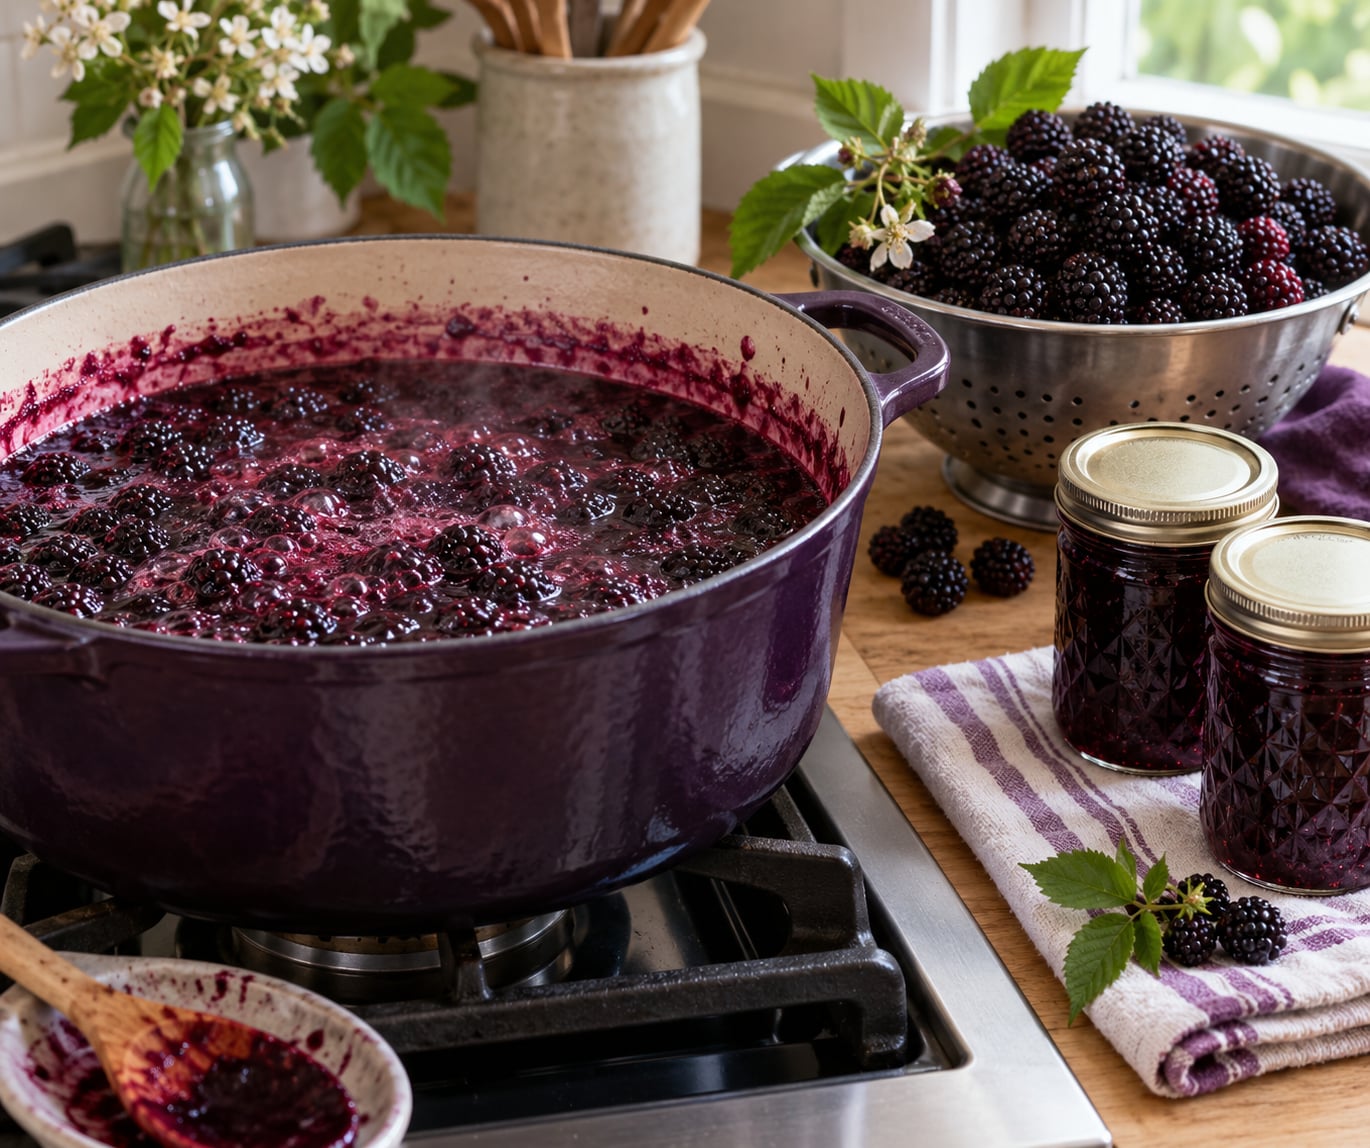
Crush 4 cups of foraged blackberries, add roughly 3 cups of sugar and 2 tablespoons of lemon juice, then boil hard for 20 to 40 minutes until a cold plate test wrinkles when you run a finger across it. Blackberries carry plenty of natural pectin, so no commercial pectin is needed. Fill hot jars and either refrigerate the jam for about a month or water-bath can it for pantry storage.
The active cooking is only half the job. Washing and sorting the berries, cleaning the jars, and processing them takes another 30 minutes or so, and most of that is unattended. The whole thing is beginner-friendly as long as you have a heavy-bottomed pot, a couple of clean jars, and a way to test the set.
Wild berries also behave differently from the ones in a grocery store. They run smaller, are drier and firmer, and pack less water into the same cup, which is why the recipes below use a little less sugar and a shorter cook than most jarred-fruit jams. If you have a short season and a heavy haul, it is worth picking in small batches and sorting as you go rather than trying to harvest everything at once.
Table of Contents
- What You Need
- Equipment
- Ingredients and the Berry-to-Sugar Ratio
- Yield and Scaling
- When You Would Add Pectin Anyway
- Picking Wild Berries Without Getting Sick
- Pick in the right places
- Check every berry before it goes in the bucket
- Watch out for the things that bite
- Wash hard, then sort hard
- Store or make them fast
- Step-by-Step: How to Make Blackberry Jam from Wild Berries
- How Do You Know When Blackberry Jam Is Set?
- Jars, Headspace, and Water-Bath Times
- Common Mistakes
- Wet or overripe berries
- Jars that were not cleaned properly
- Headspace that is wrong
- Not enough boil, or a boil that is too violent
- Pectin added at the wrong time
- Skipping the water-bath process
- Storing refrigerator jam on the shelf
- Sugar crystallizing in the jar
- Scorched flavor at the bottom of the pot
- Quick Symptom Reference
- Ways to Use the Jam Once It Is Made
- Frequently Asked Questions
- Do you need pectin when making blackberry jam?
- What is the ratio of blackberries to sugar for jam?
- Do you need to remove seeds from blackberries for jam?
- Do I wait for the jam to cool before canning it?
- My blackberry jam is too runny. How can I fix it?
- Can you can wild blackberry jam in a water bath?
What You Need
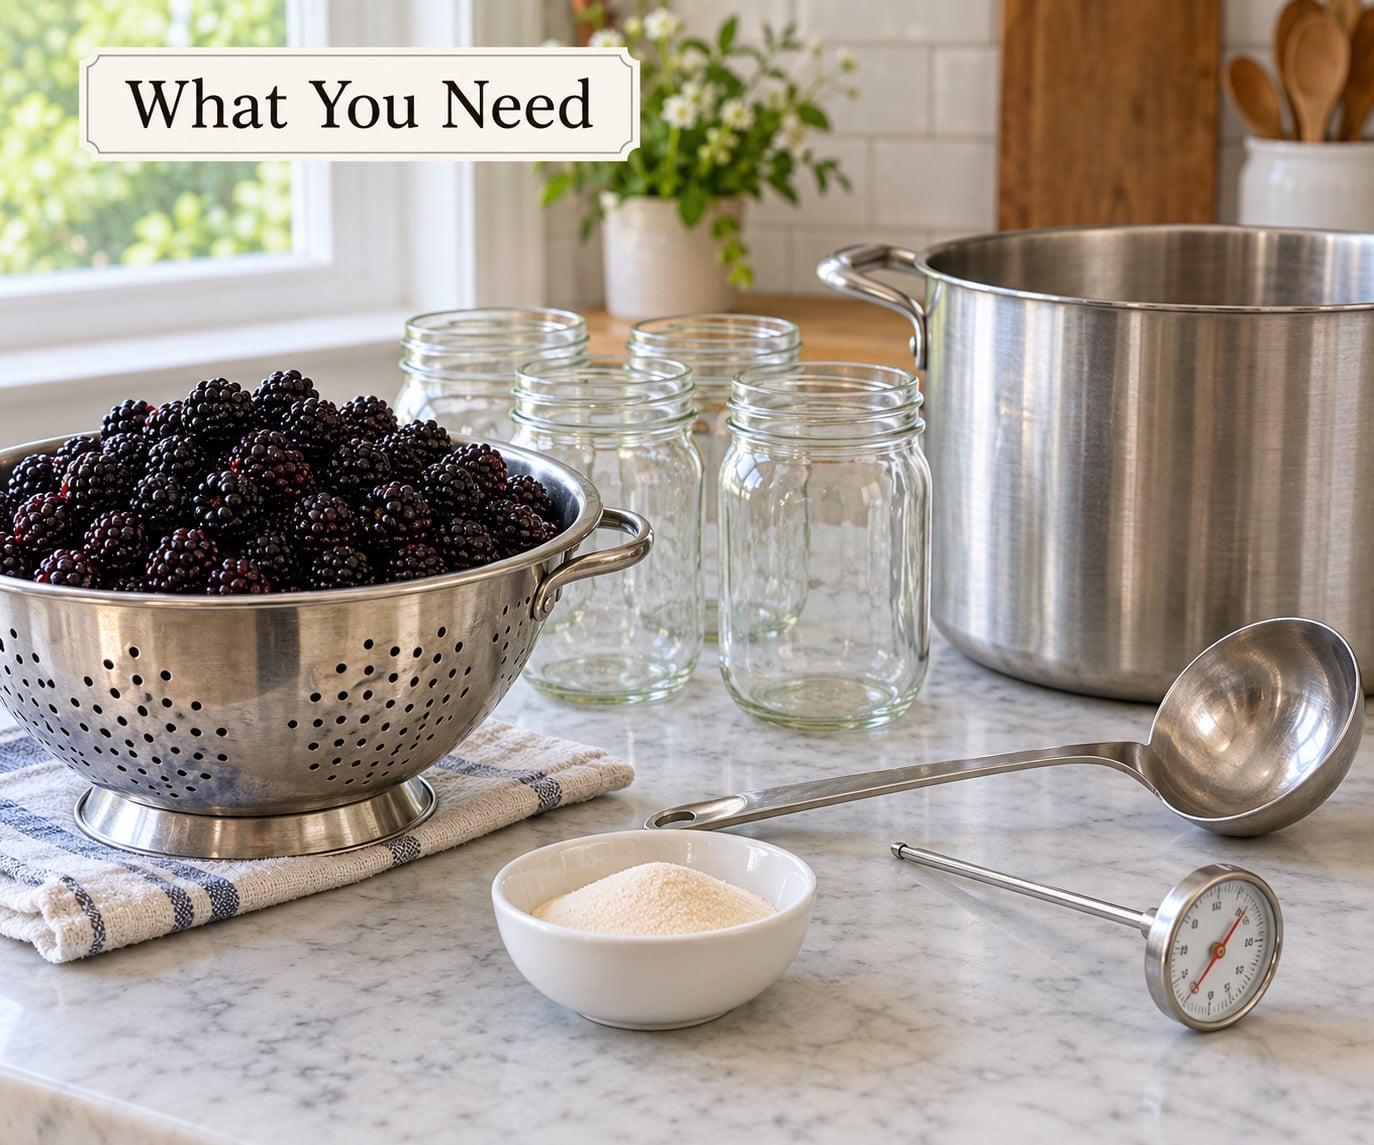
Equipment
- Heavy-bottomed pot or Dutch oven, about 8 quarts, wide enough to let the jam boil without crowding. Thin-bottomed stock pots scorch fruit syrup fast.
- Boiling water bath canner with a rack, or a deep pot with a tight-fitting lid if you plan to keep the jam in the refrigerator.
- Canning funnel and a jar lifter or clean tongs.
- Glass jelly or canning jars: 4-ounce or 8-ounce for jam, in pints or quarts for water-bath canning.
- New two-piece lids every time. Bands can be reused, lids cannot.
- Kitchen thermometer for the gel point, and optionally a canning thermometer if you live above 1,000 feet.
- Potato masher or food mill, plus a ladle, a colander, a cooling rack set over a towel, and labels.
Ingredients and the Berry-to-Sugar Ratio
For a 4-cup batch of wild blackberries, about 2 pounds on the stem, use 3 cups of granulated sugar and the juice of one lemon. Wild berries are drier than cultivated ones, so 1 cup of berries to roughly 3/4 cup of sugar is the working ratio. Fruit from the grocery store holds more water and usually wants closer to a cup of sugar per cup of berries.
- 4 cups (about 2 lb / 900 g) wild blackberries, washed and sorted
- 3 cups (600 g) granulated sugar
- 2 tablespoons fresh lemon juice
- Zest of one lemon, blanched in hot water for 2 to 3 minutes, optional
- Pinch of salt, optional
Blanching the zest for a few minutes in boiling water strips off the bitter oils and gives you a cleaner lemon note, which is the one bit of trickery worth borrowing from older Appalachian kitchen books.
Yield and Scaling
Wild berries are small, so a quart of fruit is only about 1.5 pints once topped off and picked clean. Plan jars before you pick.
| Fresh wild berries | Sugar | Lemon juice | Finished jam | Jars |
|---|---|---|---|---|
| 2 cups (1 lb / 450 g) | 1.5 cups (300 g) | 1 tablespoon | About 1.5 cups | 2 half-pints or 1 pint |
| 4 cups (2 lb / 900 g) | 3 cups (600 g) | 2 tablespoons | About 3 cups | 3 half-pints or 3 cups worth |
| 6 cups (3 lb / 1.4 kg) | 4.5 cups (900 g) | 3 tablespoons | About 4.5 cups | 6 half-pints or 3 pints |
| 8 quarts (8 lb / 3.6 kg) | 6 quarts sugar | 1/2 cup | About 6 quarts | 12 pints or 6 quarts |
Cup for cup, the finished jam is roughly two-thirds of your starting fruit volume because a good chunk boils away as steam.
When You Would Add Pectin Anyway
Blackberries are naturally high in pectin, so the classic no-pectin method sets on sugar and cook time alone. Pectin earns its place in two situations: a low-sugar batch, where you need the gel to form without relying on concentration, or a mixed-fruit batch such as apple and blackberry where the apple does most of the gelling. Standard pectin usually needs a full rolling boil that lasts 1 to 2 minutes, which cooks fruit flavor out of wild berries fast.
| Method | Sugar per cup of berries | Cook time | Texture | Storage |
|---|---|---|---|---|
| Classic, no pectin | 3/4 cup | 20 to 40 min | Soft set, glossy | Water bath for pantry, or fridge |
| Low-sugar with pectin | 1/2 cup or less | 5 to 10 min | Firmer, slightly softer fruit | Water bath for pantry, or fridge |
| Freezer jam | 1/2 to 2/3 cup | None, no heat | Loose, spoonable, uncooked flavor | Freezer only, 6 months |
| Mixed with apple | 3/4 cup | 25 to 45 min | Firm set, spiced | Water bath for pantry, or fridge |
Freezer jam is the one method with no cooking at all: crush the berries, stir in sugar and lemon, let it sit 20 minutes until the juices run clear, then spoon it into clean jars and freeze. It keeps the raw, bright flavor of the berries, but it is not shelf stable and it softens once it thaws, so plan to use it on biscuits and toast rather than sandwich bread.
Picking Wild Berries Without Getting Sick
Most fruit jams come from the grocery store, and wild brambles come with their own set of problems: bugs, ticks, sprayed roadside soil, and fruit that looks fine until you split it open.
Pick in the right places
Stay well away from road rights-of-way, gas stations, railroad tracks, and old pasture that might have been treated. Pick above a fence line or on a hillside you know has never been sprayed, and avoid brambles that grow within about 30 feet of a road.
Check every berry before it goes in the bucket
Pick only fully ripe, deep black, plump berries that pull away from the stem with a light tug. Look for the pale green, hard, sour ones and leave them for next week. Split open any berry you are unsure about and discard it if the inside is brown, seedy, or soft in a strange way.
Watch out for the things that bite
Ticks live in the grass and bramble canes, not on the fruit, so wear long sleeves, long pants, and closed shoes, and do a tick check the same evening. Wear a light-colored shirt so you can see anything crawling on you.
Wash hard, then sort hard
Spray the berries in the colander, not in the bucket, and rinse under cold running water. Then sort with your fingers in a shallow pan: munched berries collapse into the pile, and any web, caterpillar, or stinger gets picked out. Check for the small spotted yellowjackets that nest inside hollow canes, and for wasps feeding on overripe fruit, because those attract yellowjackets.
Store or make them fast
Blackberries are soft and bruise easily, so a shallow layer on a towel in the fridge buys you a day or two at most. If you have more than you can cook, freeze them in single layers on a sheet pan first, then bag them, and make jam from thawed berries later in the season with no loss of quality.
Step-by-Step: How to Make Blackberry Jam from Wild Berries
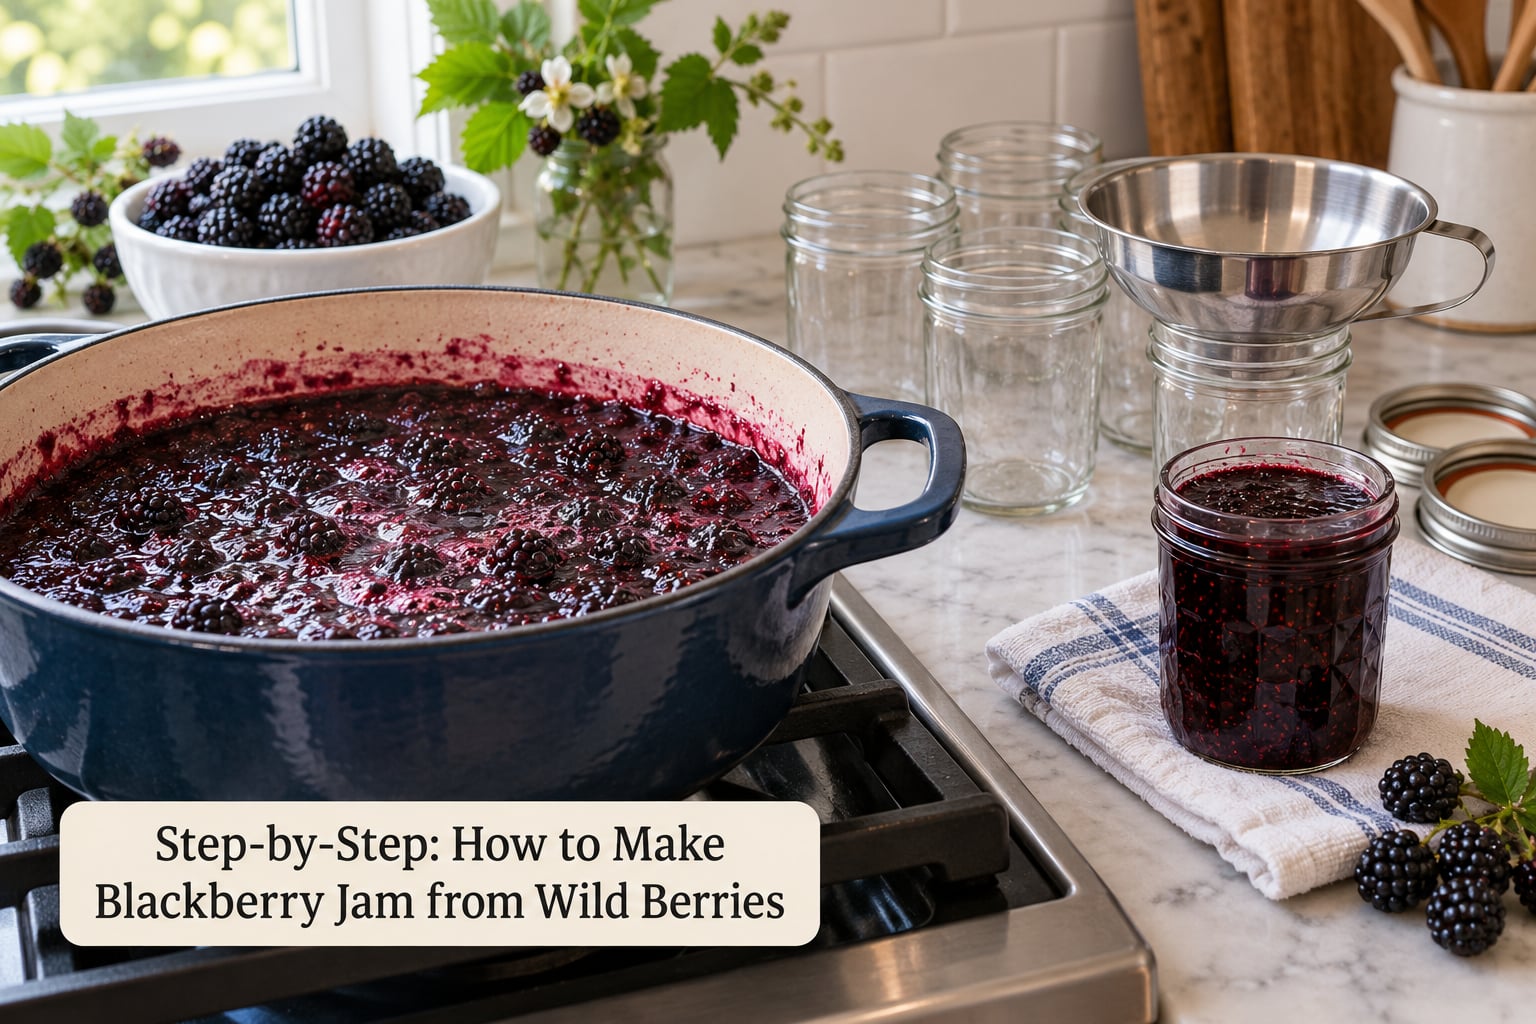
- Sort the berries in a cool place. Pick out anything bruised, soft, white-fuzzed, or insect-tunneled. Check the bottom of the bucket where moisture and bugs settle. Blackberry season in the Appalachians runs from late June into August, and dewberries picked along the edges come in a few weeks later.
- Rinse briefly and drain well. A short rinse under cold water is enough; soaking washes away the flavor and leaves the berries diluted. Spread them in a single layer for 20 minutes or drain them in a colander set over a bowl. Excess water is the number one cause of runny jam.
- Clean your jars. Wash jars, bands, and utensils in hot soapy water and rinse. Keep jars hot until you fill them. Lids stay in a separate bowl of hot water so the seal compound stays soft.
- Crush the berries. Mash them in the pot with a potato masher or run them through a food mill on the coarse setting. Leave some texture; whole or half-berries give a chunkier, more rustic jam. A light mash, about 10 seconds per handful, is plenty.
- Add sugar, lemon, and zest. Stir everything together and let the pot heat over medium-high heat, stirring often to dissolve the sugar, until the mixture comes to a hard boil.
- Skim, then boil down. Once boiling, skim the grey foam off the top. Continue at a full rolling boil for 20 to 40 minutes, stirring more often as it thickens so the bottom does not scorch. It thickens noticeably in the last five minutes. A home canner in one homesteading group reported the berries reaching jelling point around 220 to 221F over roughly 30 to 40 minutes, which matches what the thermometer will tell you.
- Test for set. See the section below. Take the pot off the heat for a minute while you test, because the jam thickens as it cools and can go past gel in the pot.
- Fill the jars hot. Skim any last foam, then ladle the jam into hot jars, leaving 1/4 inch of headspace. Wipe the rim clean with a damp paper towel, set a hot lid on top, and screw the band down until it just catches.
- Process for shelf storage, or cool for the refrigerator. For a water bath, place jars on the rack, bring the water to a rolling boil, and process half-pint or pint jars for 10 minutes and quart jars for 15 minutes at sea level. Above 1,000 feet, add 1 minute for every 1,000 feet of altitude. Turn off the heat, wait 5 minutes, then lift the jars out and let them cool undisturbed on a towel for 12 to 24 hours. For refrigerator jam, just leave the sealed jars upright and cool on a towel for 12 to 24 hours.
- Label and store. Refrigerator jam keeps about 3 to 4 weeks in the fridge, and 6 months in the freezer. Properly processed jam holds on a pantry shelf for a year or more. Press the center of each lid: a flat, firm lid means the jar sealed; a dented or bulging one goes in the trash.
How Do You Know When Blackberry Jam Is Set?
Three tests, cheapest first. Put a teaspoon of jam on a chilled saucer, wait 30 seconds, then run your fingertip across it. If the surface wrinkles and holds the track, the jam is set. That is the cold-plate test, and it is the most reliable one at home.
The sheet test comes next. Dip a cold metal spoon into the jam and hold it sideways over the pot. If the jam sheets off the spoon in a curtain rather than dripping in blobs, you are close. The last resort is the thermometer: most fruit jams gel between 220 and 221F (104 to 105C). Below about 215F the pectin has not fully set, and above roughly 225F you start scorching and driving off fruit flavor, so do not chase the number.
There is also a plain visual cue that people who make jam by feel tend to notice first. The bubbles change from angry, fast froth to slower, plumper, glossier bubbles, and when the jam sheets off a spoon instead of running, that is when you pull it off.
If you overshoot, the jam turns gummy and dull rather than glossy. Warm a cup of the runny batch with a tablespoon of water and stir it back into the pot; it softens and spreads again. You cannot undo scorched fruit, so keep the heat moving in the last few minutes.
Jars, Headspace, and Water-Bath Times
Jam is high-acid food and one of the safest things to can, but only if the times come from a tested method. Use the table in your canner’s current guide or the National Center for Home Food Preservation tables, since processing times get revised and I would rather point you at the source than guess.
| Jar size | Headspace | Water bath at 0 to 1,000 ft | Add for altitude |
|---|---|---|---|
| 4 oz jelly jar | 1/4 inch | 10 minutes | +1 min per 1,000 ft over 1,000 ft |
| 8 oz half-pint | 1/4 inch | 10 minutes | +1 min per 1,000 ft over 1,000 ft |
| 16 oz pint | 1/4 inch | 10 minutes | +1 min per 1,000 ft over 1,000 ft |
| 32 oz quart | 1/4 inch | 15 minutes | +1 min per 1,000 ft over 1,000 ft |
Two things trip people up here. First, over-processing is real: jam left in a boiling bath far longer than the guide says cooks off fruit flavor, softens the set, and can darken the color. Second, a filled hot jar must never be shocked in cold water, because the temperature swing cracks glass. Let the canner sit off the heat for 5 minutes before you lift anything out.
Then check the seal. After 12 to 24 hours, press the flat center of each lid. It should feel firm and stay flat when pressed, and there is no telltale click. Anything that dents, bulges, or hisses gets tossed without tasting it, along with any jar with jam seeping down the sides.
Common Mistakes
Wet or overripe berries
Any berry with visible mold or a fermented smell ruins the batch and there is no cooking method that saves it. Water is almost as bad: rinse fast, drain properly, and measure the fruit after it has drained, not straight off the bush.
Jars that were not cleaned properly
Dirty jars are the most common reason shelf-stable jam spoils. Wash everything in hot soapy water, rinse well, and keep jars hot until filling. Always start with new lids; the seal is a one-time seal.
Headspace that is wrong
Leave 1/4 inch. Too little and food can bubble up into the seal and break the vacuum; too much and the jam loses volume while cooling. Wipe the rim with a damp towel before screwing the band on, since a sugar film stops the lid from seating.
Not enough boil, or a boil that is too violent
A lazy simmer takes an hour and never concentrates the jam properly. A violent hard boil for an hour cooks the fruit away. Bring it to a rolling boil, then hold a strong but steady boil for 20 to 40 minutes while stirring more often as it thickens.
Pectin added at the wrong time
Regular pectin goes in with the fruit and sugar and needs its 1 to 2 minute boil to activate. Reduced-sugar pectin goes in after the jam comes off the heat. Stirring either one in at the wrong point is why the jam sits there syrupy.
Skipping the water-bath process
A sealed hot jar is not a shelf-stable jar. If you are not using a tested processing method with times from your canner’s guide or the NCHFP, treat the batch as refrigerator jam and keep it cold. Untested home recipes should not be stored on a pantry shelf.
Storing refrigerator jam on the shelf
Refrigerator jam is jam that has not been processed for shelf storage. It belongs in the fridge for 3 to 4 weeks or in the freezer, not on a pantry shelf and not in a cellar. Do not put hot glass straight into cold water, either; the shock cracks jars.
Sugar crystallizing in the jar
If the jam has been stored warm or the sugar ratio was pushed past the gel point, crystals can form. Warm a jar in a pan of water, stir it, and pour it back while hot, or run it through a mesh sieve for a smoother spread.
Scorched flavor at the bottom of the pot
Syrup burns fast once it thickens, and the smell sticks even when you scrape the black layer out. Use a heavier pot, stir constantly in the last five minutes, and pull the jam a minute or two before it reaches the gel point if your stove runs hot.
Quick Symptom Reference
| Symptom | Likely cause | Fix |
|---|---|---|
| Jam runs off the spoon | Not enough cook time, or wet berries | Boil 5 to 10 more minutes, retest on a cold plate |
| Jam set like soft rubber | Overcooked past gel point | Warm with a tablespoon of water and stir |
| Flat, watery jar weeks later | Headspace wrong or lid did not seal | Refrigerate immediately, discard if swelled or moldy |
| Foamy, purple at the top | Skimming was too slow or too little | Skim again while hot, spoon off the last foam |
| Gritty, dull texture | Crystals from too much sugar or too long a boil | Warm and stir, or sieve it |
| Mold on the surface | Contaminated fruit or poor sealing | Discard the whole jar, do not skim and re-heat |
Ways to Use the Jam Once It Is Made
A batch of four cups sounds like a lot until you count breakfasts. Two cups disappear on toast and biscuits inside a week, and the rest will not last a month in the fridge, so plan to process most of it or freeze it right away.
- On biscuits and cornbread, which is how most of this gets eaten around here. Warm the jam slightly so it pours.
- As a glaze for pork or ham: thin a quarter cup of jam with a tablespoon of vinegar or cider and brush it on in the last few minutes of roasting.
- Swirled into soft cheese or yogurt, where the seeds and texture actually work in your favor.
- As a filling for thumbprint cookies, rolled out and chilled so it does not spread.
- Mixed with mustard for a sandwich spread that is genuinely good with ham or roast beef.
Sealed jars also make good gifts, and a shelf-stable jar tied with a piece of plain string and a label saying the berry year on it goes a long way in a summer swap.
Frequently Asked Questions
Do you need pectin when making blackberry jam?
Usually not. Blackberries are naturally high in pectin, so the sugar and the boil alone will set the jam into a soft gel. Commercial pectin only helps if you are cutting the sugar substantially or mixing in a low-pectin fruit such as apple, where the fruit is doing very little gelling work.
What is the ratio of blackberries to sugar for jam?
For wild blackberries, use about 1 cup of berries to 3/4 cup of sugar, or roughly 2 pounds of berries to 3 cups of sugar for a 4-cup batch. Grocery store berries are plumper and hold more water, so recipes for them often call for a full cup of sugar per cup of fruit. Wild berries taste more intense and need less sweetening.
Do you need to remove seeds from blackberries for jam?
No, and most cooks leave them in. Blackberry seeds carry a lot of flavor and pectin, and straining them turns a small batch into a thin, seedless jam that takes much longer to set. If texture bothers you, pass the finished jam through a fine mesh sieve once, accepting that you will lose both seeds and some pectin.
Do I wait for the jam to cool before canning it?
You do not wait. Jam is filled into jars hot, and a water-bath processing begins right away with the jars in boiling water. Hot jam in a cool jar is a thermal-shock risk for the glass. The only cooling that happens is after processing, when the sealed jars sit untouched for 12 to 24 hours before the seal is checked.
My blackberry jam is too runny. How can I fix it?
Put the jam back in the pot and boil it hard for another 5 to 10 minutes, testing on a cold plate every couple of minutes. If it is already packed in jars, spoon it back out into a clean pot and finish the cook before jarring again. If the fruit is already very soft, a teaspoon of low-sugar pectin stirred in off the heat will finish the job without more boiling.
Can you can wild blackberry jam in a water bath?
Yes, and fruit jams are one of the safest things to water-bath can. Half-pint and pint jars take 10 minutes at sea level, quart jars take 15, and you add 1 minute for every 1,000 feet above 1,000 feet. Check the times in your canner’s current guide or the NCHFP tables, since only a tested method makes the jar shelf stable.
Start small. Pick two quarts of ripe berries, sort them properly, and make a single four-cup batch so you can learn the gel point on your own stove with fruit you would happily eat if it went wrong. Wild blackberry season is short and worth protecting, so freeze any berries you cannot get to the pot in season and make jam later in the year, a few weeks at a time.