A gummy gluten free sandwich bread is almost always a process problem, not a bad recipe. The crumb stays tacky when the center never reaches 205°F, when the loaf gets sliced while it is still warm, when the blend carries more starch than flour, or when the dough takes more water than its structure can hold.
Fix those things and the same recipe comes out soft, sliceable, and clean enough for a school lunchbox. This is a 9×5-inch tin loaf worked with a spoon, not a mixer, and it leans on a pre-hydrated psyllium gel for the structure that wheat gluten would normally supply.
Before the method, here is the short list of causes, because a specific diagnosis beats guessing at the next bake:
- Underbaked center — the crust browns while the middle is still below 205°F.
- Sliced while warm — starch is still setting, so the knife drags and pulls paste.
- More starch than flour — starch sets into paste rather than crumb when there is no protein load holding it.
- Overhydrated dough — more water than the binder can hold shows up as a damp, unstable center an hour later.
- Too much binder — an overdose of psyllium or xanthan gummy gives a tight, rubbery crumb that never cures.
- Wrong pan size — a small tin pushes the batter past its thickness and dries the outside before the middle sets.
Most loaves land on the first two. The order matters: if you fix only one thing, fix the bake temperature before you change the recipe.
Table of Contents
- What You Need
- Pick a blend, or build one and keep starch under half
- Measure in grams: gluten-free flour cup-to-gram chart
- Step-by-Step
- Step 1: Mix the Dough Without Overworking It
- Step 2: Rest the Dough for Better Structure
- Step 3: Add Yeast and Build an Even Dough
- Step 4: Proof Until Puffy and Springy
- Step 5: Shape and Pan the Loaf
- Step 6: Bake Until the Center Is Fully Set
- Step 7: Cool Completely Before Slicing
- Common Mistakes
- How to rescue a loaf that already came out gummy
- Keeping slices soft instead of dense after day one
- Frequently Asked Questions
- Do you need xanthan gum or psyllium for gluten-free bread?
- What internal temperature should gluten-free bread reach?
- How long should gluten-free bread cool before slicing?
- Why is my gluten-free bread gummy in the middle?
- How do I make my gluten-free bread less dense?
- Why does my gluten-free sandwich bread get hard the next day?
- Conclusion
What You Need
Gluten-free bread has no elastic protein network to trap gas, so every ingredient has to do one job. The flour gives the loaf its body, the starch gives it lift and sets into the crumb, the hydrocolloid binds and holds moisture in place, and the yeast makes the gas that becomes oven spring.
- 200 g gluten-free flour blend (about 1⅓ cups), ideally a blend that already contains a binder
- 2 teaspoons psyllium husk powder (about 6 g), or ½ teaspoon xanthan gum if psyllium does not agree with you
- 2 teaspoons instant yeast (about 7 g)
- ½ cup water at 105°F (120 ml), for the psyllium gel
- ⅓ cup milk or water (80 ml) at room temperature
- 1 large egg at room temperature, optional but it firms the crumb and helps the loaf hold its shape
- 3 tablespoons neutral oil (40 g), melted, plus more for the pan
- 3 tablespoons sugar or honey (38 g), which feeds the yeast and keeps the crumb moist
- 1 teaspoon apple cider vinegar, for a little extra lift
- 1 teaspoon fine sea salt
A digital food scale matters more here than it does for wheat bread. Gluten-free flours vary far more in weight per cup than wheat does, and a two-tablespoon error in brown rice flour is enough to shift hydration by ten percent.
Pick a blend, or build one and keep starch under half
Buying a blend is easier, and the good ones list their starch-to-flour ratio. The number to remember: starch should make up no more than about half the total flour weight. Beyond that, you are baking a paste.
My go-to base for a sandwich loaf is 110 g brown rice flour, 50 g tapioca starch, 30 g potato starch and 10 g of a flour for flavor. That is 200 g total with 90 g of starch, a 45% ratio that slices cleanly.
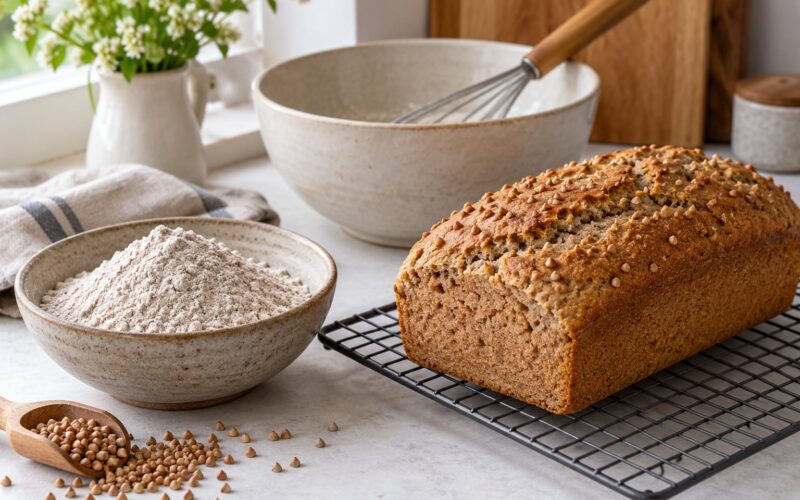
For a regional spin, sorghum flour swaps in for brown rice at the same weight and brings a mild cornbread note, while buckwheat makes the loaf darker and tangier. Chestnut and sweet potato flours are looser and thirstier, so reduce the water by about 15 g per 50 g of chestnut flour you add. Cornmeal is not a bread flour; keep it under 15% of the total or the loaf turns gritty.
Measure in grams: gluten-free flour cup-to-gram chart
One level cup, spooned and leveled, not scooped and shaken. Scooping packs up to 20% more flour into the same cup, which is a fast route to a dry, crumbly loaf rather than a gummy one.
| Gluten-free flour | 1 cup, grams | Notes |
|---|---|---|
| Brown rice flour | 120 g | The workhorse; neutral, fine grind |
| Sorghum flour | 115 g | Slightly sweeter than rice flour |
| Buckwheat flour | 105 g | Dark and malty; drink more water |
| Sweet potato flour | 120 g | Very absorbent, soft crumb |
| Chestnut flour | 95 g | Loose and dry; hold the water back |
| Almond flour | 96 g | Rich, higher fat; reduce oil slightly |
| Oat flour | 90 g | Use certified gluten-free oats |
| Millet flour | 110 g | Grassy; fine in blends |
| Fine cornmeal | 115 g | Cap at 15% of the blend |
| Tapioca starch | 120 g | Starch, not flour; no structure on its own |
| Potato starch | 136 g | Same; do not confuse with potato flour |
Potato starch and potato flour are different products with opposite effects. Potato starch is a pure starch that gelatinizes into a light, gluey binder. Potato flour is milled from the whole dried tuber, starch and all, and it is a heavy, absorbent, gummy ingredient that will give you exactly the texture you are trying to avoid.
Step-by-Step
The whole bake is about 30 minutes of hands-on work, then 75 to 90 minutes of rising and two to three hours of cooling. Set up the pan and the thermometer before you mix anything.
Step 1: Mix the Dough Without Overworking It
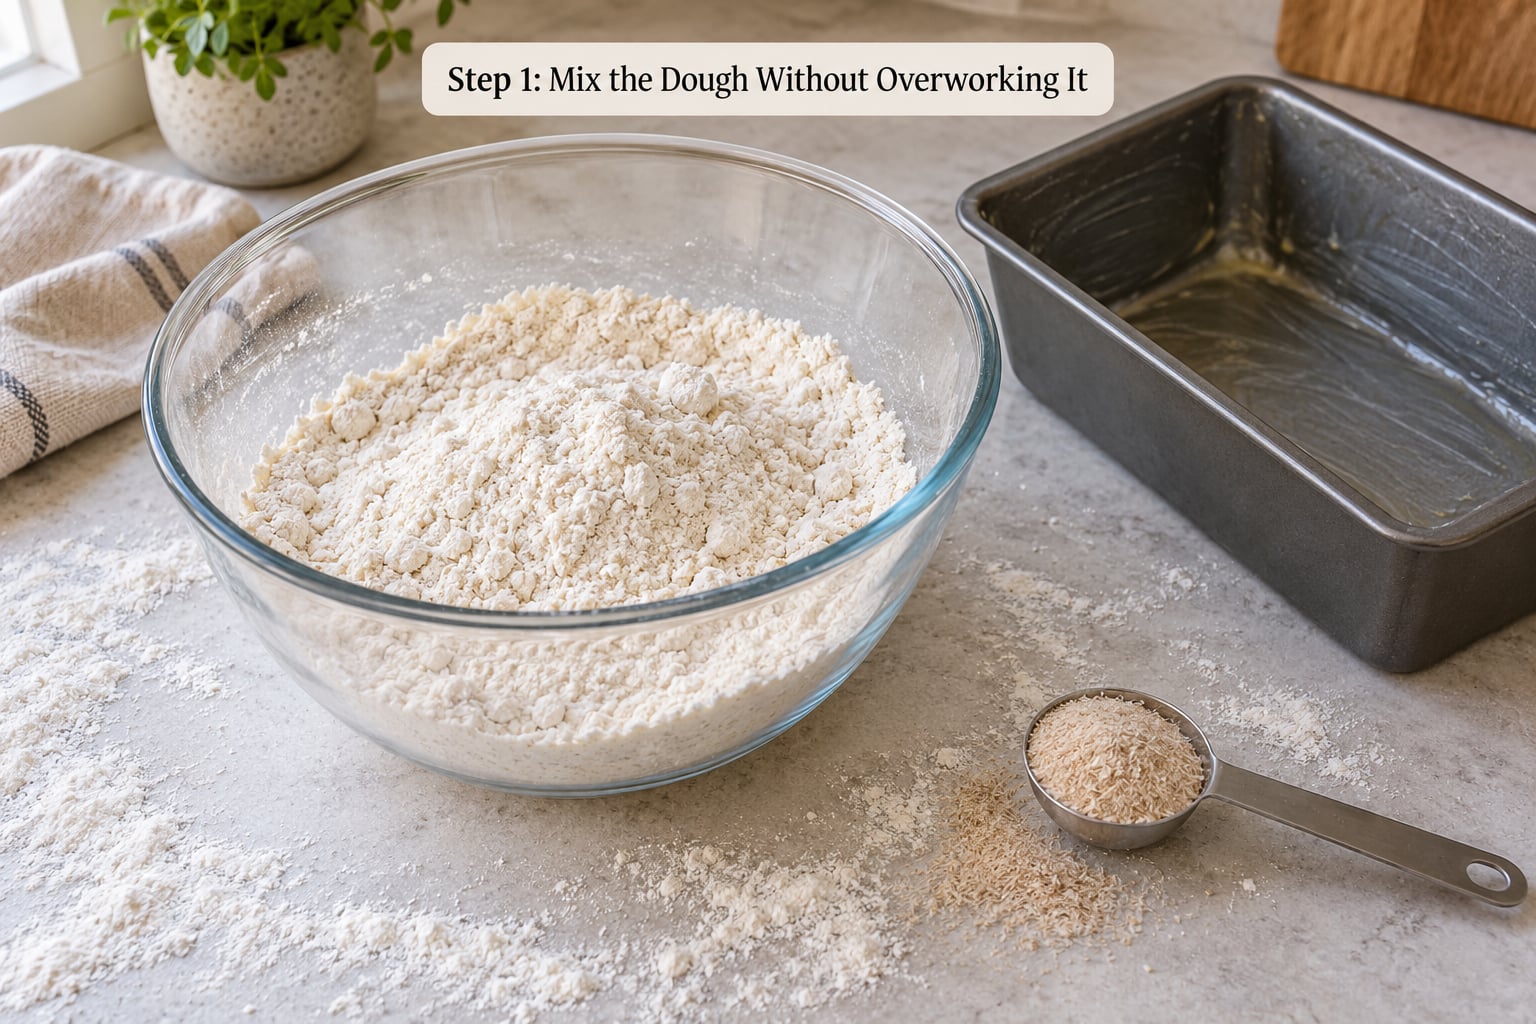
Whisk the flour blend, the sugar and the salt together in a large bowl so nothing settles into a pocket at the bottom. If you are using psyllium, gel it before it goes anywhere near the dry mix: stir the measured 2 teaspoons into the ½ cup of warm water and wait about five minutes until it thickens. Whisking psyllium into dry flour clumps it, and those clumps leave bare spots that show up as one gummy stripe next to one dry patch.
Now pour in the gelled psyllium, the egg, the melted oil, the vinegar and the room-temperature milk. Stir with a sturdy spoon until no dry flour is visible. The dough will look shaggy and slightly sticky, and that is the correct texture.
Do not knead. A stand mixer on low for about 60 seconds is useful if your hand mixing leaves lumps, and past that point gluten-free dough only gets tighter and denser.
Step 2: Rest the Dough for Better Structure
Cover the bowl and leave it on the counter for 20 to 30 minutes. The flours are hydrating, the fiber is swelling, and the starch is absorbing water evenly instead of leaving wet pockets behind.
This rest is doing the same job the autolyse does in a wheat dough, minus the gluten development. A dough rested after mixing spreads and rises more evenly; a dough mixed and immediately panned bakes into a loaf with a dense bottom edge.
Step 3: Add Yeast and Build an Even Dough
Stir the instant yeast into the ⅓ cup of milk or water at about 105°F, wait 3 to 5 minutes until it foams, and pour the foam into the rested dough. If there is no foam, dump it out and start over with fresh yeast.
Work the dough with the spoon and then your hand for two to three minutes, folding the edges into the center until the mass is uniform and springy to the touch. Judge it by feel, not by the windowpane test: a proper gluten-free dough pulls cleanly away from the bowl and no longer smears, but it will never stretch thin.
The hydrate-first approach is why that gel matters. Distributed as a gel in the first mix, psyllium spreads through the dough like the gluten it replaces, so the structure is even from the start instead of patching itself during the bake.
Step 4: Proof Until Puffy and Springy
Return the dough to the greased bowl, cover it, and let it rise at 75 to 80°F until it is about 1½ times its starting size, roughly 75 to 90 minutes. Warm kitchen, shorter time; cool kitchen, longer.
The poke test is the only reliable check. Press a floured finger about half an inch into the dough. A slow springback with a faint dent that fills in means it is ready; no springback means it needs more time; an immediate collapse means you have gone past it and should bake immediately.
Do not judge the rise by the number on the clock. Yeast activity at 72°F and at 82°F is a completely different schedule, and an underproofed dough is the third most common reason a loaf bakes out dense.
Step 5: Shape and Pan the Loaf
Turn the dough onto a lightly floured surface and fold the edges underneath it to build surface tension, the same tuck you would use on a wheat loaf. Aim for a taut skin with most of the air still inside.
Smooth side down into a greased 9×5-inch loaf pan, press gently into the corners, and let it sit for 15 minutes while the oven heats to 350°F. Do not deflate it with a bench scraper, and do not roll it out.
The 15-minute rest is not optional. It is the last chance for the dough to relax into the pan shape instead of holding the bowl’s curve and baking with a gap down one side.
Step 6: Bake Until the Center Is Fully Set
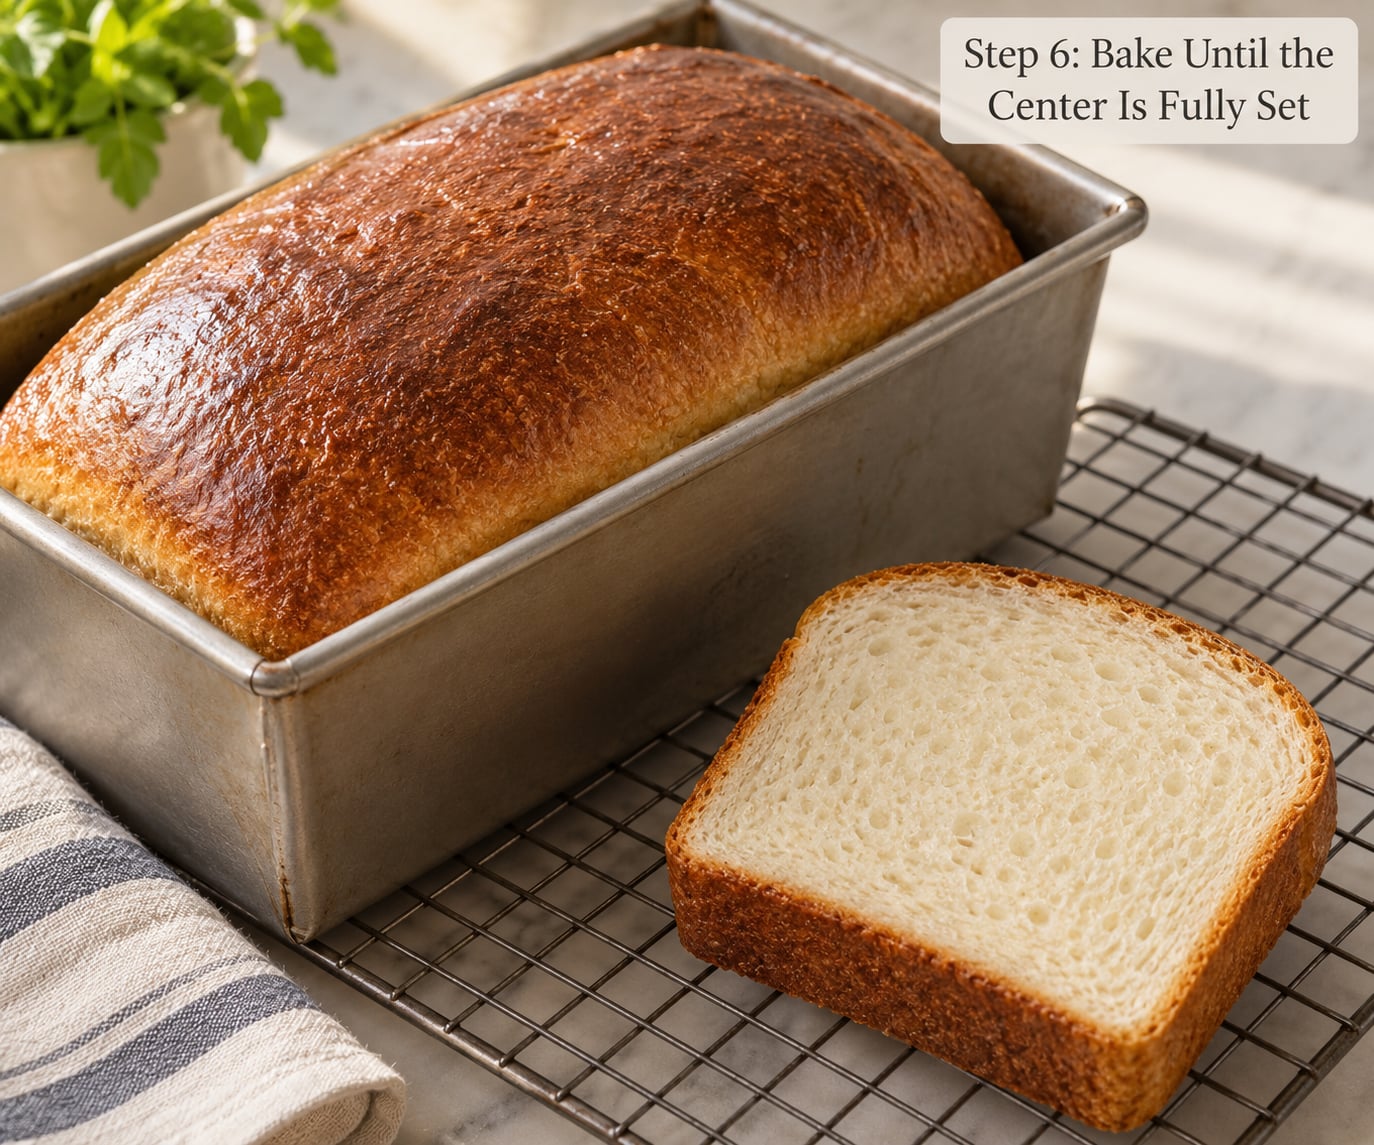
For the first 15 minutes, trap steam in the oven so the surface stays glossy and the crumb does not set before the loaf has expanded. Set an empty metal pan on the oven floor to heat, then pour a cup of hot water into a separate tray at the bottom of the oven, or tent the loaf loosely with foil.
Bake at 350°F until the center of the loaf reaches 205°F on an instant-read thermometer, which for a 9×5-inch tin runs about 35 to 45 minutes. Pull toward 212°F if the pan is dark or the dough was stiff.
That thermometer reading is the whole ballgame. Starch gelatinization happens as the granules take on water, swell and set into a gel, and it does not finish until the interior gets hot enough to cook it. A loaf that looks brown on top and reaches only 195°F inside has a center that is still raw starch, and that is exactly what a gummy slice is.
If you have no thermometer, use a skewer in the deepest part of the loaf. It should come out completely clean, with no wet paste clinging to it, and the loaf should feel firm and hollow-ish when you tap the bottom.
Step 7: Cool Completely Before Slicing
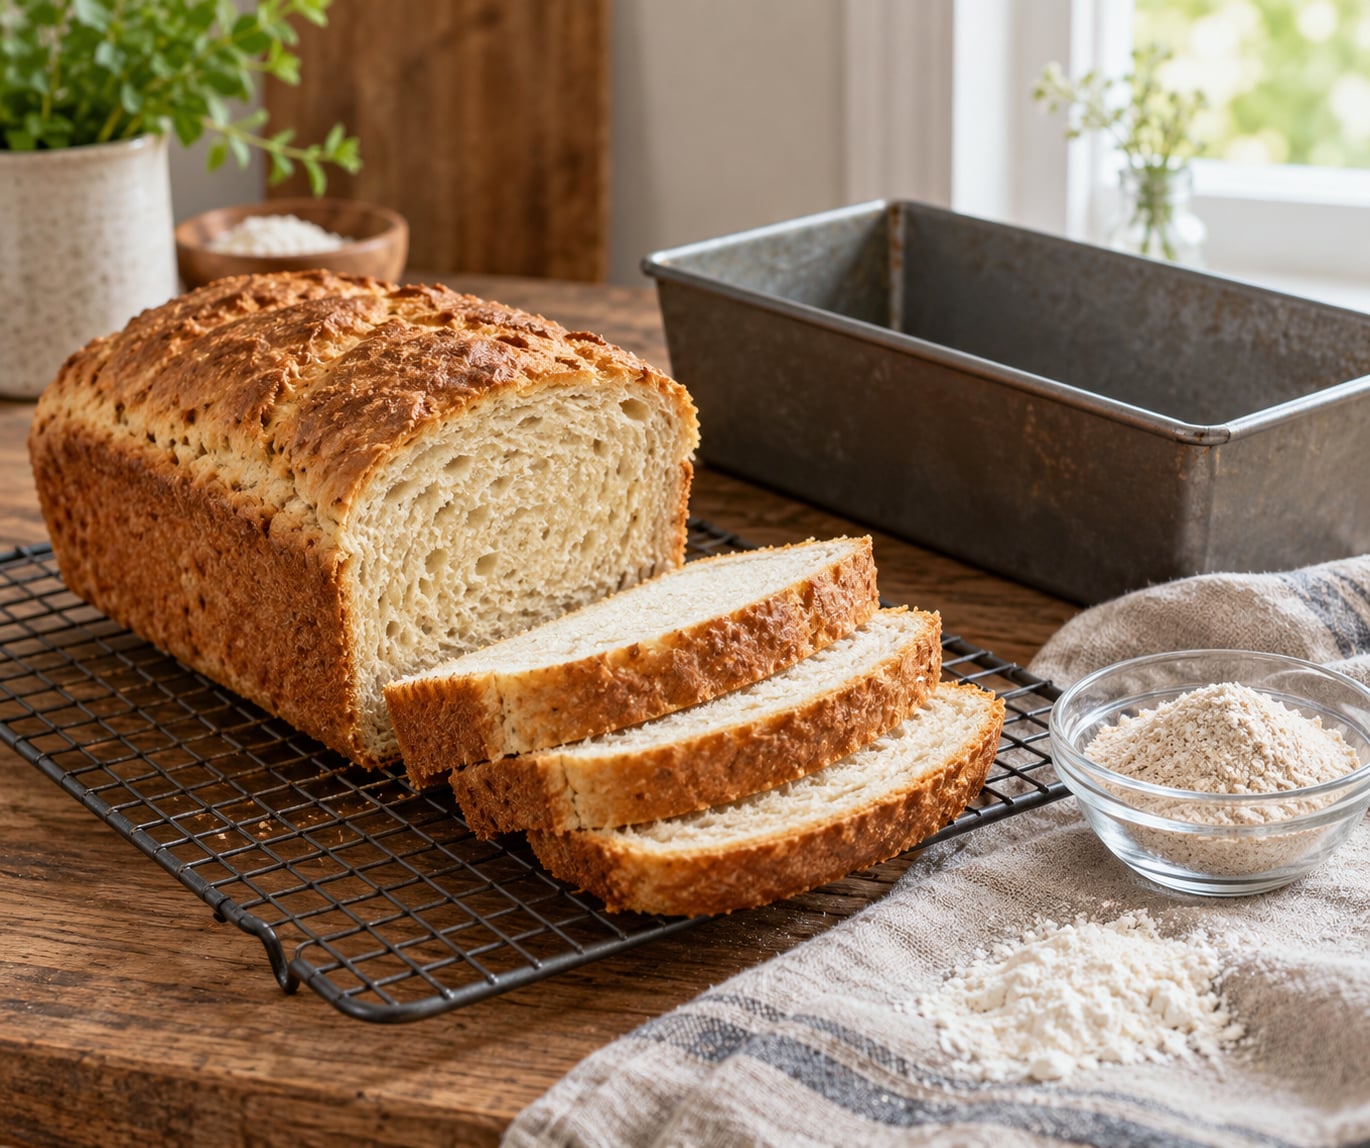
Turn the loaf out onto a wire rack and wait two to three hours before cutting anything. Do not put it in a bag, do not slice it warm to check the crumb, and do not speed it up in the fridge.
Gluten-free crumb is still setting as it cools, and it holds onto moisture longer than wheat crumb does. Cut it early and the knife smears a tacky layer onto the blade, the slice tears instead of cutting, and you get a gummy sandwich. The cooling window is the most-skipped step in the whole process and it costs nothing but patience.
Most gluten-free bakers land somewhere in the two-to-three-hour range, and humid days push toward the long end. Treat the full three hours as the default and treat an hour as a compromise you can live with if you are in a hurry.
Common Mistakes
Diagnose the symptom first. Fixing a gummy center and fixing a dense bottom are not the same problem, and a change to the flour blend will not help either one if the real cause was the oven or the clock.
| Symptom | Likely cause | Fix |
|---|---|---|
| Knife drags through slices and leaves a tacky film | Sliced before the crumb set, or center underbaked | Bake to 205-210°F; cool a full 2-3 hours on a rack |
| Raw, wet paste in the very center only | Underbaked, often from a small pan or too little steam | Add steam for 15 minutes; give 5-8 extra minutes; check pan size |
| Dense, heavy bottom; lighter top | No final rest before panning, or dough was underproofed | Rest 15 minutes in the pan; proof to 1.5x volume |
| Tight, rubbery crumb that chews tough | Overhydrated dough, or binder overdose | Cut water by 20 g; drop psyllium to 1½ teaspoons or xanthan to ¼ teaspoon |
| Wet and unstable an hour after baking | Water the blend could not hold; starch-heavy ratio | Cut total water 10%; keep starch at or under half the blend by weight |
| Gritty or sandy texture | Coarse grind, or too much cornmeal or chestnut flour | Use finely milled flours; keep cornmeal under 15% |
| Loaf collapses sideways in the oven | Overproofed, or pan overfilled | Pull the proof 15 minutes shorter; pan no more than ⅓ full |
| Firm and dry on day two, tears when sliced | Starch retrograding; slices stored exposed to air | Slice and freeze same day; reheat before use |
Coarse grind is worth calling out because it is easy to miss. Coarsely milled flours drink less water, so the surplus stays in the dough and bakes into gumminess. If your blend came from a mill rather than a bag, grind it finer or cut hydration by about 10%.
Two more substitutions cause gummy centers. Adding psyllium to rescue an overhydrated dough backfires into a tight, rubbery crumb, because the binder was never the missing thing. And dairy does help some bakers with a dull crust, since milk and cream brown well and change how the surface handles moisture, but it is a crust fix, not a gummy-center fix.
How to rescue a loaf that already came out gummy
You cannot re-bake a loaf that has cooled into gumminess, but you can stop it from being wasted. Slice it thin and toast it hard; the dry heat drives off the surface moisture and the crumb firms up enough for a grilled sandwich. The same slices make excellent bread pudding, where the moisture has somewhere to go.
For a loaf that is gummy in the center but fine at the edges, pull it at about two hours, not two minutes, and give it another 8 to 10 minutes in the oven. That single check catches most center problems before they set.
Beyond that, toast or fry it. A gummy loaf still makes decent toast, decent crumbs, and decent garlic bread, which is how I stop myself from baking the same loaf twice out of frustration.
Keeping slices soft instead of dense after day one
Gluten-free sandwich bread firms up faster than wheat bread because there is no gluten network holding onto structure, and the starch retrogrades in the loaf. Expect day-two slices to be firmer, and plan around it rather than treating it as a baking failure.
Slice the completely cooled loaf, lay the slices flat in a single layer, and freeze them. Frozen slices thaw in a toaster or a low oven in about three minutes and taste closer to fresh than bread kept at room temperature. Keep the loaf itself in a paper bag or a loose towel rather than airtight plastic, which traps condensation and makes the crust soft and tacky.
For a lunchbox, put the slices between parchment, not stacked warm, and refresh them in a toaster. That is a much better trade than trying to keep the whole loaf soft, which nobody manages past day two.
Frequently Asked Questions
Do you need xanthan gum or psyllium for gluten-free bread?
One of the two, not both. Psyllium husk needs about 2 teaspoons per 200 g of flour blend, and it gives a lighter, more open crumb; xanthan gum needs only about 1/2 teaspoon at that same weight and binds more tightly. Psyllium also wants a 20 to 30 minute gel in warm water before it goes into the dough. If you buy a blend that already contains a binder, add nothing.
What internal temperature should gluten-free bread reach?
Bake until the center of the loaf reads 205 to 210°F on an instant-read thermometer, taken from the deepest point. Pull toward 212°F if your pan runs dark or the dough was on the stiff side. That heat is what finishes starch gelatinization. A browned crust with a center under 205°F is the single most common cause of a gummy slice.
How long should gluten-free bread cool before slicing?
Two to three hours on a wire rack, uncovered. The crumb is still setting and still holding onto moisture as it cools, which is longer than with wheat bread. Slicing early smears a tacky film on the knife and turns the crumb gummy. Do not bag the loaf during cooling, and do not put it in the fridge to speed it up, since condensation makes the crust tacky.
Why is my gluten-free bread gummy in the middle?
The center is almost always underbaked or cut too soon. Use a thermometer rather than the clock and look for 205 to 210°F in the deepest part of the loaf. A small pan or missing steam makes the same loaf denser in the middle, so give it steam for the first 15 minutes and check that you are using a 9×5-inch tin. An over-wet dough shows the same symptom, so watch the dough rather than only the oven.
How do I make my gluten-free bread less dense?
Proof until the dough is about 1.5 times its starting size and springs back slowly from a finger poke, then let it rest 15 minutes in the pan before baking. Density also comes from starch-heavy blends, so keep starch at or under half the total flour weight, and add steam at the start of the bake so the loaf can expand before the surface sets.
Why does my gluten-free sandwich bread get hard the next day?
Without a gluten network, the starch in the loaf retrogrades overnight, so day-two slices are naturally firmer than wheat bread. Slice the cooled loaf and freeze the slices flat in a single layer, then thaw or reheat them as you need them. A paper bag or loose towel at room temperature works better for a day or two than airtight plastic, which traps moisture and makes the crust tacky.
Conclusion
Five things to do on your next bake, in order of how much they matter. Use a blend whose starch is half the flour weight or less, and add a binder at the correct dose. Measure in grams. Let the dough rest 20 minutes and rise fully to 1½ times its size. Bake until the center hits 205°F, not until the crust looks done. Then wait two to three hours on a rack before you cut a single slice.
That is how to make gluten free sandwich bread that is not gummy, and the whole method is about 30 minutes of work. Most of the improvement comes from the two steps people skip: the thermometer and the cooling rack.