Yes, you can bake gluten-free in a kitchen that still keeps wheat flour on the shelf, as long as you change your habits rather than the room. What makes it work is a small set of dedicated tools, a defined gluten-free zone, and one firm rule: do your gluten-free bake before any wheat flour is opened anywhere in the kitchen. People managing celiac disease do this in ordinary family kitchens every week.
The piece most guides leave out is flour dust. Pouring or sifting wheat flour sends particles into the air, and those particles settle on counters, dish towels, appliance buttons and the rims of your mixing bowls. Airborne flour, not the occasional shared spoon, is what quietly turns up in a birthday cake.
This guide covers the setup, the order of operations, and the baking technique that makes gluten-free recipes turn out right the first time. Budget about 20 minutes of extra prep on top of normal baking time.
Table of Contents
- What You Need for a Gluten-Free Station in a Wheat Kitchen
- How to Prepare a Shared Kitchen for Gluten-Free Baking
- Step-by-Step: What to Do Before, During and After the Bake
- Choose a recipe with a reliable gluten-free structure
- Set up and clean the workspace
- Measure and mix ingredients safely
- Bake, cool and store without reintroducing gluten
- Clean up and reset the kitchen
- Common Mistakes in a Shared Kitchen
- Frequently Asked Questions
- Can I bake gluten-free bread in a kitchen where wheat flour is used?
- What should I clean before baking gluten-free food?
- How do I prevent cross-contact when sharing a kitchen?
- Are oats safe to use in a gluten-free baking recipe?
- Do gluten-free flour blends need to be certified?
- Is washing a counter enough to make a shared kitchen gluten-free?
- Conclusion: Start With One Clean Zone
What You Need for a Gluten-Free Station in a Wheat Kitchen
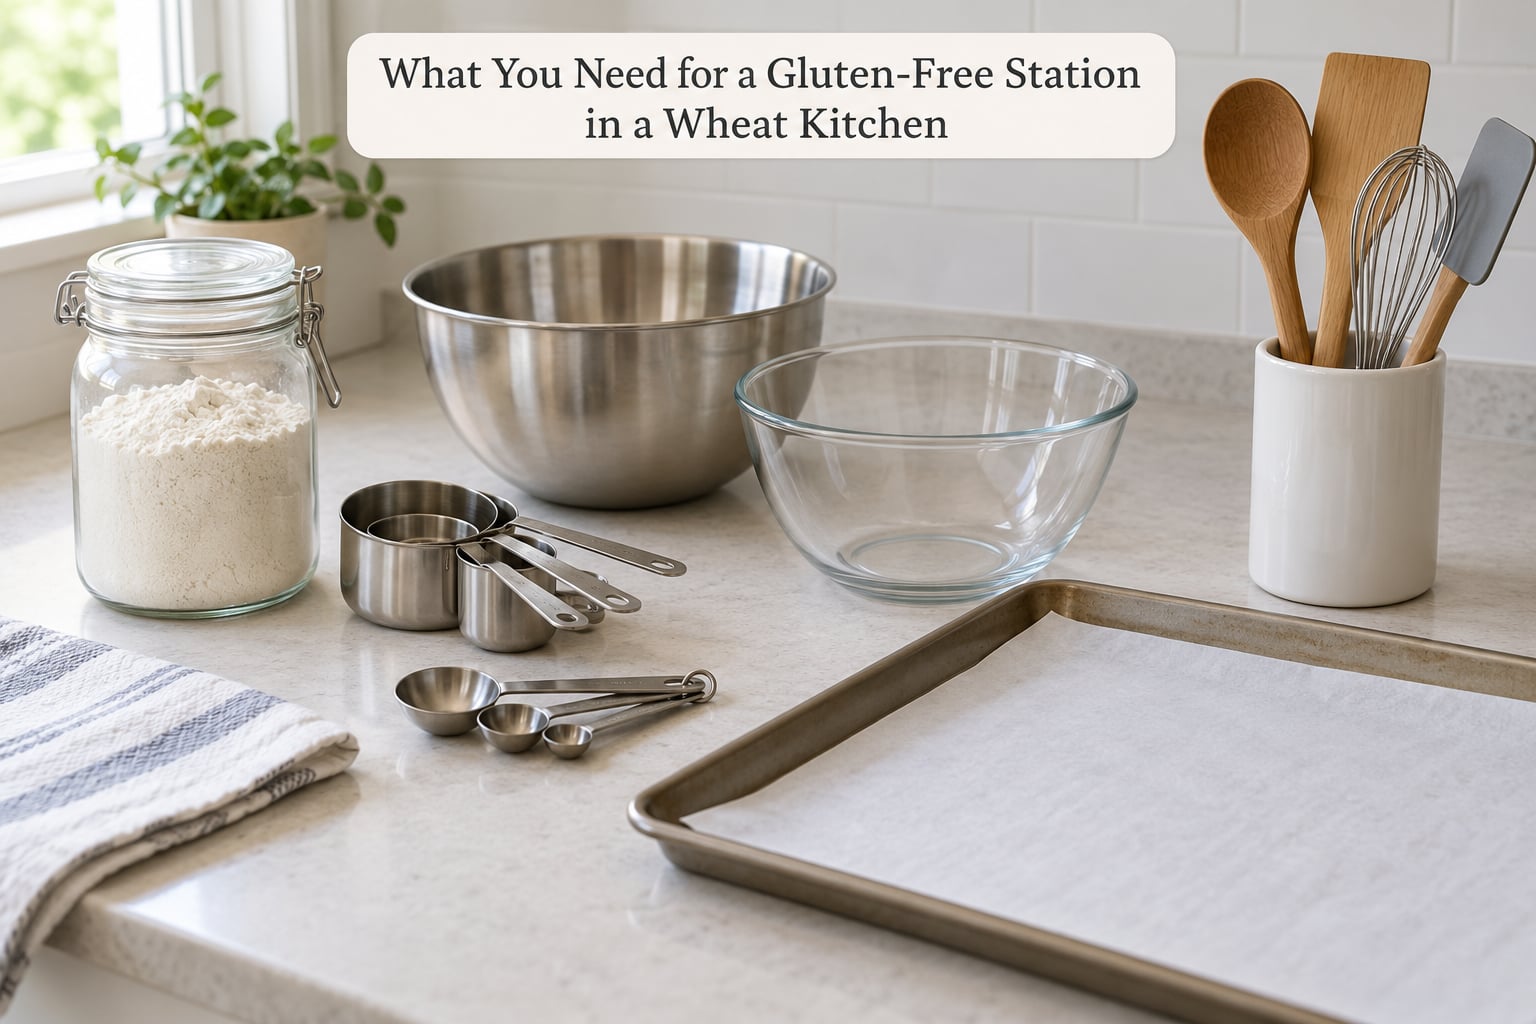
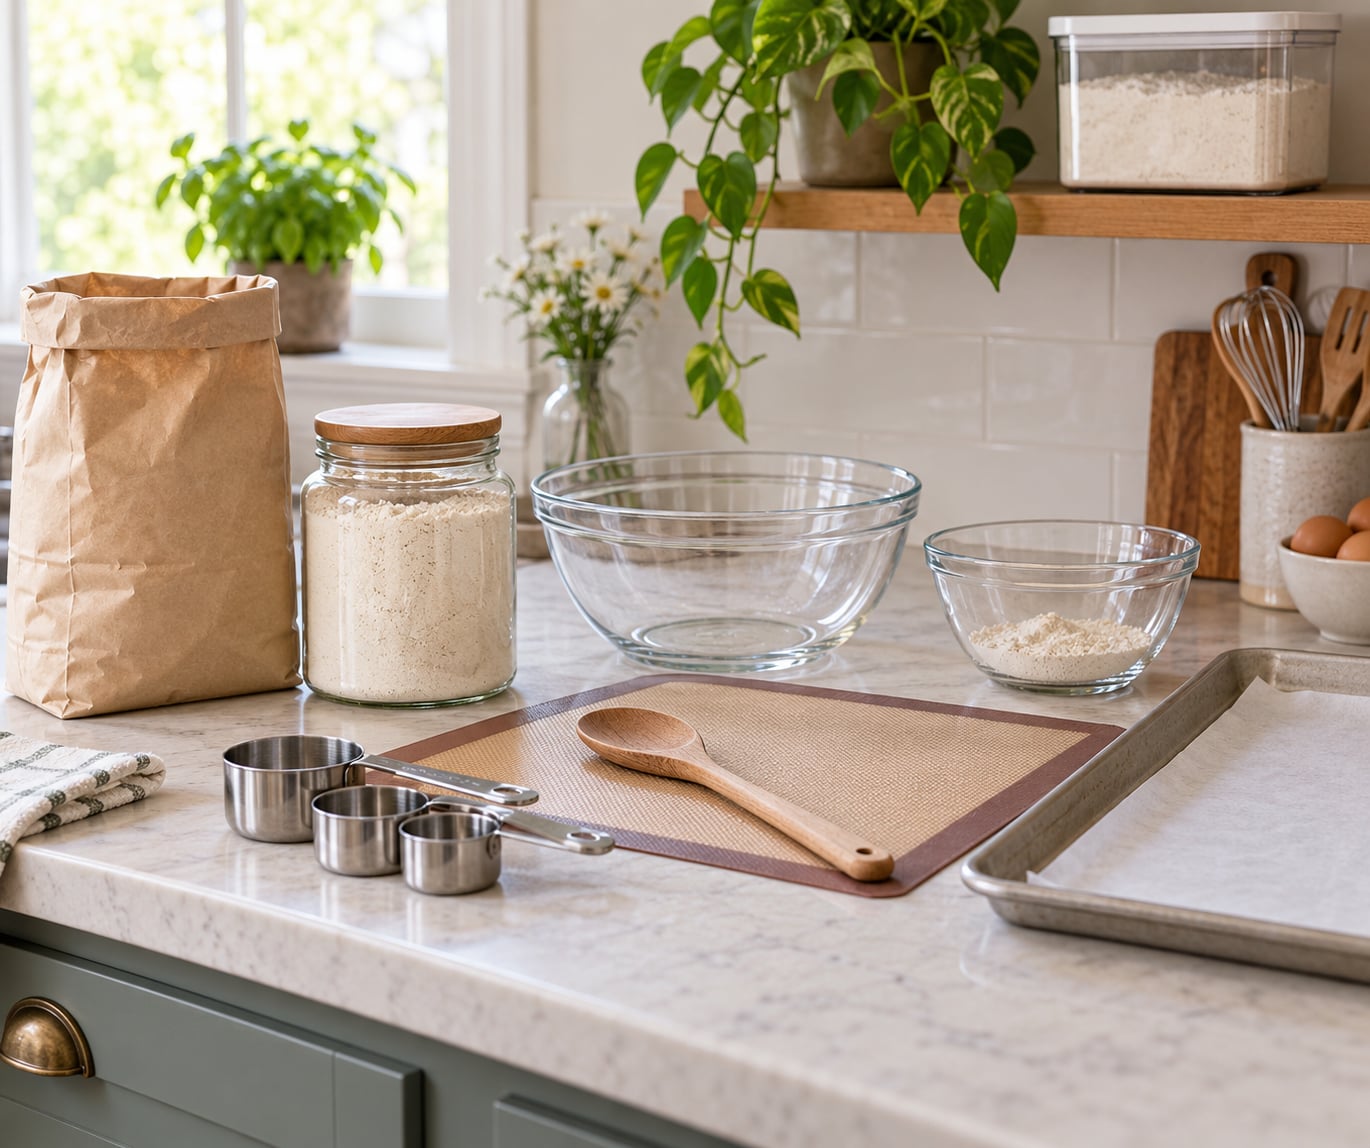
You need duplicates of the small stuff, not a second kitchen. The list below is what actually touches your food: a wooden spoon or silicone spatula that never touches wheat dough, a second colander if you drain pasta, a cutting board of its own, and a measuring cup and set of scoops.
You also need a place for the flour itself. A labeled bin or a dedicated shelf at eye level keeps the gluten-free blend away from the open wheat bag, and it makes the habit automatic rather than a decision you have to make tired and hungry at 4 p.m.
Two things catch people out. First, porous equipment — wooden boards, stoneware, cast iron — holds residue in a way metal and glass do not, so if those items have been near wheat, retire them from the gluten-free job. Second, the small shared jars: butter, jam, peanut butter, taco seasoning, soy sauce. Buy a fresh stick of butter and move your condiments into squeeze bottles you only use for gluten-free baking.
| Item | Can it be shared? | What to do instead |
|---|---|---|
| Cutting board | No | Keep one board, or a second color-coded board, for gluten-free prep |
| Wooden spoon or spatula | No | Buy a dedicated silicone or metal tool; wood holds residue |
| Measuring cups and scoops | No | A second set, stored apart, costs less than a bad batch |
| Mixing bowl | Only if non-porous | Use glass or metal for gluten-free; skip old ceramic |
| Colander | No | A second colander, or a fine-mesh strainer over a pot |
| Baking sheet and pan | No | Own sheet pans, lined with parchment or foil every time |
| Cooling rack | No | A small dedicated rack on the upper counter |
| Rolling pin | Carefully | Wipe with a damp cloth and dry fully; replace if it feels rough or sticky |
| Toaster | No | A cheap second toaster removes a surprising amount of anxiety |
| Oven | Yes, with rules | Same oven is fine, same pan never; cover gluten-free pans with foil |
Home bakers on celiac forums say the same three items settle most of their worry: a dedicated toaster, a second cutting board and their own wooden spoon. That trio is the minimum viable gluten-free station.
How to Prepare a Shared Kitchen for Gluten-Free Baking
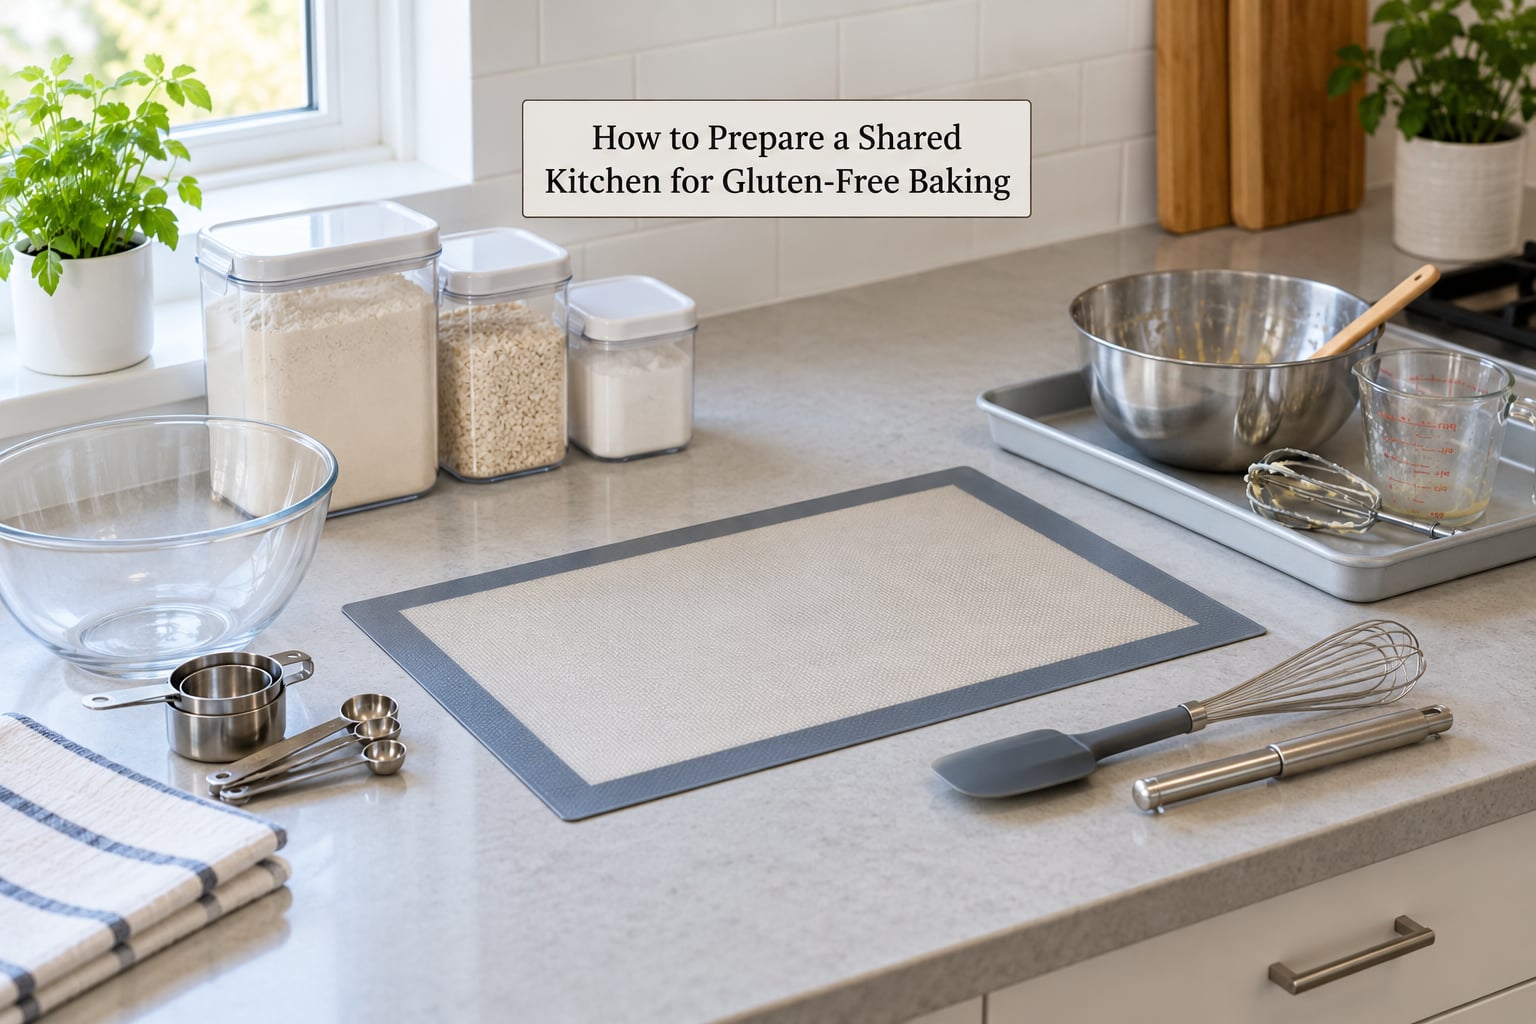
Prepare the room before you prepare the recipe. Clearing the physical space is half the job; the other half is deciding where the risk actually lives, and in a wheat kitchen that is the air and the crevices, not the obvious flour pile.
Five routes carry gluten into a gluten-free bake. Flour dust settles on horizontal surfaces after any pour, sift or whisk. Shared utensils transfer it directly. Porous materials such as wood, stoneware and cast iron hold residue that scrubbing will not fully lift. Crumbs hide in the toaster, the toaster oven, the microwave and the sink drain. And damp dish towels and sponges pick up flour and then re-deposit it when you wipe the counter.
Control those five and you control most of the realistic risk in a home kitchen. Run the oven hot for a few minutes before you start, wipe the door seal and the control panel, and cover any wire rack below yours that has held wheat pans.
Now the honest part. Routine cleaning cannot turn a kitchen that regularly holds wheat flour into a certified gluten-free facility, and anyone who tells you otherwise is selling something. Most celiac households work with a cleaned surface and separate tools, which is what your clinician would be advising anyway. If your own reaction is severe, or the person baking for you has celiac disease, talk with their doctor or a registered dietitian about how strict their household needs to be.
Step-by-Step: What to Do Before, During and After the Bake
Choose a recipe with a reliable gluten-free structure
Pick a recipe that was built for gluten-free flour, not one where wheat flour was simply removed. Gluten-free batters need structure from somewhere else, and a recipe tested without gluten will usually account for that.
Look for a blend rather than a single flour. Sorghum, millet, sweet rice flour, potato starch, tapioca starch and almond or coconut flour behave differently, and tested combinations account for that. Commercial one-to-one blends are the least risky starting point because the binder ratio is already built in.
Also match the pan to the recipe. Gluten-free batter spreads more than wheat batter because there is no gluten web holding it in, so a smaller pan means a thicker, better result. Yeast behaves oddly in these batters too: expect a lighter rise and a slightly longer bake.
Set up and clean the workspace
Clear the counter of everything not in this bake, then wash it with hot soapy water rather than a quick wipe. Wash your hands and forearms, and put away the dish towel that has been drying wheat dishes; use a fresh paper towel or a towel kept only for gluten-free work.
Lay a clean mat or a sheet of parchment on the surface and set your dedicated tools on it. Move the open wheat flour out of the room if you can, or at minimum close the container and put it on a lower shelf away from your mixing area.
Do this before you open any ingredient. Once a wheat bag has been poured from, the clean-up job gets much harder.
Measure and mix ingredients safely
Read every label before you measure. Look for wheat, barley, rye, malt, brewer’s yeast, semolina and spelt, and check oats and cornmeal, which are commonly milled on shared equipment and should carry a certified gluten-free label.
Measure dry ingredients into their own bowls before anything wet enters the mixing bowl. Keep the flour scoop separate from the sugar scoop, and pour rather than scoop when you can, because scooping is what flings dust into the air.
This is where technique and safety overlap. Gluten-free flour is thirsty and has nothing to develop, so add about 1 teaspoon of xanthan gum or psyllium husk per cup of gluten-free flour if the recipe does not already include a binder. Then let the batter rest 20 to 30 minutes before it goes in the oven, and mix gently rather than whipping air into it.
Bake, cool and store without reintroducing gluten
Can you bake gluten-free and wheat foods in the same oven at the same time? Usually yes, with three rules: never the same pan, cover the gluten-free pan with foil or a tented sheet of parchment so nothing falls onto it, and place it above the wheat pan rather than below it.
Convection matters more than people expect. A fan moves air around the oven and pushes circulating particles toward anything uncovered, and the oven filter catches a good share of them. If your oven has a fan, cover the gluten-free pan and keep it on an upper rack.
Many celiac bakers still prefer to bake first and bake alone when they can. That is the simplest habit on this list: do the gluten-free item before anyone opens the wheat flour, then close the kitchen to wheat baking for that session.
Cool on your own rack, cut with your own knife, and store in sealed containers on the top shelf. Gluten-free food always goes above wheat food, and it goes first when serving a mixed meal.
Clean up and reset the kitchen
Wash your gluten-free tools and bowls separately, before the wheat dishes, and run them through the dishwasher on their own cycle if you need to. Wipe the mat, the counter and the appliance controls, and change the paper towel.
Do not treat a surface wipe as sanitation. It moves flour around and leaves most of it. Hot water and detergent, then a dry pass, is the minimum for a work surface that will be used for gluten-free food again.
Common Mistakes in a Shared Kitchen
These are the failures that show up again and again, with the fix that actually works for each.
- Using one measuring cup for everything. Scoop sugar, then scoop flour. Fix: a second set of cups and scoops stored with the gluten-free bin, washed separately.
- Assuming oats and cornmeal are fine because they are natural. They are frequently milled on shared equipment. Fix: buy only versions labeled certified gluten-free.
- Baking beside an open bag of wheat flour. Fix: seal it and move it to another room, or close it and put it on the lowest shelf before you start.
- Washing the gluten-free bowls in the same sink as the wheat dishes. Fix: wash yours first, on their own, and dry them before anything else goes in.
- Storing gluten-free bread next to wheat bread. Crumbs and humidity do the rest. Fix: sealed containers on the top shelf, and a covered bin for the wheat loaf.
- Trusting a visual dust check. You cannot see a workable amount of flour. Fix: wipe with a damp cloth first, then wash with hot soapy water.
- Reusing the same damp dish towel. Fix: a gluten-free towel kept in the bin, or paper towels for the whole bake.
- Skipping the binder and the rest time. This is a texture problem, not a safety one, but it is the most common reason a first gluten-free bake disappoints. Fix: 1 teaspoon of xanthan gum or psyllium husk per cup of flour, and a 20 to 30 minute rest.
A few habits hold up better than any single product: bake the gluten-free item first, wash your hands and the counter before you start rather than after, and label everything. On celiac forums, the label maker is a recurring recommendation for exactly that reason.
If someone does get glutened at your table, the useful response is simple: note what happened, treat it as a reaction rather than a reason to stop baking, and adjust the setup next time. Someone with celiac disease who has a documented reaction should follow the medical plan their clinician already gave them.
Frequently Asked Questions
Can I bake gluten-free bread in a kitchen where wheat flour is used?
Yes, with controls. Most people who need a gluten-free diet, including many with celiac disease, bake in a kitchen that still holds wheat flour by keeping dedicated utensils, a cleaned work surface, and a strict order of operations. Bake the gluten-free item before any wheat flour is opened, use your own pans and boards, and store finished goods sealed on the top shelf.
What should I clean before baking gluten-free food?
Wash the work surface with hot water and detergent rather than wiping it, and clean your hands and forearms. Wipe the oven door seal, the control panel and the handle. Change the dish towel or use paper towels, and replace the sponge, since sponges hold flour residue and redeposit it. Run the oven hot briefly if you want to clear circulating particles before you start.
How do I prevent cross-contact when sharing a kitchen?
Work in a dedicated zone with your own flour, tools, boards and containers, and keep wheat products on a lower shelf. Never share porous items like wooden spoons or stoneware, use separate measuring cups and scoops, and cover gluten-free pans with foil. Do the gluten-free bake first, before anyone opens the wheat flour, and wash your equipment before the wheat dishes.
Are oats safe to use in a gluten-free baking recipe?
Only if they are labeled certified gluten-free. Oats are naturally gluten-free but are frequently milled on equipment that also handles wheat, barley or rye, which is why cross-contact is the concern rather than the grain itself. Read the label for a certification mark, and be conservative with homemade oats and oats sold in bulk from scoops.
Do gluten-free flour blends need to be certified?
Certification is not legally required in most places, but it is the most reliable signal that the product was made in a facility controlling wheat, barley and rye. A blend that is simply made from naturally gluten-free grains can still be milled or packed on shared equipment. For a household with celiac disease, choose blends that carry a certified gluten-free mark and check the ingredient list for wheat, barley, rye or malt.
Is washing a counter enough to make a shared kitchen gluten-free?
No. Washing removes visible residue from a surface, but a kitchen that regularly uses wheat flour holds traces in crevices, on utensils, in the toaster, and in the air, and no amount of routine cleaning makes it a certified gluten-free facility. Washing a cleaned surface with separate tools is what most households rely on, and it is a practical risk reduction rather than a medical guarantee. Severe cases warrant a conversation with a clinician or registered dietitian.
Conclusion: Start With One Clean Zone
Start with three things this week. Verify the recipe and every ingredient label, then set up one clean zone with its own mat, boards, scoops and mixing bowls, and put the gluten-free flour somewhere sealed and separate. From then on, bake your gluten-free item before any wheat flour comes out, cover the pan, and store the results sealed on the top shelf.
Those habits cut the practical risk in a kitchen that also holds wheat flour, and they make the bake itself better, since a binder and a 20-minute rest do more for your crumb than any cleaning routine. Just be clear-eyed about what they are: careful, repeatable control in a shared room, not a certified gluten-free kitchen.