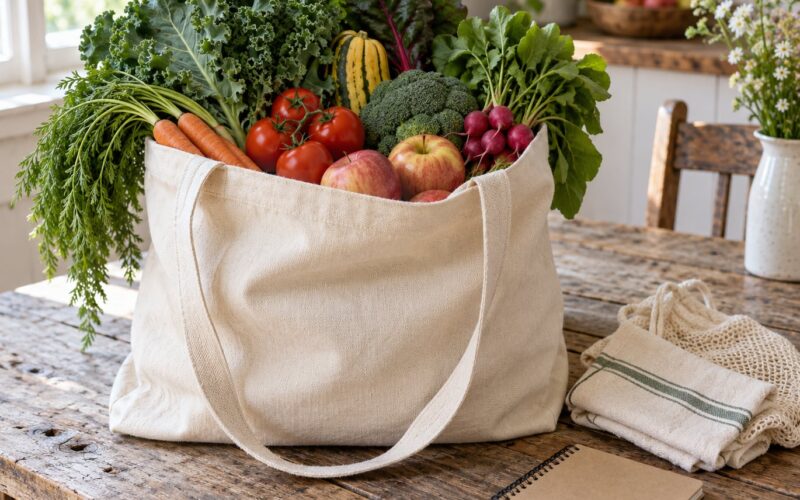
The fastest way to use a CSA box before it goes bad is to sort it the day it arrives and eat the flimsiest produce first. Greens, herbs, berries and ripe tomatoes get used within two days, while potatoes, onions and winter squash wait safely for later in the week. Ten minutes of sorting on delivery day saves a week of discovering slimy greens at the back of the fridge.
That ten minutes matters more than it sounds. A share is harvested for a group, not for your household alone, so it arrives in a quantity you would never buy at a store, and it arrives unwashed with field soil still on it. Most of the waste in a CSA box comes from one habit: leaving the whole box in the fridge and deciding later.
Here is the system I use. Updated for 2026.
Table of Contents
- What You Need: How to Use a CSA Box Before It Goes Bad
- Step-by-Step: Use Every Part of Your CSA Box
- Step 1: Unpack and Triage the Box Right Away
- Step 2: Put Leafy Greens and Herbs in the Right Storage
- Step 3: Handle High-Risk Produce First
- Step 4: Use Sturdy Produce Before It Disappears
- Step 5: Preserve What You Cannot Eat in Time
- Common Mistakes and Quick Fixes
- Frequently Asked Questions
- How long do CSA vegetables last in the fridge?
- Is soft or blemished CSA produce still safe to eat?
- What do I do with greens that are already wilting?
- Which vegetables freeze well from a CSA box?
- How do you keep herbs from going bad in a CSA box?
- What do I do if my CSA box has been sitting out too long?
- Conclusion
What You Need: How to Use a CSA Box Before It Goes Bad
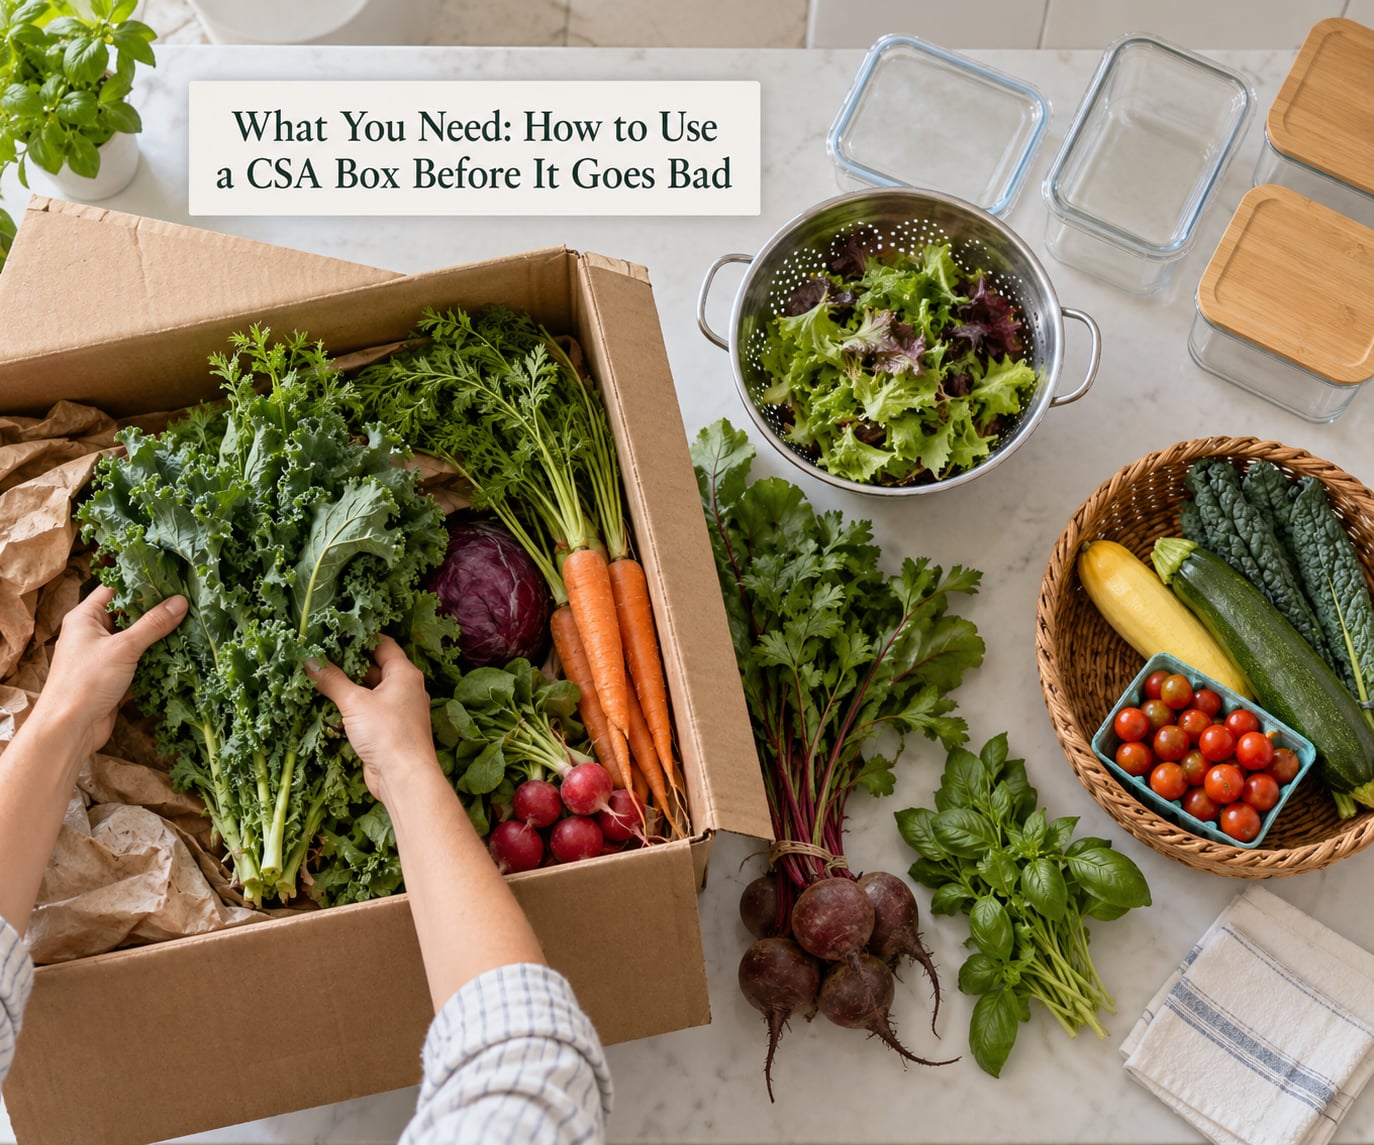
You do not need gadgets. You need space, a few containers, and somewhere to write things down.
- An empty section of the fridge. Clear a full shelf or drawer before the box arrives, not after. Produce crammed in beside leftovers wilts faster because air cannot move.
- Glass or plastic containers with lids. Rigid containers protect delicate items from being crushed, and lids stop the whole fridge tasting like week-old kale.
- A colander and a clean kitchen towel. Washing needs a way to drain water, and greens dried properly last several days longer.
- Freezer bags, a baking sheet and a marker. Flat bags stack in a small freezer, and a date written on each one stops frozen food turning into a science project.
- A notepad on the fridge door. Write down every item the day the box arrives. The forgotten single jalapeno is a recurring story in CSA groups, and so is discovering it soft and moldy three weeks later.
- A basket or bowl on the counter. It becomes your landing spot for the things you plan to cook next, so nothing gets buried.
Add one habit that costs nothing: keep a working pantry of pasta, rice, beans, tortillas, oil, vinegar and spices. A box of carrots and greens becomes dinner instead of nothing when there is something in the cupboard to put them with.
Step-by-Step: Use Every Part of Your CSA Box
Step 1: Unpack and Triage the Box Right Away
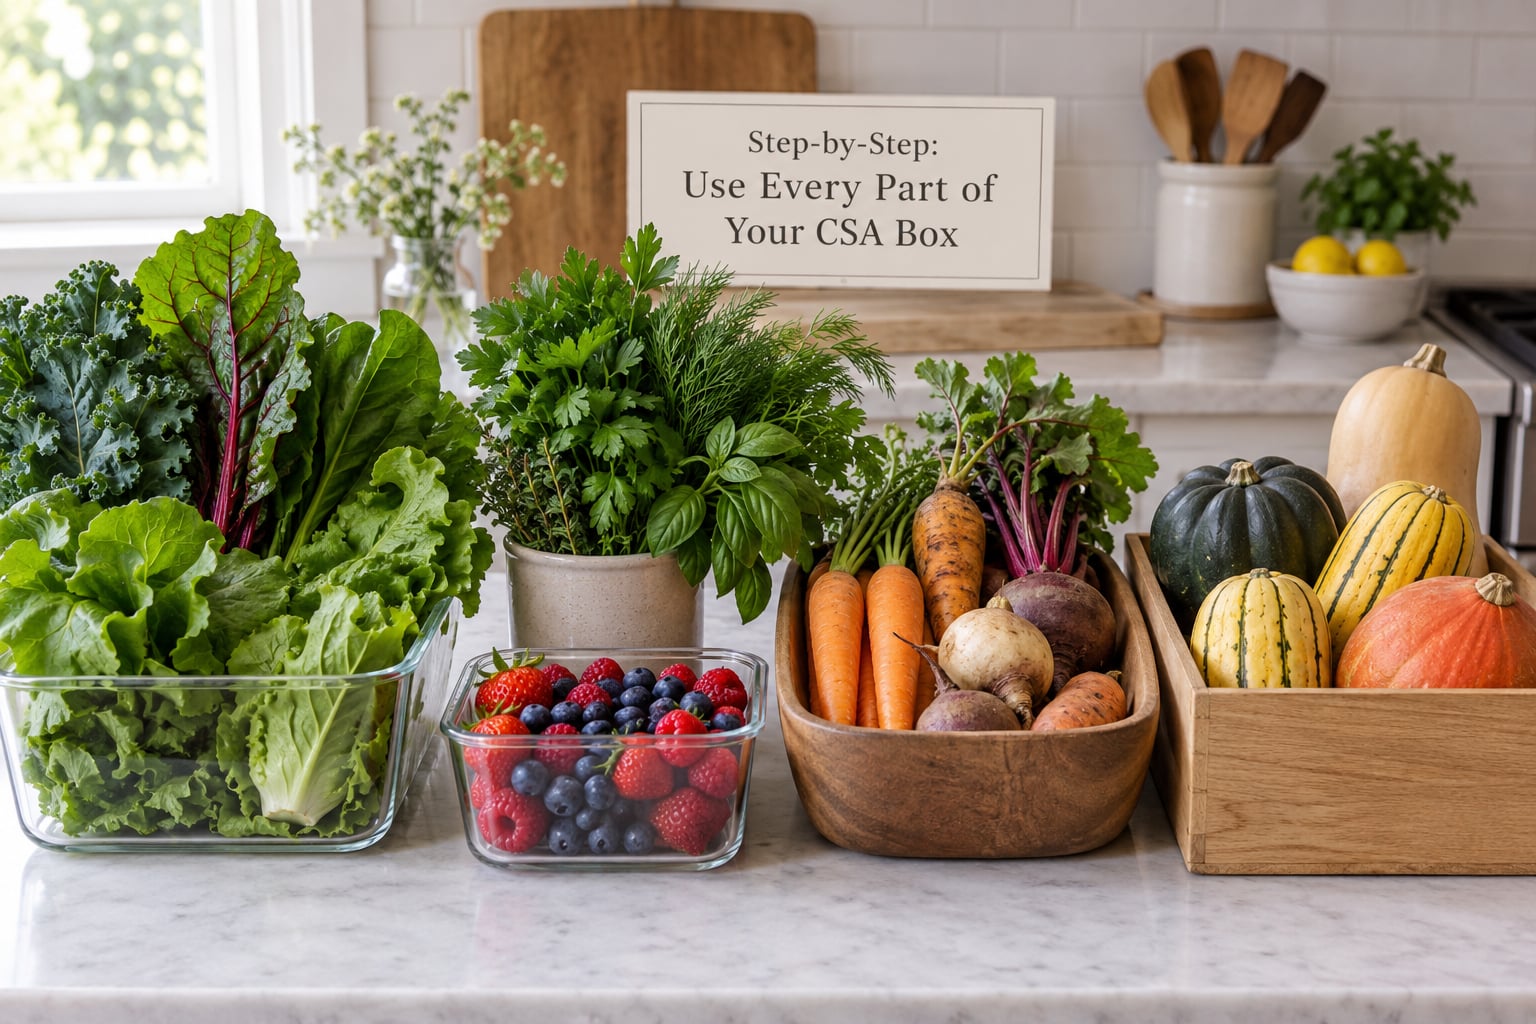
Put everything on the counter before you store anything. Pull the whole box apart, then sort the produce into five piles: eat today, eat this week, can wait, preserve, give away. Five piles takes about ten minutes and tells you what the week actually looks like.
When you decide something is spoiled, check for specific signs rather than appearance alone. Slime, mold, a sour or fermented smell, leaking liquid, or flesh that collapses when pressed all mean the item is past safe eating. A scarred carrot, a blemished potato with green eyes removed, a pear with a bruise, or a tomato with a rough patch does not.
Farm-direct produce is frequently dirtier than grocery produce, so field soil and small surface marks are normal and not a reason to bin anything.
Step 2: Put Leafy Greens and Herbs in the Right Storage
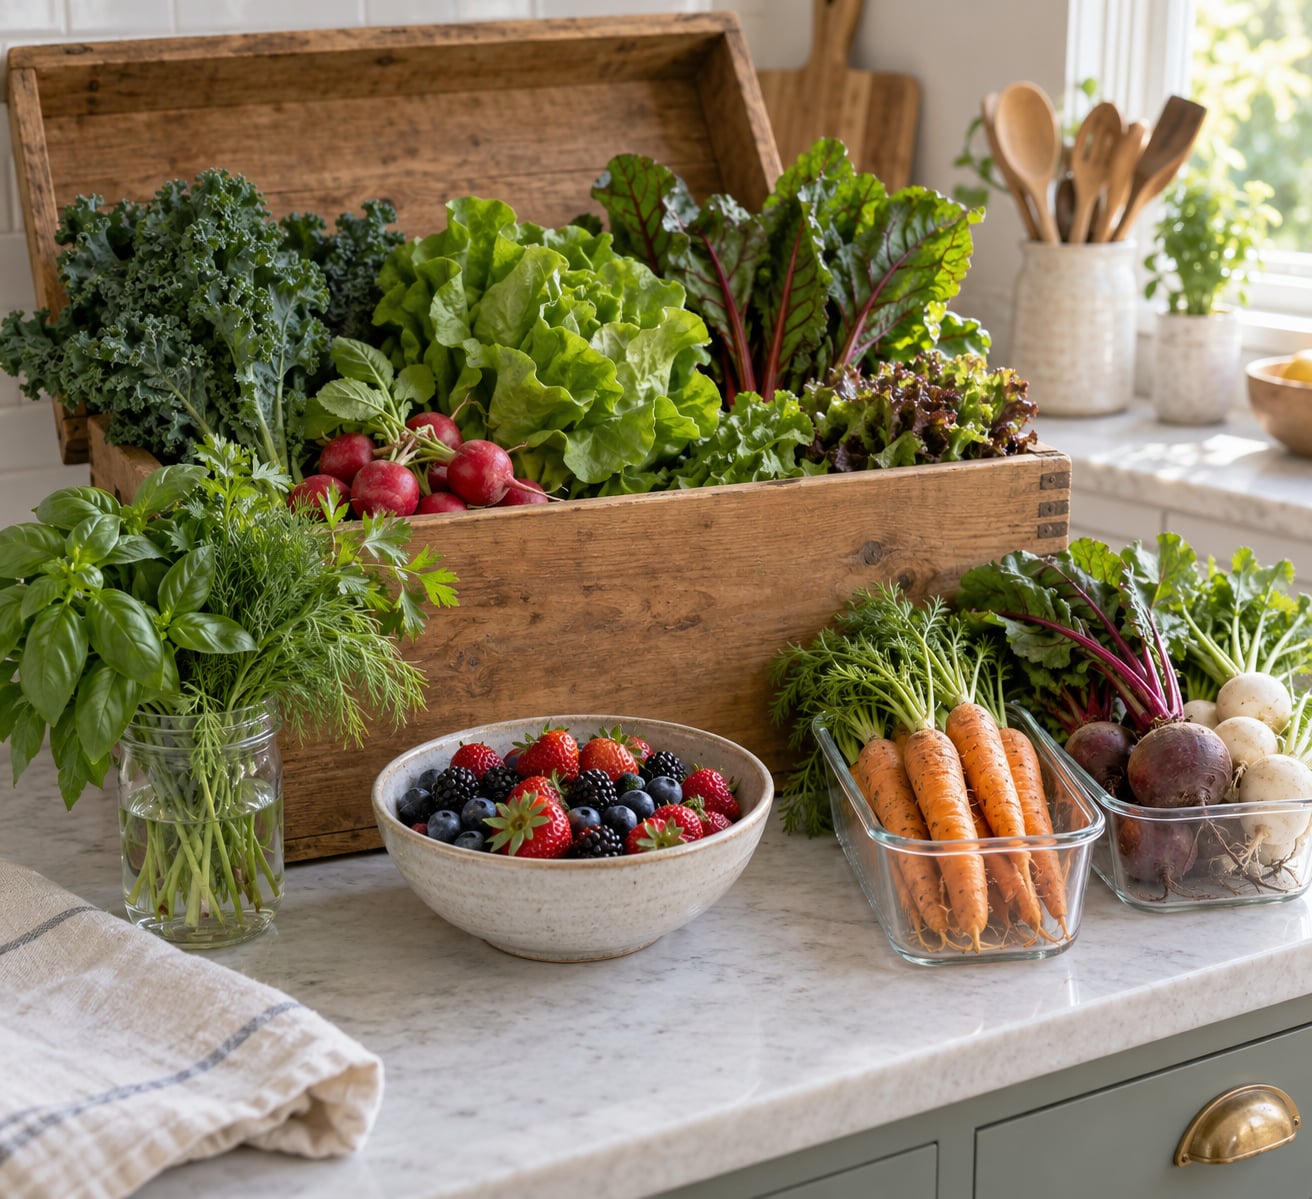
Leafy greens are where most CSA boxes are lost. They need a dry, cold, slightly humid space, and they need breathing room rather than a sealed bag.
- Kale, chard and collards. Strip the leaves from the thick stems, dry them thoroughly, and store loosely in a container lined with a dry towel. These are the hardiest greens and hold for a week or more.
- Lettuce and spring mix. Keep the head whole if you can, and place a paper towel in the container so moisture has somewhere to go. Rinsed greens need to be completely dry before the lid goes on.
- Basil. Never in the fridge. Stand the stems in a jar of room-temperature water on the counter, out of direct sun, and change the water every other day.
- Cilantro and parsley. Trim the stems and stand them in a jar of water in the fridge with a loose bag over the top. Parsley holds for well over a week this way, cilantro closer to five days.
- Green onions and scallions. Stand them in a shallow jar of water in the fridge and cover the tops loosely with a bag or lid. They regrow from the cut ends.
Keep herbs away from fruit. Apples, bananas and pears release ethylene gas, a plant hormone that makes herbs and leafy greens yellow and limp faster.
Step 3: Handle High-Risk Produce First
Some items have days, not weeks. Build your next two meals around them before you store anything.
- Berries. Eat them, freeze them on a baking sheet for a couple of hours, then bag them. Soft berries work fine blended into sauce, oatmeal or bread.
- Mushrooms. Cook within a day or two. Saute and freeze, or dry them for the pantry.
- Snap peas and green beans. Blanch for two minutes, chill, and freeze flat, or just start them on tonight’s menu.
- Summer squash and zucchini. Grate extra into freezer bags for breads, or cook a batch into a sauce that freezes well even though raw zucchini does not.
- Ripe tomatoes. Roast the whole tray at a high oven until collapsed, then freeze. Roasted frozen tomatoes use a fraction of the space of raw frozen diced ones.
- Peaches, plums and other soft fruit. Bake or roast them into a sauce, or freeze in single slices on a sheet pan for later smoothies.
Cucumbers and eggplant are the hardest to save because they turn watery in the freezer. Use them fresh, and cook them early in the week rather than saving them for last.
Step 4: Use Sturdy Produce Before It Disappears
Onions, garlic, potatoes, sweet potatoes, winter squash, beets, carrots and cabbage keep for weeks, but they do not wait forever in a bag in the fridge. Store them dry and cold instead.
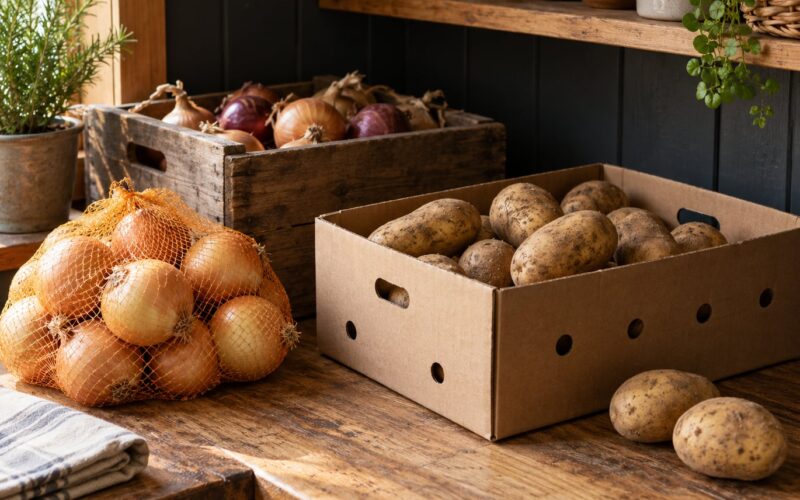
Keep potatoes, onions, garlic and winter squash in a cool, dark cupboard away from each other, since onions and garlic make potatoes spoil faster. Beets, carrots and cabbage do fine in the fridge, bagged or in the crisper, with the leafy tops snapped off. Those tops drink moisture and nutrients from the root, so pull them and eat them within a couple of days.
Cabbage, kale and broccoli are the same family of plant and the same trick applies. Take a knife to the whole head or stalk, use the leaves, and treat the core as a cooking ingredient rather than a scrap.
Sturdy produce rarely spoils from the inside out. It gets fibrous, or it gets sweet and past its cooking peak. Plan it into soups, stews, curries, roasted vegetable trays and chili, where sturdy texture is a feature rather than a flaw.
If your household cannot cook a full box in a week, a smaller share is often the fix. Many farms offer half shares or biweekly deliveries, and matching the volume to how many nights you actually cook solves most of the problem before it starts.
Step 5: Preserve What You Cannot Eat in Time
Preservation is the step people skip, and it is the step that turns a glut into food for next month.
- Freeze it. Wash, chop, blanch greens, beans, carrots, broccoli and corn for two to three minutes, chill them in ice water, drain, then spread on a baking sheet until solid. Bag them in portions the size of one meal and label with the date and the vegetable.
- Cook it forward. Make a batch of sauce, soup or pesto and freeze that instead. Cooked food freezes better and uses less room than raw.
- Quick-pickle it. Thin slices of cucumber, zucchini, radish and green beans sit in a brine of vinegar, water, salt and sugar for an hour and keep for weeks in the fridge.
- Ferment it. Cabbage, cucumbers, radishes and hot peppers turn into kraut, pickles and kimchi with salt and time, and they improve as they sit.
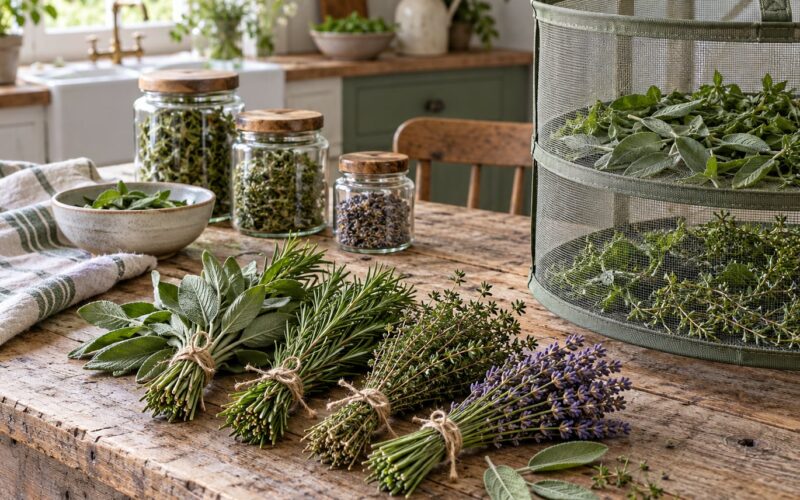
- Dehydrate it. Herb leaves, sliced summer squash, tomatoes and peppers dry well in a dehydrator or a low oven, and they come back for soups all winter.
- Give it away. Neighbors, a local group chat and food pantries all take fresh produce. Pantries generally want unopened, unblemished items rather than bagged leftovers.
Blanching and freezing is the technique experienced members reach for first, and making pesto the moment a large bunch of basil shows up is close to standard practice. Cut produce to the size you want while it is still frozen, and it becomes genuinely usable months later.
The chart below is the one I keep taped inside the cupboard door. It covers what most shares actually contain and how long each item realistically lasts.
| Produce | Fridge shelf life | Freezes well? | Blanch first? | Best rescue use |
|---|---|---|---|---|
| Leafy greens (kale, chard) | 7 to 10 days | Yes | Yes | Soup, smoothie, saute |
| Salad lettuce | 5 to 7 days | Acceptable | No | Salad, soup |
| Basil | 2 to 4 days, counter only | Yes, as pesto | No | Pesto, compound butter |
| Berries | 2 to 4 days | Yes | No | Smoothie, sauce, jam |
| Tomatoes | 3 to 5 days | Roasted only | No | Roasted sauce, salsa |
| Summer squash | 4 to 6 days | Poor raw | No | Grate for bread, cook to sauce |
| Cucumbers | 5 to 7 days | Poor | No | Quick pickles |
| Green beans and peas | 4 to 6 days | Yes | Yes | Blanch and freeze |
| Broccoli and cabbage | 7 to 14 days | Yes | Yes | Slaw, stir fry, ferment |
| Carrots and beets | 2 to 4 weeks | Yes | Yes | Roast, soup, hummus |
| Potatoes and onions | Several weeks, dry and dark | Cooked only | No | Roast, stew, caramelize |
| Winter squash | 1 to 3 months, cool cupboard | Cooked only | No | Roast, soup, pie |
Common Mistakes and Quick Fixes
Leaving the box closed in the fridge. Farm shares arrive unwashed and unpacked, and paper boxes and liners hold in warmth and moisture. Empty it, sort it and store it the same day.
Washing everything first. Moisture sitting on leaves speeds rot. Keep produce dry in storage and wash only the amount you are about to cook.
Storing fruit next to vegetables. Apples, pears, bananas, avocados and tomatoes release ethylene, which damages greens, herbs and broccoli. Give fruit its own space on the counter or in a separate drawer.
Keeping tops on roots. Beet greens, carrot tops and radish leaves pull water from the root they are attached to. Snap them off and eat them within a couple of days.
Using produce past the point of safety. The line is smell, slime, mold and collapse, not appearance. Wilting, bruising and discoloration are cosmetic; fermentation odor and liquid are not.
Treating every week the same. Peak tomato weeks and late-summer squash weeks are not like a cool week of greens and roots. Check the share before you buy, ask the farm what is coming, and pick a half share or biweekly delivery when you know a heavy week is coming.
Cooking nothing on delivery night. Put a five-minute meal on the calendar that night and use the most fragile item in it. That single habit does more than any storage tip.
Forgetting what you have. The list on the fridge door is not a nice-to-have. Check it every time you cook and add anything that needs using to tomorrow’s list.
Frequently Asked Questions
How long do CSA vegetables last in the fridge?
Most CSA produce lasts about as long as grocery produce of the same type, but farm-direct items arrive unwashed, which can shorten the life of leafy greens. Leafy greens hold 7 to 10 days, salad lettuce 5 to 7, berries 2 to 4, and roots several weeks. Keep everything dry in storage, wash only what you cook, and store greens in a container lined with a paper towel.
Is soft or blemished CSA produce still safe to eat?
Usually yes. Cosmetic flaws like bruises, scars, small dark spots, surface blemishes and soft spots from handling are not the same as spoilage. Scrub, trim and cook them normally. Discard anything with slime, mold, a sour or fermented smell, leaking liquid, or flesh that collapses. A green tint on a potato means cut the green parts away deeply, and if the potato is extensively green, throw it out.
What do I do with greens that are already wilting?
Wilted greens are still usable. Strip the leaves, discard any slimy or yellowed pieces, and use the rest within a day. Tough greens such as kale, chard and collards go into soup, curry or a saute, where cooking past wilting is an improvement. Delicate lettuce is better in a mixed salad or blended into a cold soup. Freezing works too: blanch for two minutes, chill, squeeze out the water, and bag it.
Which vegetables freeze well from a CSA box?
Greens, herbs, berries, broccoli, cauliflower, green beans, snap peas, corn, carrots, beets, peppers, sweet corn and cooked soups all freeze well. Blanch vegetables for two to three minutes, chill in ice water, drain, and freeze flat on a baking sheet before bagging. Cucumbers, zucchini, eggplant, raw tomatoes and melon freeze poorly and turn watery, so cook them into a sauce or sauce-based dish before freezing instead.
How do you keep herbs from going bad in a CSA box?
Handle herbs the day the box arrives. Stand basil in a jar of room-temperature water on the counter, out of direct sun, and change the water every other day; basil blackens in a fridge. Keep parsley, cilantro, dill and mint in a jar of water in the fridge with a loose bag or lid over the tops. Kitchen scissors work better than a knife for herbs. Dry soft or surplus herbs and store them for sauces all winter.
What do I do if my CSA box has been sitting out too long?
Move everything into the fridge right away and sort it before you cook. Leaves that look tired usually revive after an hour or two in a container with a towel. Discard anything with slime, mold or a fermented smell. Squash, onions, potatoes and other sturdy items are usually unaffected by a few hours at room temperature. When you travel or have a week you cannot cook, plan to hand off or donate the share before delivery day instead of after.
Conclusion
Start with the box you already have. Empty it out today, sort it into eat-now, eat-this-week, can-wait and preserve, and put the greens and herbs in the fridge before you do anything else.
Everything after that is small habits: keep produce dry until you cook it, give fruit its own space, take the tops off roots, blanch before freezing, and cook the most fragile item first. Used this way, a CSA box stops being something to feel guilty about and becomes the easiest produce in the house.