Freezer burn happens when frozen food is exposed to a freezer’s cold, dry air, which pulls moisture out of the food so the surface turns dry, leathery, and pale. To prevent freezer burn on homemade food, cool the food completely, squeeze the air out of the bag, seal it airtight, label it with a date, and hold the freezer at 0°F (-18°C). The FDA describes freezer burn as a food quality issue, not a food safety issue.
That last part matters more than people expect. Cooked chicken with gray patches on it is not going to make anyone sick. It is going to taste flat and dry, which is a waste of a whole Sunday afternoon and a good batch of vegetables.
The good news is that nearly all freezer burn is preventable with things most kitchens already have. Below is the process I use, plus the specific containers that work for soups versus bread versus meat.
Table of Contents
- What You Need
- Step-by-Step: How to Prevent Freezer Burn on Homemade Food
- Cool Food Completely Before Freezing
- Remove Air and Seal Food Tightly
- Choose Containers That Match the Food
- Label, Date, and Keep the Freezer Cold
- Common Mistakes That Cause Freezer Burn on Homemade Food
- Frequently Asked Questions
- How can I tell if homemade food has freezer burn?
- What foods are most likely to develop freezer burn?
- Do freezer bags prevent freezer burn on homemade food?
- How long does homemade food stay fresh in the freezer?
- Can food be refrozen after freezer burn has formed?
- Does putting a penny in the freezer stop freezer burn?
- The One Thing to Do First
What You Need
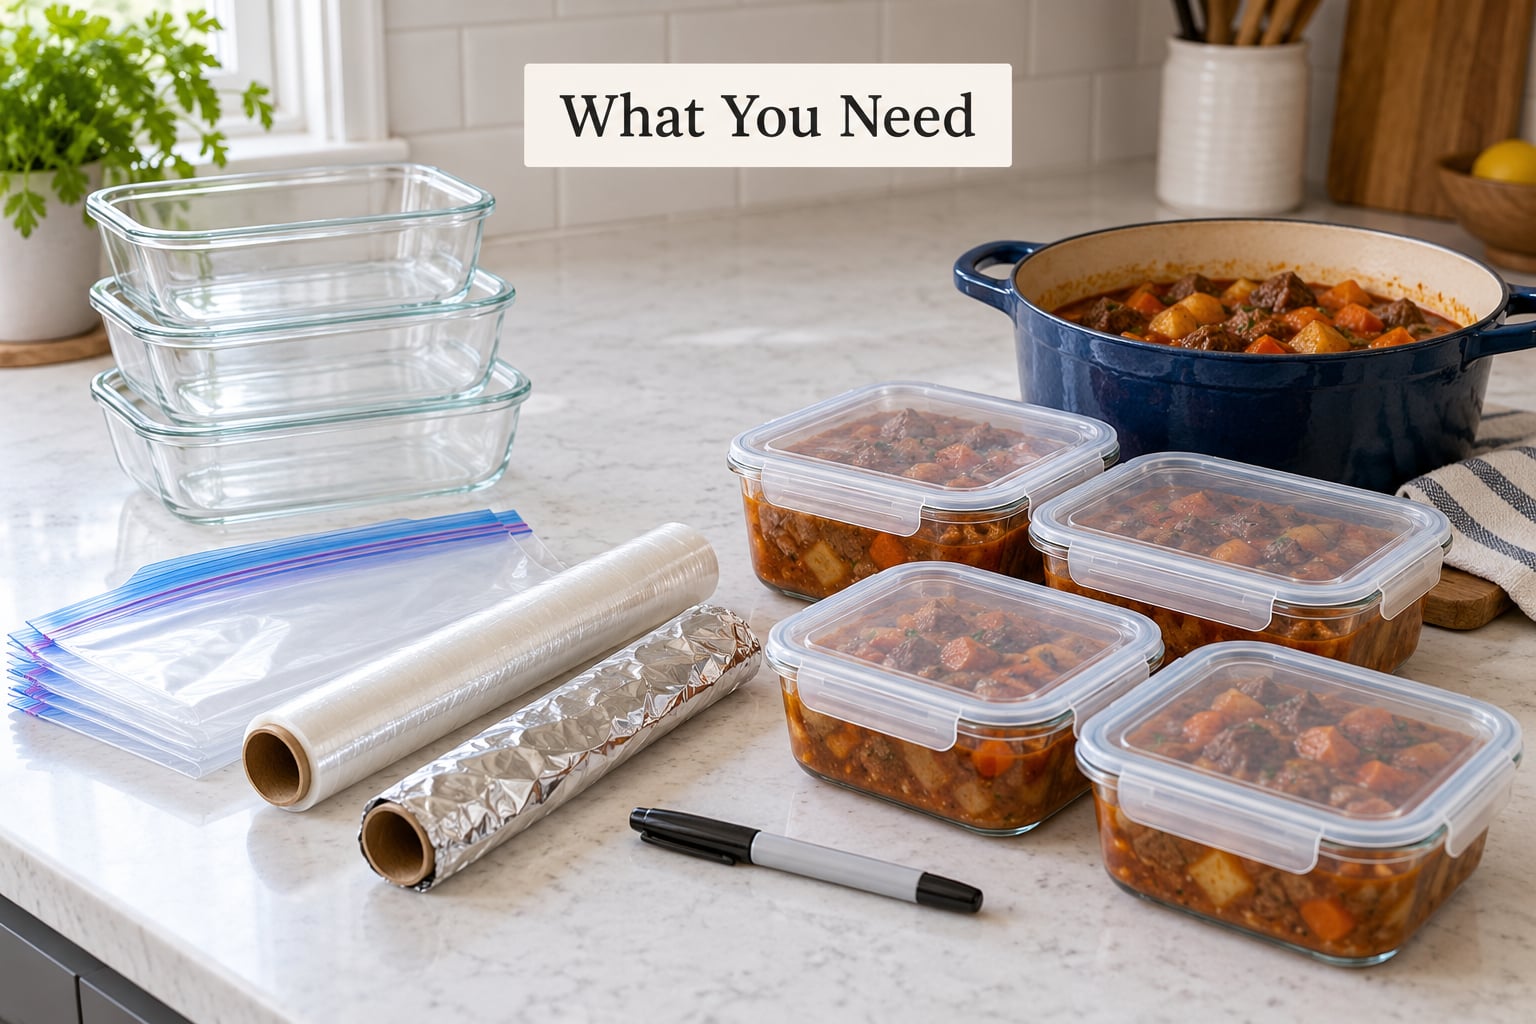
The supplies for preventing freezer burn on homemade food are simple, and the right choice depends on what you are freezing.
- Freezer-grade bags or rigid containers. Rigid containers with snap lids work for cooked vegetables, sauces, and casseroles. Bags work better for soup because you can press out the extra air.
- Plastic wrap and heavy foil. This is your double-wrap layer for anything that has an irregular shape, like a roasted chicken or a stack of pancakes.
- A marker or masking tape. For the name and freeze date. This is the cheapest tool in the whole process and the one most people skip.
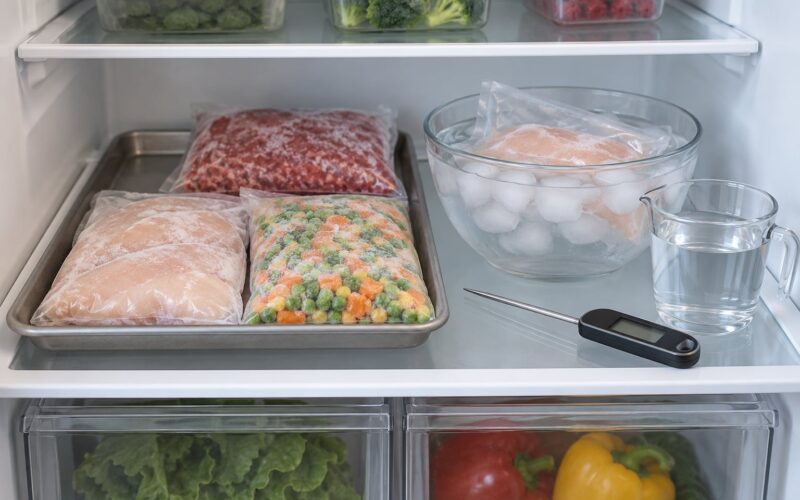
- A shallow pan or two. Cooling food fast is what stops big ice crystals from forming, and you cannot cool a deep stockpot quickly without spreading the food out.
- A funnel. Makes filling bags with liquid without splashing, and helps you control how full you pack them.
- A sharp knife or a bench scraper. For dividing a baked loaf or a block of cooked meat into portions you can wrap tightly.
- An instant-read thermometer. So you can confirm food is cooled before it goes in, and so you can check your freezer is actually holding temperature.
- A clean work surface. Wipe it down. Packing warm food onto a damp counter adds moisture that turns into ice crystals later.
A vacuum sealer is the one item most guides reach for first, and it does help. But a water-filled tub and a zip-top bag do the same job for a batch of soup, and I would rather teach you the trick that costs nothing.
Step-by-Step: How to Prevent Freezer Burn on Homemade Food
Five steps, in order. Skipping the first one is the mistake that ruins more homemade batches than everything else combined.
Cool Food Completely Before Freezing
Warm food releases water vapor as it cools. Seal that vapor inside a container and it condenses into ice on the walls, the lid, and the surface of the food. Those crystals are the ice crystals people mistake for spoilage later, and they dull flavor and texture.
Speed is the fix. Divide a big batch of stew or chili into shallow containers no more than two inches deep, or spread it across a sheet pan and refrigerate it uncovered until it is cold to the center. A pot of soup cools fastest if you set the pot in an ice bath and stir it every few minutes. You are looking for food that has lost its steam and no longer feels warm in the middle of the container.
For soup, leave the lid cracked until the food is fully cold, then seal it. A tight lid on warm food traps exactly the moisture you are trying to escape.
You can test with a thermometer. Any temperature at or below 40°F before it goes into the freezer is fine.
Remove Air and Seal Food Tightly
Air sitting against frozen food is the whole problem. Oxygen plus cold dry air means moisture migrates out of the food and into that air pocket, then freezes on the surface as crystals.
For bags, fill your food into a freezer-grade zip-top bag, then press the top of the bag flat with your palm so the air in the bag squeezes out past the food before you close the zipper. Food that settles flat against the film has less air around it, and less air means slower moisture loss.
Here is the no-equipment version. Put your labeled bag in a tub of water, seal it about three-quarters of the way, then lower the bag into the water. The water presses the air out and the remaining air escapes as you seal the last quarter. Lift it out, shake the water off, and finish the seal. It works every time.
For rigid containers, press plastic wrap directly onto the surface of the food so it makes contact with no gap, then put the lid on over it. For anything with an awkward shape, wrap it tightly in plastic wrap, then wrap that in foil or a second layer of plastic wrap. The wrap should feel taut when you press it, with no loose corners. A loose wrap is worse than a poor wrap because it flutters and creates a bigger air space than you started with.
Choose Containers That Match the Food
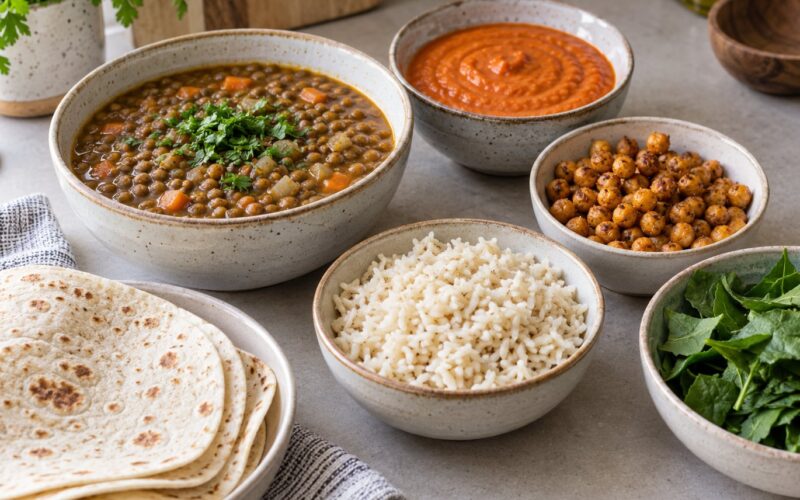
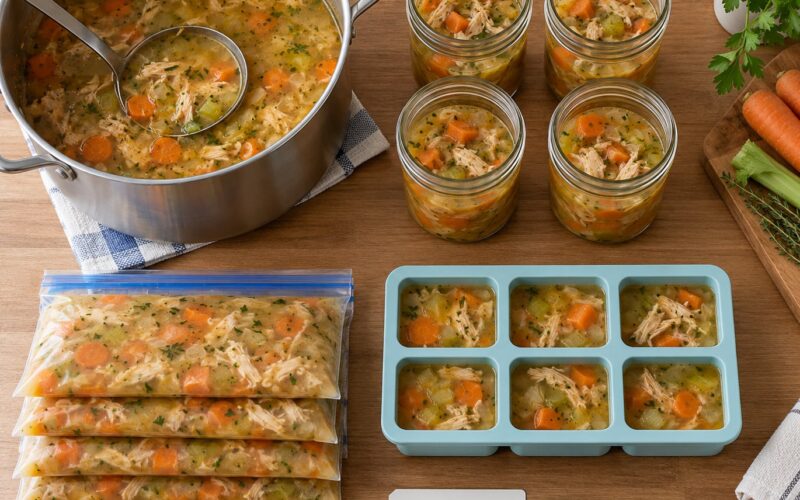
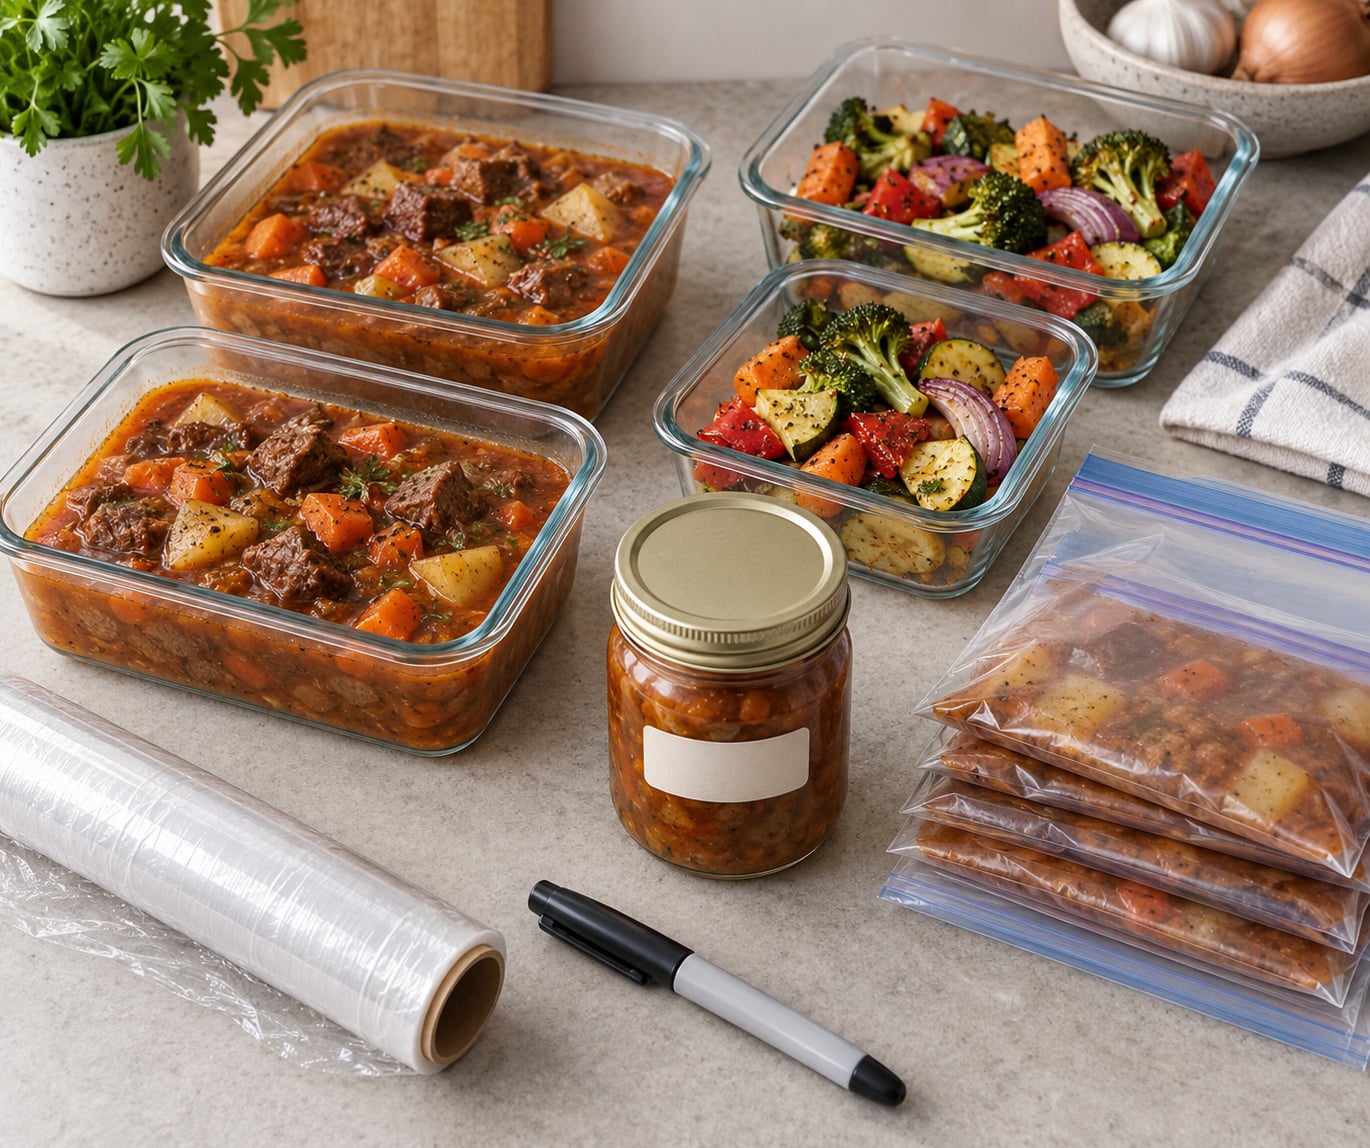
Soups and stews: wide, straight-sided glass containers or quart bags, filled with about one inch of empty space at the top. Liquid expands when it freezes, and a container filled to the rim will crack or push its lid off. Wide containers freeze faster than narrow jars and thaw faster later, which is why a wide mason jar beats a tall one for soup.
Sauces: small jars or silicone freezer bags in serving-size portions. Tomato and cream sauces freeze well; be aware that cream and cheese sauces can separate and turn grainy. Freeze the base without the dairy, then stir it in after reheating.
Cooked meat and poultry: wrap the piece tightly in plastic wrap, then in foil, then put the sealed bundle in a freezer bag if it will sit for more than a month. A whole cooked chicken or a big bone-in piece needs the triple layer because bone and skin create pockets that hold air.
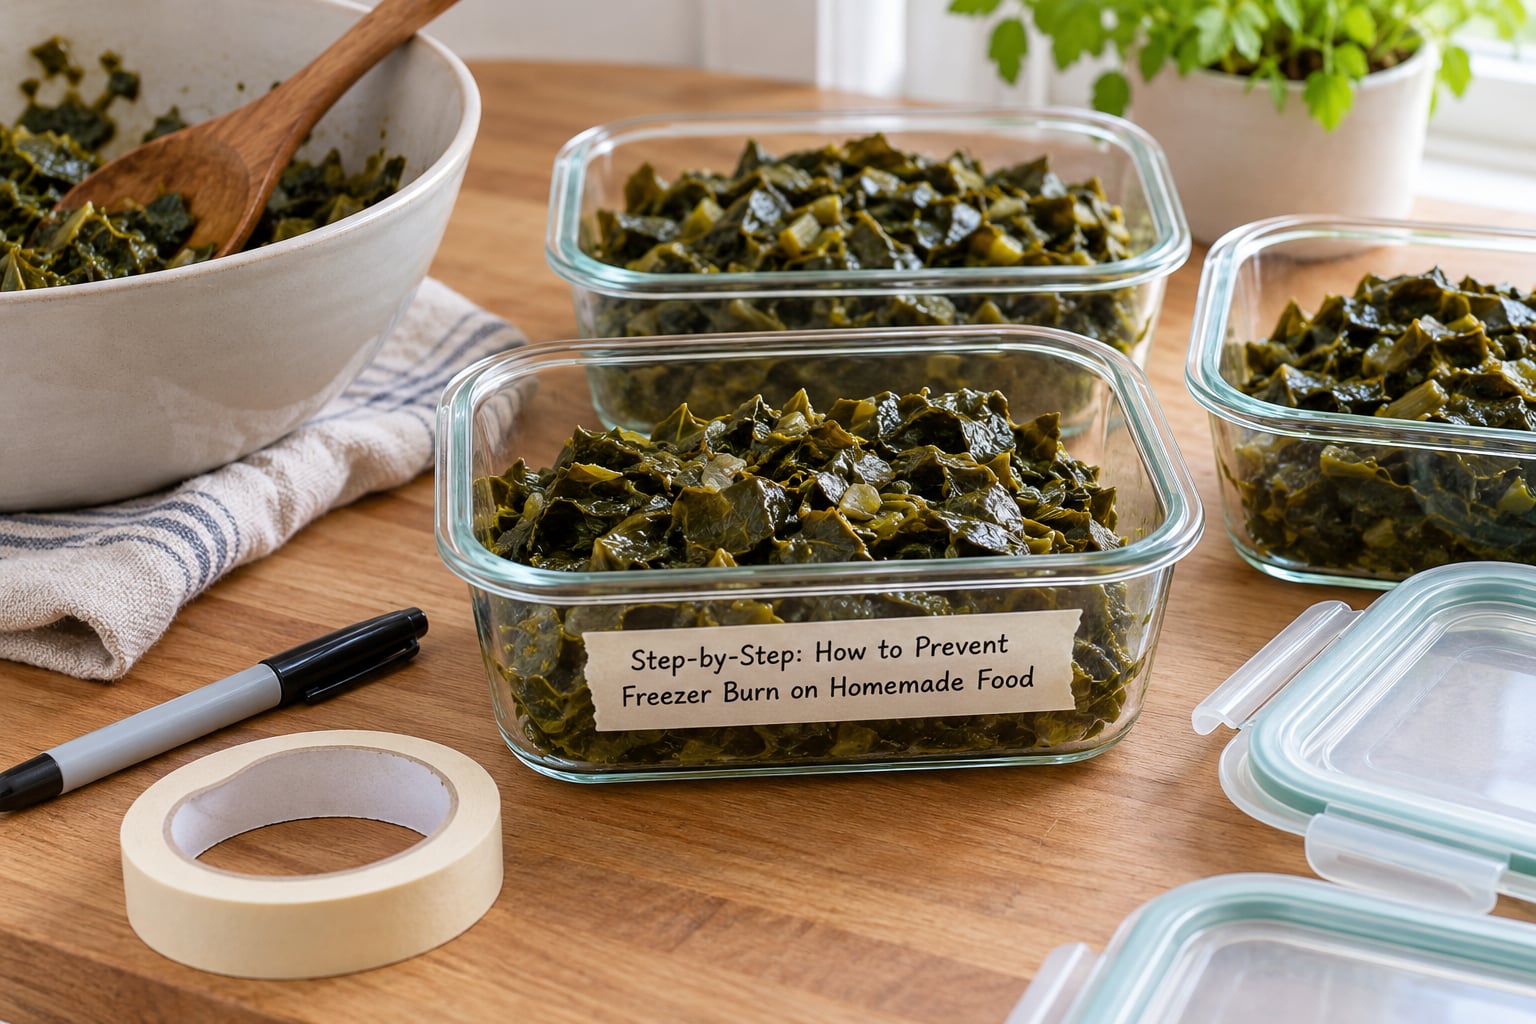
Roasted or blanched vegetables: rigid containers or a single layer of plastic wrap pressed onto the surface, then a lid. Greens like collards, kale, and spinach hold water against the leaves, so squeeze out what you can before packing.
Bread and baked goods: cool completely first, then wrap the loaf tightly in plastic wrap and again in foil, or in a freezer bag with most of the air pressed out. Bread that is wrapped warm comes out with a soggy crust. For baked goods with crumb, a layer of plastic wrap alone is usually better than foil, which can trap more moisture. Slices freeze flatter and thaw faster than a whole loaf, so slice before you wrap when you can.
Glass versus plastic: both prevent freezer burn well when sealed properly. Glass is heavier, holds cold longer, and goes from freezer to oven or stovetop without a transfer bag. It is also breakable and lighter containers are usually easier to stack and to pour soup into. The seal matters far more than the material.
Glass is a bad idea for anything that goes straight from the freezer into hot liquid, though. Extreme temperature swings crack glass. Thaw in the refrigerator first, then warm it slowly.
Label, Date, and Keep the Freezer Cold
Write the food name and the freeze date on every package. Tape works better than a pen on a bag, because the tape keeps the note from freezing onto the plastic. I write the dish, the portion count, and the date, then stack older packages at the front of the shelf and newer ones behind them. When you pull something out, take the front row first, and nothing sits past its window.
Keep a freezer thermometer in the back and keep the freezer at 0°F (-18°C). Every time the compressor cycles off, air that is slightly warmer than 0°F and drier holds more moisture, and that moisture settles onto food surfaces as frost. Holding a steady 0°F slows that exchange considerably.
Temperature swings are the second big cause of freezer burn, right next to air exposure. The door is the worst offender, since opening it lets room air in every single time. What sits nearest the door goes through the most swings, so keep frequently used meals on an upper or middle shelf, and park long-term batches in the back of the coldest section.
Two different things get called frost, so it is worth sorting out. Freezer frost is ice crystals on the interior walls of the appliance, and it builds from repeated door opening and from warm food going in. Food that looks whitish or gray and dry patches on it has freezer burn. Frost on the walls tells you your freezer is working hard and your air seal may be leaking. Food crystals on the surface of a package tell you that package did not start cold or did not get sealed airtight.
Common Mistakes That Cause Freezer Burn on Homemade Food
Freezing food that is still warm. This is the big one. Fix: cool in shallow containers or a sheet pan, or in an ice bath, and only seal when the food is cold.
Leaving air pockets in a bag. Fix: press the bag flat with your palm before sealing, or use the water-displacement method.
Wrapping loosely. Film that hangs off the food creates a bigger air space than no wrap. Fix: press the wrap onto the surface until it feels taut.
Refreezing food repeatedly. Every thaw cycle restarts moisture loss. Fix: thaw only what you plan to eat, and thaw in the refrigerator rather than on the counter.
Storing food near the door or in a hot spot. Fix: move long-term batches to the back wall and keep an instant-read thermometer in the coldest corner so you know where the cold actually is.
Overfilling containers. Liquids expand as they freeze and will push lids off or crack jars. Fix: one inch of empty space for anything liquid.
Freezing bread or cake before it cools. Trapped steam becomes sogginess, and moisture collecting on a warm loaf speeds surface ice. Fix: cool on a rack completely, then wrap.
Waiting too long. Quality declines even in a good freezer. Fix: label with a date and eat the oldest batches first. Most soups and stews hold their best quality for two to three months, cooked meat about three to four months, and bread three to six months.
One last check before you seal anything: if food has been sitting out long enough that someone could get sick from it, freezing it does not make it safe again. Freeze cooked food within about two hours of cooking. When you do reheat soup or stew, bring it to a rolling boil. For meat, use 165°F for poultry, 160°F for ground meat, and 145°F for whole cuts.
Frequently Asked Questions
How can I tell if homemade food has freezer burn?
Look for dry, pale, or grayish patches, leathery or tough texture, ice crystals fused to the surface, and a flat or off taste. Freezer burn on meat shows up as dry edges and white or grayish areas. On bread the crust goes dull and the crumb turns hard. A sealed package that is uniformly frosted usually has surface ice from poor cooling rather than burn.
What foods are most likely to develop freezer burn?
Anything with a high surface-to-volume ratio loses moisture fastest, so thinly cut meat, fish fillets, single vegetable slices, bread, and pastries are most vulnerable. Cooked meat with exposed bone and skin, uncovered greens, and poorly sealed liquids burn quickly too. Soups and stews packed to the rim are prone to a different failure, since expansion breaks the seal and exposes the surface.
Do freezer bags prevent freezer burn on homemade food?
Yes, when you remove the air before sealing. A freezer-grade bag that is packed loose lets that trapped air circulate around the food, and the food dries out. Press the top of the bag flat so the contents settle in a thin, even layer, then seal it, or use the water-displacement trick with a tub of water to push the air out before you close the zipper.
How long does homemade food stay fresh in the freezer?
At 0°F, soups, stews, and sauces keep good quality for about two to three months, cooked meat and poultry three to four months, cooked vegetables and casseroles around three to four months, and bread or baked goods three to six months. None of that is a safety limit, since frozen food keeps indefinitely, but flavor and texture fade over time. Label the date and rotate the oldest packages forward.
Can food be refrozen after freezer burn has formed?
Yes. Freezer burn does not make food unsafe, so food that stayed frozen throughout can be refrozen, though the dry spots will not reverse. Thaw it in the refrigerator, then trim the burned areas and use the food where texture matters least. Refreezing is fine for soup going into a pot, meat destined for a slow simmer in liquid, or vegetables going into a soup or sauce. Bread and pastries are the exception, since they turn tough when frozen twice.
Does putting a penny in the freezer stop freezer burn?
No. The old trick of leaving a penny in a bottle of water was meant to tell you whether an appliance had lost power, not to protect your food. Since a coin cannot seal anything, it does nothing about the moisture leaving your soup. Fixing freezer burn comes down to cooling the food, removing air from the package, sealing it tight, labeling it, and holding 0°F.
The One Thing to Do First
If you change nothing else, stop sealing warm food. Cool it fully, press the air out, close it tight, and write the date on it in marker. Those four habits account for most of the freezer burn I used to come home to in 2026, and the batches that survive it still taste like the day I made them.