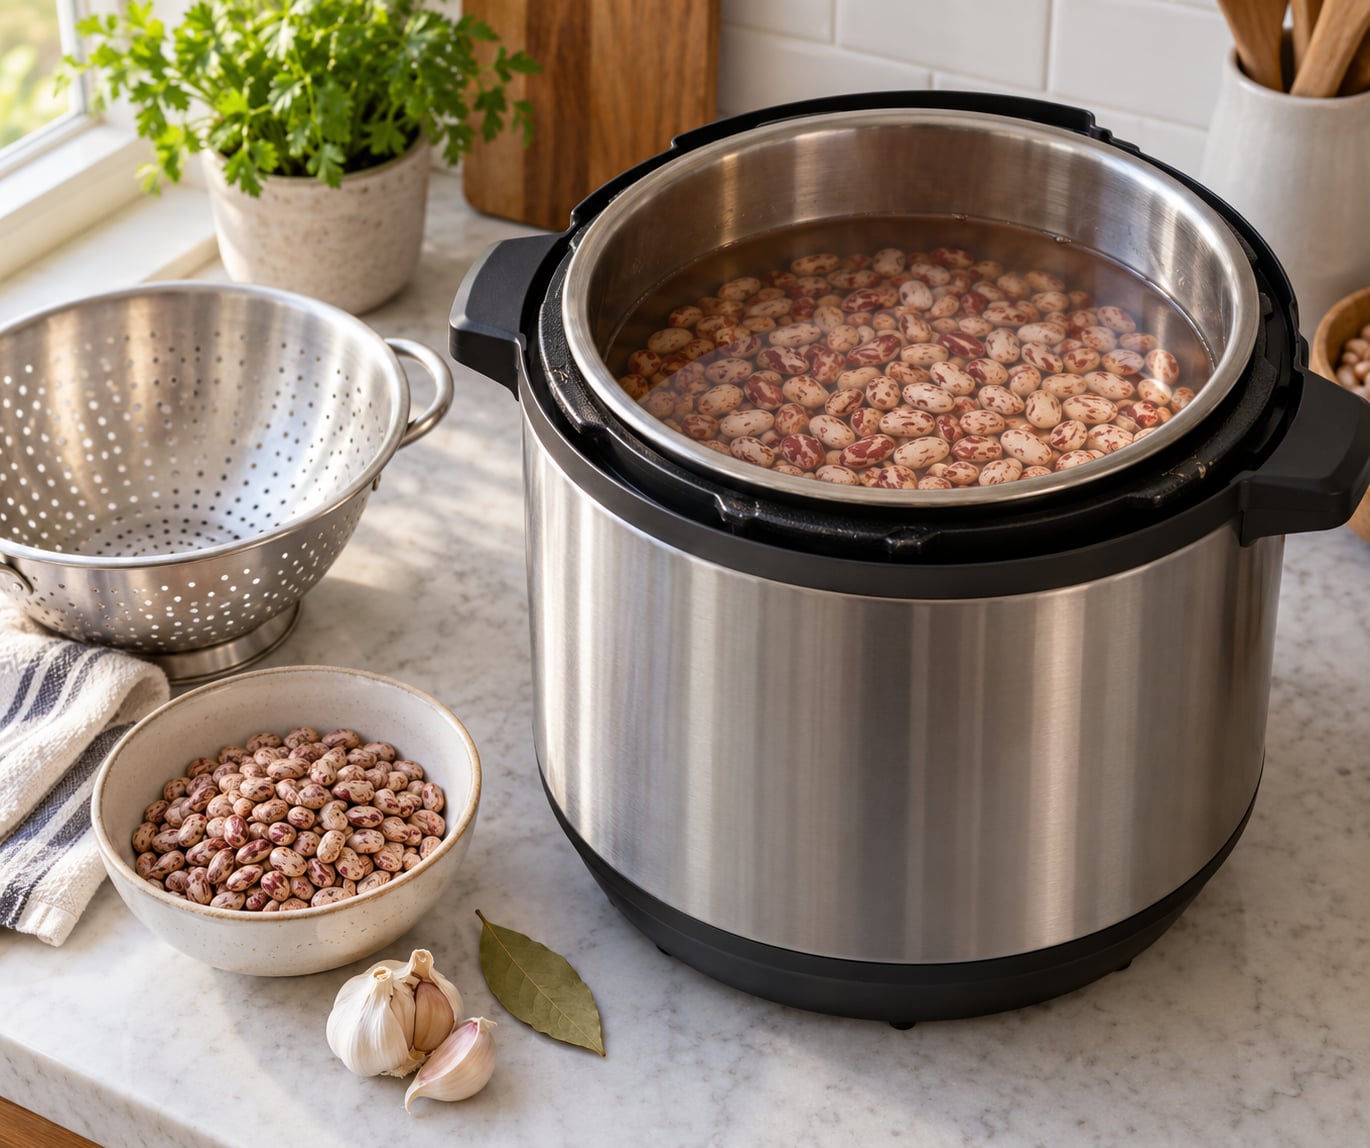
To cook beans in a pressure cooker, put 1 pound (450 g) of dried beans and 6 to 8 cups of water or broth in the pot, seal the lid, and cook on high pressure for about 35 to 40 minutes with no soak at all. Add 10 to 15 minutes to come up to pressure and another 10 to 25 minutes for a natural release, so plan on roughly an hour from start to finish.
That is the short version, and it works. Most people who struggle with pressure cooker beans struggle for the same three reasons: too little liquid, adding salt or acid too early, or opening the lid the second the timer stops. Get those right and the appliance does the rest.
Table of Contents
- Ingredients
- What You Need
- Step-by-Step: How to Cook Beans in a Pressure Cooker
- 1. Sort and Rinse the Beans
- 2. Soak the Beans If Needed
- 3. Add Beans and Liquid to the Pressure Cooker
- 4. Cook Beans in the Pressure Cooker Until Tender
- 5. Season and Finish the Beans
- Common Mistakes
- Frequently Asked Questions
- Do I need to soak beans before cooking them in a pressure cooker?
- How long do beans take in a pressure cooker?
- How much water should I use for beans?
- Can I cook canned beans in a pressure cooker?
- Why are my pressure cooker beans still hard?
- Should I add salt before or after pressure-cooking beans?
- Start with Soaked or Unsoaked Beans
Ingredients
- 1 lb (450 g) dried beans, such as pinto, black, navy or chickpeas
- 6 to 8 cups water or low-sodium broth
- 1 small onion, halved
- 2 garlic cloves, smashed
- 1 bay leaf
- 1 tablespoon olive oil or unsalted butter
- Kosher salt and black pepper, added to taste after cooking
Before you commit to the appliance, it is worth asking whether a pressure cooker is the right tool at all. It absolutely is for weeknight soup beans when you want a pot of tender beans in under an hour instead of an afternoon. What it does not do is reproduce the deep, gelatinous broth of a slow stovetop simmer. If the liquid is the point, cook on the stove.
What You Need
Equipment is short here. Any stovetop or electric pressure cooker rated at 10 psi will do the job, so the method transfers from an Instant Pot to a classic stovetop cooker without changing a number. A 6-quart cooker handles up to about 1.5 pounds of dried beans comfortably; an 8-quart model gives you room to cook 2 pounds and still keep the beans well below the fill line.
You also want a colander for rinsing, a wooden spoon or spatula, and a timer you can actually hear across the room. Come-to-pressure time is not included in the cook time, so the built-in countdown on most electric cookers is worth knowing about: it usually starts counting only once the pressure pin has risen.
On the ingredient side, dried beans are the whole point, but canned beans work too and take about 10 minutes, which we cover below. If your tap water is very hard, filtered water softens beans noticeably faster. That is not folklore: minerals in hard water slow cell breakdown, and cooks who switched to filtered water reported more even cooking times.
Step-by-Step: How to Cook Beans in a Pressure Cooker
1. Sort and Rinse the Beans
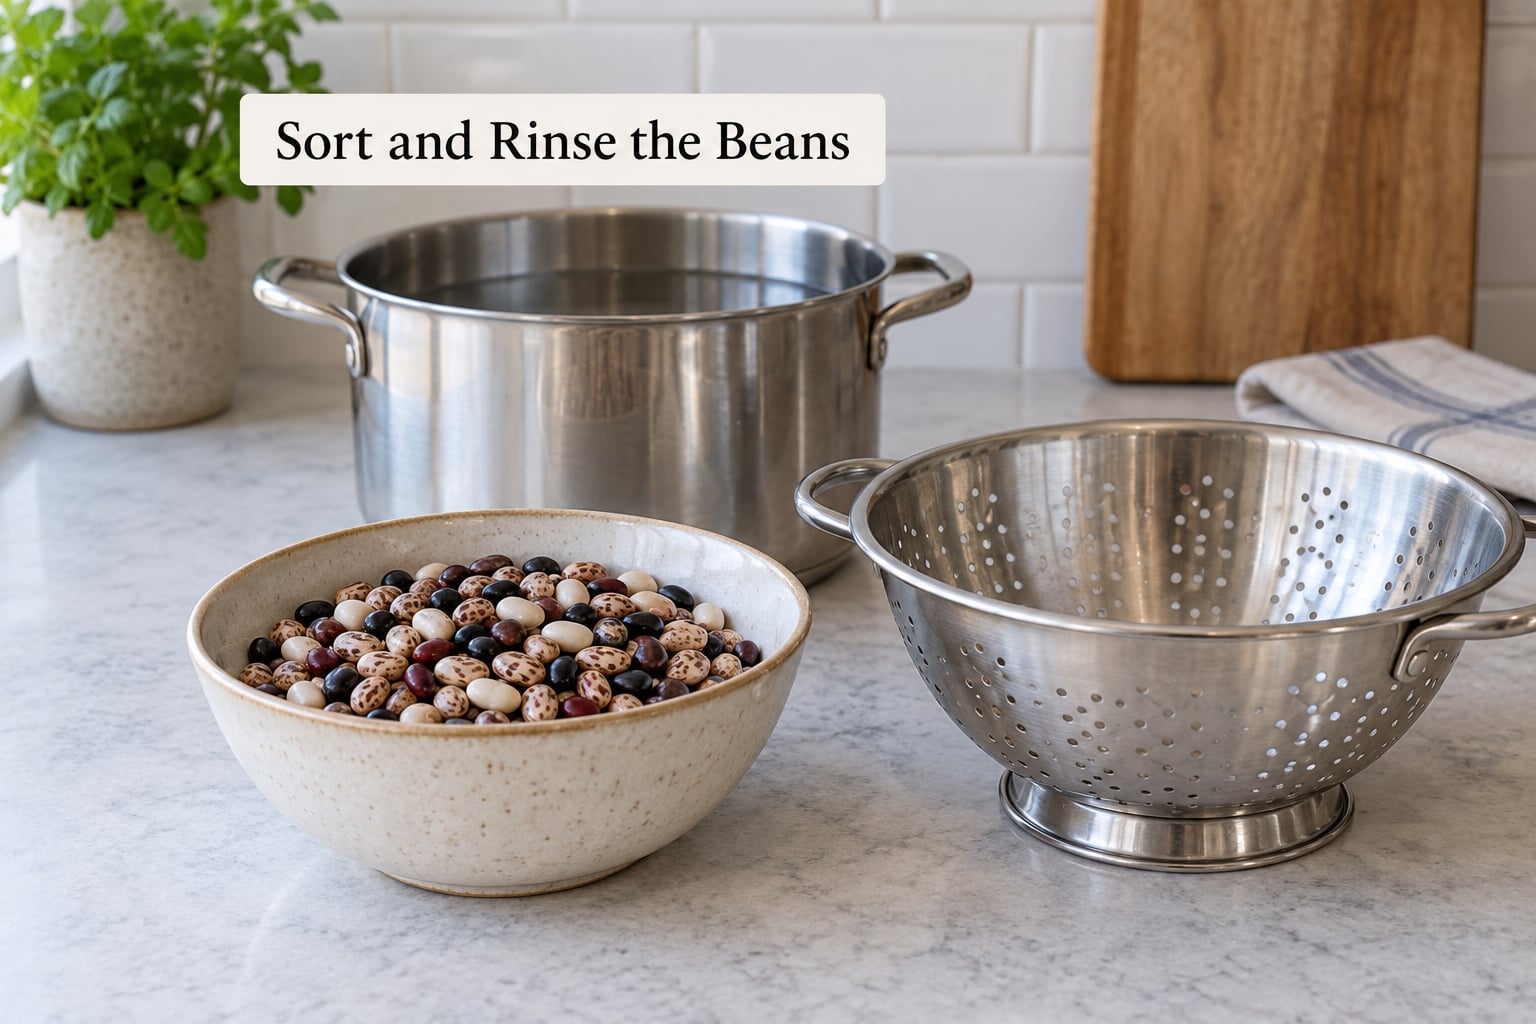
Spread the dried beans on a rimmed baking sheet or a towel and pick through them. Small stones, sticks and split seeds come with beans from the field, and this is the one step people skip that they should not. Then rinse under cold running water until the water runs clear, usually about a minute.
Rinsing does more than clean the surface. It washes off surface starch, and that starch is a large part of why beans turn to mush rather than staying creamy but intact. Dry beans do expand when soaked, roughly doubling in size, which matters for your fill-line math later.
While you have the bowl out, look at the beans. If they look dull, dusty or have been sitting in a pantry for years, expect a longer cook. Old beans soften slowly no matter what appliance you use, and a pressure cooker cannot make bad beans good.
2. Soak the Beans If Needed
Soaking is optional in a pressure cooker, and skipping it is a legitimate choice rather than a shortcut. It does improve evenness and shave time off the cook, so it is worth doing when you have the luxury of planning ahead.
For an overnight soak, cover the beans with about 10 inches of cool water in a bowl large enough that they can double without spilling, add a teaspoon of salt if you like, and leave the bowl loosely covered in the refrigerator for 8 to 12 hours. Drain and rinse before cooking.
For a quick soak, bring the beans to a boil with about 4 inches of water, let them boil for 2 minutes, then turn off the heat, cover, and leave them alone for an hour. Drain, discard that water, and rinse well. That first pot of cloudy liquid carries a lot of the dissolved starch that makes cooking water gummy.
Beans soaked overnight need fewer minutes under pressure. Beans you did not soak need more. That difference is the entire reason the two columns in the timing chart below look the way they do.
3. Add Beans and Liquid to the Pressure Cooker
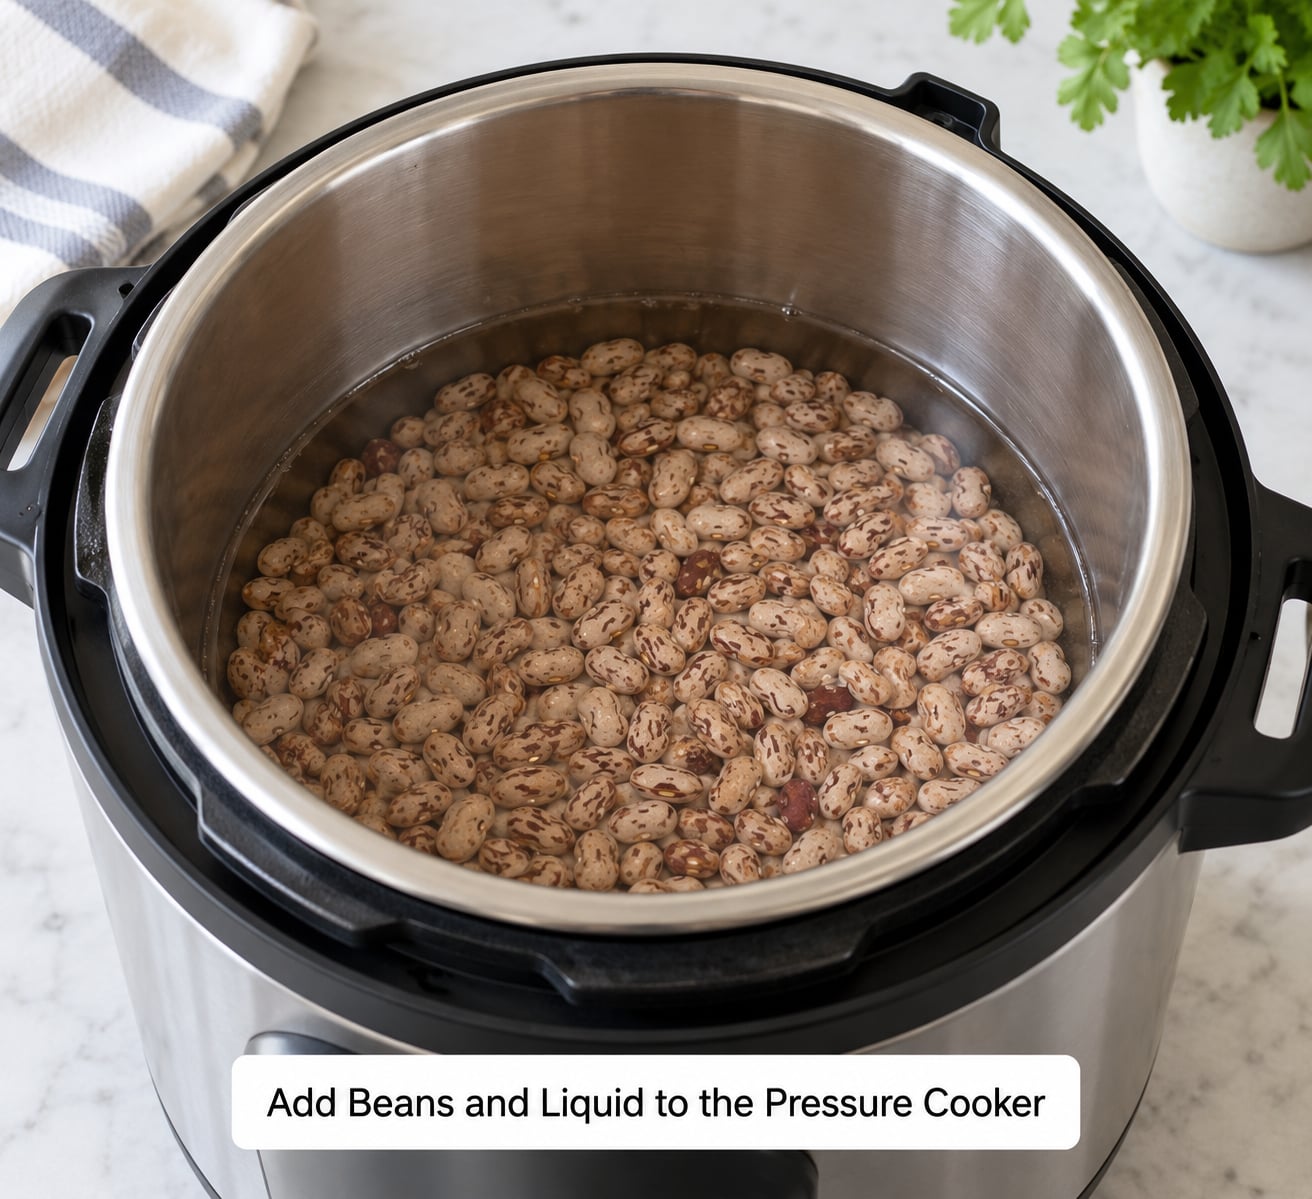
Two inches of water above the beans is the rule most experienced cooks use, which for 1 pound of beans means 6 to 8 cups of liquid in a 6-quart cooker. Two cups is not too much for a small batch, but it is too little for a full pound, and beans that run dry before the timer ends scorch onto the bottom and can taste scorched all the way through.
Broth instead of water is an easy upgrade. Use low-sodium broth, or you will salt the pot twice. Keep the total liquid and beans below the fill line printed inside the pot, with real margin: beans and liquid expand during cooking, and starchy foam needs somewhere to go. Nothing in a pressure cooker is worth losing a batch of beans over.
Add your aromatics now. Half an onion, two smashed garlic cloves and a bay leaf cost nothing and turn plain beans into something you want to eat. A tablespoon of oil on top also cuts down on foaming, which is the cause of most pressure cooker blowouts. If you cook in batches, resist stacking two cookers back to back; run them one after the other.
4. Cook Beans in the Pressure Cooker Until Tender
Seal the lid, set the valve to sealed, and start the cooker on high pressure. Getting to pressure takes 10 to 15 minutes on most models and does not count toward your cook time, which confuses nearly everybody the first time. Budget for the full hour rather than the number on the recipe card.
| Bean | Soaked (minutes) | Unsoaked (minutes) |
|---|---|---|
| Pinto | 20 to 22 | 30 to 35 |
| Black | 20 to 25 | 30 to 35 |
| Red kidney (boiled first) | 25 to 30 | 40 to 45 |
| Navy | 25 to 30 | 35 to 40 |
| Chickpeas | 20 to 25 | 30 to 35 |
| Cannellini | 25 to 30 | 35 to 40 |
| Butter or lima | 25 to 30 | 35 to 40 |
| Lentils (no soak) | Not needed | 10 to 15 |
Kidney beans carry a real safety rule that most recipes gloss over. Raw red kidney beans contain a toxin called phytohaemagin that is destroyed by a hard boil, not by gentle cooking. Boil them vigorously for at least 10 minutes and discard that water before they go anywhere near the pressure cooker.
Let the cooker release naturally for this kind of cooking, and do not rush it. A natural release is not dead time. As the pressure falls, the temperature inside drops gradually and the liquid keeps working on the bean skins, which is why a 25-minute cook that comes down over 20 minutes gives a noticeably creamier result than the same cook force-released at zero. Wait at least 10 minutes after the pin drops before you touch the lid.
Open the lid away from your face and at an angle, because steam escapes from the seam. If you are still not sure, use a quick release instead: it is safe with beans, it costs you some texture, and it is worth knowing that option exists.
5. Season and Finish the Beans
Test for doneness the honest way. Press a bean between your thumb and forefinger. It should give with no resistance at all, not just split at the seam. Beans that are nearly there will feel like firm gummy candy. If you are close, set the lid back on, return to pressure, and add five minutes.
Now season, gradually. Add salt a teaspoon at a time, taste after each addition, because concentrated cooking liquid makes it hard to judge. Skip the salting anxiety: salt added after pressure cooking does not toughen anything, and beans seasoned at the end taste noticeably brighter than beans salted only at the start.
Acids are the ones to wait on. Vinegar, tomato, lime and other acidic ingredients slow the softening of skins, so add them in the last five minutes of cooking or after. If you want a pot of soup beans, stir a spoon of tomato into the liquid with a splash of vinegar and let it sit off the heat; that is all the sharp edge a pot needs.
Turn the beans into something. Serve them over cornbread with greens, fold them into soups and chili, mash them for refried beans or hoppers, or dress a batch cold for a salad. A pressure cooker run makes a useful amount, and the cooking liquid left behind is good broth or soup base rather than something to pour down the sink.
For storage, let the beans cool in the liquid, then refrigerate them covered for up to four days. Freeze them in single-cup portions with a little liquid so they do not dry out, leaving a half-inch of headspace; they keep for about three months. Reheat from frozen in a saucepan with a splash of liquid, or microwave on half power in a covered dish so they heat evenly.
Common Mistakes
Most disappointing batches trace back to one of a handful of causes. Here is how to tell what happened and what to change next time.
| Symptom | Cause | Fix |
|---|---|---|
| Beans still hard | Not enough time, old beans, or hard water | Add five-minute increments; try filtered water; add a pinch of baking soda and simmer |
| Watery beans | Liquid left in or cooked too long | Drain, or simmer open for five minutes to reduce |
| Scorched smell | Too little liquid, or beans caught at the end | Use 1.5 to 2 inches of liquid above the beans; stir or use a trivet |
| Uneven texture | Beans crowded the pot | Cook no more than about half the pot volume; split large batches |
| Salty beans | Broth plus later salting | Use low-sodium broth and season in small additions at the end |
| Foam at the vent | Starch and soap from insufficiently rinsed beans | Rinse thoroughly, add a tablespoon of oil, keep liquid below the fill line |
| Mushy, falling apart | Extra minutes added too generously | Start at the low end of the chart; add five minutes, not twenty |
The mistake behind the most complaints is treating published cook times as totals. A 40-minute cook time plus a 15-minute come-to-pressure and a 20-minute release is 75 minutes, and readers who count from the button press get flustered when the pin drops long after they expected beans.
The second big one is force-releasing everything. Quick release is safe for beans, but it stops the residual simmer that finishes softening skins, so a force-released batch more often lands chewy than creamy.
The third is old beans. If your dried beans have been open in the pantry for three or four years, no cook time on a chart will save the batch.
Frequently Asked Questions
Do I need to soak beans before cooking them in a pressure cooker?
No. Pressure cooking softens beans without a soak, which is one of the main reasons to reach for the appliance. An overnight soak improves evenness and cuts about 10 minutes off the cook; a no-soak batch is just as edible and often just as creamy. Start unsoaked beans at the high end of the timing range and judge the result by texture, not by the clock.
How long do beans take in a pressure cooker?
Most beans take 30 to 40 minutes at high pressure unsoaked, or 20 to 30 minutes if soaked. Lentils need only 10 to 15. Those numbers are cook time only: add 10 to 15 minutes to come up to pressure and 10 to 25 minutes for a natural release, which is why a no-soak batch takes roughly an hour from button press to bowl.
How much water should I use for beans?
Cover the beans by about 2 inches, which works out to 6 to 8 cups for 1 pound of dried beans in a 6-quart cooker. Broth works in place of water, and low-sodium broth prevents a double-salting problem. Two cups is fine for a small batch but too little for a full pound, and running dry is the fastest way to scorch a pot.
Can I cook canned beans in a pressure cooker?
Yes, and it is the fastest route. Drain and rinse the canned beans, cover them with fresh broth or water, and cook on high pressure for about 10 minutes with a quick release. This softens canned beans that are already tender without turning them to paste, which is useful for chili and refried beans. Skip the pressure cooker entirely if you only need to warm them through.
Why are my pressure cooker beans still hard?
Four causes account for nearly every case: too little cook time, beans that are several years old, hard tap water, or acid added before cooking. Start at the low end of the timing chart and add five-minute increments rather than guessing. If beans still resist after two tries, simmer the batch with a pinch of baking soda for 15 minutes before draining.
Should I add salt before or after pressure-cooking beans?
After. Salt before cooking is not harmful the way acid is, but beans salted only at the end taste brighter and season more evenly. Hold back vinegar, tomato, and lime until the beans have softened, since acid slows skin tenderizing. Season in small additions at the end and taste between each one, because the concentrated cooking liquid makes flavor easy to overshoot.
Start with Soaked or Unsoaked Beans
First-time cooks should start with unsoaked beans, because it removes the step most likely to be done wrong. Sort them, rinse until the water runs clear, add 6 to 8 cups of liquid for a pound of beans, and cook on high pressure for 35 minutes with no soak. Then let the cooker release on its own, wait ten minutes after the pin drops, open the lid away from your face, and taste one bean before you salt anything.
From there it is all adjustment. Five more minutes for firm beans, a simmer with baking soda for stubborn ones, vinegar at the end for brightness, and the leftover liquid turned into soup. Learn how to cook beans in a pressure cooker once and the stovetop gets a lot less use in your kitchen.