How to freeze soup in portions is mostly about cooling the pot fast, then ladling it into containers with room left on top for the liquid to swell as it freezes. Here is the short version: chill the soup, measure out servings, seal it flat, label it, and it will keep three to four months.
I do this most Sundays with whatever is left from the pot, and the trick that matters most is doing it the same day the soup is cooked. Freezing halts bacterial growth, so a bowl that has been sitting for two hours is not the same as a bowl that has been sitting all afternoon on the counter.
Table of Contents
- How to Freeze Soup in Portions: Quick Steps
- What You Need
- Step-by-Step: How to Freeze Soup in Portions
- How to Cool the Soup Before Freezing
- Choose the Right Portion Size
- Leave Room for Expansion
- How to Freeze Soup in Individual Portions
- Label and Freeze the Portions
- How to Thaw and Reheat Frozen Soup
- Which Soups Freeze Well and Which Do Not
- Common Mistakes
- Frequently Asked Questions
- What is the best container to freeze soup portions?
- Is it better to freeze soup in bags or containers?
- What soups should you not freeze?
- Can you freeze soups that have half and half in them?
- What type of jar is best for freezing soup?
- Is it unsafe to freeze food in Ziploc bags?
- Conclusion
How to Freeze Soup in Portions: Quick Steps
If you want the method without the explanation, this is the whole thing.
- Cool the soup in shallow containers until nothing is steaming.
- Ladle out measured servings: 1 cup for lunches, 2 cups for dinners.
- Leave 1 to 2 inches of headspace in jars and rigid containers.
- Press the air out of freezer bags, seal, and set the bag inside a tall glass to stand it up.
- Flash freeze bags flat on a baking sheet for 2 hours.
- Label with the soup name, portion size, and date, then stack and store.
The steps below cover why each one matters, and which containers hold up best over a whole winter of stock-up meals.
What You Need
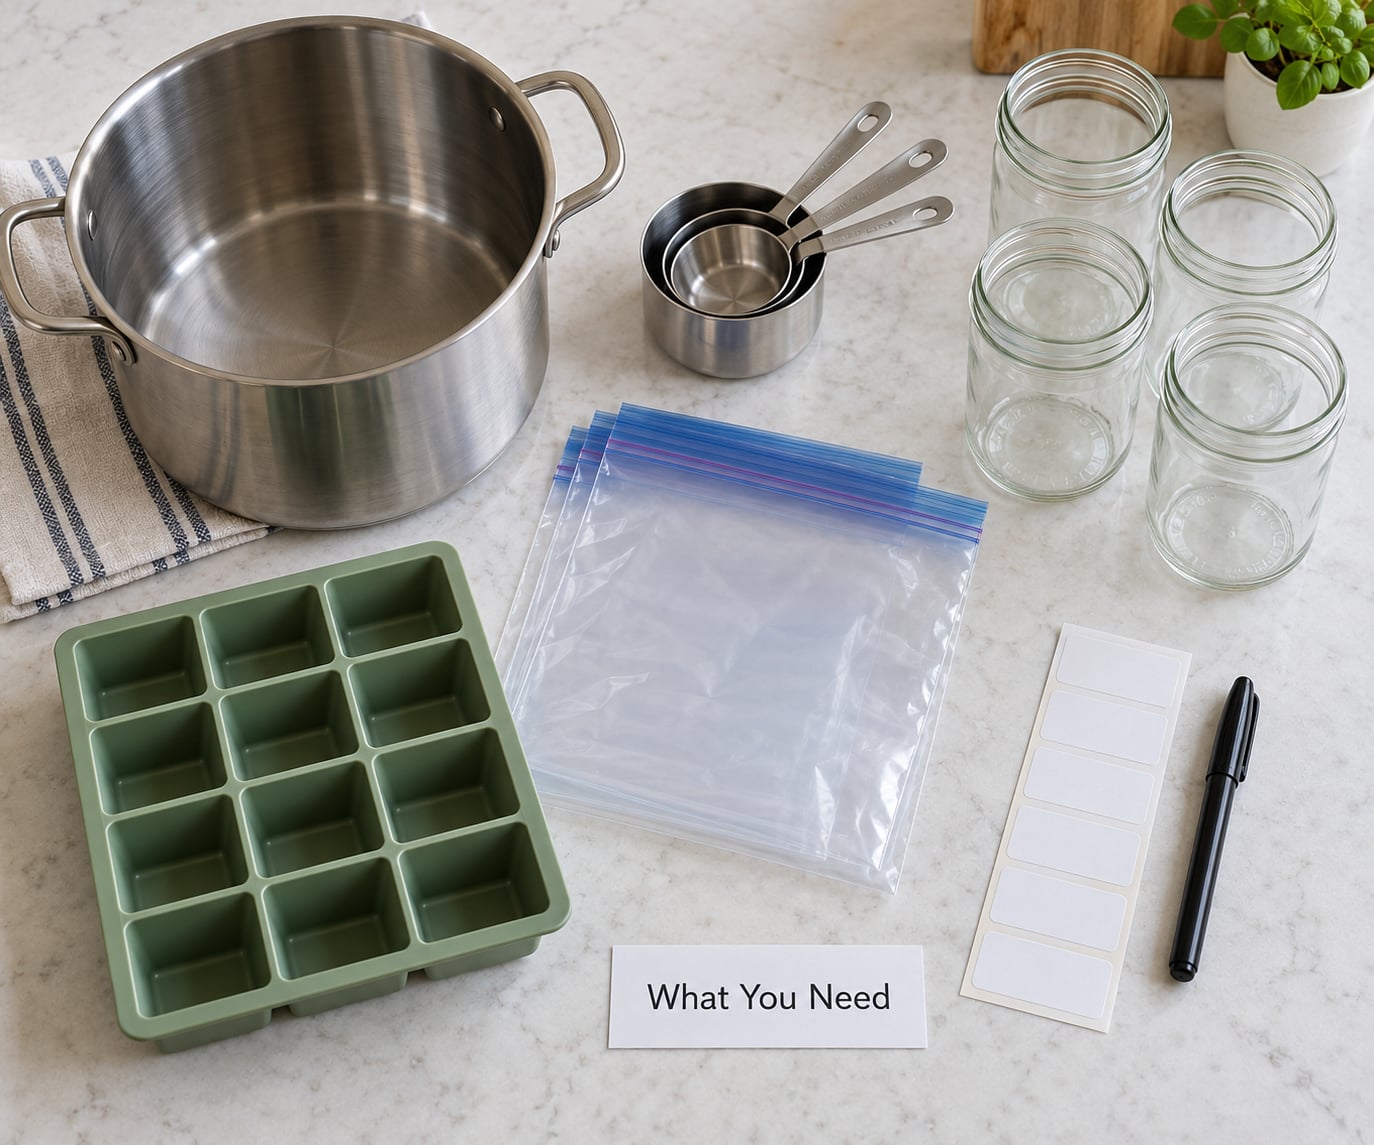
The tool list is short, and most people already own every piece of it. What varies is the container you portion into, and that choice decides how much freezer space you use and whether a jar survives the cold.
- A wide pot or dutch oven for cooling. A wide surface sheds heat faster than a tall stockpot.
- Shallow heat-safe containers, such as 2-cup deli containers, a baking dish, or a loaf pan, for the cooling stage.
- A large bowl and ice if you want to shortcut the cooling time.
- Portion tools: a measuring cup, a ladle, or a 4-ounce ice cream scoop for consistent single servings.
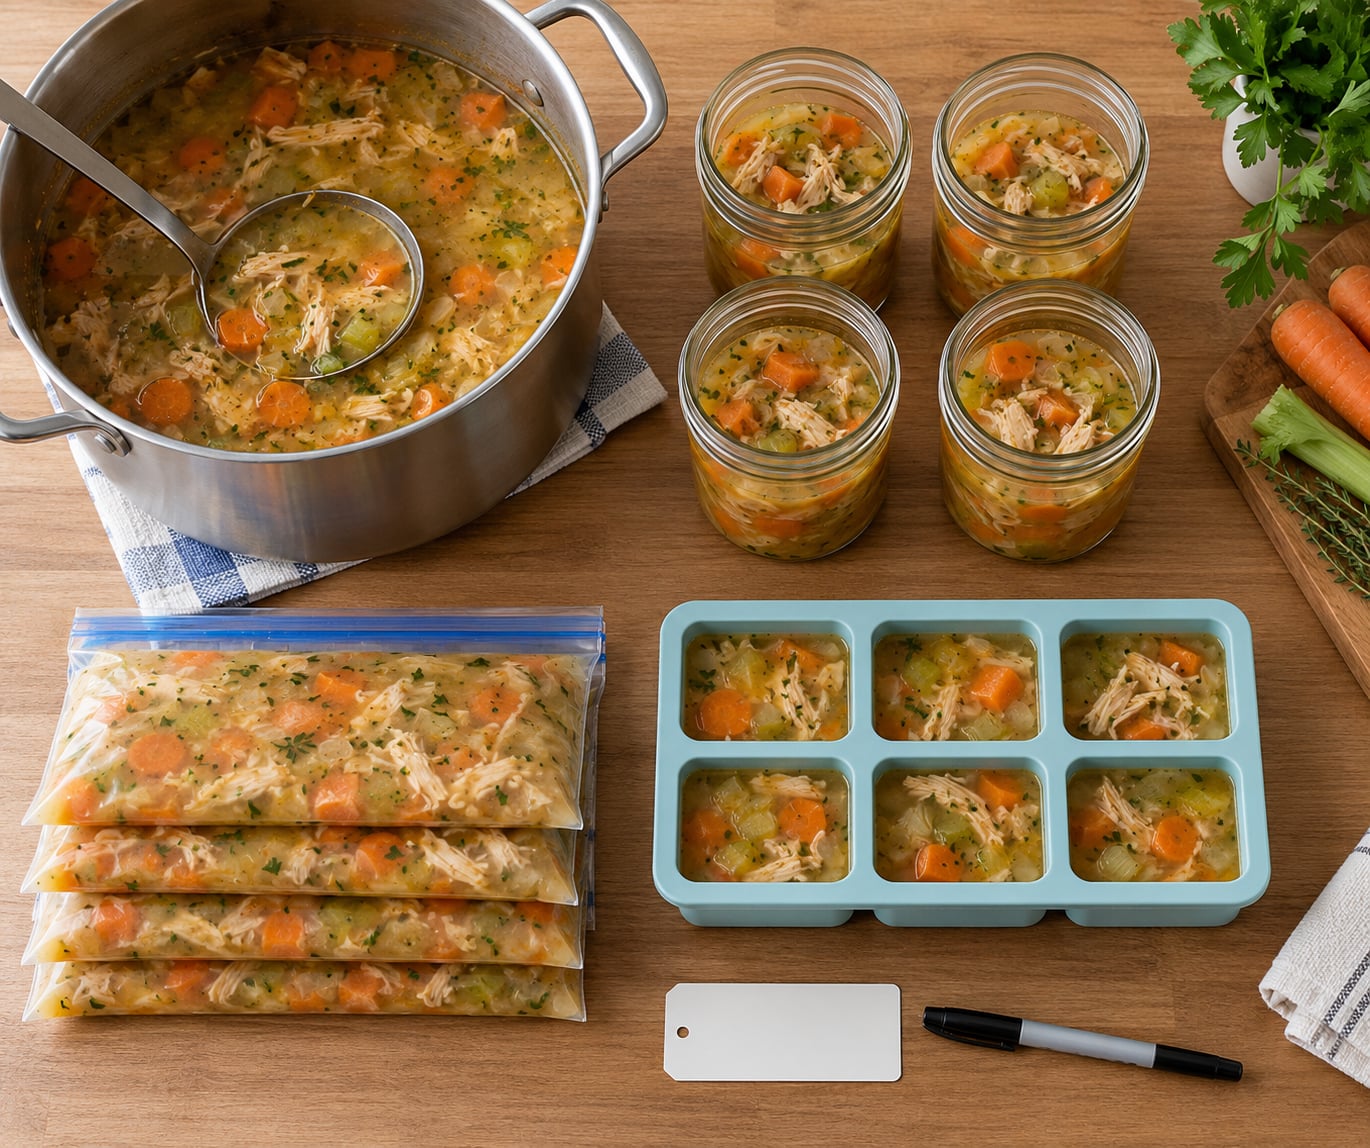
- Freezer containers: quart freezer bags, straight-sided wide-mouth glass jars, plastic containers with snap lids, a silicone portion tray, or a jumbo muffin tin.
- A wide-mouth funnel or canning funnel to keep soup out of the jar threads. Regular narrow funnels drip, and a thread full of greasy soup is a thread that will not seal.
- Labels or freezer tape and a permanent marker, plus a pen for the lid, since lids get swapped.
Three words come up constantly in freezer instructions, so here is what they mean. Headspace is the empty gap left above the soup so the liquid has somewhere to go as it freezes. Flash freezing means freezing uncovered on a tray so portions freeze fast and do not bond to each other. Straight-sided describes a jar with no shoulder or curve near the top, which is the only shape that handles expansion without cracking.
Step-by-Step: How to Freeze Soup in Portions
How to Cool the Soup Before Freezing
Cool the soup quickly and completely, because a sealed container of hot soup traps warmth in the middle and creates a warm zone where bacteria can keep growing. USDA guidance is to move perishable food into the refrigerator within two hours, or within one hour if the room is above 90°F, and to cool it in shallow containers rather than the whole pot.
My routine is to ladle the soup into shallow 2-cup containers or a loaf pan, set them in an ice bath for about 10 minutes, then move them to the refrigerator uncovered. When I am in a hurry I use an immersion blender on low in the pot to break up the hot mass, then transfer to shallow dishes.
How do you know it is cool enough? Put the back of a spoon in the center of the soup, leave it for a full minute, then touch the metal. If it is merely cool rather than warm, you are fine. Steam rising off the surface means keep waiting. Plenty of home cooks simply freeze soup the same day it is cooked and report no problems at all.
Choose the Right Portion Size
Pick the size based on how you will actually eat it. One cup is a lunch or a side, two cups is a bowl dinner for one hungry adult or a kid-sized serving, and quarts make sense when a whole family eats the same pot.
| Portion | Best for | Notes |
|---|---|---|
| 1 cup (8 oz) | Lunchboxes, snacks, soup alongside a big salad | The most versatile size. Freezes into a small block that thaws in a lunch thermos by lunchtime. |
| 2 cups (16 oz) | Single-person dinners, one serving of chili or stew | Use 12 to 16 oz straight-sided wide-mouth jars for this size. |
| 4 cups (1 quart) | Family dinners, feeding a crowd, dinner parties | Freeze flat in quart bags, or use wide-mouth quart jars if your jar is straight-sided. |
| Half batch (2 cups) | Soup plus rice or bread for two | Works in silicone trays and jumbo muffin tins for odd-sized servings. |
Do the math before you start ladling. A 12-cup pot is twelve lunches, six dinners, or three family meals, and knowing which one you are aiming for stops you from filling a dozen jars you will never finish in time. For a family of four eating the same soup twice in a week, quart bags beat four separate two-cup jars, because they stack like books instead of taking up four round footprints.
Leave Room for Expansion
Leave 1 to 2 inches of headspace, because soup expands as it freezes and a full container has nowhere to put that volume. In jars, the expansion pushes against the lid and can crack the glass. In plastic containers it warps the lid until it no longer seals. In bags, it splits the seams.
Three rules prevent most breakage. Put the lid on loosely while the soup chills and tighten it once the contents are fully cold and solid. Fill jars no more than two thirds to three quarters full for soups that are mostly liquid, and stay away from any jar with a shoulder, a taper, a decorative curve, or a threaded neck that narrows below the rim. Straight-sided wide-mouth jars in 8 oz, 16 oz and 32 oz sizes are the ones made for this job.
If you have inherited jars that do not fit the rules, bags or plastic containers are the safer route. I have dumped more than one ladle of soup down the side of a jar, and I now measure the headspace by eye before the lid goes on rather than after.
How to Freeze Soup in Individual Portions
There is no single best container, because the best one depends on whether you care most about portion control, freezer space, or durability. Here is how the common options compare.
| Container | Best for | Portion control | Space saving | Drawback |
|---|---|---|---|---|
| Quart freezer bag | Family portions and bulk storage | Ladle or measuring cup | Excellent, lies flat and stacks | Needs a marker and a separate label, and bags can split if overfilled |
| Straight-sided wide-mouth jar | Reusable single servings and jars you can pour from | Very good, wide mouth is easy to fill | Fair, round and heavy | Cracks if filled hot or too full, glass breaks |
| Plastic container with snap lid | Reheating straight from frozen in the microwave | Good, snap to size | Fair | Can warp or become brittle in a cold freezer, lids yellow |
| Silicone portion tray | Pre-measured cubes and tasting portions | Excellent, every well is the same | Excellent, trays stack | Small portions, you transfer each cube to a bag afterward |
| Jumbo muffin tin | Cheap single-serving blocks without buying a tray | Excellent, one scoop per well | Good, blocks stack in a bag | Takes up drawer space while stored empty |
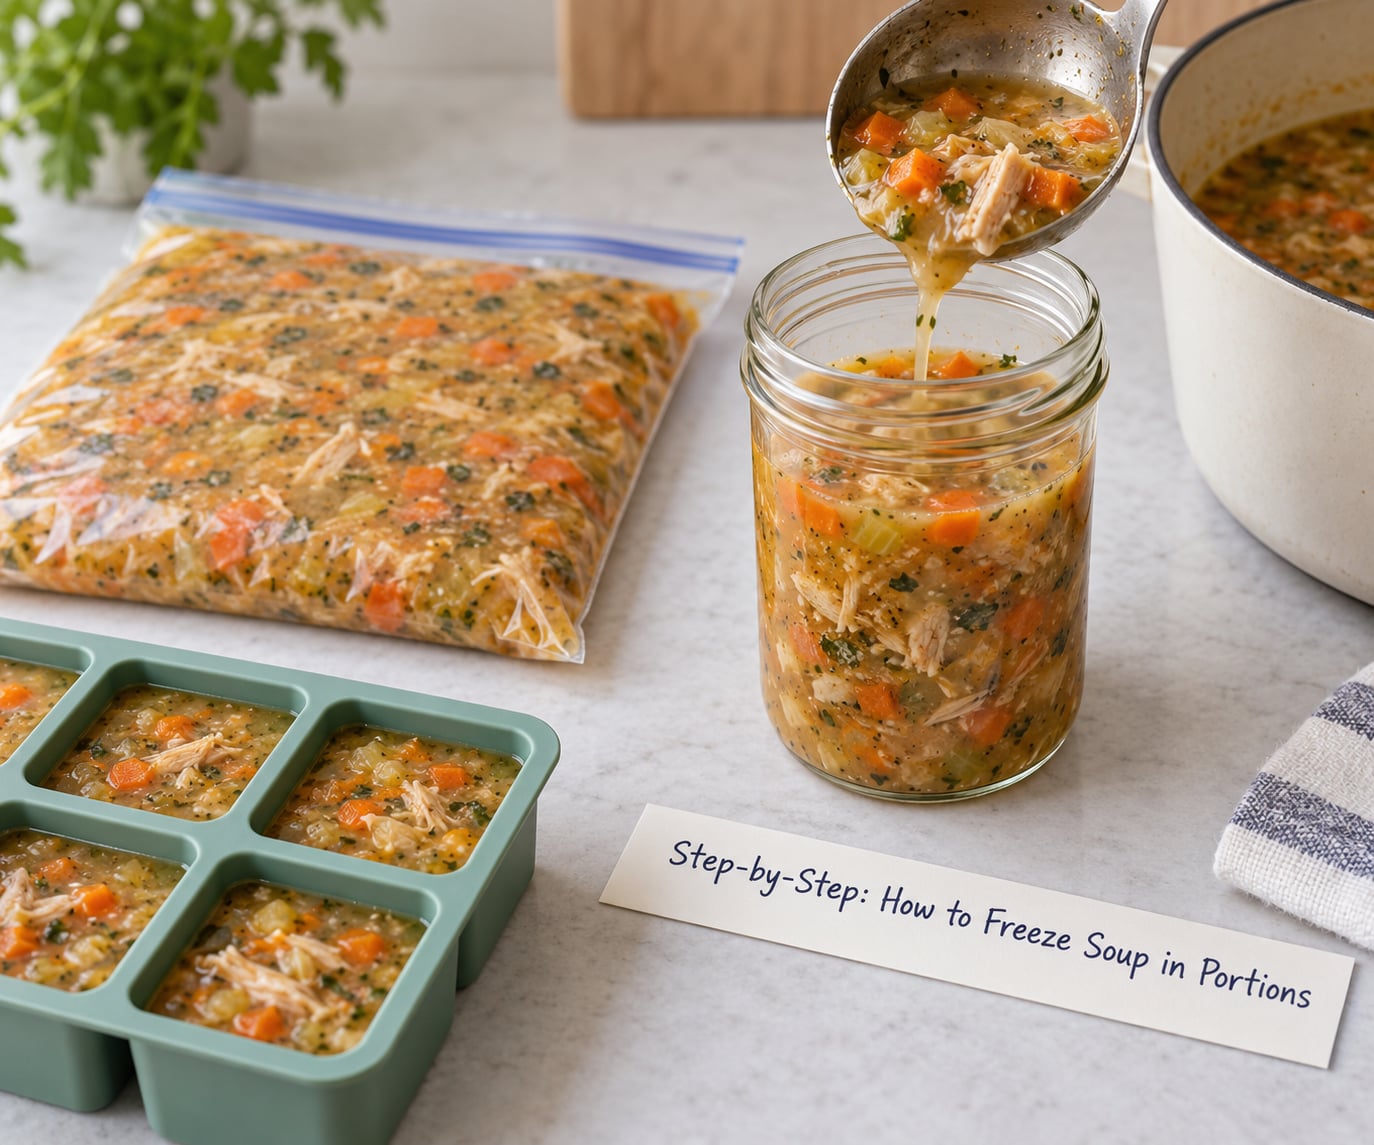
Freezer bag method. Stand a tall drinking glass on the counter, drop a quart bag inside it so the bag holds its shape, and ladle the soup in. Fill a third of the way, press the air out gently with your hand, seal, then add more and seal again. Squeeze toward one corner so you can cut that corner off later and pour the frozen block into a pot. Lay the sealed bags flat on a baking sheet and they freeze in about two hours.
Muffin tin method. Freeze the soup solid first, then scoop it into a chilled jumbo muffin tin, one level scoop per well. Two to 24 hours in the freezer firms it up enough to pop out as individual disks. Stand the disks up in a silicone freezer bag or a rigid container and you have pre-portioned lunches that stack instead of slumping.
Silicone tray method. Ladle each well to about two thirds, freeze until solid, then pop the cubes out and move them into a labeled bag. This is the tidiest option when the soup is thick, because thick chowders and chili hold their shape in a well while a thin broth would just run into the corners.
Freezing soup in plastic zip-top bags is safe. Home cooks use them constantly, and the only real cautions are to seal well, leave expansion room, and not plan to pour soup back into the bag once it freezes.
Label and Freeze the Portions
Label every portion with three things: the soup name, the portion size, and the date you froze it. Write on the container and, if you use jars or bags, on the lid or the front of the bag too, since lids and bags move around in a full freezer.
After labeling, flash freeze the flat items. Set sealed bags in a single layer on a baking sheet and leave them for about 2 hours until they are rigid, then stack them like books in a bin. That flash freeze is what stops the soup from bonding into one solid block, and it lets you pull out two portions instead of sawing through a frozen brick.
Storing frozen soup in the freezer keeps it good for 3 to 4 months at 0°F, and quality starts sliding after that. Build your inventory oldest at the front, newest at the back, and rotate the front row first. A bin per person or a bin per soup type, each with a strip of tape on the front, solves the problem of forgetting what is buried in the back.
How to Thaw and Reheat Frozen Soup
The safest thaw is overnight in the refrigerator, on a plate or tray to catch drips. For speed, put the sealed portion in cold water and change the water every 30 minutes, or use the microwave on a defrost setting until slushy with a frozen center.
You can also skip thawing. Put the frozen block straight into a pot over medium heat with a cup of stock or water and let it melt down, stirring as you go. Add liquid in stages, since frozen soup holds less water than it did hot, and thin it back to the thickness you like. This is why an extra cup of broth in the recipe is worth saving.
If the texture needs rescuing after reheating, add a splash of stock and blend it, or stir in cream, milk, or a pat of butter at the very end off the heat. That last trick matters for chowders and bean soups, which can taste flat after a month in the freezer.
Which Soups Freeze Well and Which Do Not
Broth-based soups, bean soups, chilis, chowders made with milk, purees, and meat stews all freeze well. Cream-based soups freeze too, but the texture changes, and soups built around cooked pasta, rice, or potatoes turn mushy on thaw.
| Soup or ingredient | How it freezes | Fix |
|---|---|---|
| Broth-based soups and stocks | Excellent | Freeze with plenty of headspace |
| Bean soups and chilis | Excellent | Thicken with stock on reheat instead of a roux |
| Meat and vegetable stews | Very good | Keep chunks large so they do not shred |
| Pureed soups | Very good | Blend again after thawing to smooth out ice crystals |
| Milk or cream soups | Fair, may grain or separate | Stir in dairy off the heat after reheating |
| Cooked pasta in soup | Poor, turns bloated and mushy | Freeze broth alone and cook pasta fresh |
| Cooked rice in soup | Poor, grains harden | Same fix, add rice at serving time |
| Boiled potatoes | Poor, spongy and grainy | Leave them out or use them only in thick chowder |
Fat is not a problem, which surprises people. Tomato soup with butter in it freezes without trouble, since fat does not stop freezing. What fat does is make the soup taste a little heavier after a long rest in the freezer.
Common Mistakes
Nearly every problem with frozen soup traces back to heat, space, or forgetting what the container is. Walk through these six and most of it disappears.
Freezing soup while it is still hot. A sealed hot container stays in the danger zone deep inside, takes a long time to freeze through, and loads the glass with thermal shock. Fix: cool in shallow containers with an ice bath, then portion and seal only when nothing is steaming.
Filling containers to the top. No headspace means no room for expansion, so lids crack, plastic warps, and bags split along the seam. Fix: 1 to 2 inches for jars and rigid containers, and never more than two thirds full for a thin liquid soup.
Writing the label on the lid alone. Lids get swapped, lids fall behind the shelves, and a mason jar of unlabeled soup is a jar you will not open until it is a science project. Fix: name, size, and date on the container itself, then repeat it on the lid.
Thawing on the counter. The outside of the block warms into the range where bacteria grow while the center is still frozen. Fix: refrigerator overnight, cold water bath with water changed every 30 minutes, or microwave defrost, and go straight into the pot if you skip the thaw entirely.
Losing track of what is in the back. Unlabeled frozen bags and forgotten jars turn a full freezer into wasted food and money. Fix: date everything and rotate oldest to front in a labeled bin.
Freezing the whole pot and pulling out a quart at a time. A frozen block in a stockpot thaws slowly, uses an enormous amount of space, and forces you to reheat soup you did not want that night. Fix: portion it all out, then pull out exactly what you are eating.
Frequently Asked Questions
What is the best container to freeze soup portions?
For most home cooks a straight-sided wide-mouth mason jar is the most dependable single-serving container, because it is reusable, easy to fill, and sized for one to two cups. Quart freezer bags win on freezer space and family-size portions, plastic containers win when you want to reheat in the microwave, and silicone trays win on portion accuracy. There is no single winner, only the one that fits how you eat.
Is it better to freeze soup in bags or containers?
Bags take up far less freezer space because they lie flat and stack like books, which matters once you are portioning a full stockpot. Rigid containers are easier to pour from and to reheat in a microwave, and they survive a trip in a lunch bag without leaking. If you have freezer room to spare and cook for one person, jars win. If you batch cook for a family, bags win.
What soups should you not freeze?
Skip freezing soup that already contains cooked pasta, cooked rice, or boiled potatoes, since all three turn bloated, grainy, or spongy after thawing. Freeze the broth alone and cook the starch fresh, which takes less time than you think. Milk and cream soups do freeze but often grain or separate, so stir the dairy back in off the heat after reheating rather than boiling it.
Can you freeze soups that have half and half in them?
Yes, a soup with half and half or heavy cream can be frozen, though the texture may separate a little on thaw. Keep the same rule as any other soup: cool it fast, leave 1 to 2 inches of headspace, and label it with the date. When you reheat, warm it gently and stir the dairy back in at the end off the heat so it stays smooth instead of curdling.
What type of jar is best for freezing soup?
Use a straight-sided wide-mouth jar with no shoulder, taper, or curve near the top, in a size your freezer can actually fit. Wide-mouth pint and half-pint jars suit single servings, and wide-mouth quart jars suit family portions. Leave two thirds to three quarters of the jar empty, put the lid on loosely while it cools, and tighten it once the contents are fully cold.
Is it unsafe to freeze food in Ziploc bags?
No. Freezing soup in zipper-seal freezer bags is safe and is the most space-efficient method most home cooks use. Leave room for the soup to expand, press the air out before sealing, and lay the bag flat on a baking sheet for about 2 hours so it freezes solid instead of bonding to its neighbors. Cut a corner off while the block is still firm to pour it into a pot without a mess.
Conclusion
Start with the cooling, because it is the only step that cannot be undone later. Ladle the soup into shallow containers, chill it until nothing steams, then measure out portions sized for the meals you actually eat: 1 cup for lunches, 2 cups for dinners, quarts for the family.
Leave 1 to 2 inches of headspace, press the air out of bags, flash freeze flat for about 2 hours, and label with the name, size, and date. Stack oldest at the front and eat your way forward, and 2026 will look a lot more like dinner than like a chore.